This article will demonstrate different methods to enable/turn on Windows Security Button on Windows 11 laptops and desktops.
- Method 1: Utilizing Group Policy Editor to Enable Windows Security Button
- Method 2: Utilizing User Accounts Settings to Enable Windows Security Button
- Bonus Tip: How to Utilize the Windows Security Button to Log in to Desktop/Laptops?
Method 1: Utilizing Group Policy Editor to Enable Windows Security Button
To enable Windows Security Button via Group Policy Editor, check out the following instructions:
First, press the “Windows + R” keys to open the Run dialog box. Then, type “gpedit.msc” and hit the “Ok” button:

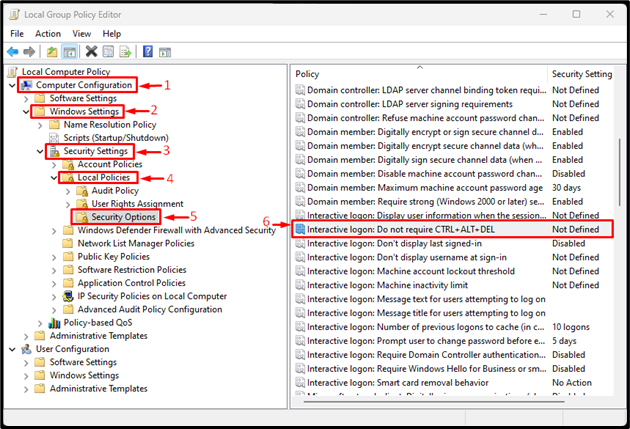
Upon doing so the local group policy editor will open. After that, navigate to the following path:
Then, search for the “Interactive logon: Do not require CTRL + ALT + DEL” and double-click on it to open it:
Subsequently, the next window will be opened and it will show the “Enabled” and “Disabled” options. Choose the “Enabled” option and hit the “OK” button to save changes:
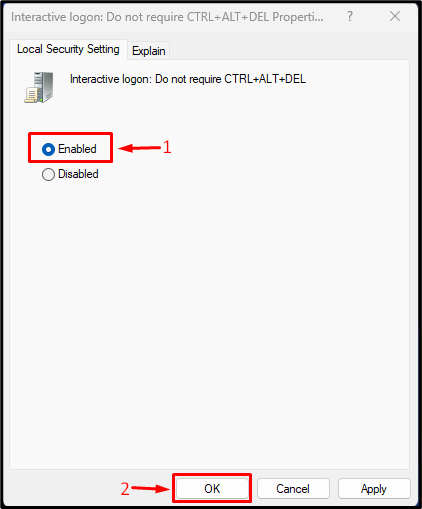
To disable the Windows security button, select the “Disabled” option and hit “OK”:

Method 2: Utilizing User Accounts Settings to Enable Windows Security Button
To enable the Windows Security Button through user accounts settings, follow the provided steps:
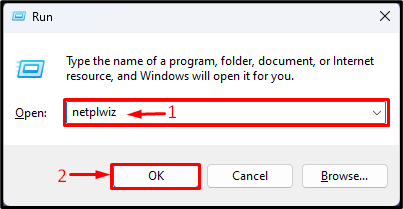
First, open the Run console by pressing the “Windows + R” keys. Then, type “netplwiz” and hit the “Enter” key:
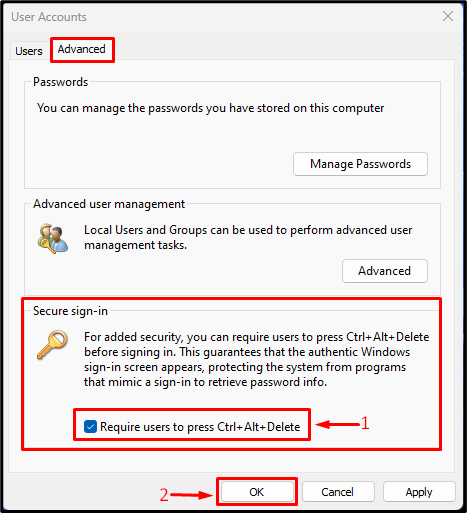
After that, choose the “Advanced” option and checkmark the below-highlighted option under the “Secure sign-in” section to enable the Windows Security button. Finally, hit the “OK” button:
We have explained the efficient methods to enable Windows Security Button.
Bonus Tip: How to Utilize the Windows Security Button to Log in to Desktop/Laptops?
Users can use the Windows Security button on laptops and desktops to secure their devices and easily log in. Once the Windows Security Button has been enabled on computers, press the “Ctrl + Alt + Delete” keys to open the login screen. After that, enter the required credentials to log in to the computer.
Conclusion
To enable Windows Security Button, users can use the “Group Policy Editor” or “User Accounts” settings. For instance, type “netplwiz” in the Run console and hit the “OK” button. Then, choose the “Advanced” option and checkmark the “Require users to press Ctrl+Alt+Delete” option under the “Secure sign-in” section and save changes. This article has efficiently demonstrated the methods to enable Windows Security Button on Windows 11 Desktops and Laptops.