This post will demonstrate the methods for enabling or disabling built-in Windows administrator account:
How to Enable/Disable the Built-in Windows Administrator Account From Local Users and Groups Management Prompt?
The Built-in administrator account can be used for various purposes such as a backup account, a user account with administrative rights, installing apps without signing in to an account, and much more. By default, the administrative account is disabled in Windows.
To enable/disable the built-in Windows administrator account, go through the following procedure.
Step 1: Launch Local Users and Group Management Prompt
The “Local Users and Group Management” is a Windows built-in tool or prompt used to manage systems users and groups. To launch the local user management tool, follow the listed steps:
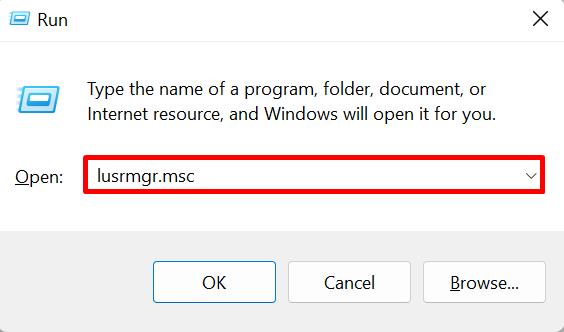
- First, fire up the Windows Run box through the “Window+R” key.
- After that, type “lusrmgr.msc” in the “Open” drop-down field.
- To run this tool with administrative rights, press the “CTRL+SHIFT+ENTER” key:
Step 2: Open Users Directory
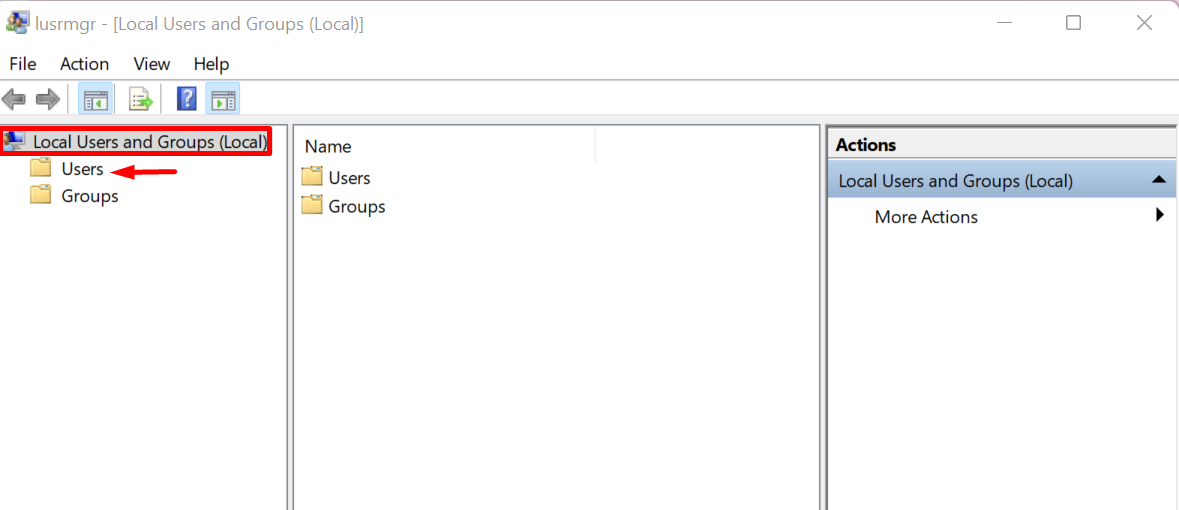
Click on the “Users” directory under the “Local Users and Groups(Local)” drop menu:
Step 3: Enable or Disable Administrator Account
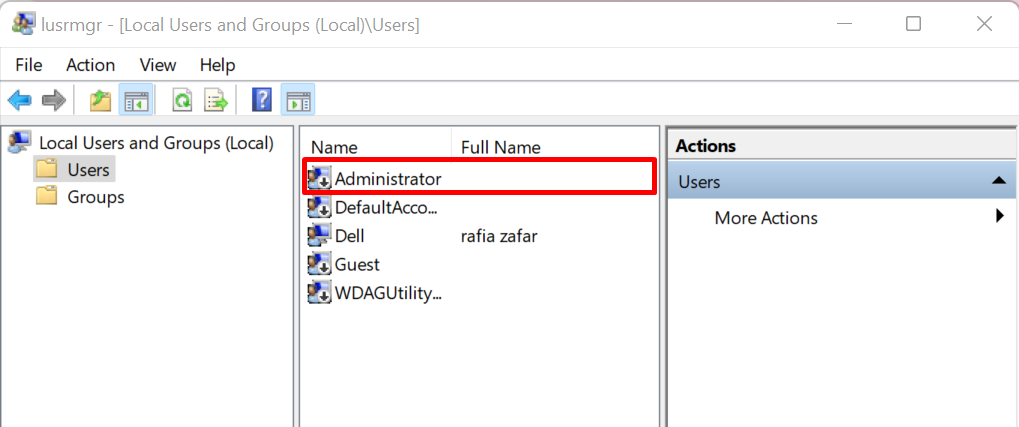
Next, click on the “Administrator” user account:
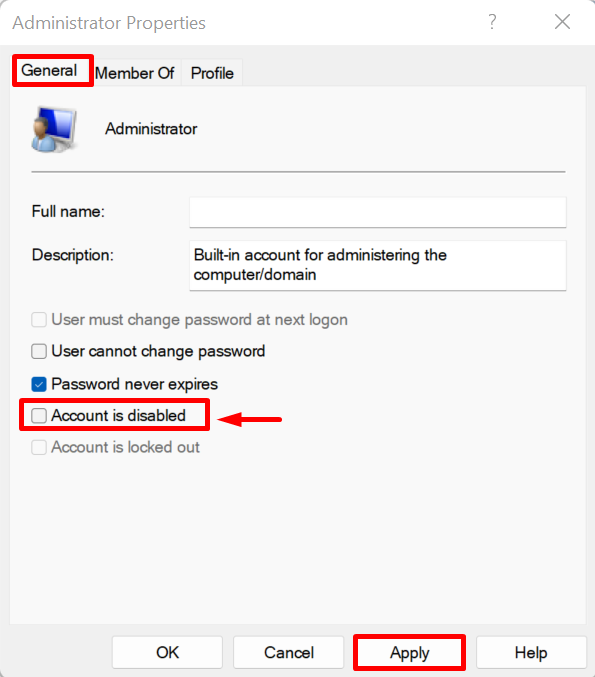
By default, the administrative account is disabled. To enable the Windows “Administrator” account, uncheck the “Account is disabled” checkbox from the “General” menu. To apply changes, hit the “Apply” button:
How to Enable/Disable the Built-in Windows Administrator Account From Command Line?
The Windows OS is mostly based on Graphical User Interface. But most of the users prefer to use Windows through the command line. In order to enable or disable the “Administrator” account, follow the provided demonstration.
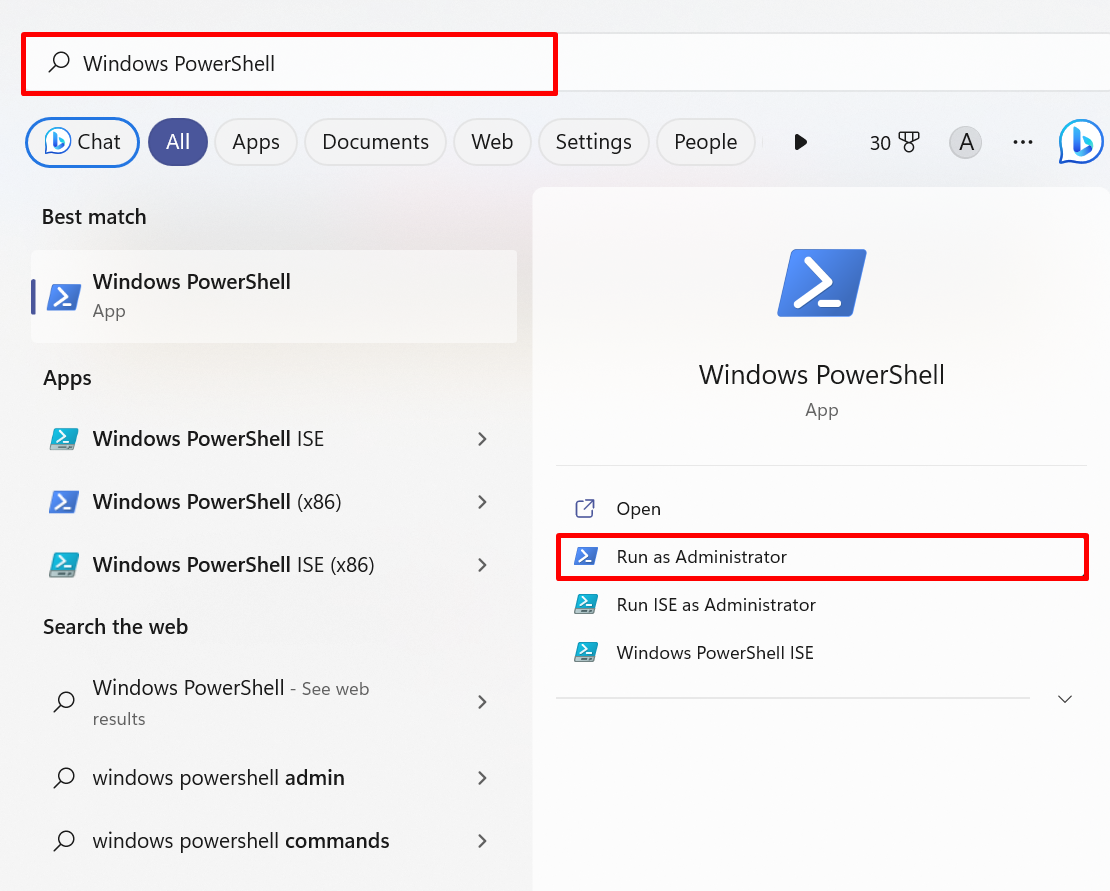
Step 1: Launch Windows Terminal
First, launch any Windows terminal such as Command Prompt or PowerShell with administrator right from the Start menu:
Step 2: Enable/Disable the Administrator Account
Next, execute the following command and set the “active” value as “yes” in the command as mentioned below to enable the administrator user account:
The output shows that we have enabled the administrator account successfully:
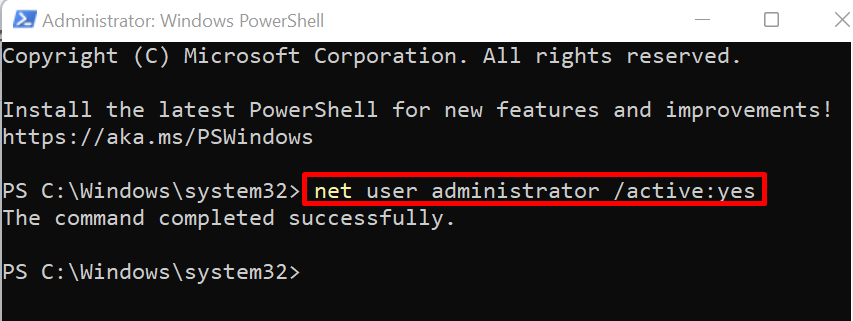
In order to disable the administrator account, simply change the “active” value to “no”:

That’s all about enabling or disabling built-in administrator accounts.
Conclusion
To enable or disable the built-in Windows administrator account using Local User and Group management tool, first, launch the tool, visit the “Users” folder, open the “Administrator” account properties, and uncheck or check the “Account is disabled” checkbox. In order to use the command line to disable or enable the administrator account, simply use the “net user administrator /active:yes/no” command. This article has illustrated the techniques to enable or disable the built-in Windows administrator user account.