This blog will elaborate on the technique to enable IIS on Windows.
How to Enable IIS in Windows?
To enable the IIS in Windows, follow the below-provided steps.
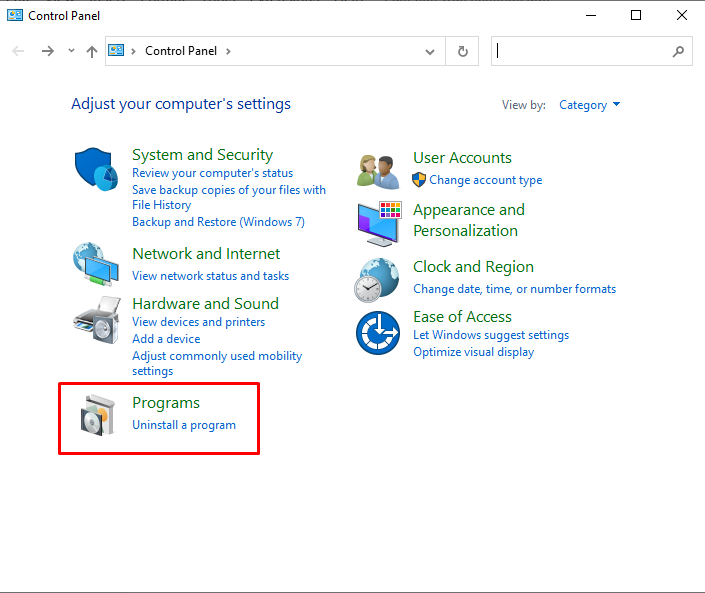
Step 1: Open Control Panel
In the “Startup” menu, search for “Control Panel” and open it:

Step 2: Open Turn Features on or off Service Settings
Open “Programs” from the list of available categories:
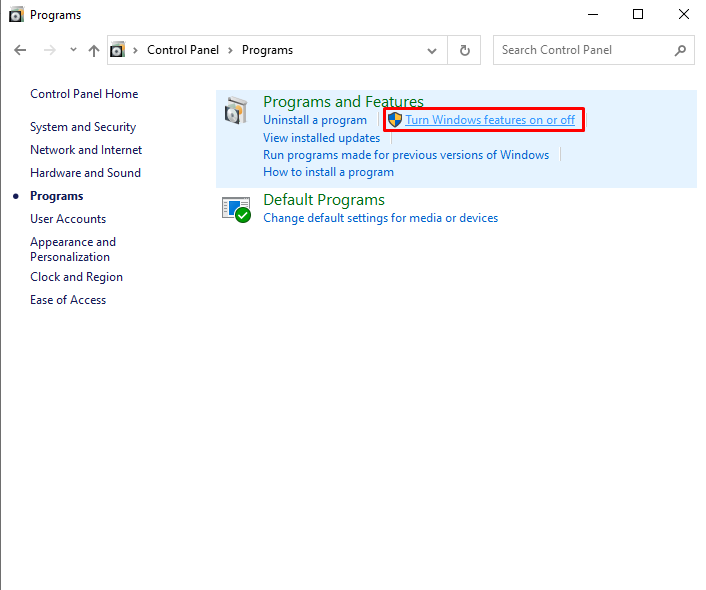
Then, select and open “Turn Windows feature on or off” settings to enable IIS on Windows:
Step 3: Enable IIS and Required Components
The “Window Features” window will now appear on your screen. From there, open the IIS drop-down option to enable the required components. To do so, firstly, enable “IIS Management Console” from the “Web Management Tools” drop-down option:
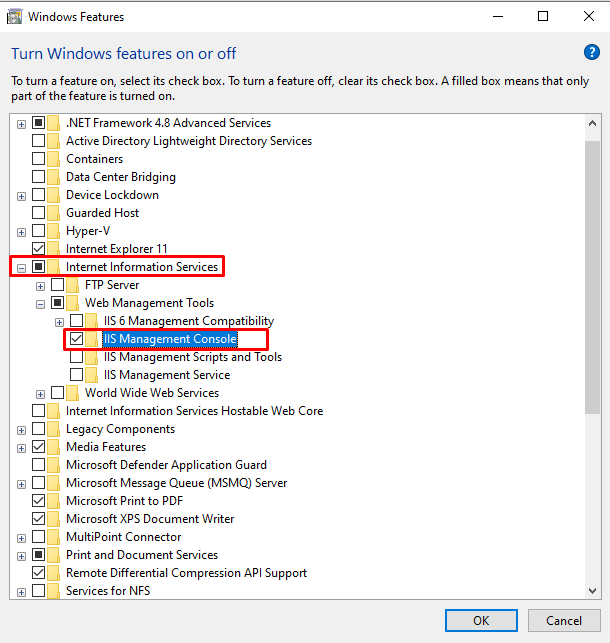
Enable the following World Wide Web Services along with IIS:
- Application Development Features
- Common HTTP Features
- Health and Diagnostics Features
- Performance Features
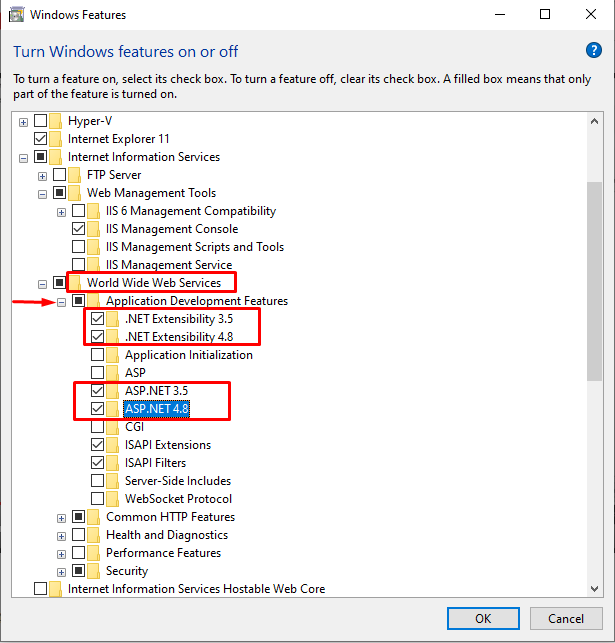
Step 4: Enable Application Development Features Required Components
From the “Application Development Features” option, enable the following required components:
- .NET Extensibility 3.5
- .NET Extensibility 4.8
- ASP.NET 3.5
- ASP.NET 4.8
The above-mentioned components are used to build and support the ASP.NET applications:
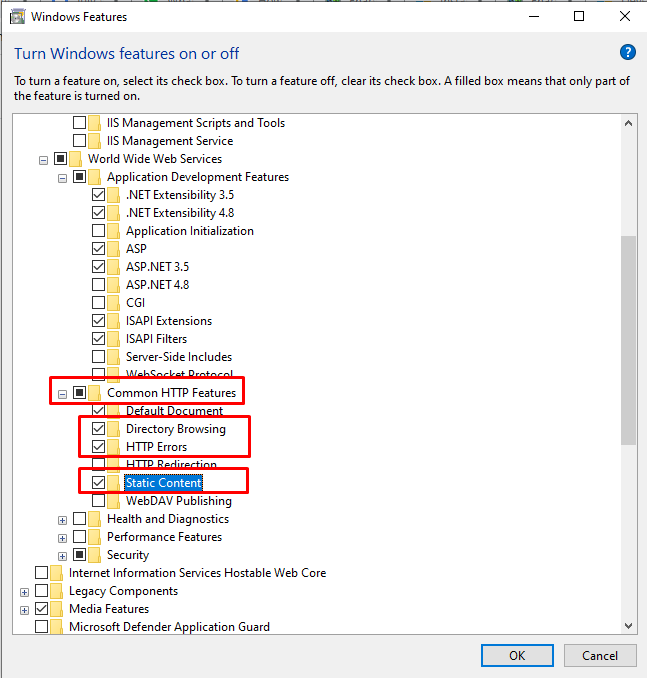
Step 5: Enable Common HTTP Features Required Components
From the “Common HTTP” feature option, enable the “HTTP Errors” to display the reason behind the encountered error and “Static Content” used to deliver content options:
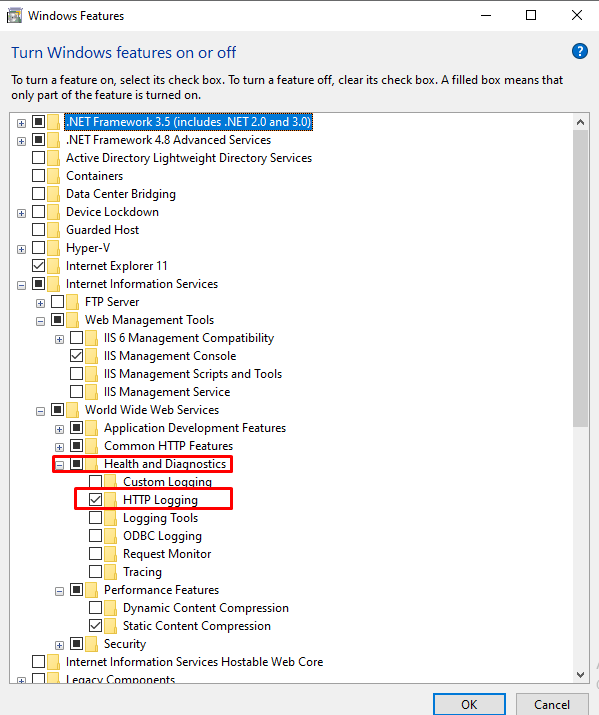
Step 6: Enable Health and Diagnostics Features Required Components
Enable the “HTTP logging” component from the “Health and Diagnostics” feature. HTTP logging maintains the record of the incoming and outcoming HTTP requests:
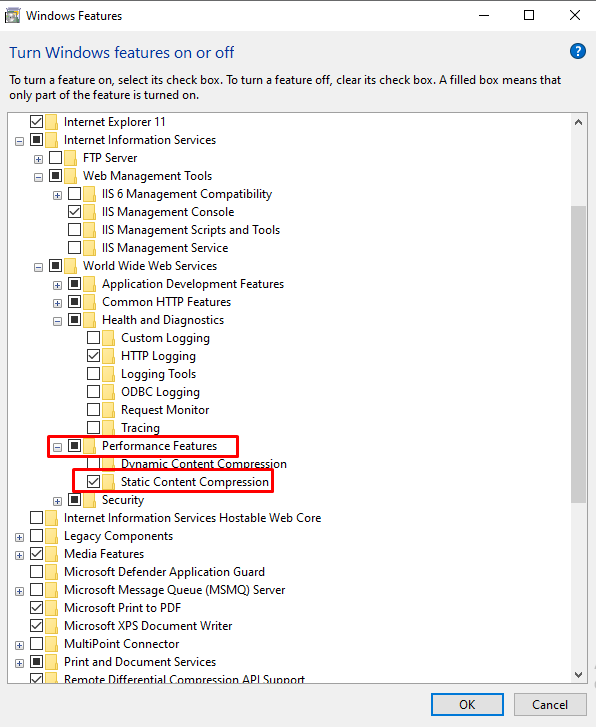
Step 7: Enable Performance Features Required Components
Enables the Static Content Compression of the “Performance Feature”:
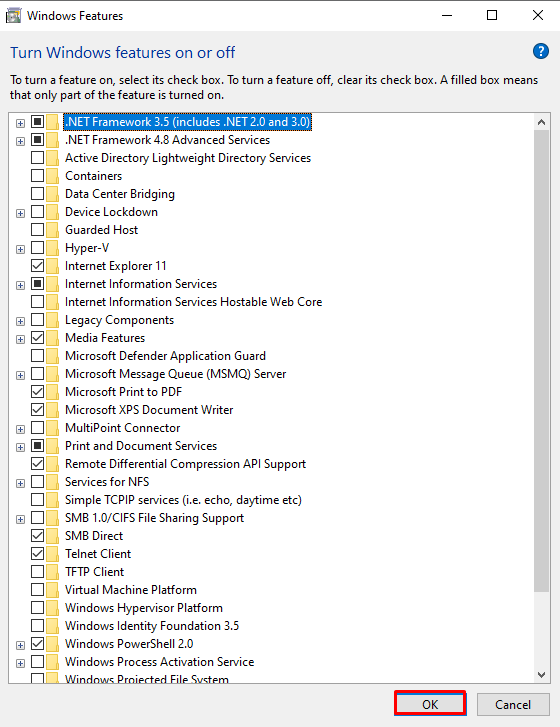
After enabling all the mentioned components of IIS, press the “OK” button to enable IIS on Windows:
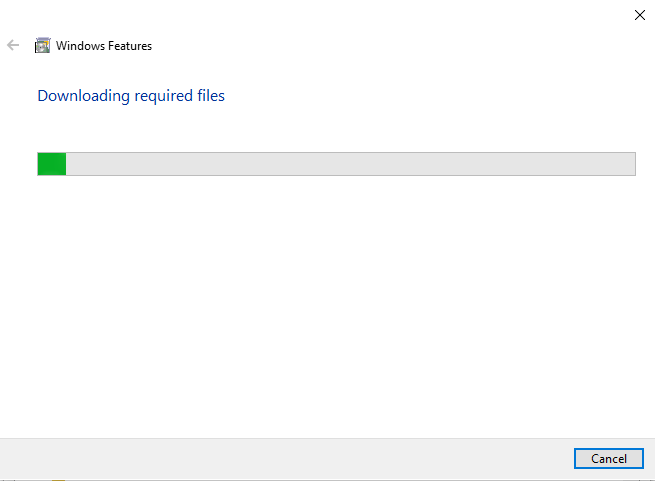
Upon doing so, the installation of the required packages will get started:
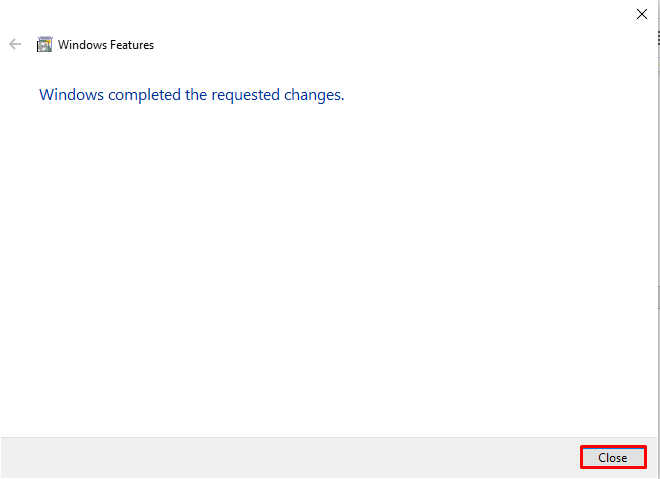
You can see that we have successfully installed IIS on Windows. Now, hit the “Close” button and start using the IIS service on Windows:
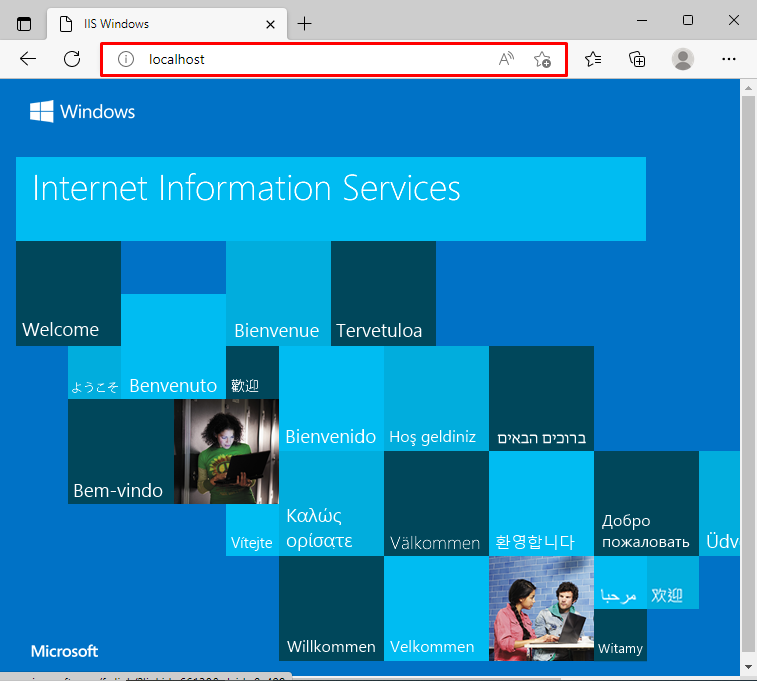
Step 8: Verify IIS Working
To verify whether the IIS is enabled or not, type the “localhost” in the browser to access the Internet Information Service:
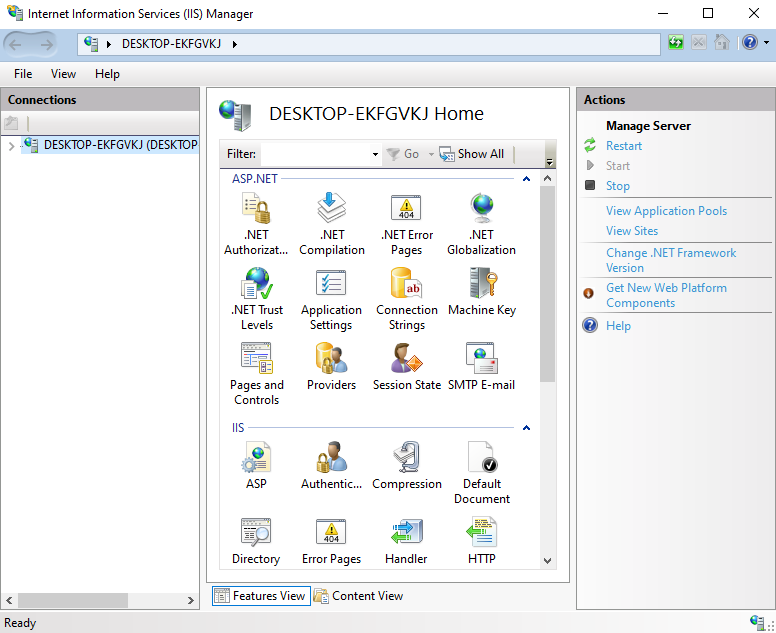
Step 9: Run IIS Manager
Search for “Internet Information Manager” in the “Startup” menu and open IIS manager from the results:
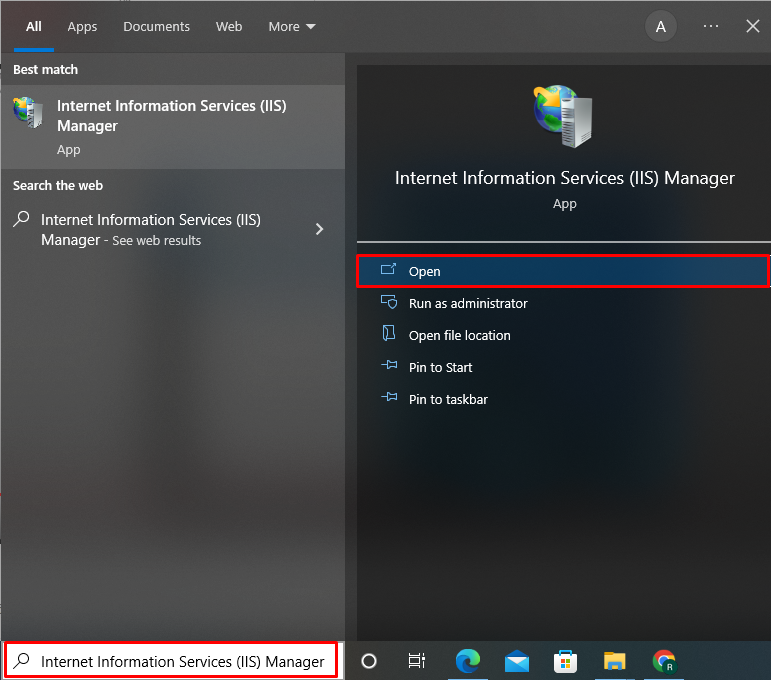
You can use the IIS manager to create and run .Net applications, check out HTTP records, and many more:
We have compiled the method to enable IIS in Windows.
Conclusion
To enable the IIS in Windows, open Control Panel, go to the “Programs” settings, and open the “Turn Features on or off” category. After that, to enable IIS on Windows, open the IIS drop-down option and start enabling Web Management Tools and World Wide Web Services required components. In this article, we have demonstrated how to enable IIS in Windows.