The Media Server package adds DLNA support to your Synology NAS. This article will show you how to install the Media Server package on your Synology NAS and configure DLNA. So, let’s get started.
Table of Contents:
- Installing Media Server
- Configuring Media Server
- Adding More Folders to Media Indexing
- Accessing Media via DLNA and UPnP using VLC
- Conclusion
- References
Installing Media Server:
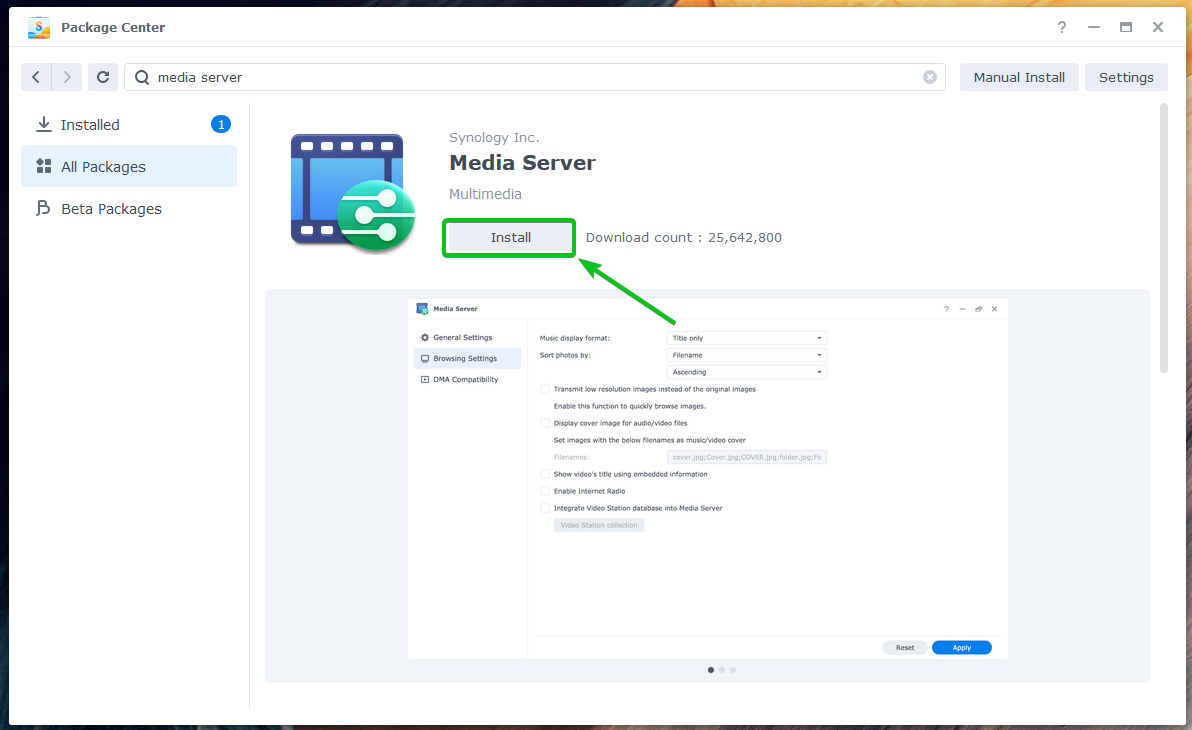
To install the Media Server package, open the Package Center app1, search for the keyword media server2, and click on the Media Server icon3 as marked in the screenshot below.

Click on Install.
You will be asked to install the Advanced Media Extensions dependency package.
To install it, click on Yes.

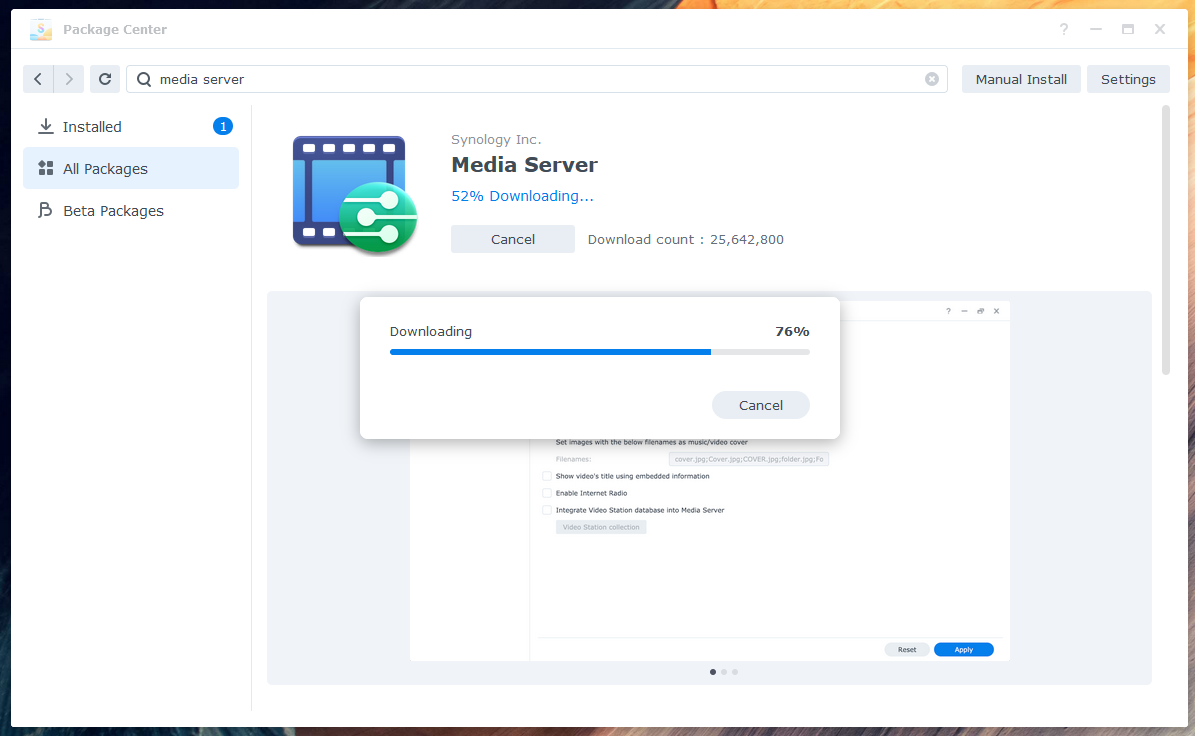
The required package will be downloaded from the internet.
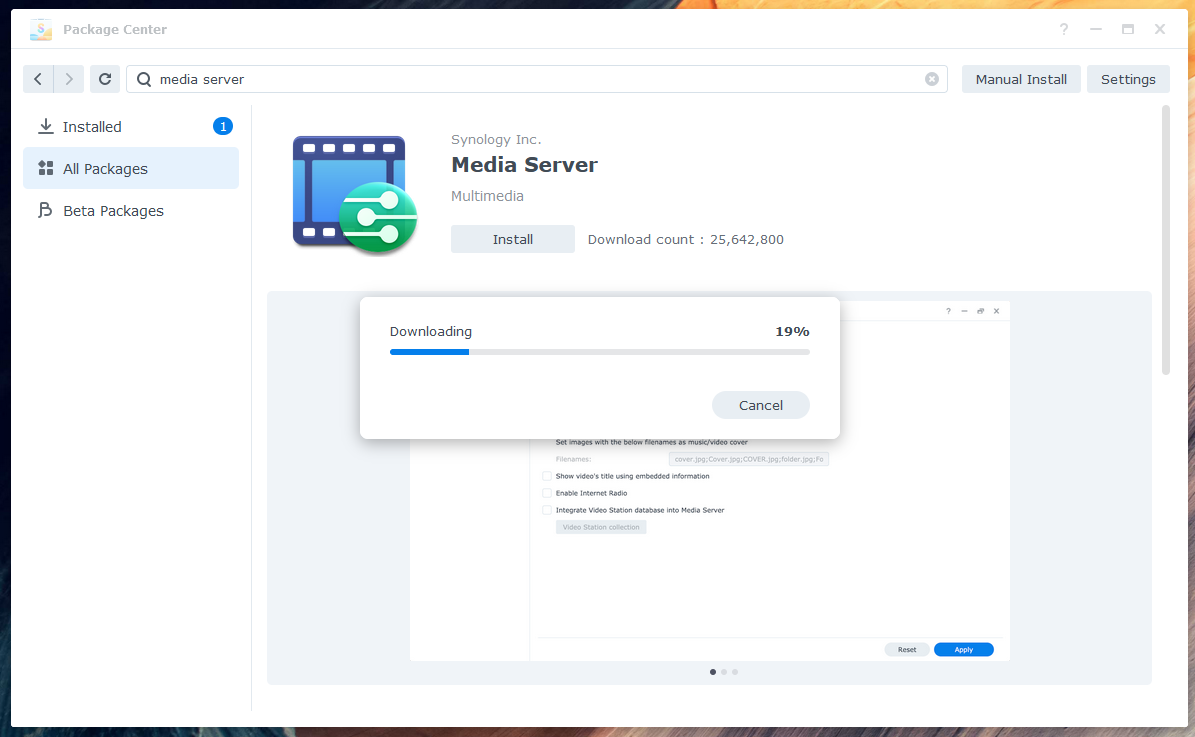
Once the package is downloaded, it will be installed.
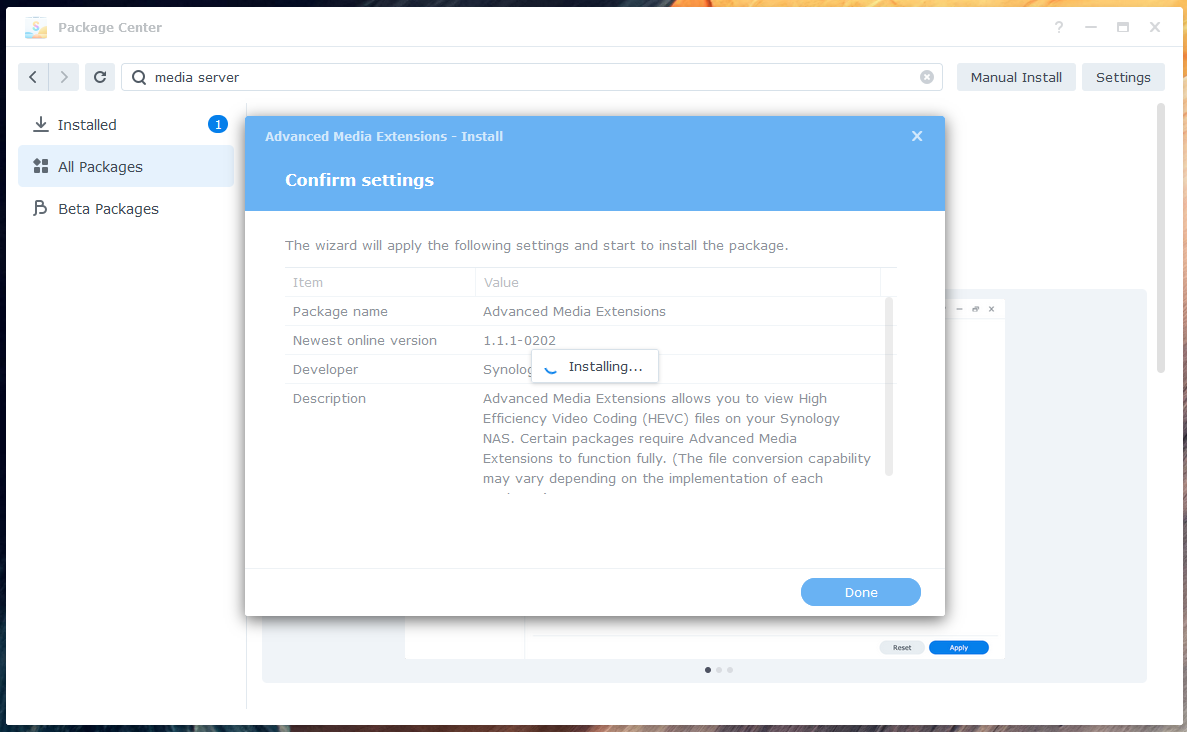
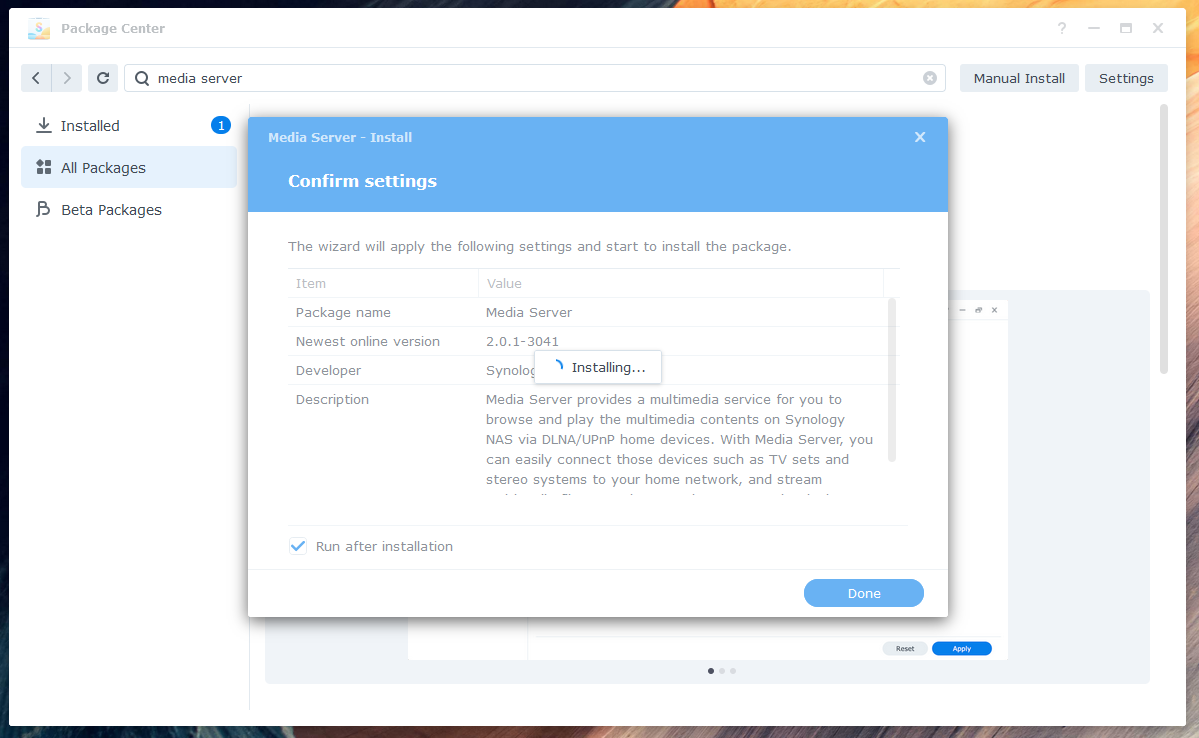
Once the dependency package is installed, the Media Server package will be downloaded from the internet.
Once the package is downloaded, it will be installed.
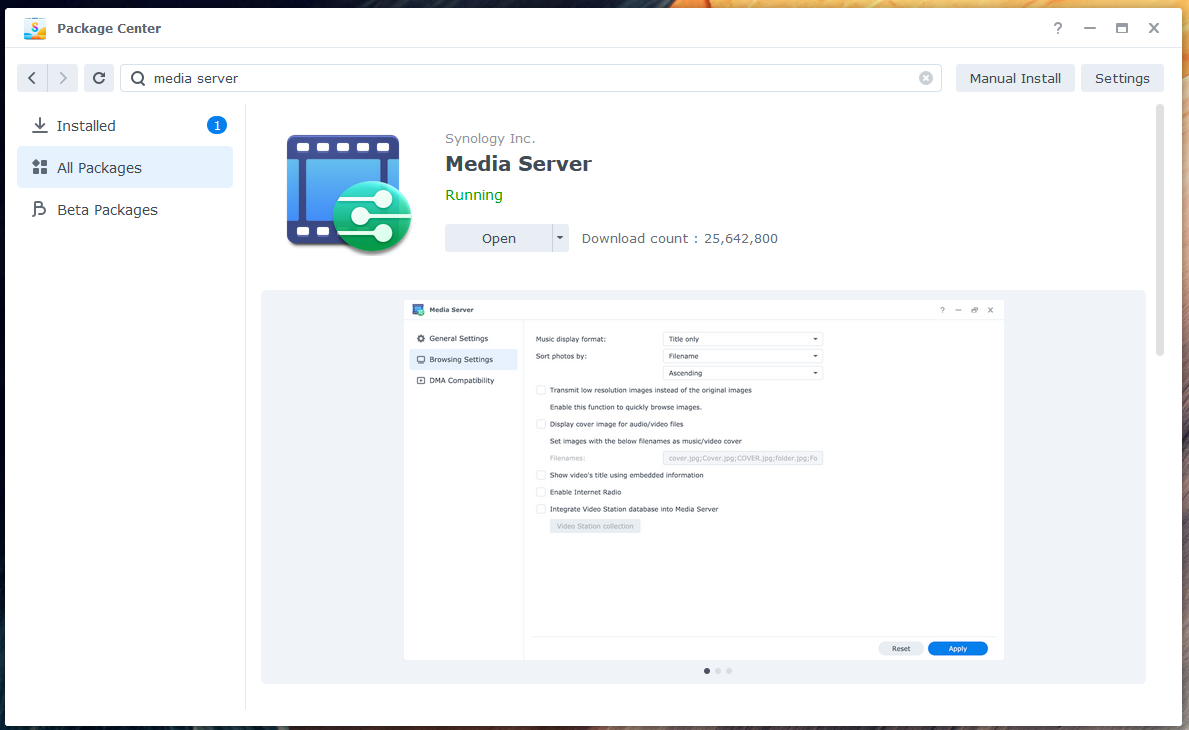
At this point, the Media Server package should be installed.
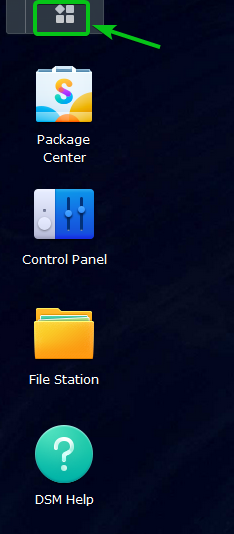
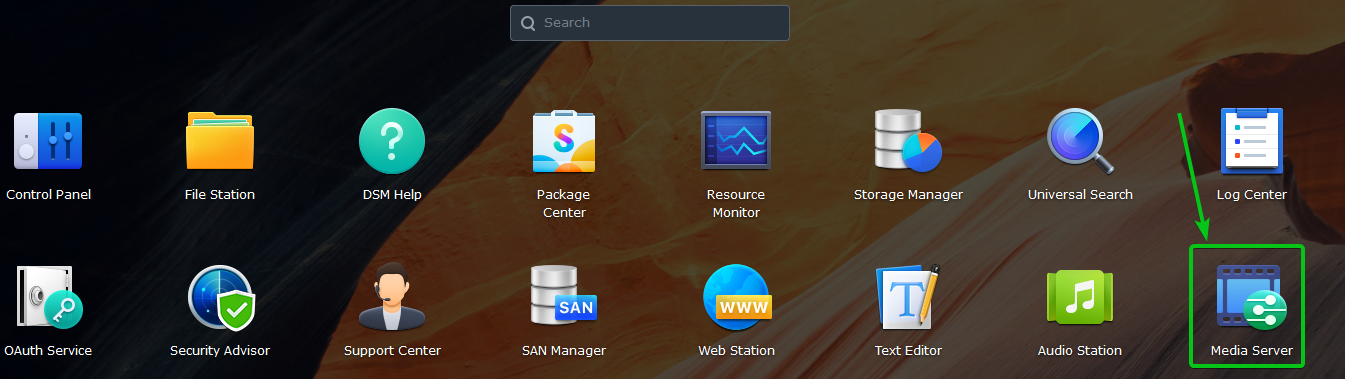
Once the Media Server package is installed, click on the Application Menu (![]() ) as marked in the screenshot below.
) as marked in the screenshot below.
Click on the Media Server icon as marked in the screenshot below to open Media Server.
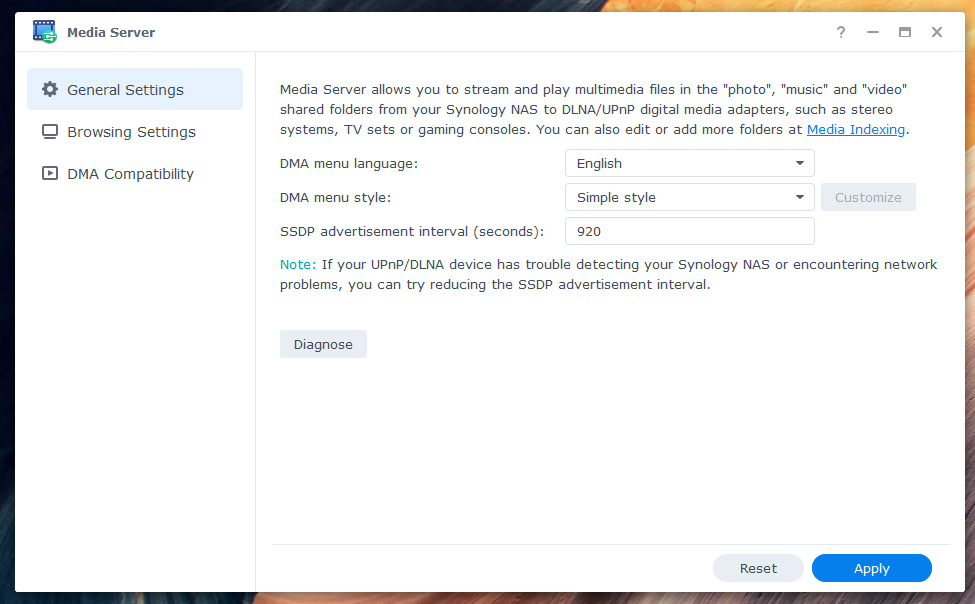
The Media Server app should be opened. You can configure DLNA from here.
Configuring Media Server:
The app (DMA) that you will use to access the digital media and contents via DLNA will show you a menu that you can use to find your desired media files.
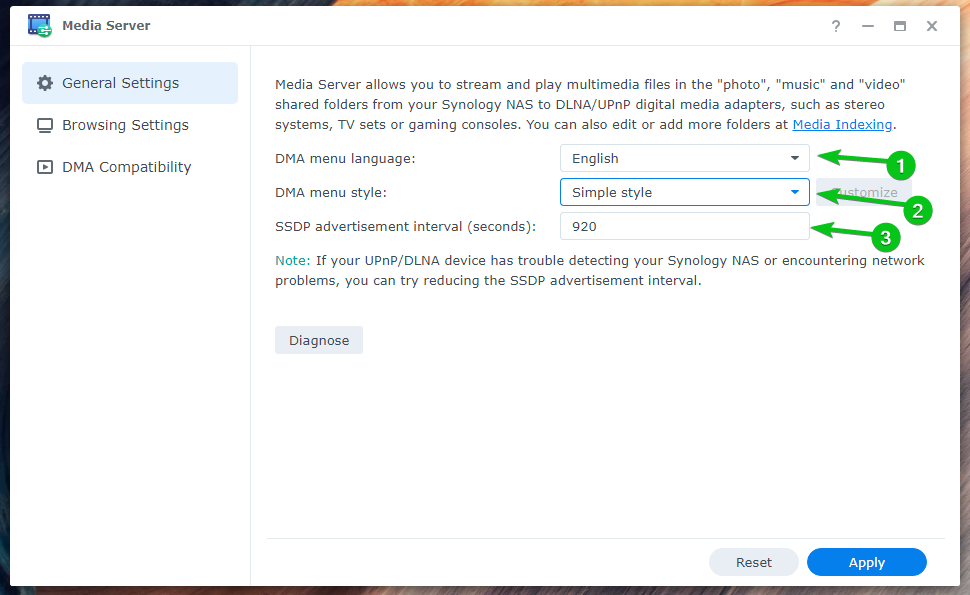
You can change the DMA menu language1 and DMA menu style2 from the General Settings section. You can also change the SSDP advertisement interval (seconds) to configure the interval at which the NAS advertises itself on the network3
You can set your desired Music display format1 and configure how photos are sorted (Sort photos by)2 from the Browsing Settings section.
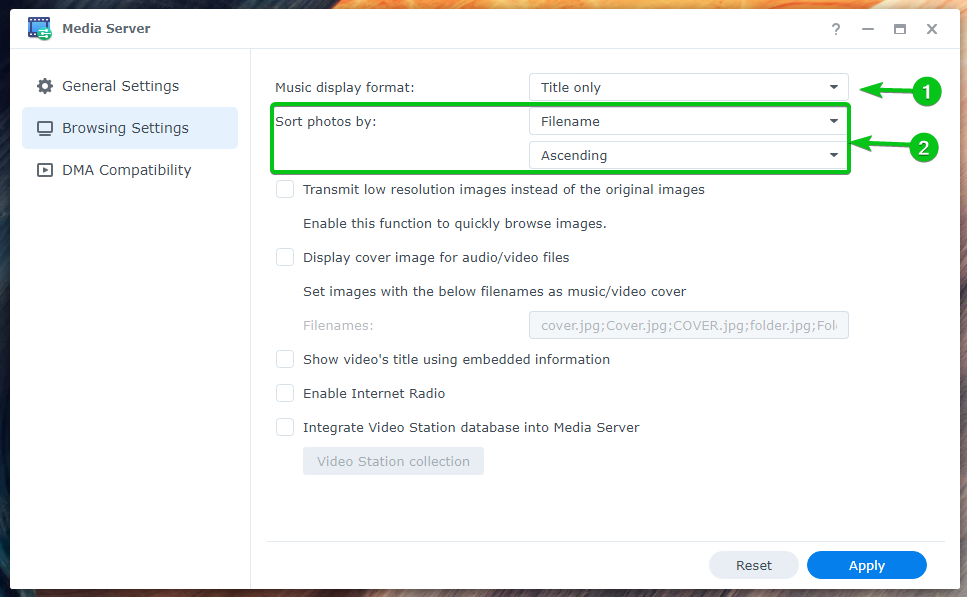
If you want to browse images quickly, check to Transmit low-resolution images instead of the original images1.
If you want to display cover images for audio/video files, check Display cover images for audio/video files2.
If you want to display the video title from the embedded information of the video, check Show video’s title using embedded information3.
If you want to access internet radio via DLNA, check Enable Internet Radio4.
If you want to use the Video Station database on Media Server so that you can browser Video Station libraries via DLNA, check Integrate Video Station database into Media Server5.

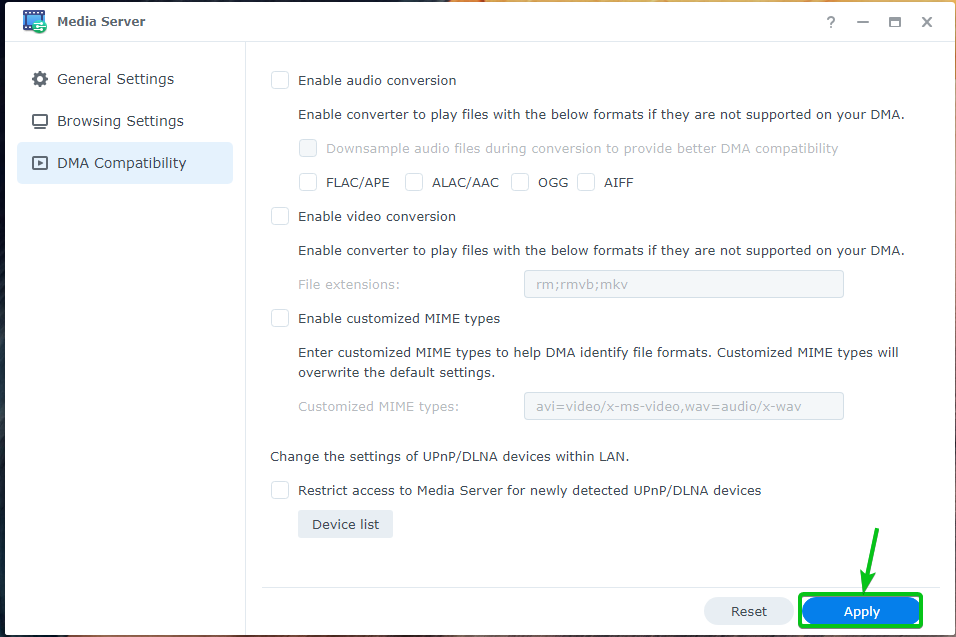
You can check to Enable audio conversion to automatically convert the audio file extensions FLAC/APE, ALAC/AAC, OGG, and AIFF if the DMA client does not support them.

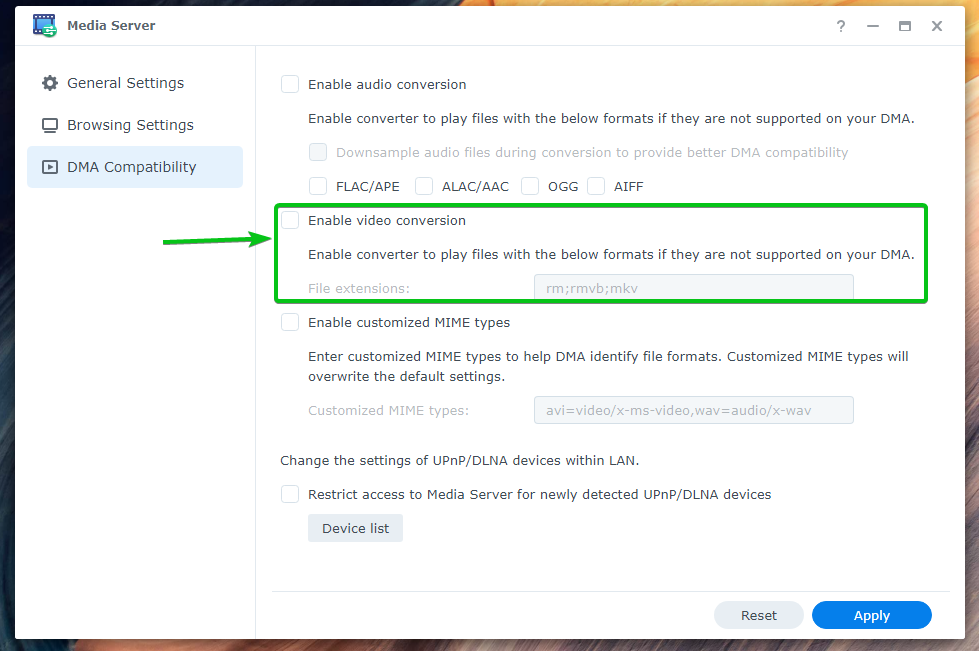
If your DMA client does not support certain video formats, you can check Enable video conversion and type in the File extensions that you want to convert to play unsupported video formats automatically.
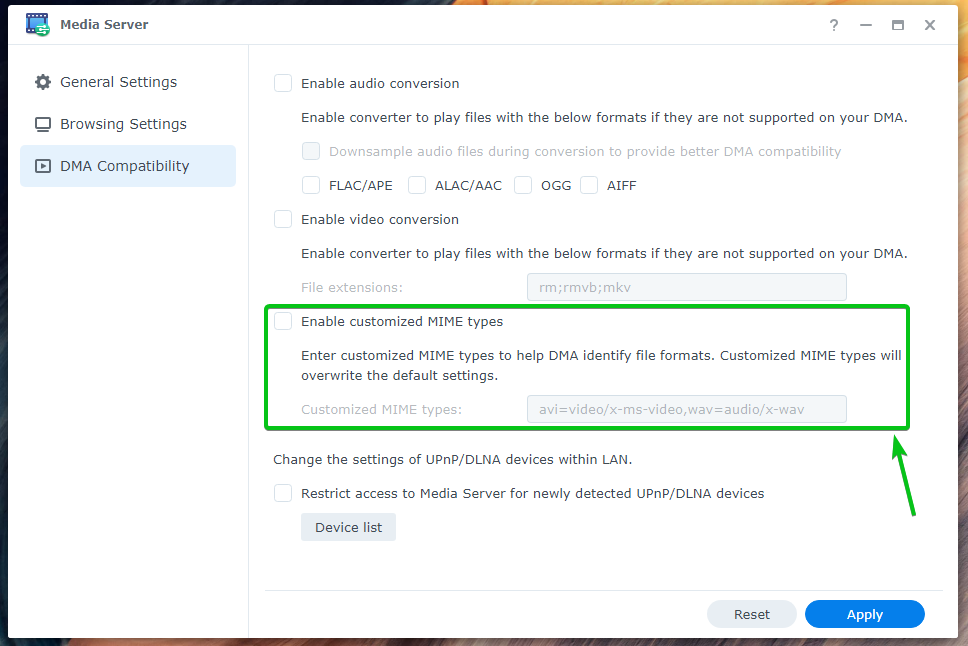
If your DMA client has problems recognizing media files, you can check Enable customized MIME types and configure custom MIME types.
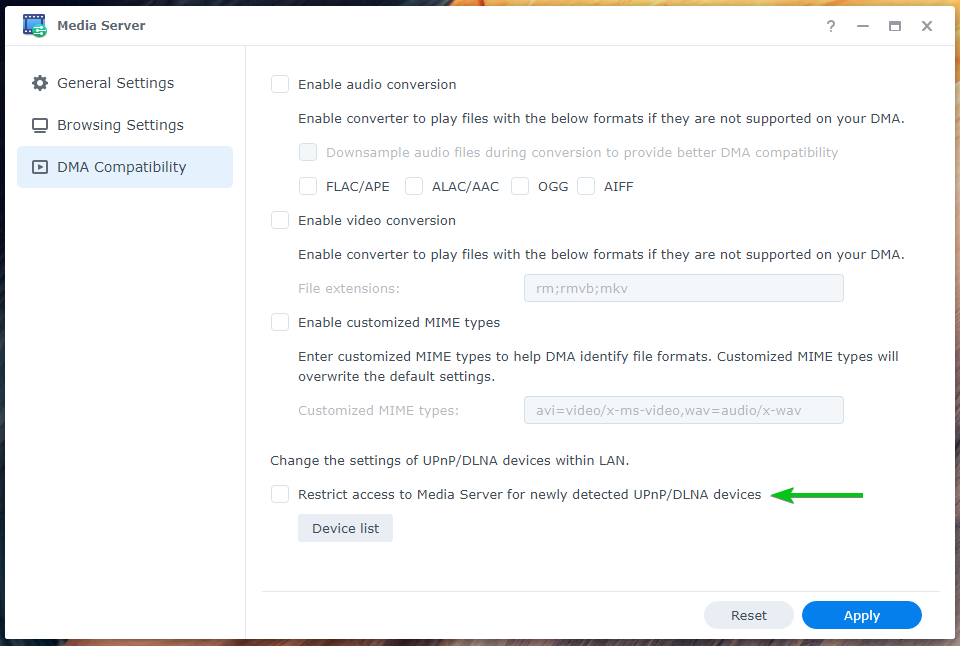
If you don’t want any new DMA devices to access the Media Server, check to Restrict access to Media Server for newly detected UPnP/DLNA devices.
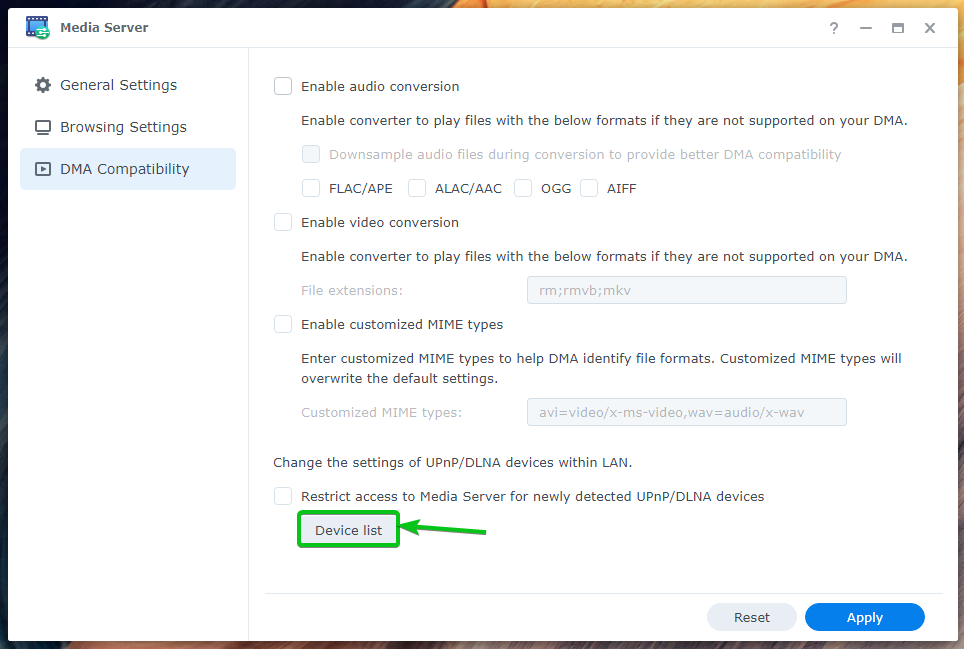
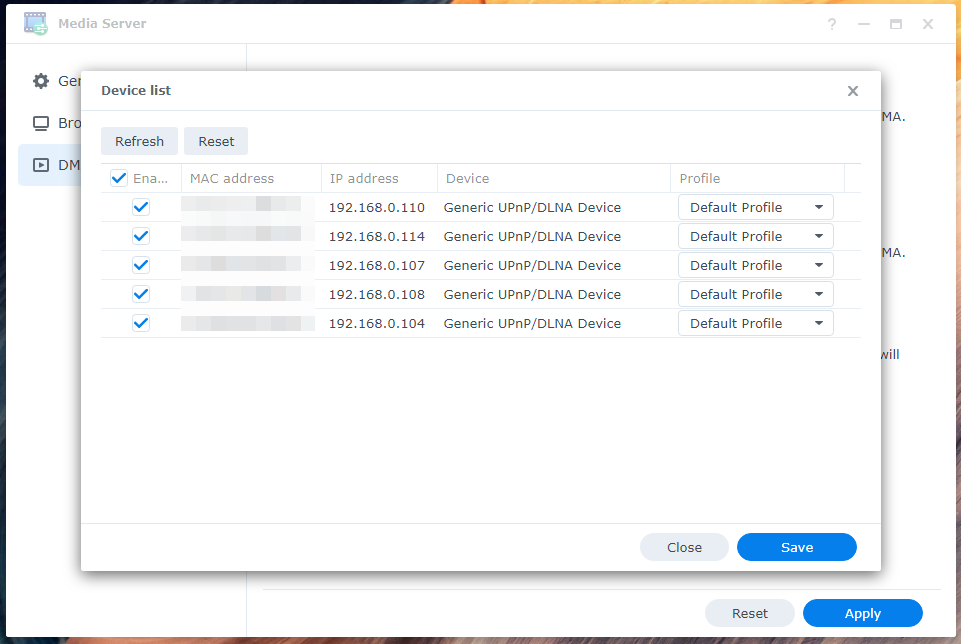
To see a list of DLNA/UPnP devices connected to the Media Server, click on the Device list from the DMA Compatibility section as the screenshot below.
All the devices connected to the Media Server via DLNA/UPnP should be listed, as you can see in the screenshot below.
If you’ve made any changes, don’t forget to click on Apply to save and apply the changes.
Adding More Folders to Media Indexing:
You can add more folders to the Indexing Service of your Synology NAS if you want all the digital media files of these folders to appear in your DMA clients.
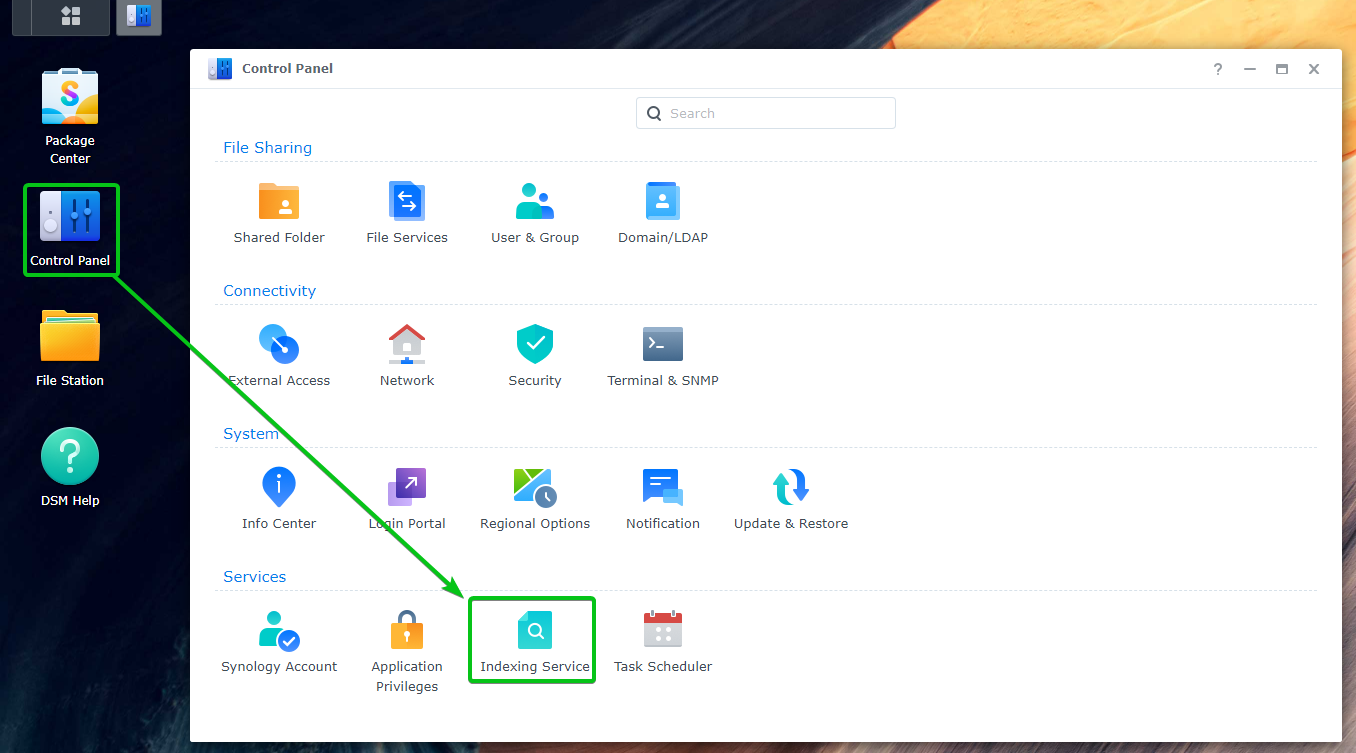
To add more folders to the Indexing Service, click on Control Panel > Indexing Service as marked in the screenshot below.
Click on Indexed Folder.
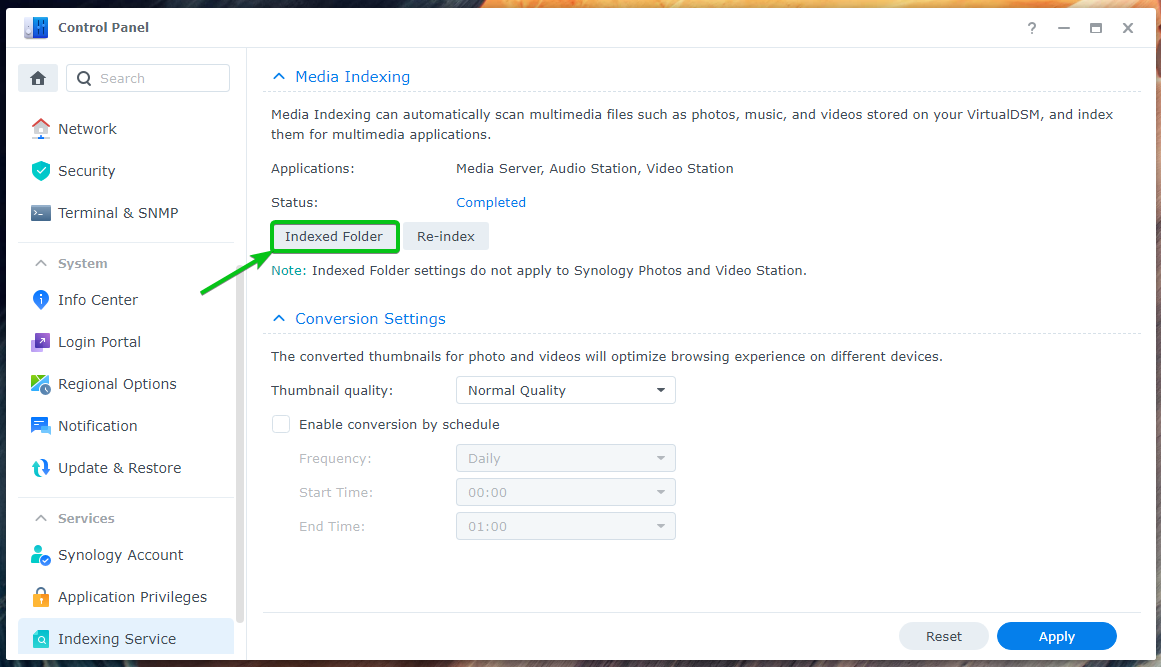
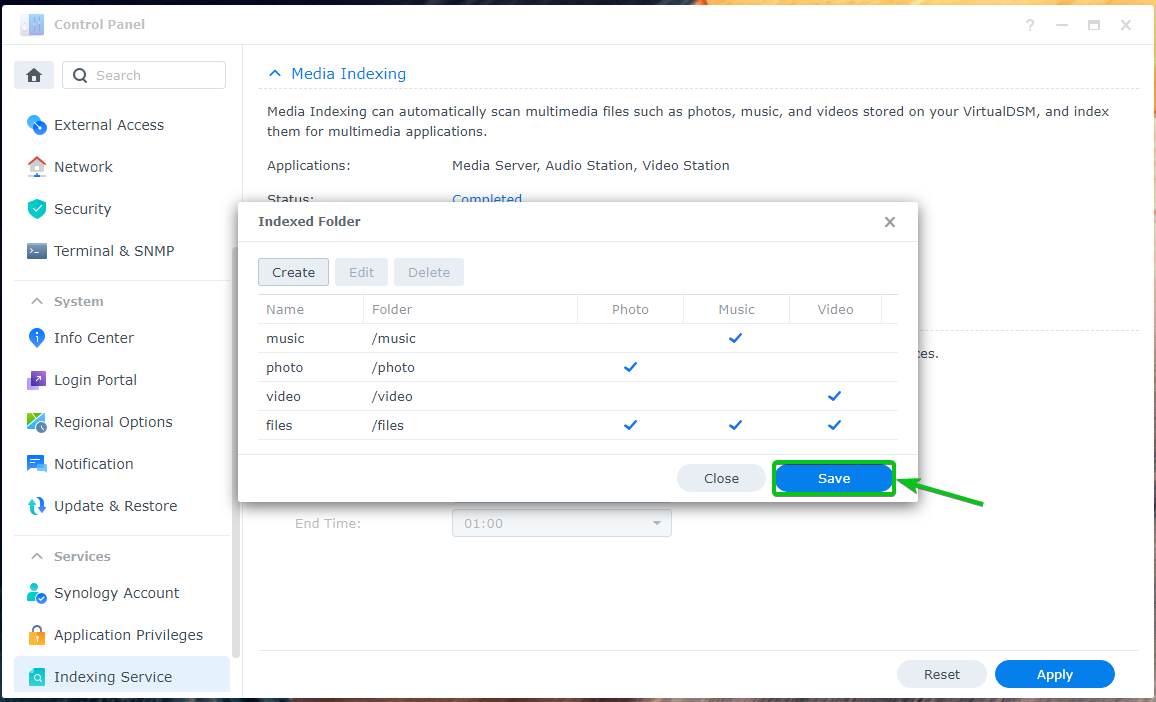
All the indexed folders of your Synology NAS should be listed.
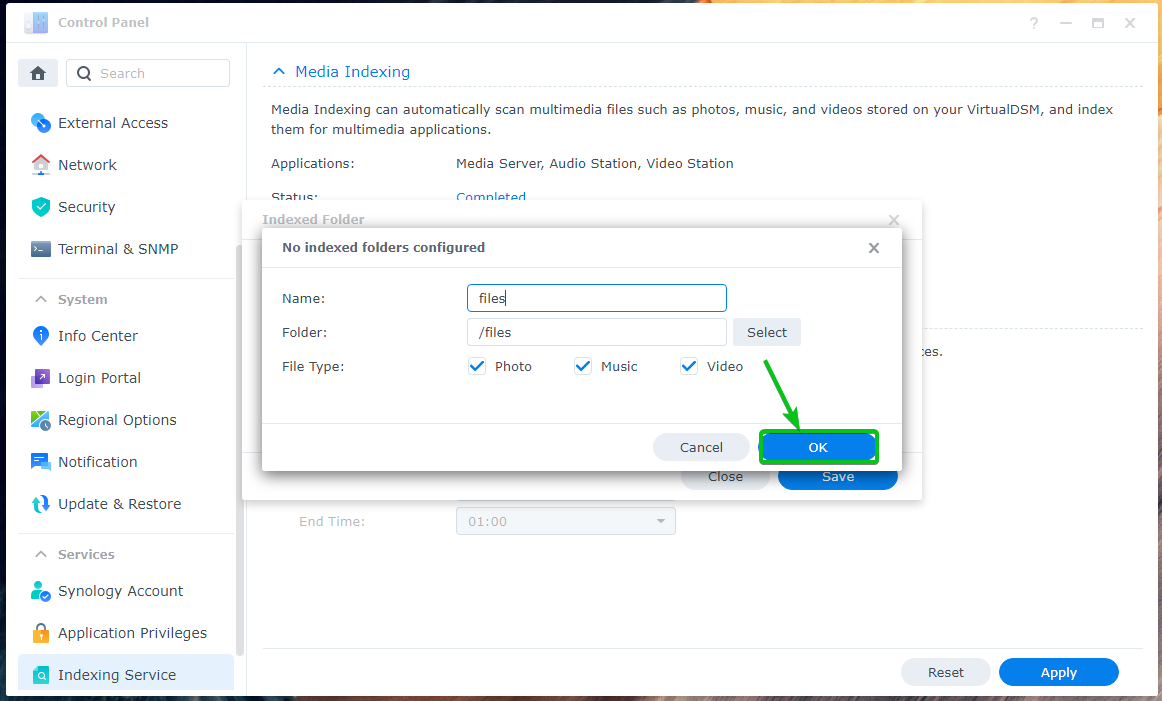
To add a new folder to the indexing service, click on Create.

Type in a Name for the new indexed folder, click on Select and select your desired Folder, check the type of media files you want to search for in the File Type section, and click on OK.
A new folder should be added to the Indexing Service. Click on Save for the changes to take effect.
Accessing Media via DLNA and UPnP using VLC:
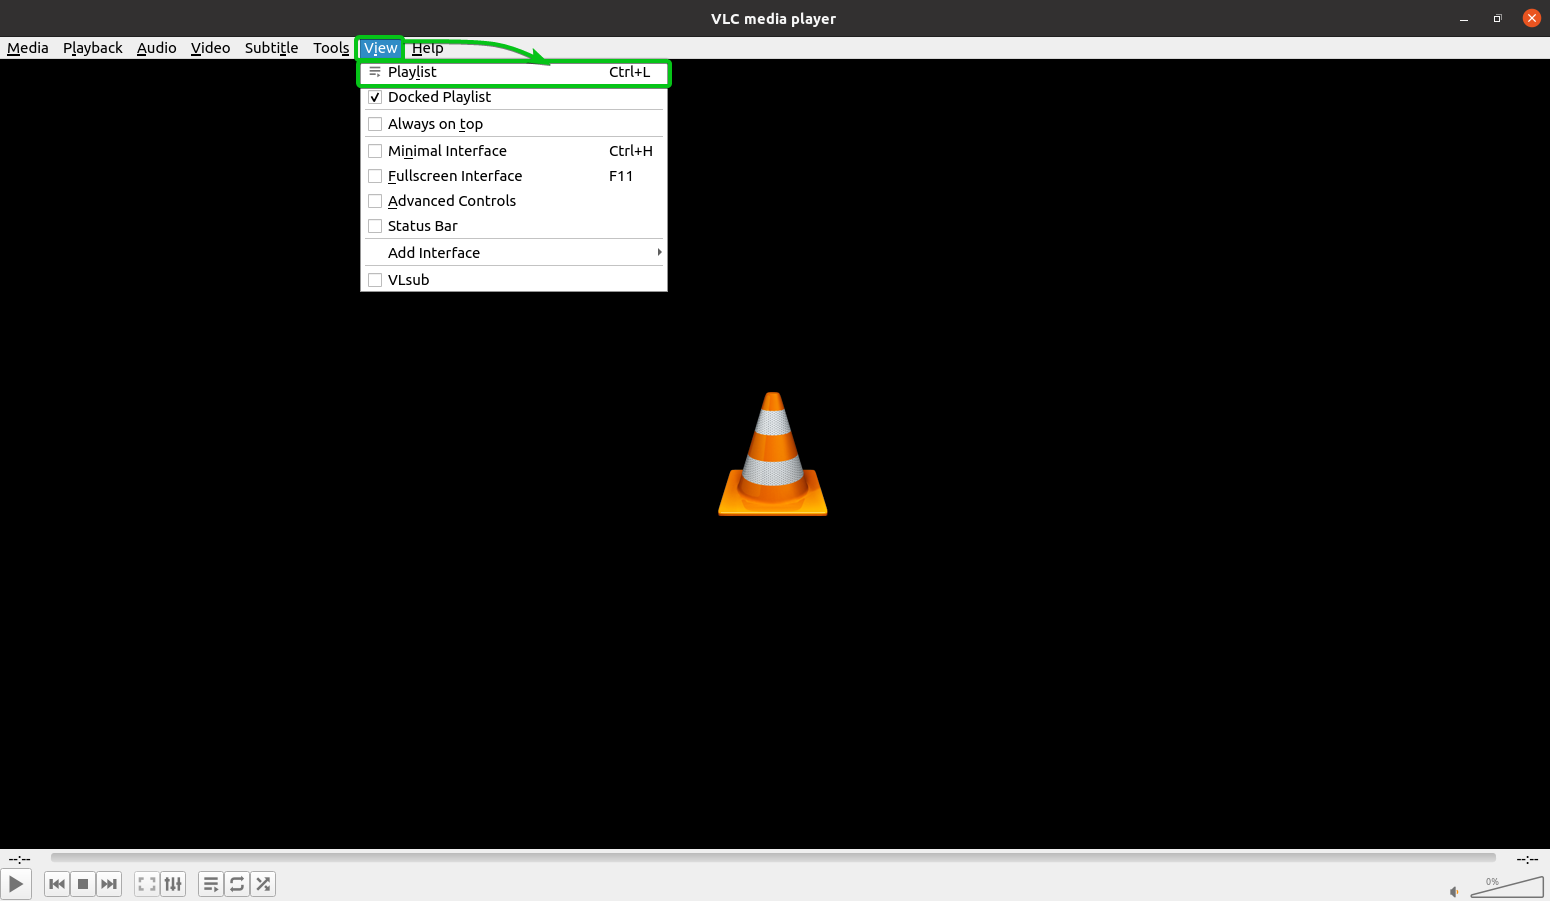
To access the media content from your Synology NAS via DLNA/UPnP with VLC Media Player, open the VLC Media Player and click on View > Playlist as shown in the screenshot below.
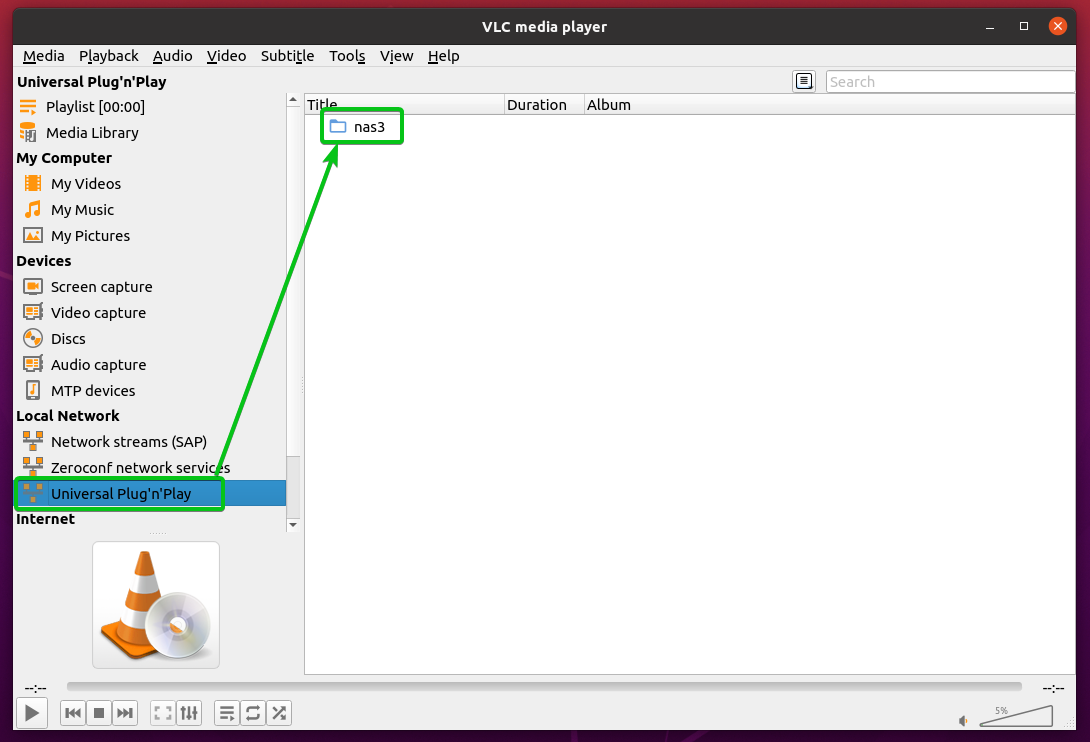
Click on Universal Plug’n’Play from the Local Network section as marked in the screenshot below. Your Synology NAS should be listed, as you can see in the screenshot below.
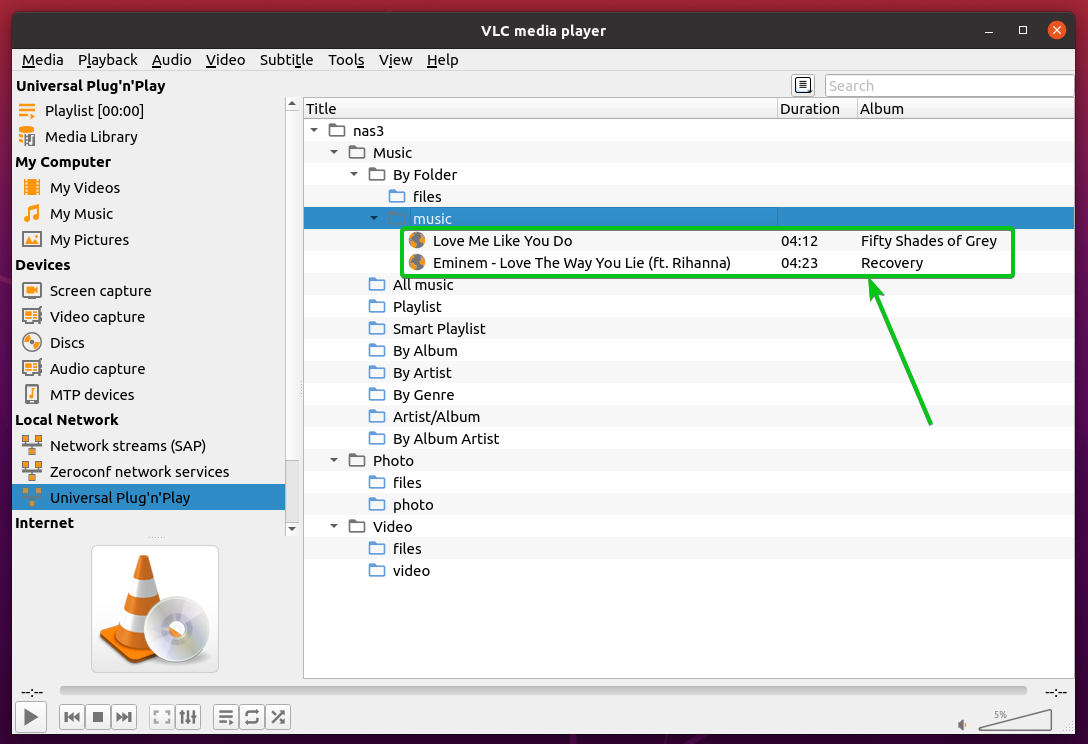
You should be able to browse your Synology NAS for media files, as shown in the screenshot below.
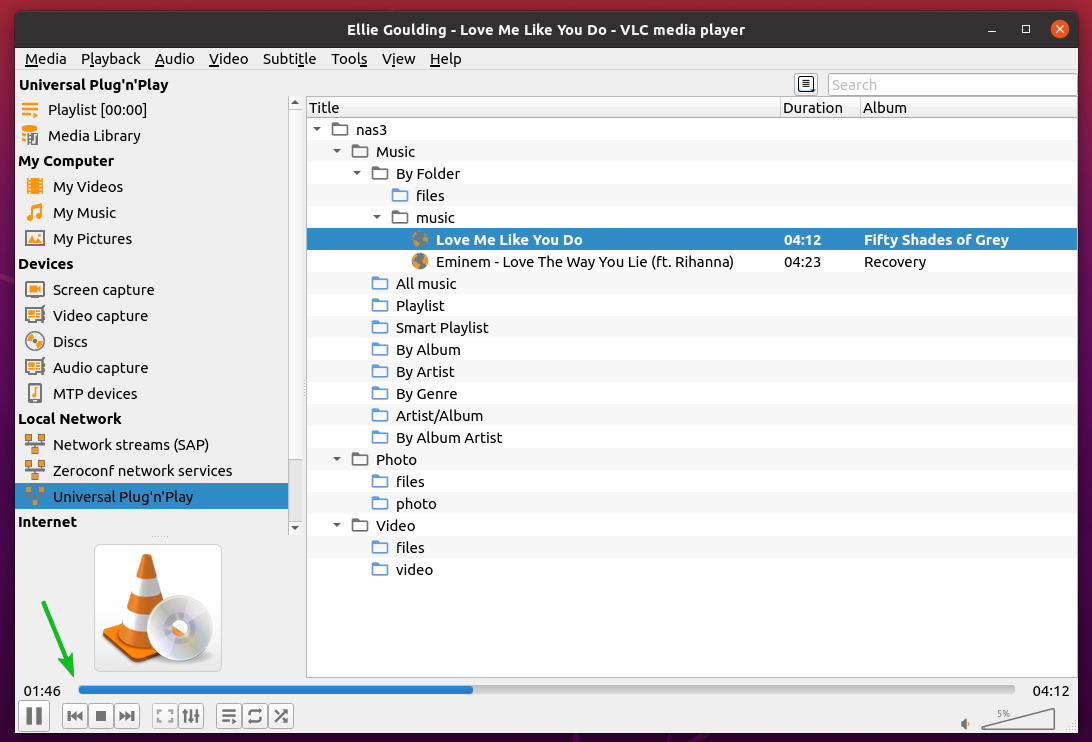
You can play media files as well. This is how you stream media files from your Synology NAS via DLNA/UPnP with Media Server.
Conclusion:
This article shows you how to install the Media Server package on your Synology NAS and configure DLNA via the Media Server app. I have also shown you how to access the Media Server via DLNA/UPnP with VLC Media Player.
References:
[1] Media Server – Synology Knowledge Center
[2] General Settings | Media Server – Synology Knowledge Center