This article will demonstrate how to disable the Runtime Broker to fix the Windows high CPU usage problem.
How to Disable Runtime Broker to Fix High CPU Usage on Windows?
The high CPU usage by some services can cause serious issues such as burdening the system. The system may be stuck or freeze. If the culprit is the “Runtime Broker” service, then disable it using the listed methods:
- How to Disable “RuntimeBroker.exe” Through the Windows Task Manager?
- How to Disable “RuntimeBroker.exe” Through the Windows Registry Editor?
Method 1: How to Disable “RuntimeBroker.exe” Through the Windows Task Manager?
To disable the Runtime Broker service in Windows through the Task Manager app, go through the given instructions.
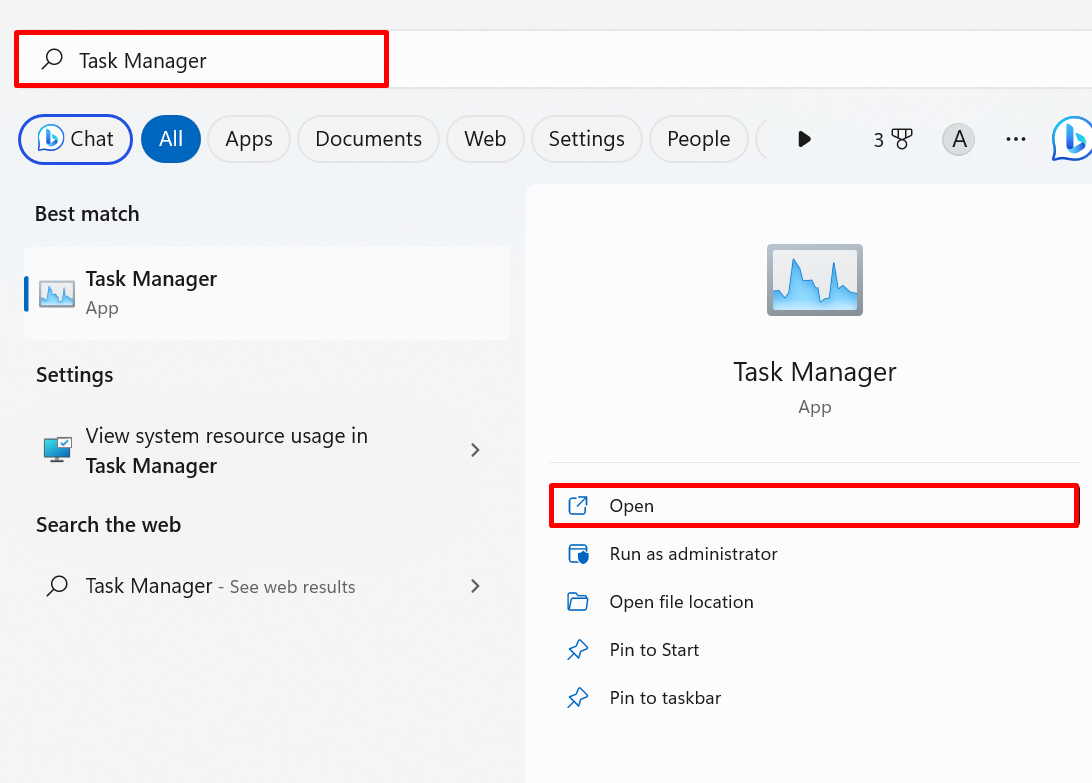
Step 1: Launch Task Manager App
First, launch the “Task Manager” application by utilizing the “Startup” menu:
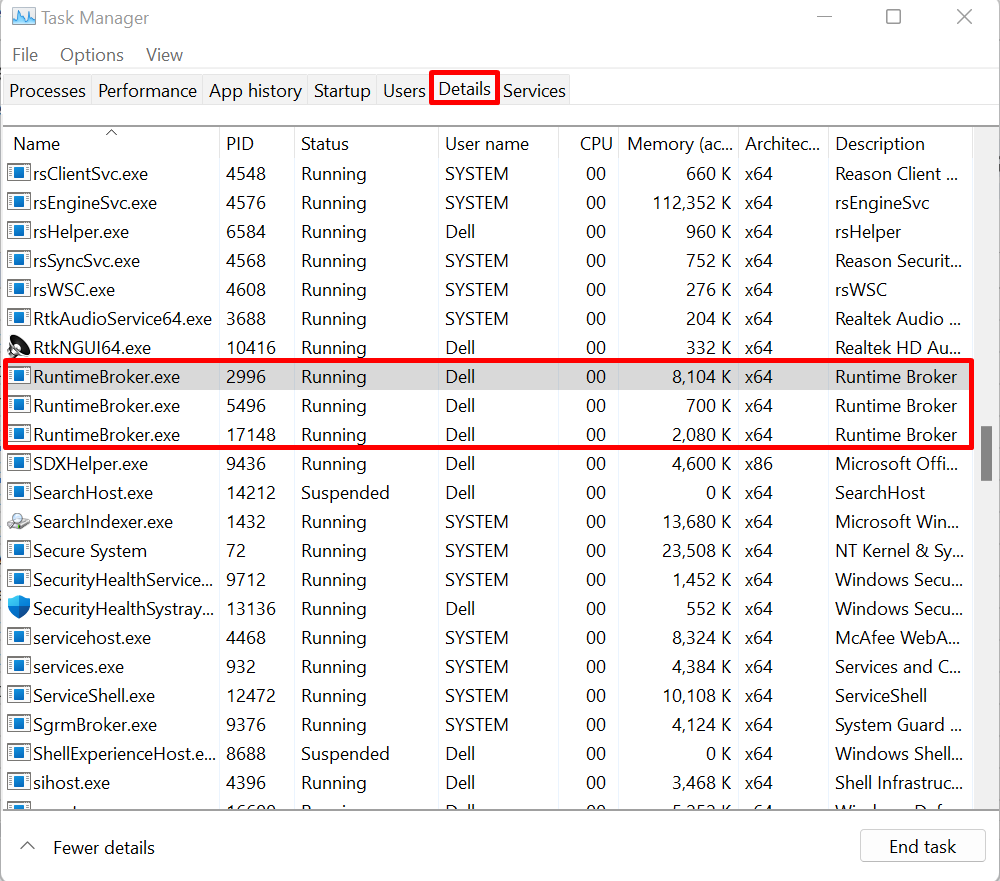
Next, navigate to the “Details” menu where you will find the “RuntimeBroker.exe” service as highlighted below:
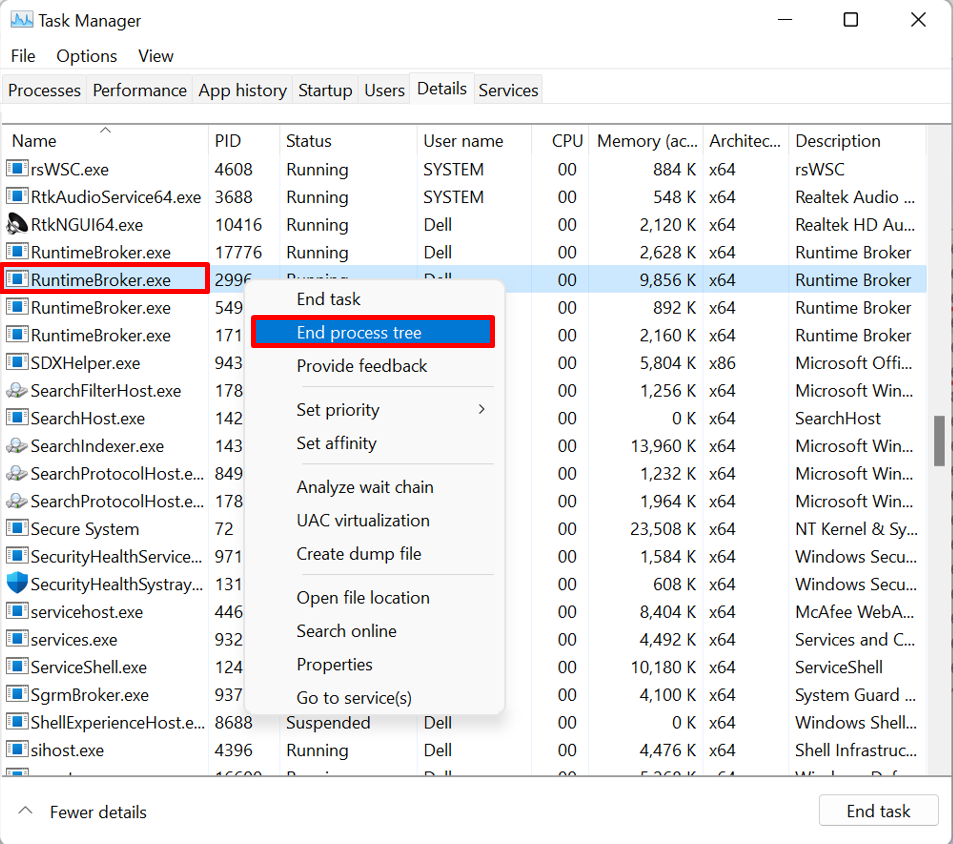
Step 2: Disable the Runtime Broker
Right-click on the “RuntimeBroker.exe” service and hit the “End process tree” option to disable the Runtime Broker service on Windows:
How to Disable “RuntimeBroker.exe” Through the Windows Registry Editor?
To disable the RuntimeBroker.exe service in Windows through Registry Editor to solve CPU high usage problems, check out the below-mentioned steps.
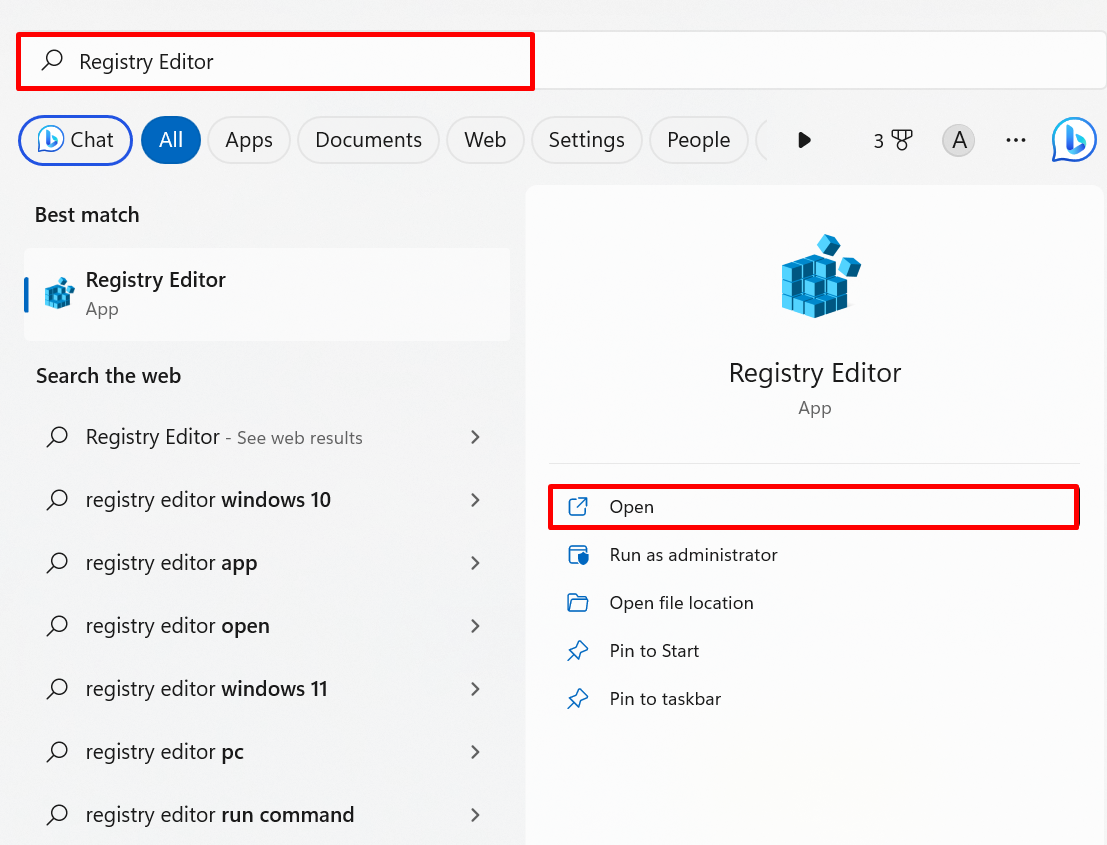
Step 1: Open Registry Editor
Make a search for “Registry Editor” from the Start menu and launch the Registry Editor app:
Step 2: Disable the Runtime Broker Service
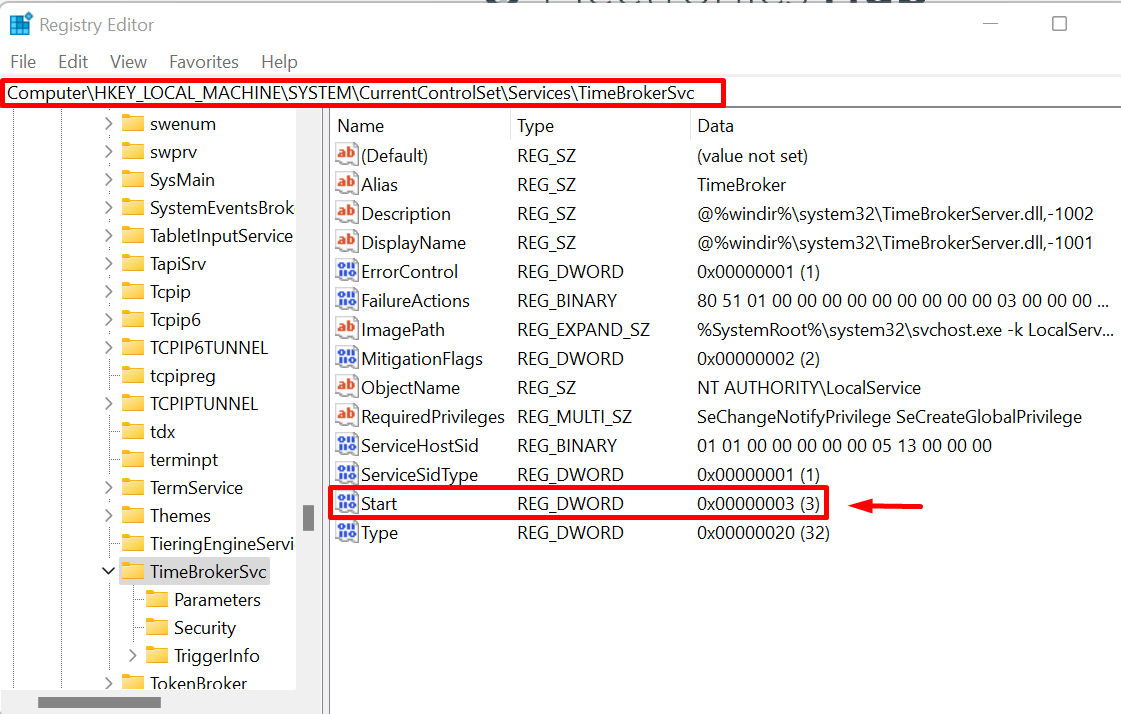
Next, navigate to the “HKEY_LOCAL_MACHINE\SYSTEM\CurrentControlSet\Services\TimeBrokerSvc” registry path and double-click on the “Start” file to open it:
Now, replace the “3” from the “Value data” field with “4” and click on the “OK” button to save changes:
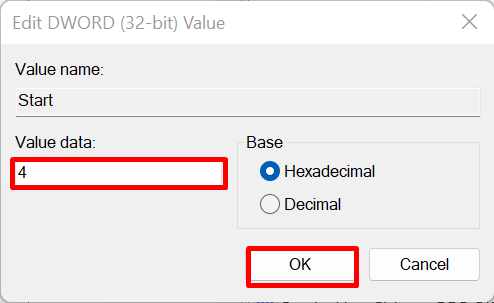
This will disable the Runtime Broker service on Windows.
Bonus Tip: Disable Background Apps In Windows 10 to Fix High CPU Usage Issues on Windows
Some unknown or Microsoft services are kept running in the background in Windows which may cause “high CPU usage” problems. To resolve the stated issue, try to disable the background apps in Windows 10 using the given procedure.
Step 1: Open System Settings
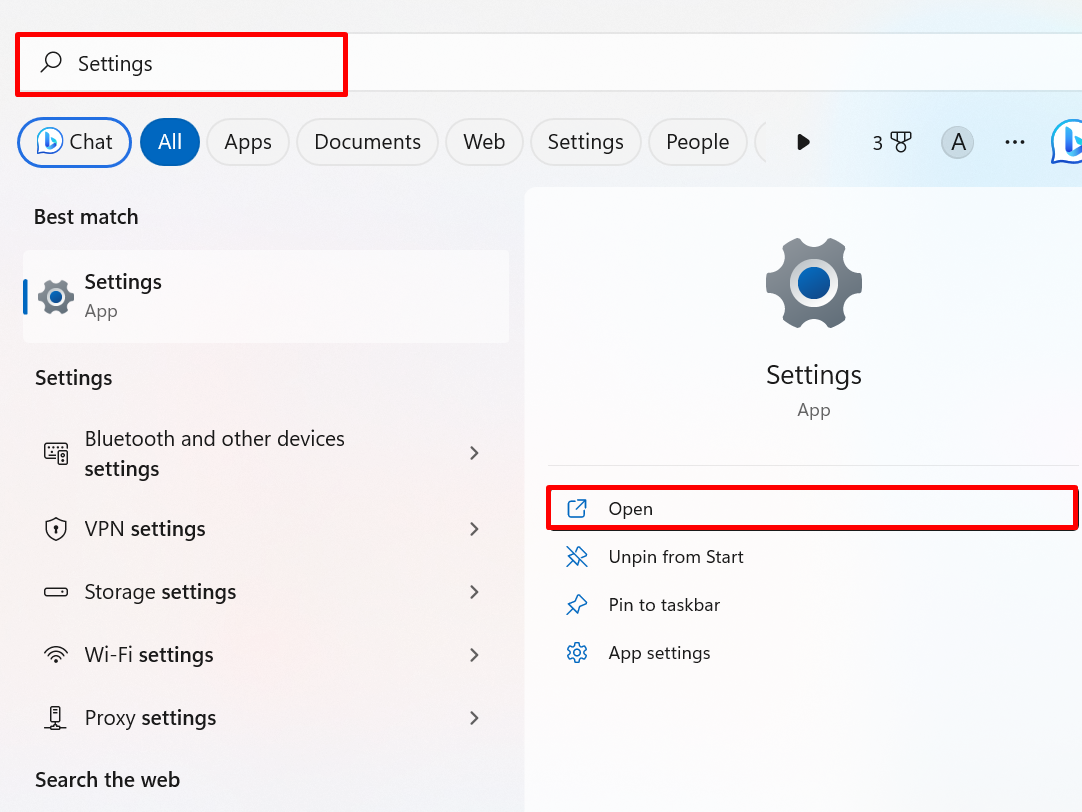
Search for “Settings” in the Start menu to navigate to the System settings:
Step 2: Navigate to “Power & battery” Settings
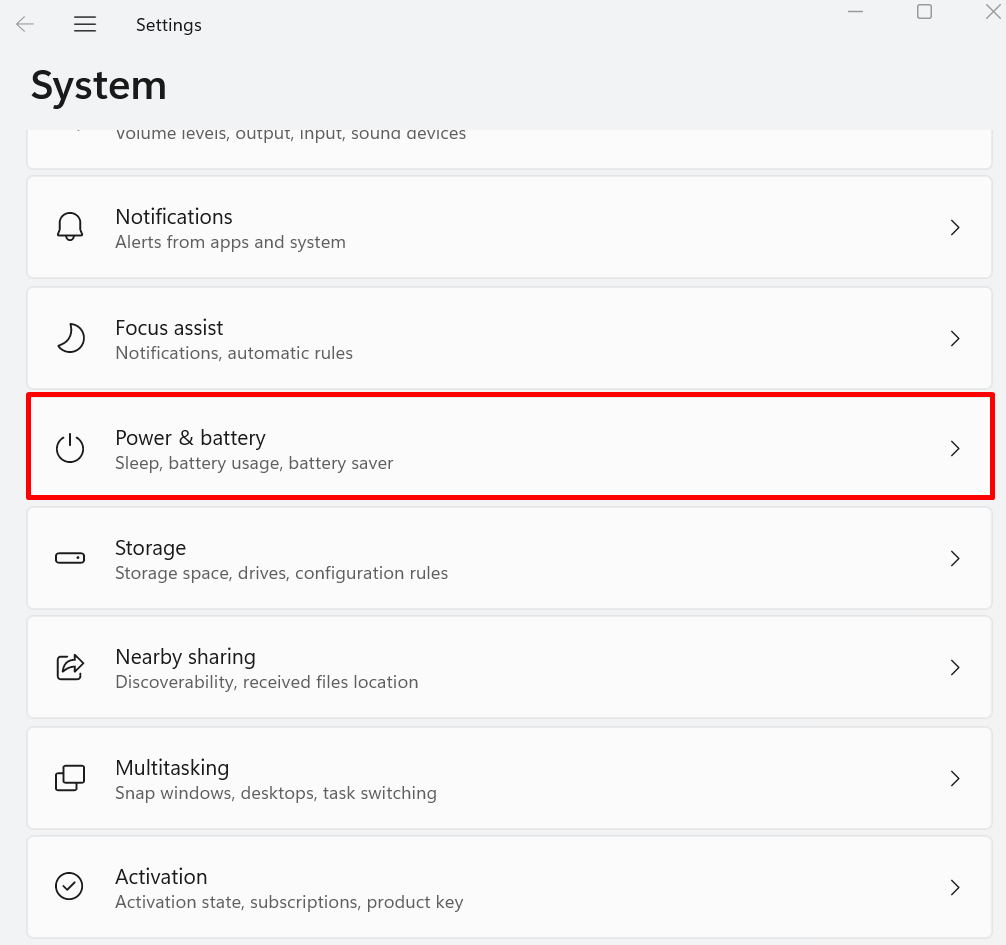
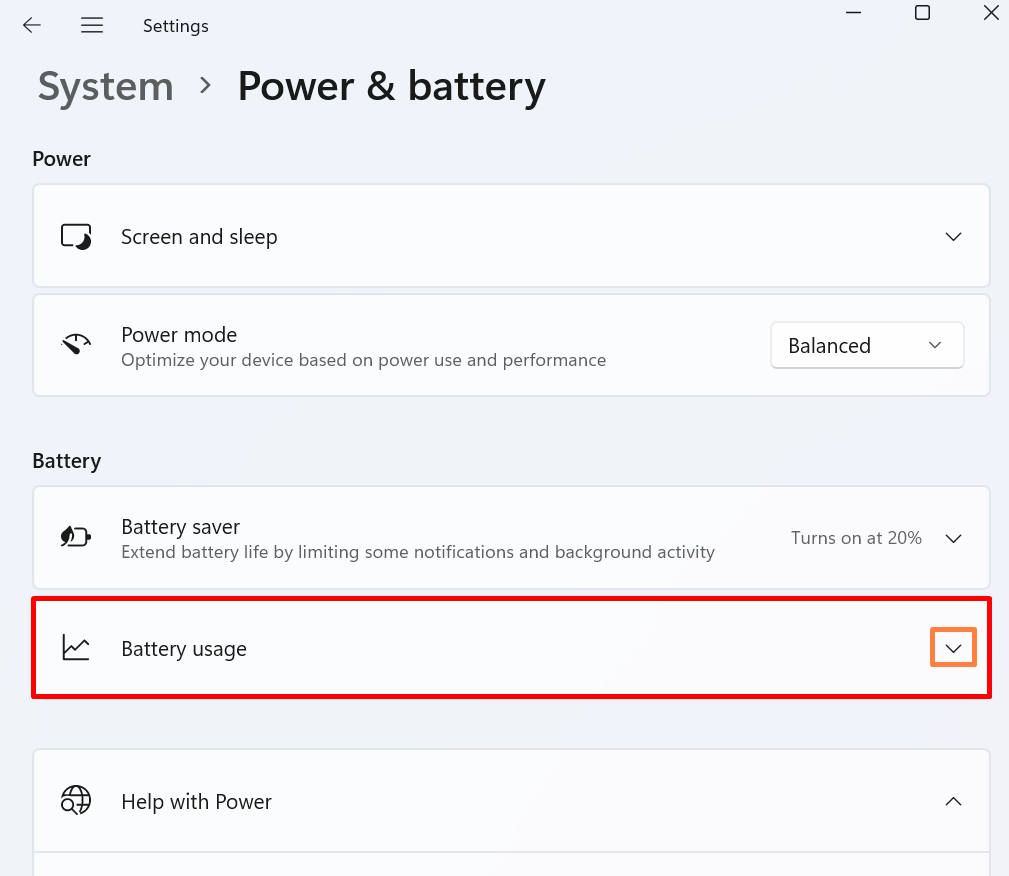
From the “System” settings menu, visit the “Power & battery” settings:
Step 3: Open the Battery Usage Option
Next, click on the “Battery Usage” drop-down option as marked below:
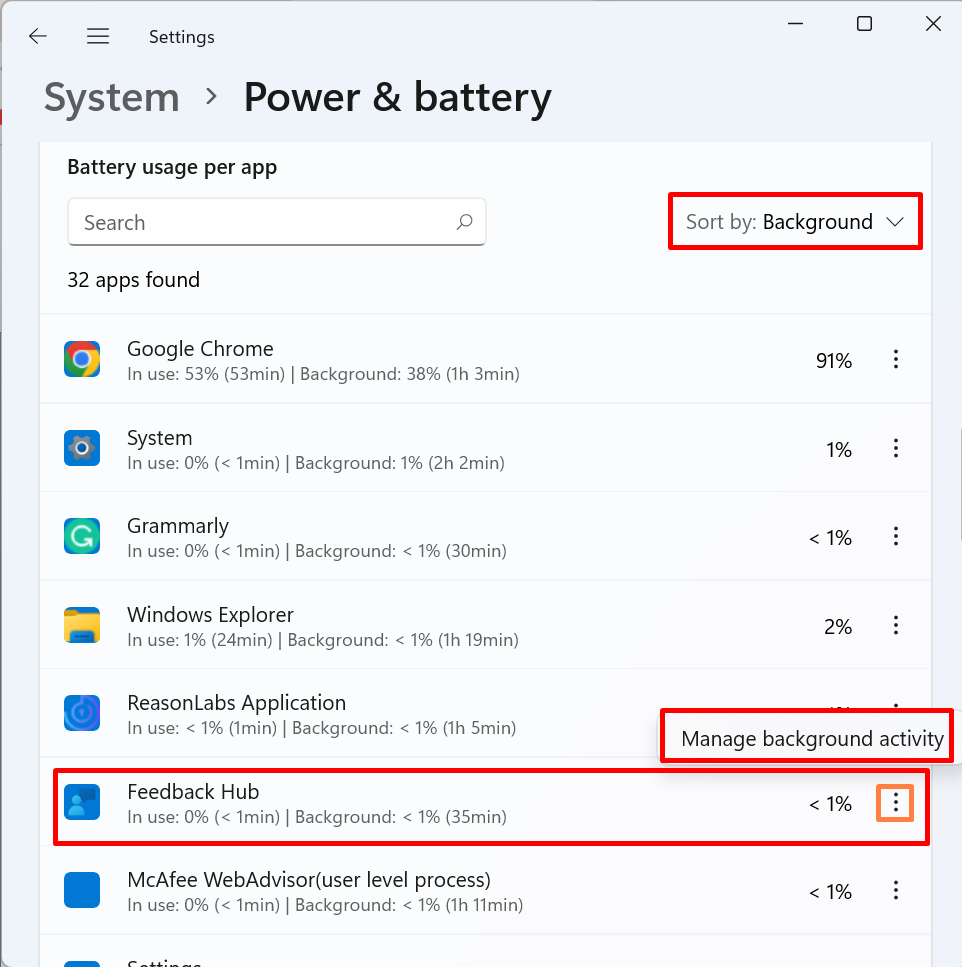
Step 4: Disable Background Apps
Sort the “Background” applications from the “Sort by” drop-down menu. Next, click on the “three dots” icon and hit the “Manage background activity” option:
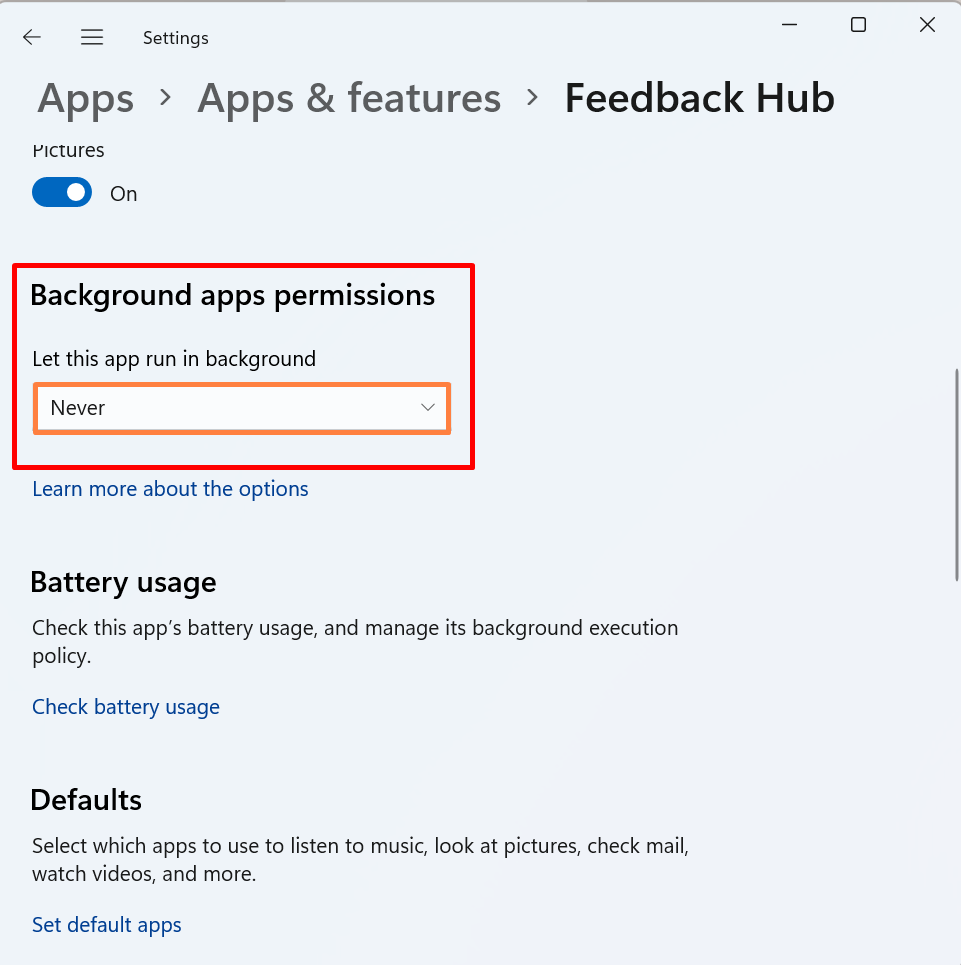
Next, set the “Background apps permissions” as “Never” from the below highlighted drop-down menu. This will disable the background app:
That’s all about disabling the Runtime Broker service to fix the high CPU usage problem.
Conclusion
To disable the Runtime Broker service from Task Manager, first, open the Task Manager app and navigate to the “Details” menu. Right-click on the “RuntimeBroker.exe” service and hit the “End process tree” option. To disable the app in the Registry Editor, navigate to the “TimeBrokerSvc” registry, click on the “start” file, and change the value from “3” to “4”. This post has provided the techniques to disable the Runtime Broker service.