The “Critical Service Failed” BSOD in Windows is the type of error that results in displaying a blue screen, thereby becoming a bottleneck for the user to get to the login screen. This particular error is encountered generally when a critical system process dies with error code “0x000000EF”. However, you can resolve it by scanning for corrupted files or performing a system restore.
This write-up will illustrate the approaches to resolve the Critical Service Failed BSOD error in Windows 10.
How to Fix/Resolve “Critical Service Failed” BSOD Error in Windows 10?
To resolve the “Critical Service Failed” BSOD error faced in Windows 10, apply the following fixes:
- Update the Graphics Card Driver.
- Run the System in Clean Boot Mode.
- Execute SFC Scan.
- Execute DISM.
- Run Startup Repair.
- System Restore.
Fix 1: Update the Graphics Card Driver
An outdated driver affects the PC’s performance and can trigger the stated error. To update/upgrade the driver, apply the below-given steps.
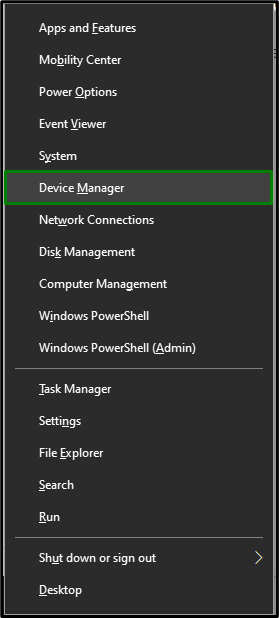
Step 1: Open Device Manager
Firstly, press the “Windows + X” shortcut keys and select “Device Manager” to navigate to the Device Manager:
Step 2: Update Driver
Now, expand the “Display Adapter” options, right-click the highlighted driver and select “Update driver”:

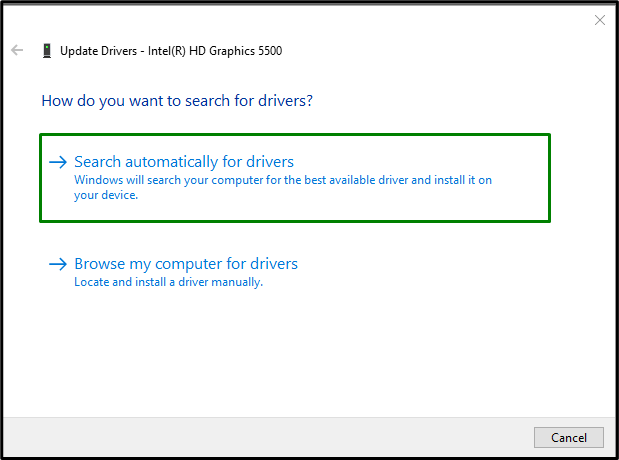
Step 3: Update Graphics Driver
Now, opt for the search for the driver’s mode:
If the update becomes unsuccessful after performing the above steps, then try to “reinstall” the driver.
Fix 2: Run/Execute the System in Clean Boot Mode
Clean boot mode in Windows also assists in getting rid of the stated error. To do so, apply the following steps.
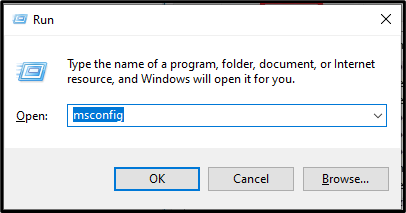
Step 1: Open System Configuration
Enter “msconfig” in the Run box to switch to the “System Configuration” window:
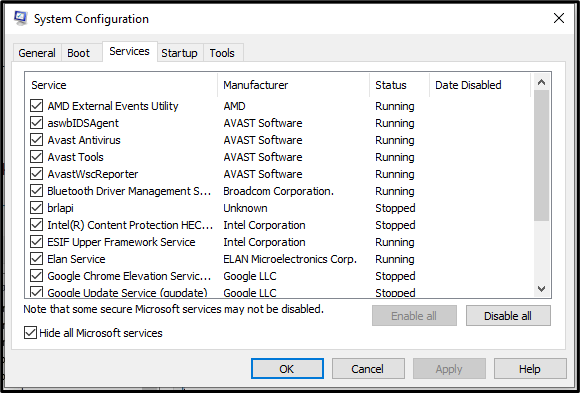
Step 2: Redirect to Services Tab
Switch to the “Services” tab. Here, select the “Hide all Microsoft services” checkbox and hit the “Disable all” button:
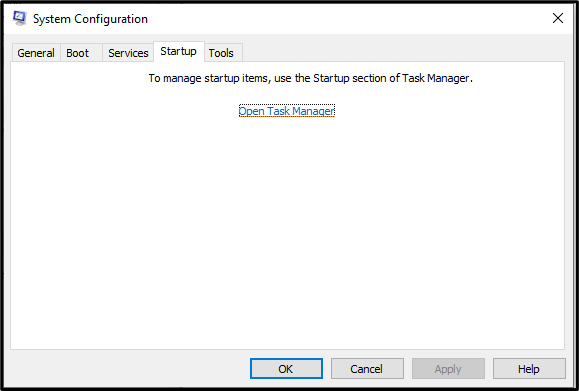
Step 3: Switch to Startup Tab
Now, navigate to the “Startup” tab and hit the “Open Task Manager” link:
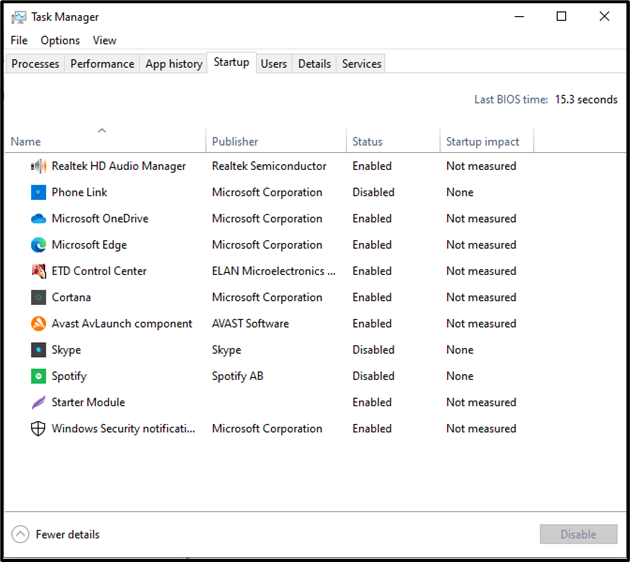
Step 4: Disable the Applications
In the below window, disable the stated applications one by one:
Now, in the “System Configuration” Window, switch to the “Boot” tab and mark the “Safe boot” checkbox:
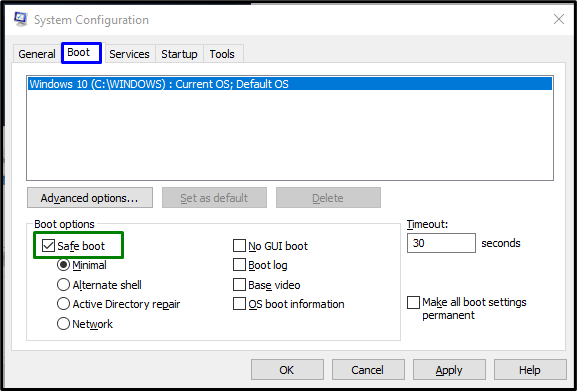
Restart the PC and see if the stated issue is resolved.
Fix 3: Execute SFC Scan
The SFC(System File Checker) scan locates and fixes the corrupted files after scanning. To run this scan, apply the following steps.
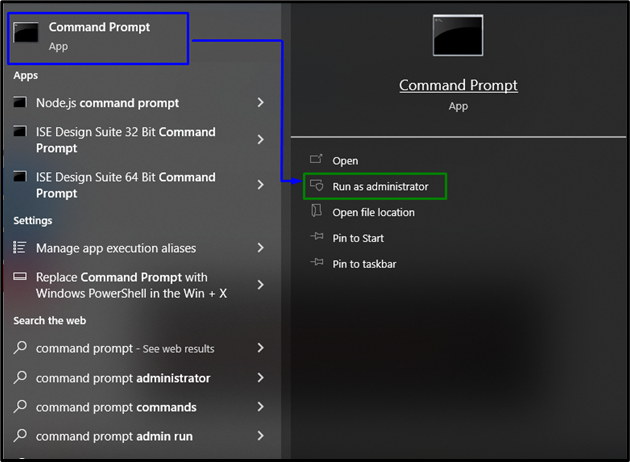
Step 1: Run Command Prompt
Run the Command Prompt as an “administrator”:
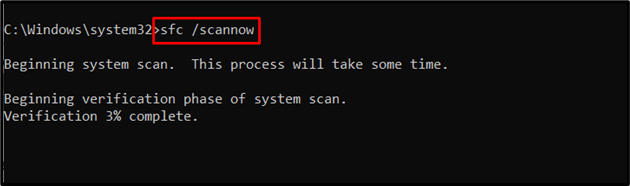
Step 2: Initiate SFC Scan
Type the “sfc /scan now” command to start the system scan and locate the corrupted files:
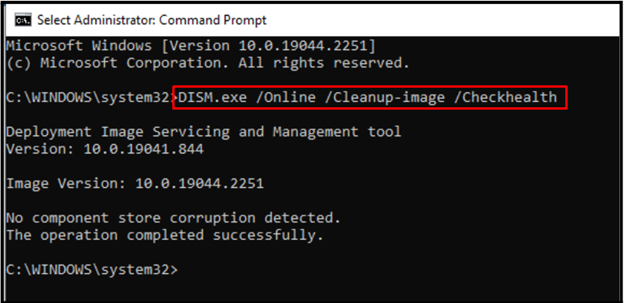
Fix 4: Execute DISM
Executing “DISM” is also an alternative for users having issues with the SFC scan. To do so, firstly, check the health of the system image:
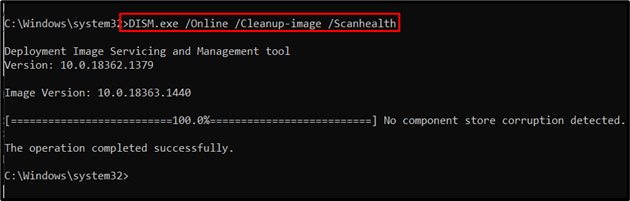
Now, enter the command to scan the “health” of the system image:
Finally, restore the system image health:
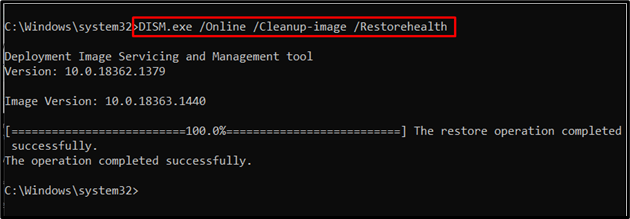
After completing the scanning process, restart your computer and check whether the stated error in Windows 10 is resolved.
Fix 5: Run Startup Repair
The stated error can be resolved by fixing the issues with Windows via “Startup” repair. For the corresponding purpose, go through the below-given steps.
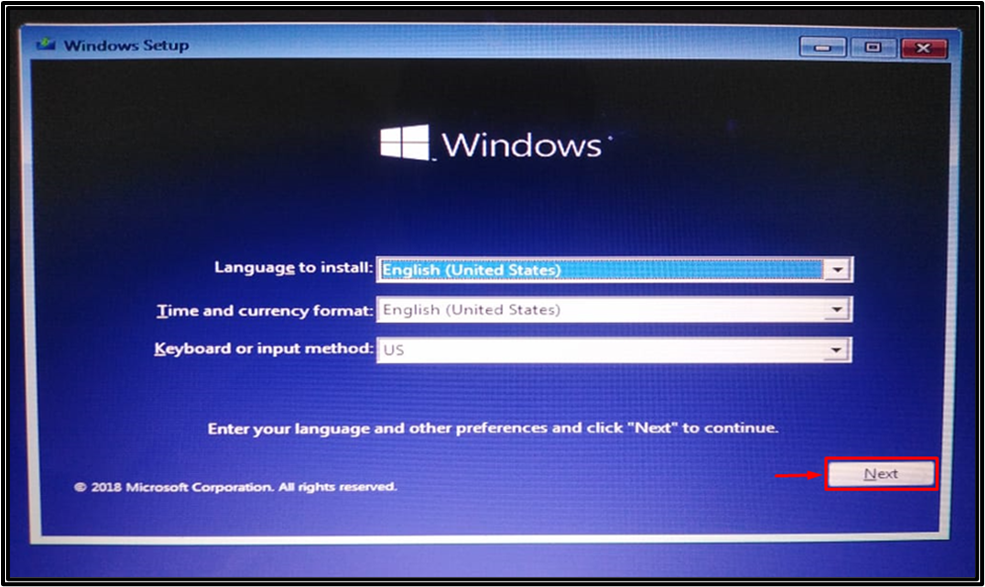
Step 1: Launch Windows Setup
Firstly, plug a bootable USB flash drive or DVD, and boot into Windows 10. Whenever the “Windows Setup” appears, hit the “Next” button:
Step 2: Launch Start-up Repair
In the following Window, hit “Repair your computer”:

Step 3: Trigger Troubleshoot Option
Select “Troubleshoot” from the stated options for resetting your PC:

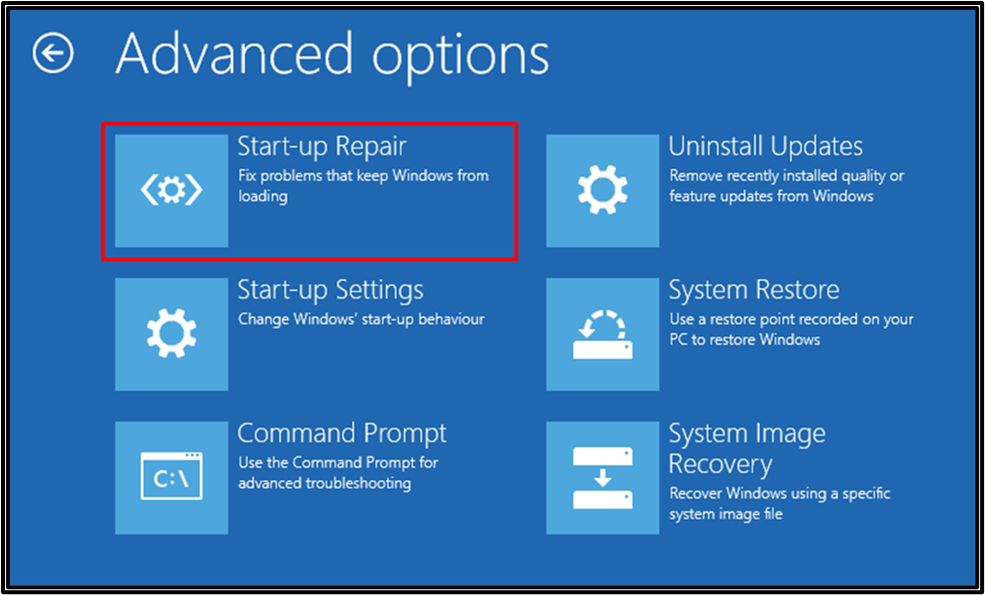
Step 4: Open Advanced Options
Now, select “Advanced options” from the troubleshoot window:

Step 5: Launch Start-up Repair
Finally, launch “Start-up Repair” to repair Windows 10 as follows:
As you can see that the Startup repair has started to diagnose the Windows 10:
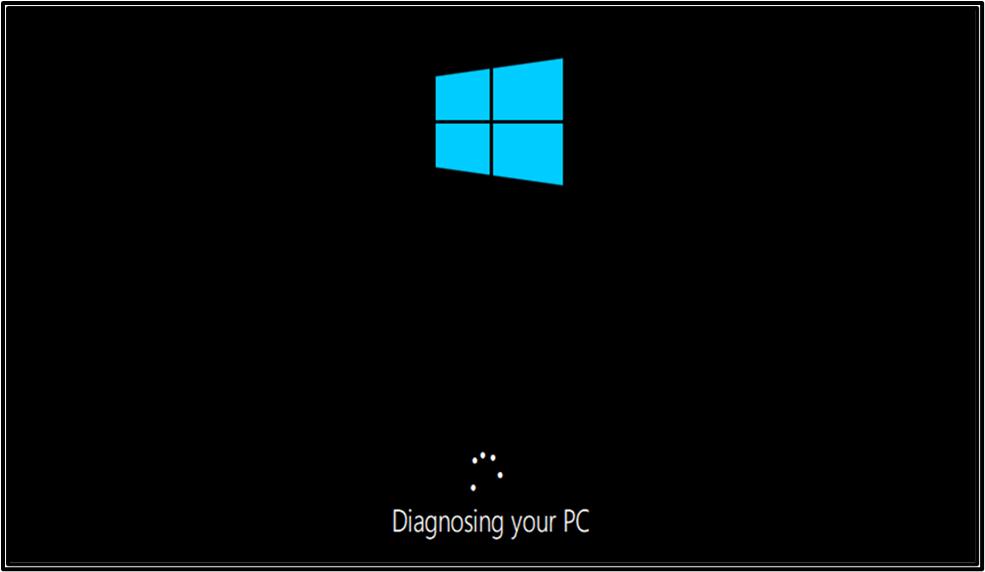
After that, reboot the system and verify if the error got resolved.
Fix 6: System Restore
Restoring the system assists in fixing the PC and allows it to run normally and resolve the stated issue.
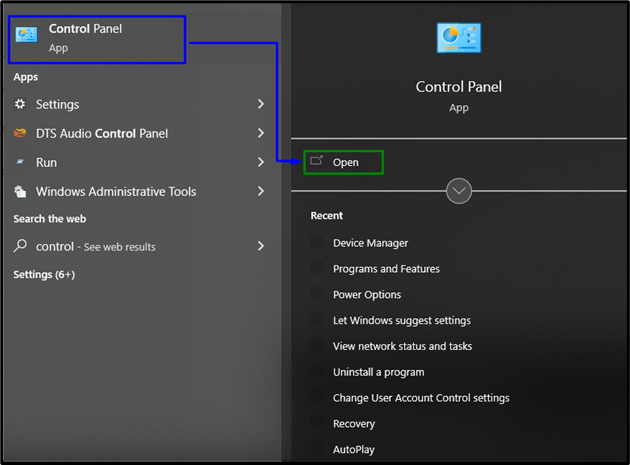
Step 1: Open Control Panel
Firstly, open the “Control Panel” from the Startup menu:
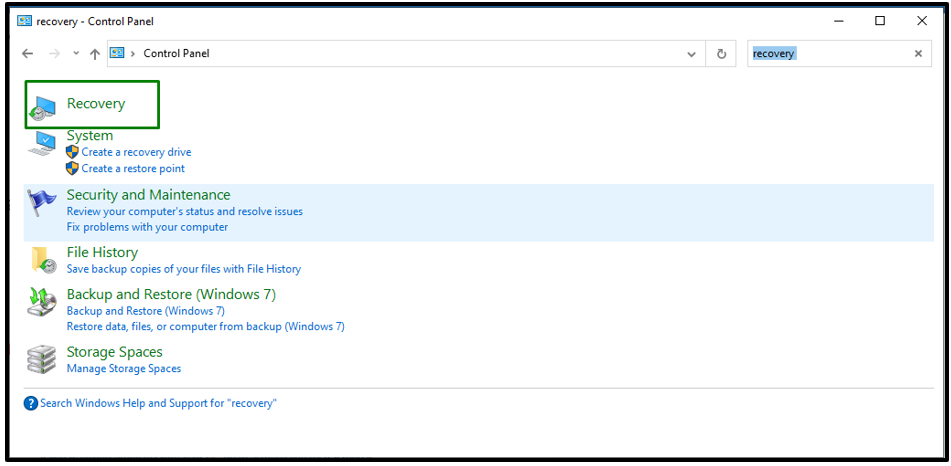
Step 2: Navigate to Recovery
In the below-stated window, type “recovery” in the search bar and navigate to “Recovery” as follows:
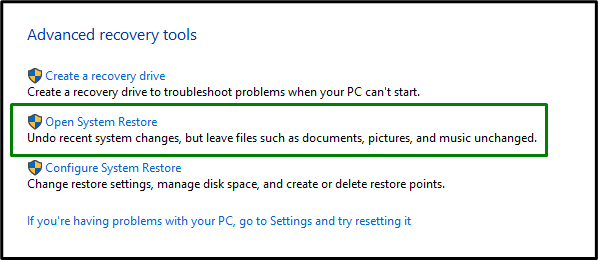
Step 3: Switch to System Restore
Then, click on the highlighted option to switch to “System Restore”:
The below-stated Window signifies that the system restore is initiated:
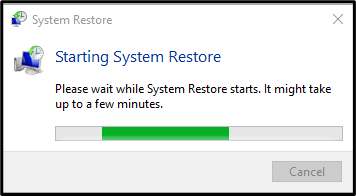
As a result, the Critical Service Failed error will get fixed.
Conclusion
To fix the “Critical Service Failed” BSOD error in Windows 10, update the Graphics Card Driver, run the system in Clean Boot Mode, execute SFC Scan, execute DISM, run Startup Repair, or apply System Restore. This write-up stated the fixes to resolve the Critical Service Failed BSOD error encountered in Windows 10.