There are two ways to update your Linux Mint automatically:
- Update Linux Mint using GUI
- Update Linux Mint using the terminal
How to configure Linux Mint Updates automatic using GUI
By default, you can’t update your system automatically as this feature is disabled, but you can enable it by using the “Update Manager”. You can either click on the menu icon available on the bottom left and then select the option of update manager.
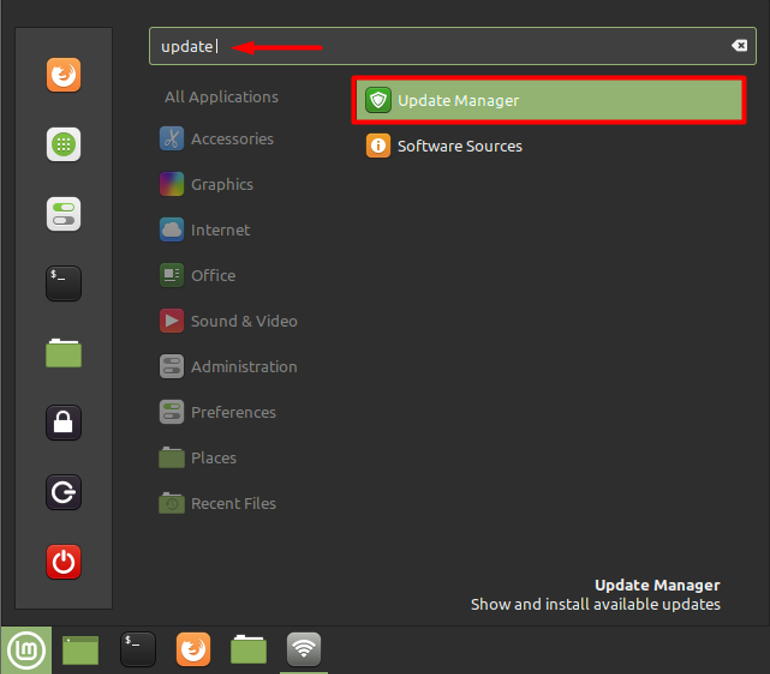
Or click on the shield icon available on the bottom right of the taskbar, as shown below.

After opening the Update Manager, you will find multiple options there, as displayed below.
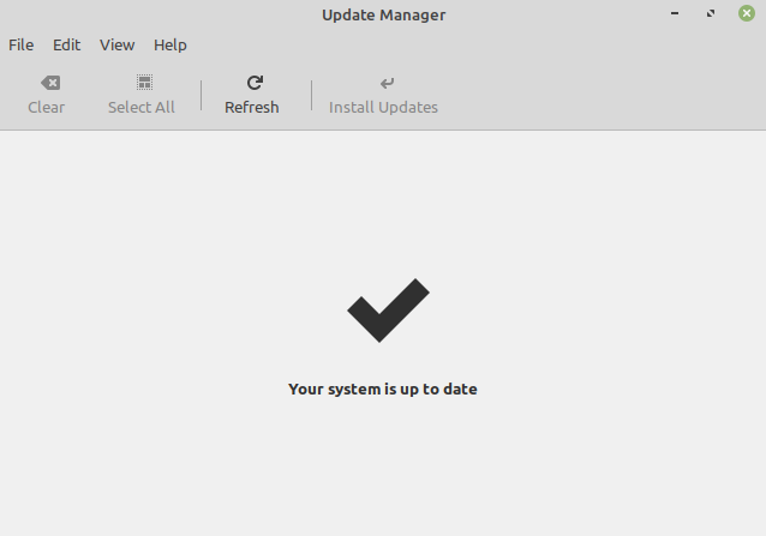
Now you need to select the “Edit” option from the menu bar and then select “Preferences”.

This will open a new set of settings for you from where you need to select the “Automation” tab. After that, you will see multiple options for doing the updates automatically. All these options are disabled by default, so you need to enable them by clicking on each toggle button individually, as displayed below.

How to configure Linux Mint Updates automatic in terminal
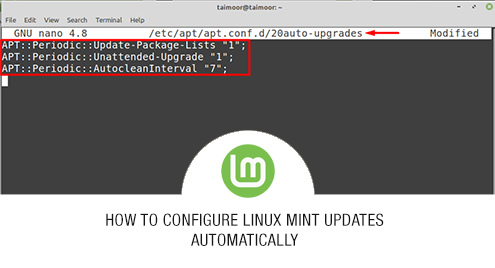
To perform the updates automatically every time, you need to edit the “Auto-Upgrades” file and access that by typing:
After that you need to type the below mentioned lines:
APT::Periodic::Unattended-Upgrade "1";
APT::Periodic::AutocleanInterval "7";

In the above image, the value ‘0’ or ‘1’ is used to disable or enable a certain feature. The value ‘7’ shows that all the downloaded files for upgrading purposes will be deleted after ‘7’ days. Also, unattended-Upgrade is used to enable the automatic upgrade feature. After that you need to save the file by pressing “CTRL + O” and then you can exit it by pressing “CTRL + X”.
Conclusion
Running system updates frequently on Linux Mint is not only necessary to run your operating system but also to repair security gaps that can protect your system from outside intruders and virus attacks. Moreover, updates also bring new features to your devices while removing old ones that can enhance your productivity. So, updating your OS is critical, but manually doing that is a very hectic and tedious task. After reading this article, you should be able to update your system automatically that can save your time as well.