Milvus incorporates a distributed microservice architecture that includes proxy services, data nodes, index nodes, query nodes, and root coordinators. The architecture is designed to maximize the utilization of hardware resources and ensure the scalability and high system availability.
What Is Milvus CLI?
The Milvus CLI refers to the Command-Line Interface (CLI) tool provided by Milvus, an open-source vector database. It is typically implemented as a command-line application that interacts with the Milvus server using a defined set of protocols and APIs.
Once connected to the server, we can use a set of defined commands and parameters to perform specific actions on the server.
The CLI tool abstracts the complexity of interacting with Milvus, providing a simplified interface to manage and operate the database system.
This allows us to harness the power of Milvus using a text-based interface which makes it easier to integrate Milvus into scripts, workflows, and automation processes.
Installing the Milvus CLI
Let us start by discussing how to install the Milvus CLI.
Prerequisites:
Before proceeding with the installation, make sure that you have the following:
- Python 3.8.5 or later
- Pip package manager
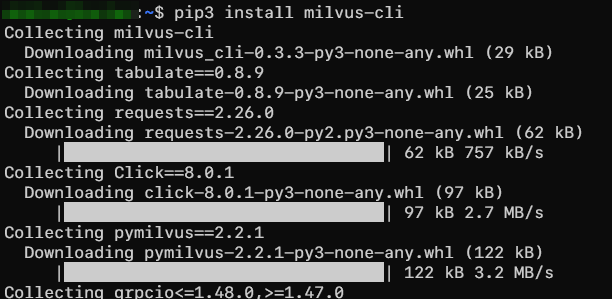
Install the Milvus CLI Using PIP
To install the Milvus CLI on your system, you can use the pip package manager as shown in the following command:
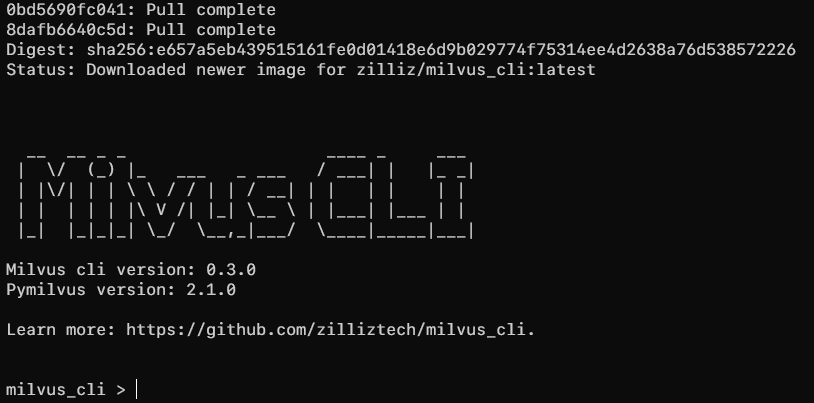
Install the Milvus CLI Using Docker
You can install the Milvus_CLI with Docker. This method requires you to install the Docker 19.03 or later on your system.
Once Docker is configured, run the following command to download and run the provided container:
The previous command should download the required images and setup the Milvus CLI container. Once completed, it should drop you into the Milvus CLI interface.
Connect to the Milvus Server
Once you installed the Milvus CLI, you can connect to the Milvus server using the “connect” command.
The syntax is as follows:
The command options are explained as follows:
-h – It sets the hostname or IP address to the Milvus server. The default is 127.0.0.1.
-p – It is an optional parameter that sets the port number of the Milvus server. The default is port 19530.
-a – It is an optional parameter that defines the alias name of the Milvus link. The default value is default.
-s – It is used to whether enable a secure connection or not. The value is False by default.
-pwd – It specifies the user password in Milvus. The default is None.
-u – It specifies the username that is used to log in to the Milvus server. The default username is None.
-D – It is a flag to disconnect from the Milvus server that is specified by an alias.
“Connect” Command in the Milvus CLI
The following example shows how to use the “connect” command in the Milvus CLI to connect to the Milvus server that runs on localhost and on the default port.
The previous command should log in to the Milvus server on the local machine and default port.
Conclusion
You now learned how to install the Milvus CLI using pip and Docker. You also learned to connect to the Milvus server using the Milvus CLI.