Vim Color Schemes
For any modern text editor, syntax highlighting is a powerful feature. Proper syntax highlighting greatly benefits those who have to work with codes and texts for a prolonged period of time. Vim comes with a default color scheme for a lot of programming languages. There are also third-party color schemes available.
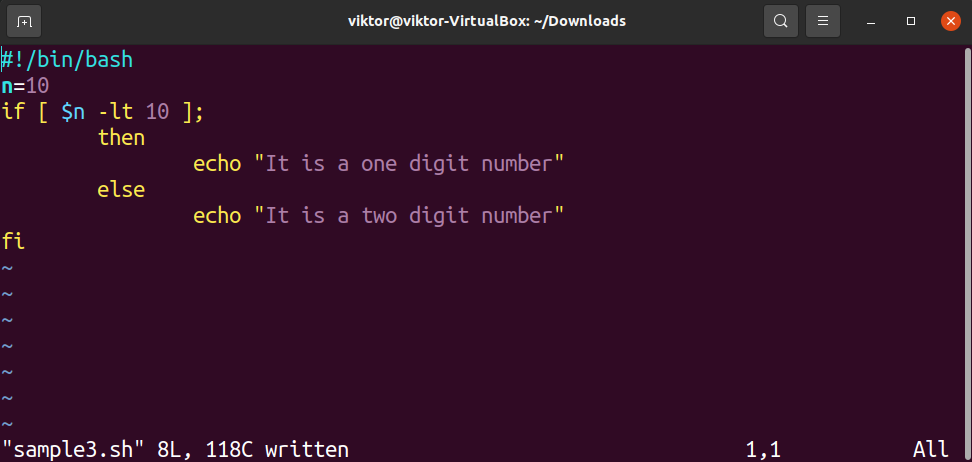
To enjoy the colorful syntax highlighting, however, you have to have it enabled. Learn more about enabling syntax highlighting in Vim. To test if the syntax highlighting is on, grab a sample code and open it in Vim. For demonstration, I’ve grabbed sample3.sh from File Samples.
As the output shows, Vim is correctly highlighting the keywords in the script. As we’ve not introduced any additional color scheme, it’s using the default one.
If the syntax highlighting isn’t working, then run the following Vim command:
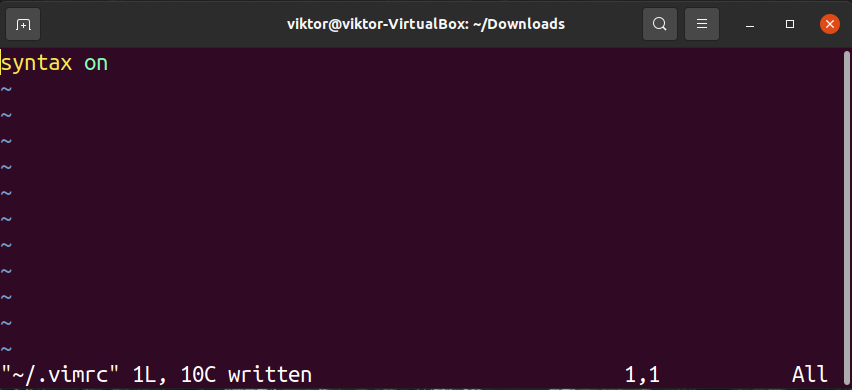
To permanently enable syntax highlighting, add the following directive to the vimrc file:
Changing Vim Color Scheme
By default, Vim comes with a bunch of color schemes. For the most part, these default color schemes may be sufficient for your needs. In the first section, we’ll have a look at listing all the available color schemes.
Listing available color schemes
To list all the color schemes, enter the following Vim command:
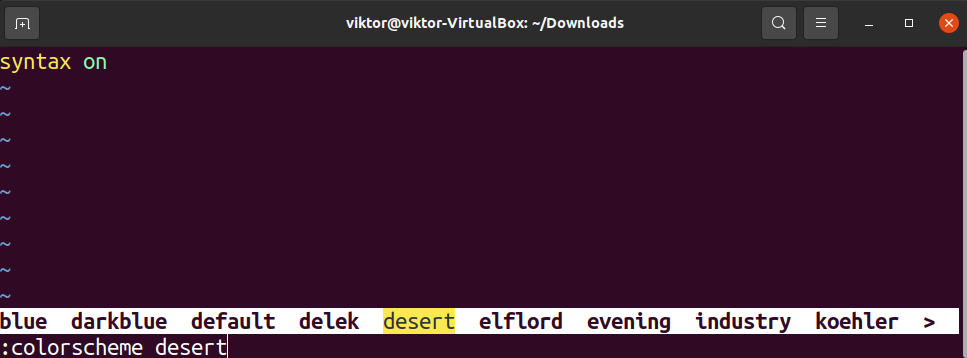
After typing the command, press “Tab”. This will open a list of all the available color schemes. If you keep pressing “Tab”, Vim will cycle through all of them.
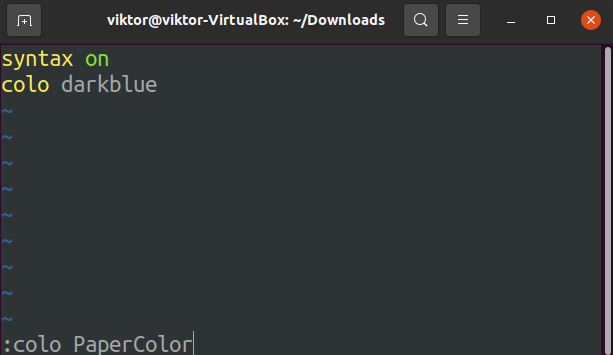
Once you’ve decided, use the following command structure to apply it to the Vim session:
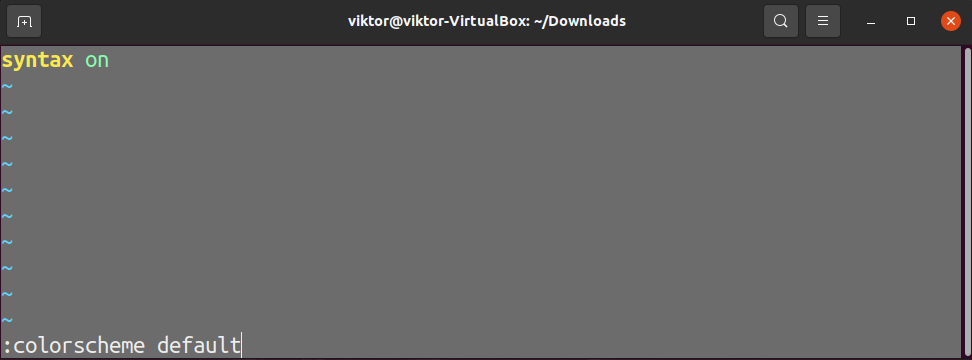
Vim supports abbreviations of many of its commands. We can use the following abbreviation of colorscheme to speed things up:
Setting the default Vim color scheme
In the previous section, we showcased changing the color scheme of Vim. Unfortunately, the change will only last for the current Vim session. How do we make it a permanent change?
Remember how we enabled syntax highlighting enabled permanently? Yes, the same vimrc trick is going to be relevant here. The vimrc file, similar to bashrc, is loaded every time Vim starts, applying all the configurations.
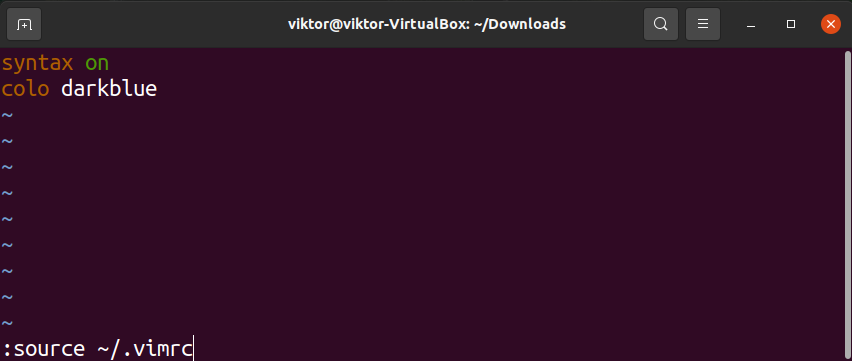
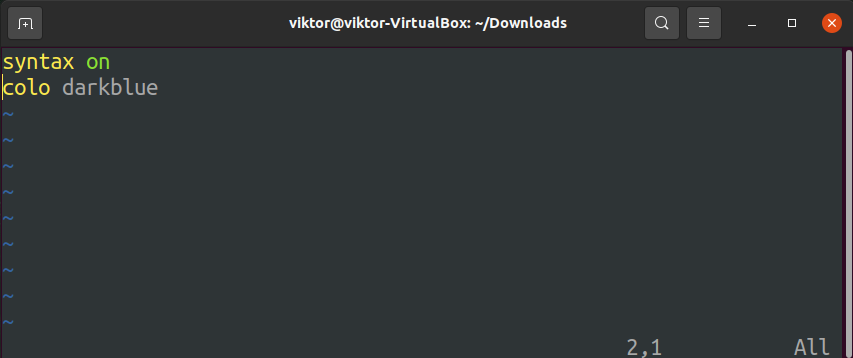
To enable the color scheme darkblue as the default, add the following code on the vimrc file:
Note that it should be accompanied by the “syntax on” directive so that the new color scheme is always applied.
To take the changes into effect, restart Vim. If that’s not an option, then you can try reloading the vimrc file using the following Vim command:
Adding new color schemes
Vim allows third-party color schemes to be applied. Thanks to the awesome community, Vim has an extensive collection of color schemes.
There are many places you can grab Vim color schemes from. There are some dedicated places for Vim color schemes, for example, vimcolorschemes, vimcolors, etc.
For demonstration, let’s add papercolor-theme to Vim. The necessary packages can be found on papercolor-theme on GitHub.
The following Git command will clone the repo contents to the proper location. Learn more about Git repo cloning.
Vim should now recognize the color scheme.
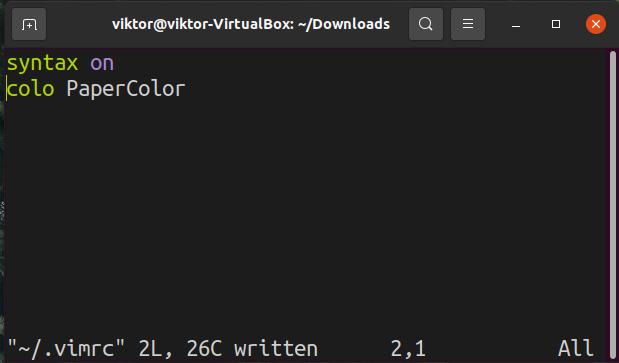
To make it the default color scheme, update the vimrc file:
Final Thoughts
This guide demonstrates managing the color schemes in Vim. It comes with a handful of color schemes by default. However, you can also add your favorite one from the internet. We demonstrated how to grab and configure a third-party color scheme in Vim.
Note that these color schemes are regularly updated. The method demonstrated here will leave you stuck on the same version. To tackle this issue, there are Vim plugin managers available that will automatically install, update and load the plugins of your choice. Learn more about the Vundle plugin manager for Vim. There are also other websites like Vim Awesome that keep a catalog of numerous Vim plugins.
Happy Computing!

