Before starting this tutorial, check vim editor is installed or not in the system. By default, vi editor is installed in Ubuntu. Run the following command to install vim editor.

Run the following command to check the version of the installed vim editor.

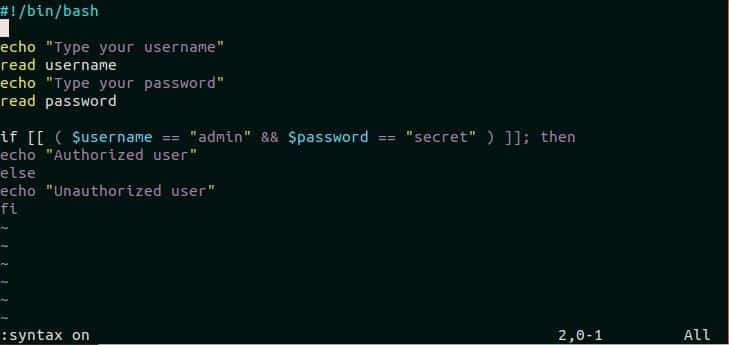
Create or open any script file in vim editor to check the current look of the file content before enabling syntax highlighting. Here, a bash file named login.sh with the following content is used.
login.sh
echo "Type your username"
read username
echo "Type your password"
read password
if [[ ( $username == "admin" && $password == "secret" ) ]]; then
echo "Authorized user"
else
echo "Unauthorized user"
fi
Run the following command to open the file in vim editor.
Enable or Disable Syntax highlighting
Syntax highlighting is on for vim editor by default. The content of login.sh will be displayed with the following format when the syntax highlighting is on. After opening login.sh file in vim editor, press ESC key and type ‘:syntax on’ to enable syntax highlighting. The file will look like the following image if syntax highlighting is on.
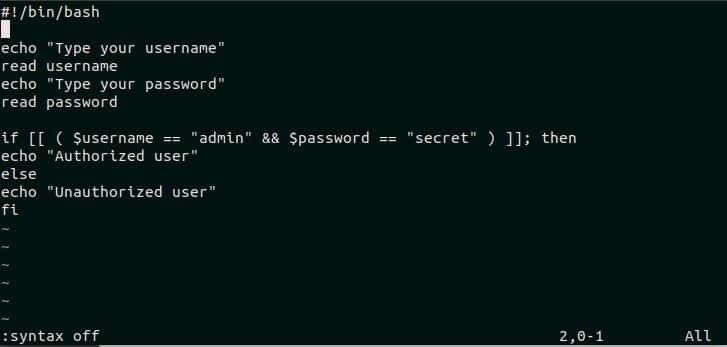
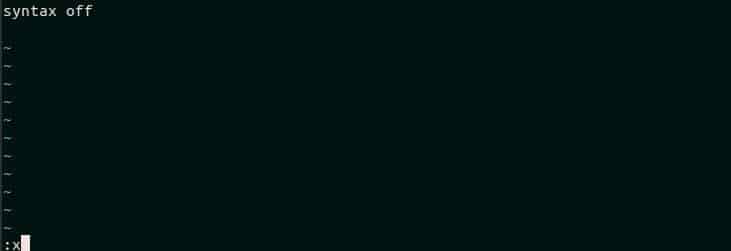
Press ESC key and type, “syntax off” to disable syntax highlighting.
Enable or disable syntax highlighting permanently
You have to create or edit .vimrc file and add command text to enable syntax highlighting permanently in vim editor. Run the following command to open .vimrc file by using vim editor.
![]()
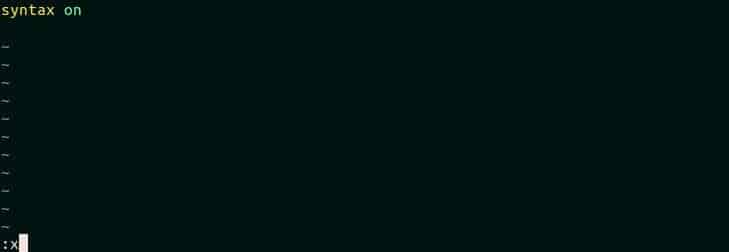
Add the text, “syntax on” anywhere in the file to enable syntax highlighting permanently for vim editor. Save and close the file by typing ‘:x’.
For disabling the feature, just re-open .vimrc file, change the text “syntax on” to “syntax off” and save the file.
Change color scheme
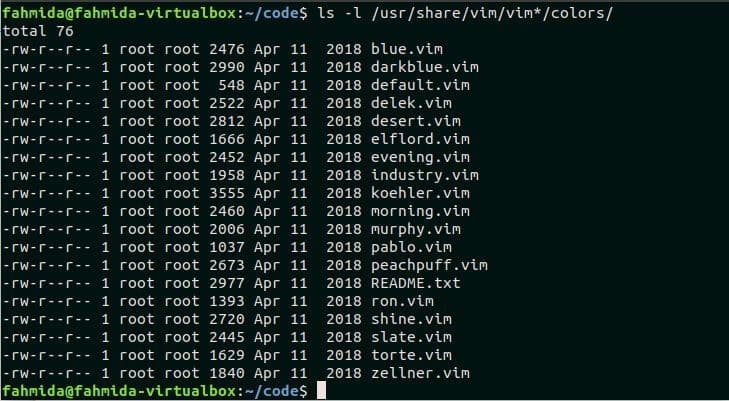
Different vim files of color scheme exist after installing vim package. These color scheme files are located in the location, /usr/share/vim/vim*/colors/. Run the following command to show the list of vim color scheme files.
The following output shows that the installed vim package contains 18 color scheme that can be applied in the vim editor. The use of some color schemes is shown in the next part of this tutorial.
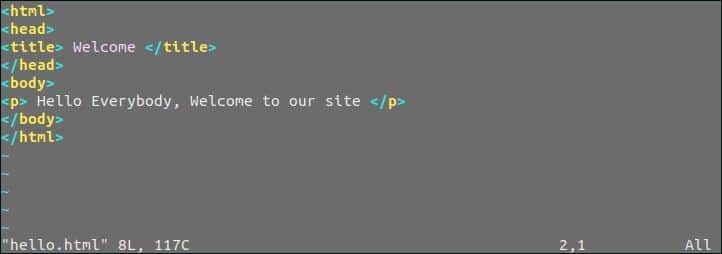
Suppose, the user wants to change the color scheme for a html file named hello.html with the code.
hello.html
Run the following command to open the html file from the editor.
Press ESC and type “:colorscheme morning” to change the current color scheme of the file.
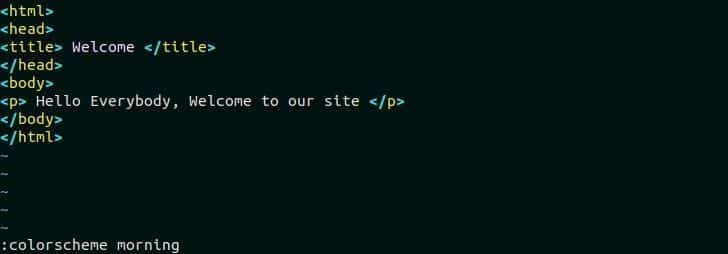
The looks of the editor will be changed like the following image after applying the new color scheme. But this change is temporary and the color effect will be removed after closing the editor.

If you want to set a particular color scheme and background for the editor permanently then open .vimrc file again and add the following command text. Here, evening color scheme will be set for syntax highlighting and the background color is set to dark. Save and close the file by pressing, 😡 to apply the color effect in the editor.
set background=dark
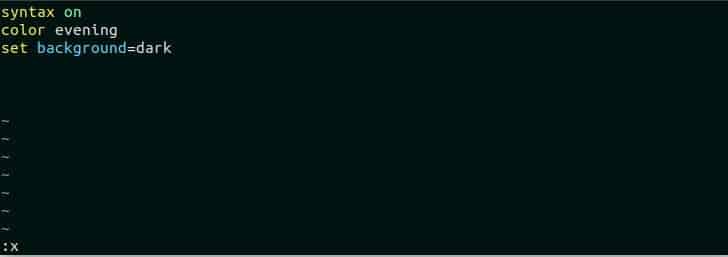
Now, re-open the html file in the editor to check the color scheme and background color effect. The editor will look like the following image.
Set syntax languages
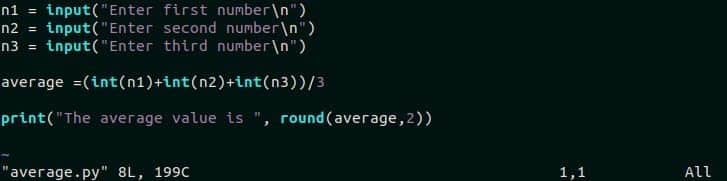
You can select syntax language after opening a file in vim editor. Many syntax languages exist for the vim editor, such as “php”, “perl”, “python”, “awk” etc. Open a python file named average.py in the vim editor. The content of the file looks like the following image by the default syntax of vim editor.
Type “:syntax=perl” after opening the file and press Enter. The text color of some part of the file will be changed by the syntax of the perl language like the following image. Here, the colors of input, int, print and round text are changed.

Set Highlighting key-value
There are nine syntax highlighting groups for vim editor. These are mentioned below.
| Group Name | Description |
| Identifier | It belongs to the variable names of the source code |
| Statement | It belongs to any programming language statement, such as if, else, do, while etc. |
| Comment | It belongs to the comments part of the program |
| Type | The datatype of the variables is defined by this group, such as int, double, string etc. |
| PreProc | It belongs to any preprocessor statement, such as #include. |
| Constant | It belongs to any constant value, such as numbers, quoted strings, true/false etc. |
| Special | It belongs to any special symbol, such as ‘\t, ‘\n’ etc. |
| Underlined | It belongs to any underlined text. |
| Error | It belongs to any source code error |
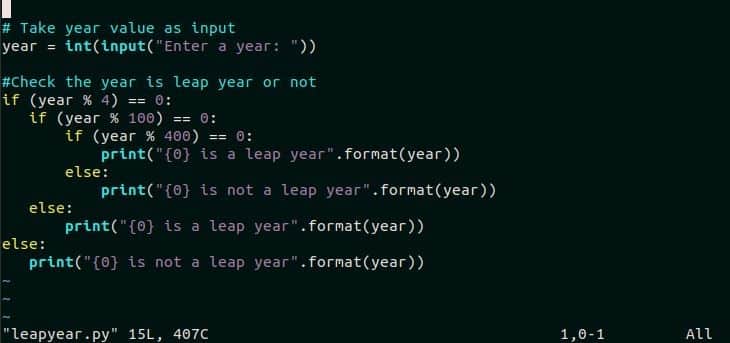
There are some highlighting key-value pairs that can be used with any highlighting groups to change the specific color of the source code in vim editor. The use of Statement group in vim editor is shown in the next part of this tutorial. Open a python script file named leapyear.py in vim editor. This file looks like the following image by default syntax highlighting.
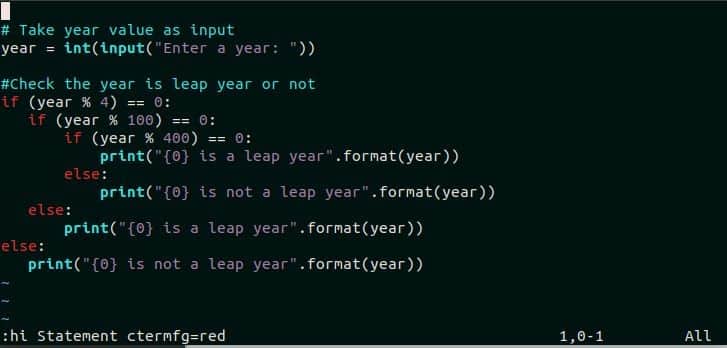
Type “:hi Statement ctermfg=red ” to change the color of programming statements of the script into red color. Here, the color of if and else is changed to red.
Conclusion
Different syntax highlighting options of vim editor is explained in this tutorial by using various examples. Hope, the tutorial will help new vim users to apply syntax highlighting properly to make the source code more readable.