
Different programming languages as well as file types may require different configurations for things like indention and keyword pairings. You might need to alter your template based on what your clients want. Additionally, you might want to change or add new commands.
Vim is a command-line editor for Linux systems. It has a strong distinction for being the most potent text editor available for Linux. The Vim text editor uses a file called a VIMRC file as a configuration file. It saves the editor’s preferences which are loaded whenever the editor is accessed. Given that the VIMRC files are saved as plain text, any text editor can be employed to open and modify them. The VIMRC file enables the users to change the editor’s preferences.
In this article, we will learn to customize Vim with the vimrc configuration file.
Creating the Vimrc File
You can utilize all of Vim’s features by customizing your .vimrc file. To configure the vimrc file, we first need to create it in the home directory of our system.
Access the terminal and use the following instructions to generate your .vimrc file:
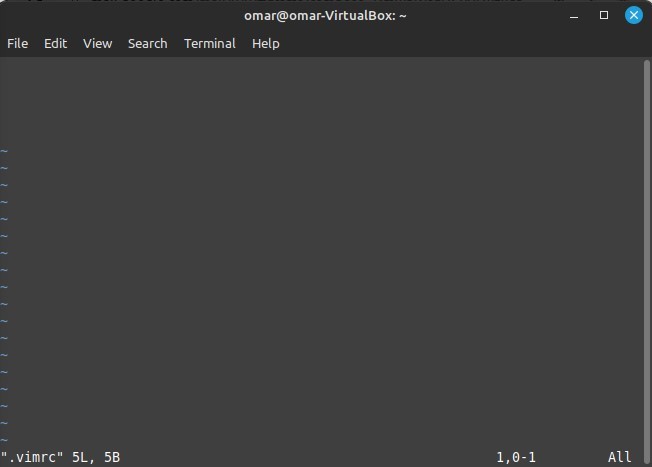
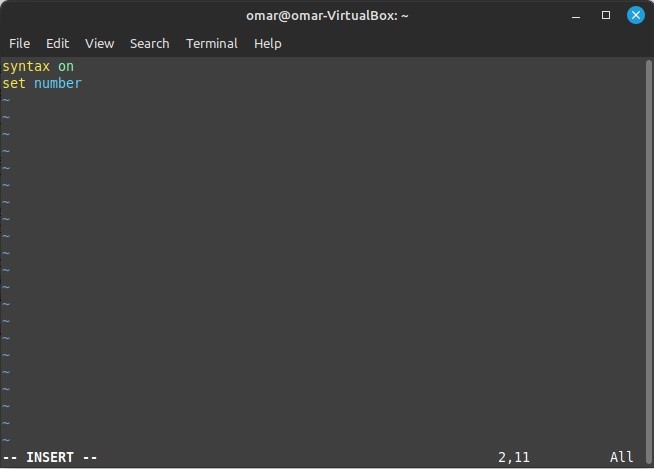
As you hit “Enter”, a Vim new screen appears. You would notice the “.vimrc” in the lower-left corner. This is our newly created vimrc file in Vim.
To save and exit the file state, just type the “:wq” command. Pressing “Enter” brings you back to the terminal. Now that our vimrc configuration file is successfully created, we look for its customization options.
Enabling the Syntax Highlighting in Vim
To demonstrate the syntax highlighting feature of Vim, we first create a file with some code in it.
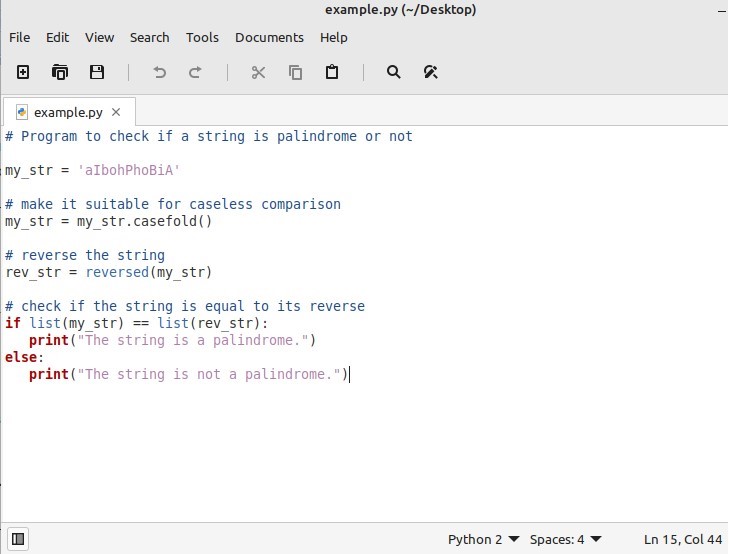
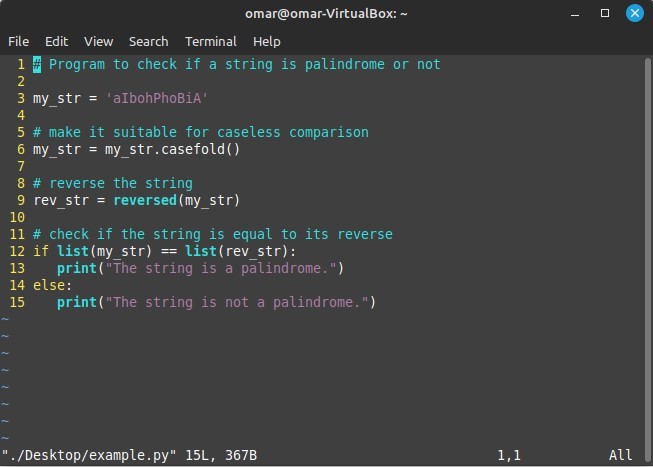
We create a “.py” Python file and clone some Python code into it as a dummy data. We name the file as “example.py” and save it in the “Desktop” directory.
Now, to edit this file in the Vim text editor, we need to open it in Vim. Launch the terminal and execute the following command:
Here, the “vim” command indicates that the specified file is opened in the Vim editor. Then, we provide the path of the file as “./Desktop/example.py”.
As we press “Enter”, the Vim editor opens the file.
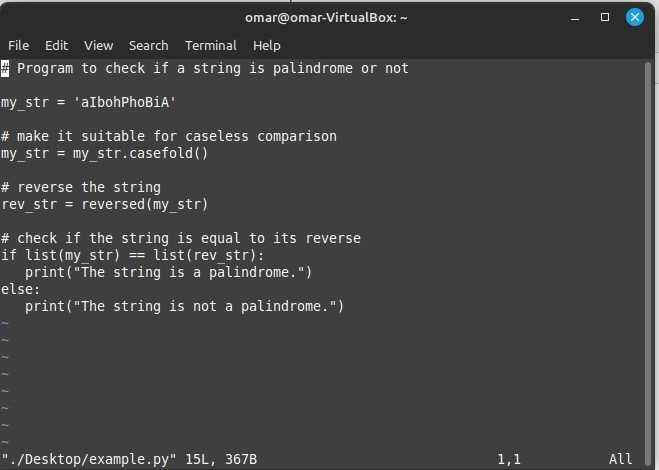
The file content is displayed in the basic format in the previous screenshot. There is no highlighting for the syntax on the code.
To enable the syntax highlighting feature in Vim, we exit the file by typing “:wq” and open the .vimrc file again from the terminal with the same command:
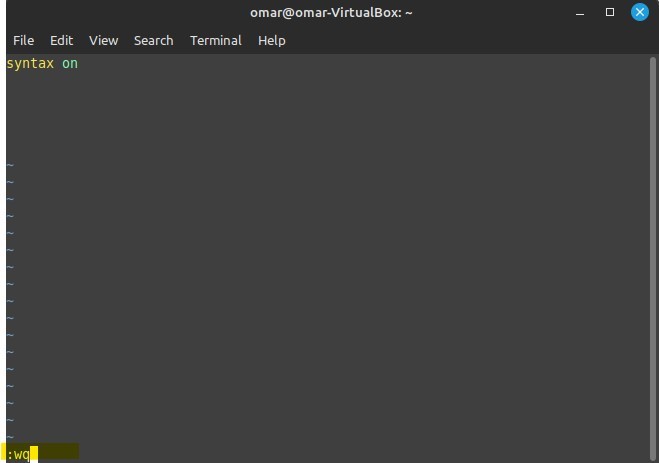
The .vimrc configuration file is opened. We switch the mode of operation to INSERT mode by simply hitting “i”. Now, type “syntax on” and switch back to the command mode again by pressing the “Esc” key. Type the “:wq” command to save the changes that are made in the .vimrc file and exit.
We successfully enabled the syntax highlighting feature in Vim. Now, to check if it is enabled, we open the “example.py” file again from the terminal.
This opens the specified file and checks if the syntax highlighting is working on it.

The snapshot of the Vim window shows the code with its syntax which is highlighted this time to show that the syntax highlighting feature is currently enabled on Vim.
Setting the Line Numbers in Vim
When finding some specific code line, we look at or ask someone for it. It gets difficult to count the line number manually. Vim provides us with a feature by which we can turn the line numbering on to easily navigate through the file. We enable this feature in the .vimrc configuration file.
Let’s open the .vimrc file again, switch to INSERT mode, and type “set number”:
Save the changes and exit the file.
Now, open the file from the terminal to see if the line numbering is activated or not.
Initially, the file does not contain the line numbers. But as we enable the number feature on Vim, we can now easily navigate through the code lines.
Cursor Highlighting in Vim
Another functionality that Vim provides us is highlighting the cursor line. When this feature is enabled, we can immediately locate where the cursor is currently in. To activate this function, open the .vimrc file and type “set cursorline” in edit mode.
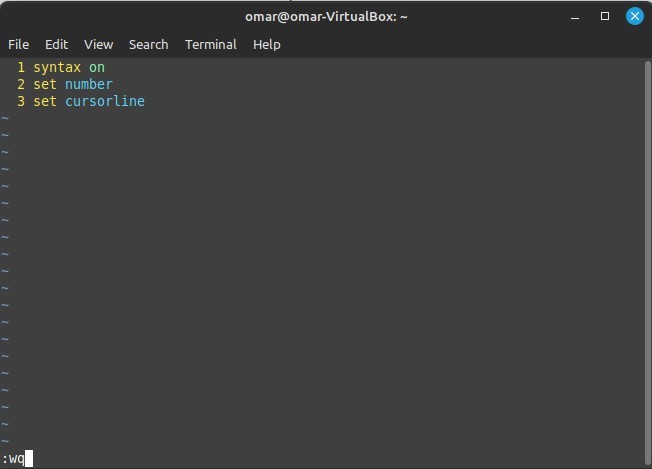
Save the changes and quit the file by writing the “:wq” command.
Again, open the “example.py” file to see if the changes are implemented.

In the previous image, we can see that the cursor line is activated. This line is horizontal since we are highlighting the cursor line. Here, the cursor is on line number 9. So, a cursor line is drawn beneath it.
Along with a horizontal cursor line, we can also highlight the cursor vertically. We discover the cursor’s precise location concerning line and column. Open the .vimrc file and type “set cursorcolumn”.

When making modifications to the .vimrc file, don’t forget to save them. Now, after quitting the file, open the “example.py” file.
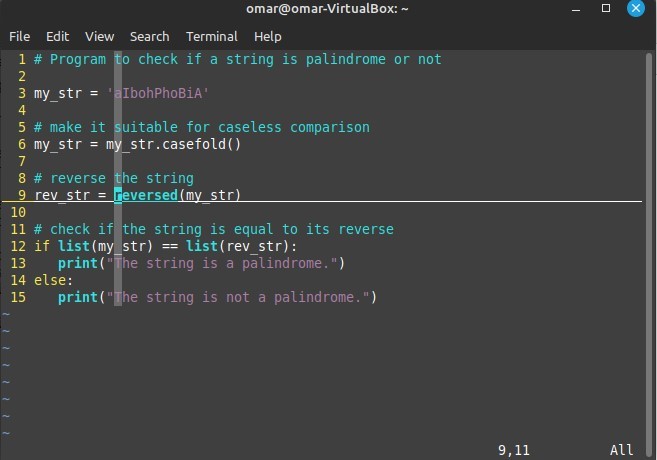
The cursor highlighting feature is activated both horizontally and vertically on our Vim. The previous image shows the exact position of the cursor in the file.
Searching in Vim
Vim allows us to search within a text file in the most efficient way. The search feature instantly starts highlighting the word at the very moment that you type it for search. In the .vimrc file, type “set incsearch” and save the changes.
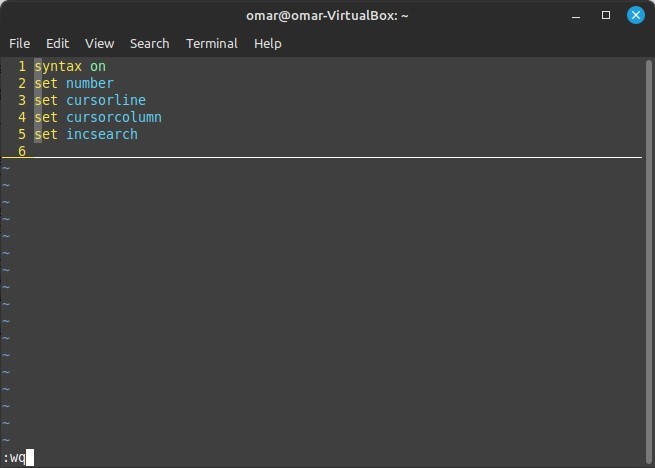
Apart from the previously-elaborated features, Vim provides us with a long list of great functionalities. We can also set the shift width, tab width, nobackup, nowrap, and many more according to your need.
Conclusion
This article talks about the customization of the Vim editor in the .vimrc configuration file. Different configuration settings are discussed in this lesson. We initially defined the .vimrc configuration file and implemented the different commands on it to customize our Vim editor. The creation of the vimrc file is explained. The enabling of different features in Vim like syntax highlighting, numbering lines, cursor line and cursor column highlighting, and setting the text search are implemented practically in the Vim text editor in this article.