
Enabling static resources or content caching is one possible method for Nginx optimization. Whenever a browser visits a website, Nginx offloads the caching of particular files such as static images assets to the individual web browser instead of serving every file. As a result, your Nginx-powered websites load more quickly in the browser.
In this post, you will learn how to cache static resources using HTTP caching in Nginx. Before moving towards the static content caching procedure, first, understand the basic concept of static content and how static content is cached in Nginx.
What is static content
Any file stored on a server and is served to users each time, in the same way, is known as static content. Static content functionality is similar to a newspaper. As a newspaper is published, everyone who picks up a copy will see the same stories and photographs all day, regardless of what new events occur during the daytime.
The content of the majority of the website is based on pre-formatted static files. These static files are unlikely to change over time and for other users as well. Compared to the dynamic files generated “on the fly” based on database information, the static files are the default candidates for caching. Examples of static content are images, music, javascript, movies, and CSS files.
How to cache static resources in Nginx
The typical method for web caching is to save a copy of the static file in a cache. This process lets the static content get closer to the website user and deliver the static resources more rapidly next time. Static content or resources can be cached by Content Delivery Networks (CDNs) and Browsers for a predetermined amount of time and served to users as long as that static resource is requested. As static content does not change over time, users can receive the same files multiple times.
What are HTTP cache headers in Nginx
To define cache durations and indicate cacheable web content, web developers utilize HTTP cache headers. You can customize your caching strategy by using different cache headers, which ensure the freshness of your static content or resources.
For instance, “Cache-Control: max-age=3600” declares that the particular file can only be cached for an hour after that it must be reloaded from the source. Tagging a single or group of files separately can be time-consuming. By implementing cognitive methods capable of overriding cache header, modern CDNs permit you to avoid this practice.
Now, we will show you how to enable static caching using HTTP caching in Nginx. If your website comprises many static resources or content, then the provided method will help you speed up the loading of web pages. To follow the below-given method, you should have Nginx installed and enabled on your system.
How to enable static resources caching using HTTP caching in Nginx
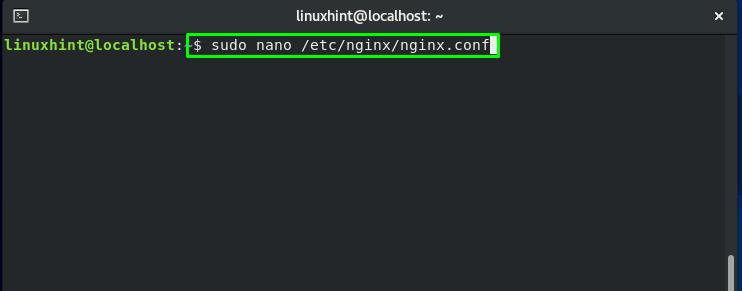
Firstly, press “CTRL+ALT+T” to open terminal. After that, execute the below-given command to open the Nginx configuration file in your nano editor:
We are enabling static caching in the default Nginx file. If you have multiple virtual hosts and sites, then you have to add the following settings within each configuration file:

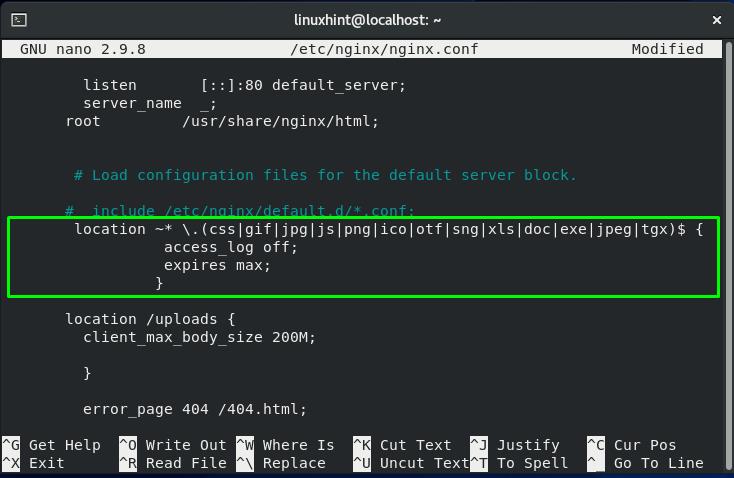
Add the following lines to cache the static resources such as css files, images, icons, JavaScript files:
access_log off;
expires max;
}
We have added the “access_log off” to disable access log off for not hitting the I/O limit. Whereas the “expires” header comprises the information related to the availability of the cached content in your browser cache. “expires” is an HTTP header that can be placed within the blocks present in the configuration file such as the server{}, http{}, and the location{} block. Usually, the “expires” HTTP header is added in the location block for caching the static files:
Now, press “CTRL+O” to save the changes we have made into the Nginx configuration file:

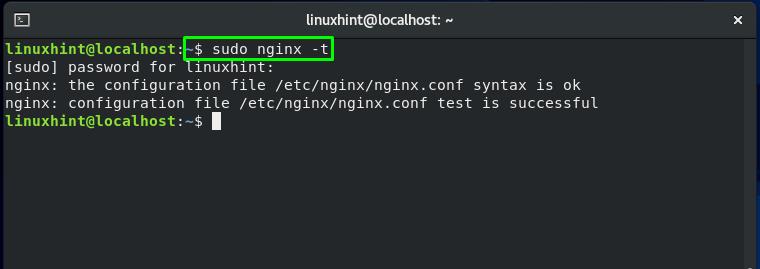
Execute the “nginx” command with the “-t” option to test the Nginx configuration file and its syntax:
Now, restart the Nginx by typing the below-given command in your terminal:

How to test caching of static resources using HTTP Header Live in Nginx
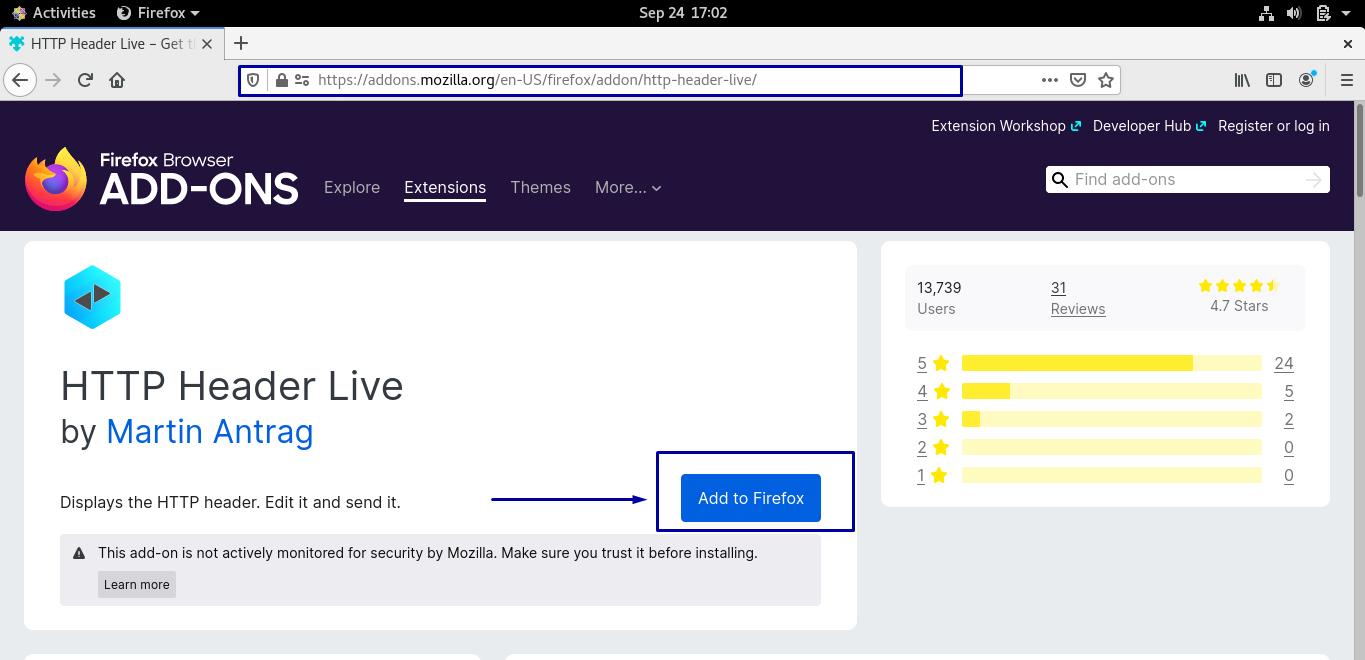
For your website running on an Nginx web server, you can add the HTTP header Live extension in your browser to test the caching process.
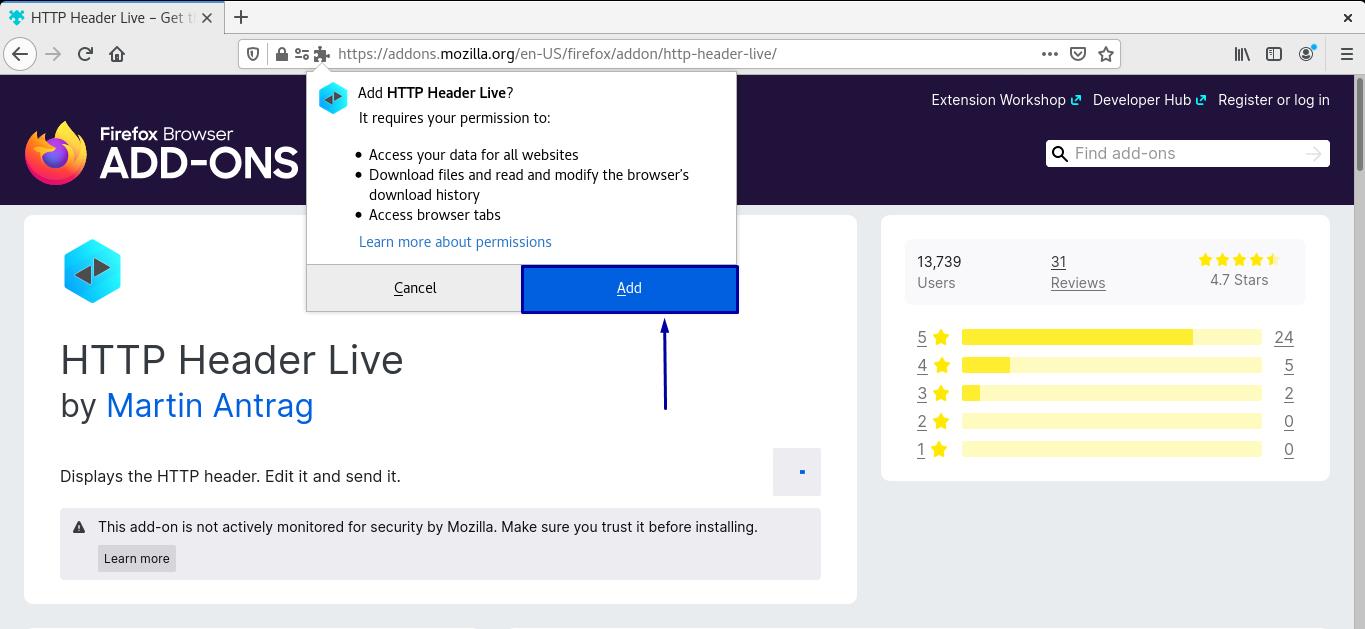
For instance, we are adding the HTTP Header Live to our Firefox browser by clicking on the “Add to Firefox” button:
Permit the HTTP Header Live for accessing the website and browser-related data:
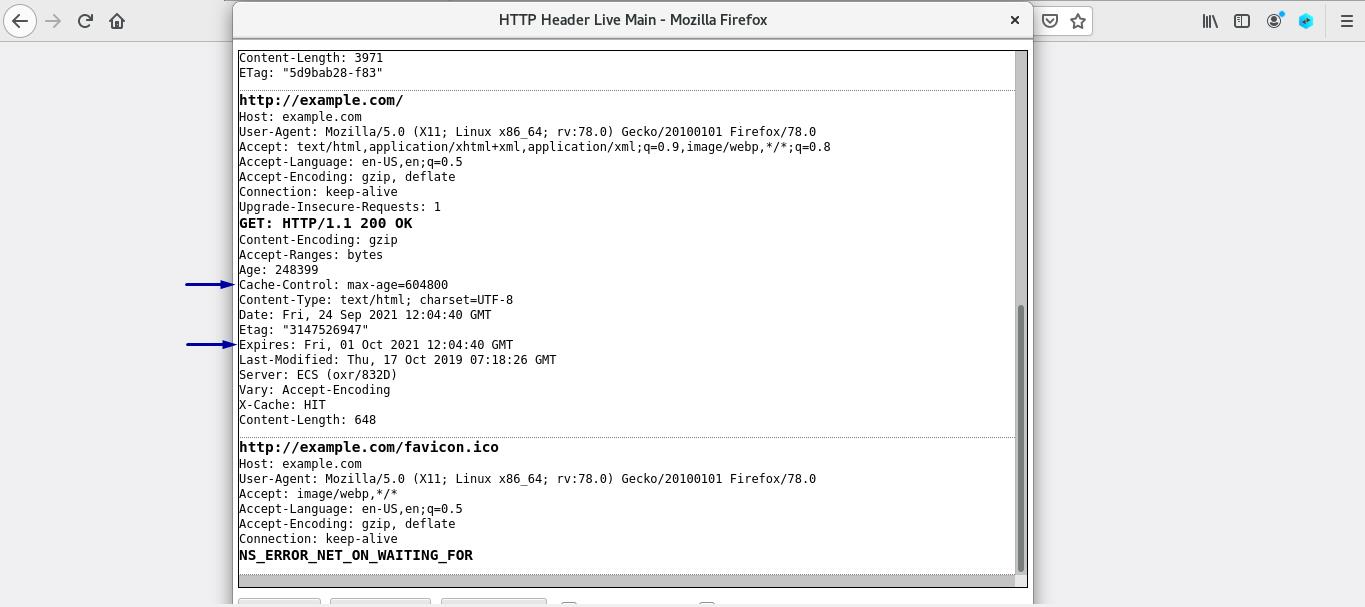
Next, open up your website for which you have enabled the static content caching in its configuration file, and you will see that HTTP Header is showing all of the information related to cache resources:
You can also press “CTRL+SHIFT+I” to open up the developer tools. Loads your website few times, and you will notice that the web loading speed is much improved as most of the resources are cached during the first load of the web page:

Conclusion
On a website, static content is a type of content that does not change across web pages. If your website comprises static resources or content, you can improve its performance by enabling caching, which stores static content for faster access in the browser. In this post, we have explained what static content is, how static caching works in Nginx, and you can cache static resources or content using HTTP caching in Nginx. Moreover, we have also demonstrated how to test caching of static resources using HTTP Header Live.