To learn more about Synology Hyper Backup, read the article How to Use Synology Hyper Backup.
This article will show you how to backup data from your Synology NAS to Google Drive. You can backup data from your Synology NAS to other Synology-supported cloud services in the same way. So, let’s get started.
Table of Contents:
- Things You Will Need
- Creating a Backup Task
- Backing Up Data to the Cloud
- Restoring Data from Backups
- Where to Go Next
- Conclusion
Things You Will Need:
To follow this article, you need to have,
- a Synology NAS device.
- the Hyper Backup app installed on your Synology NAS.
- a user account on your desired Synology-supported cloud service that you can use to authenticate to the cloud service.
- a laptop or computer to access the web management interface of your Synology NAS.
If you need any assistance installing the Hyper Backup app on your Synology NAS, read the Installing Hyper Backup section of the article How to Use Synology Hyper Backup.
Creating a Backup Task:
To backup data from your Synology NAS to a cloud service, you need to create a Hyper Backup backup task.
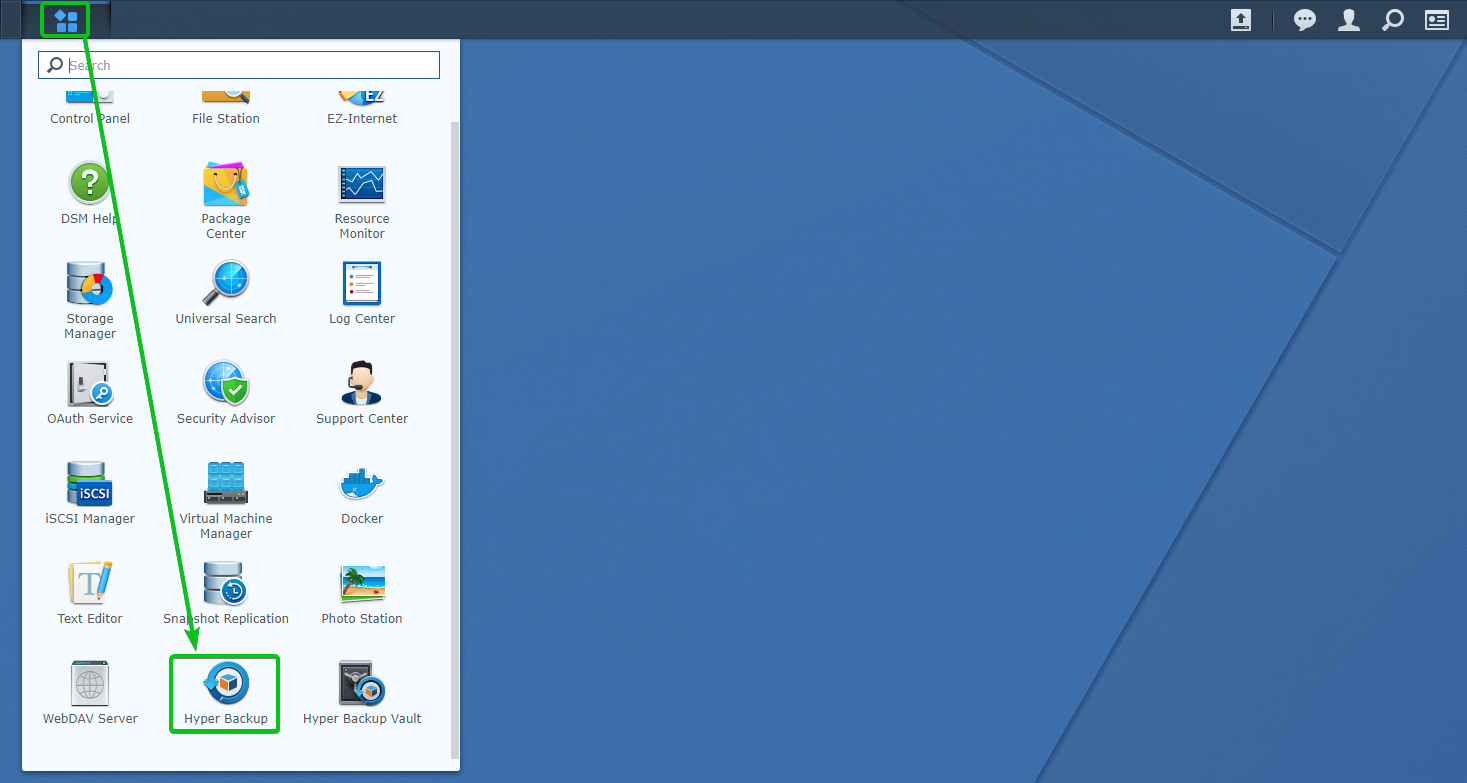
To do that, run the Hyper Backup app from the Application Menu of the web management interface of your Synology NAS as marked in the screenshot below.
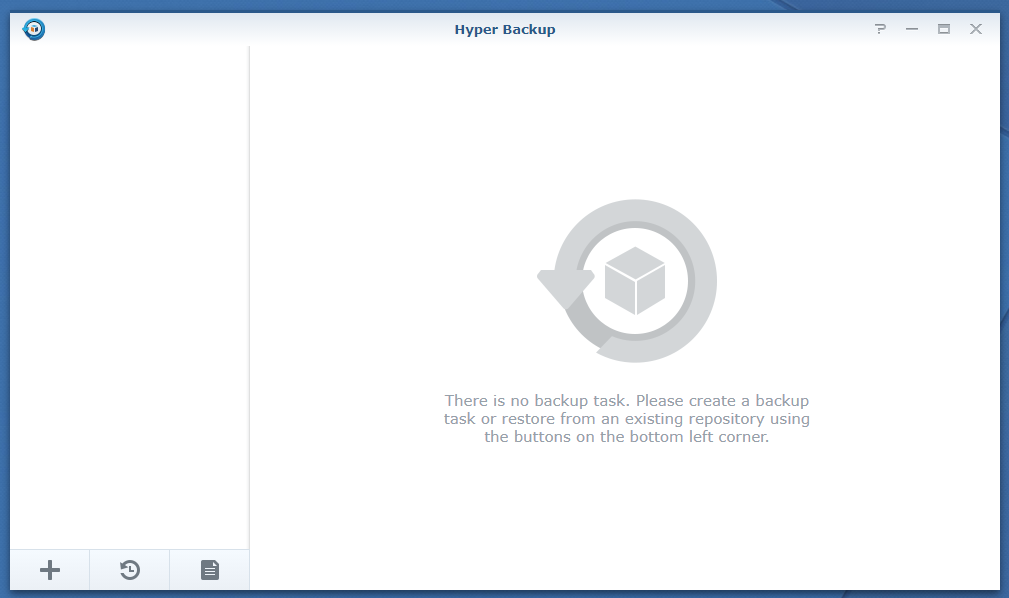
The Hyper Backup app should be opened.
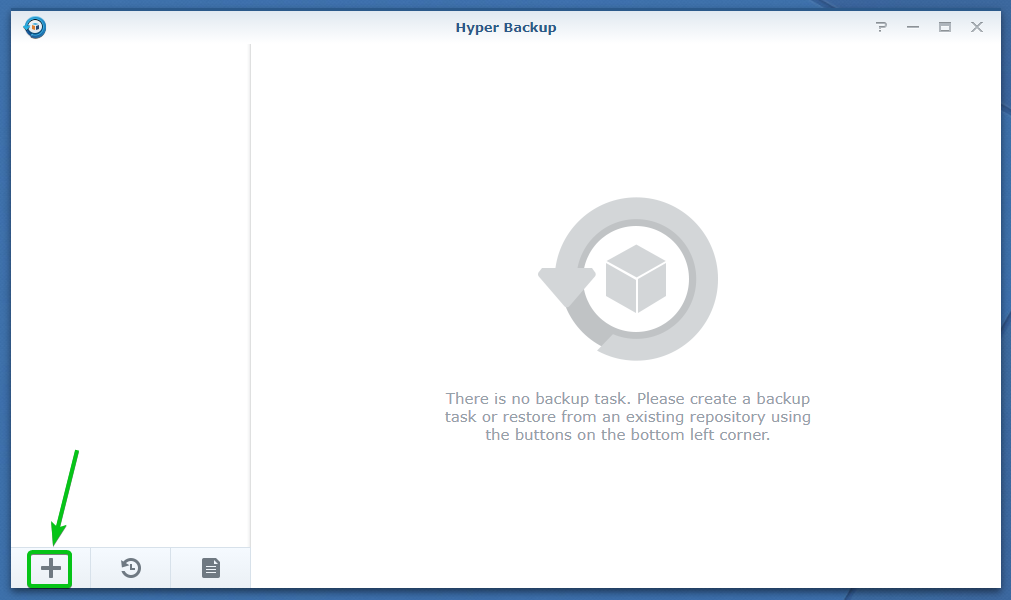
To create a new backup task, click on the + icon as marked in the screenshot below.
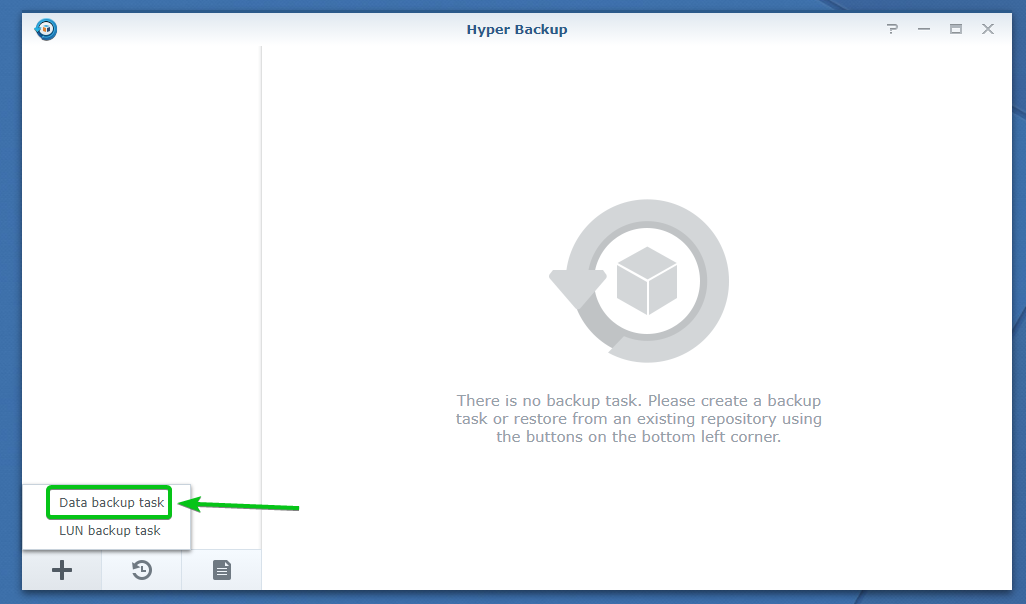
Click on the Data backup task as marked in the screenshot below.
The Backup Wizard window should be displayed. You can configure a data backup task from here.
Scroll down a little bit, and you should see all the cloud services that the Synology Hyper Backup app supports.
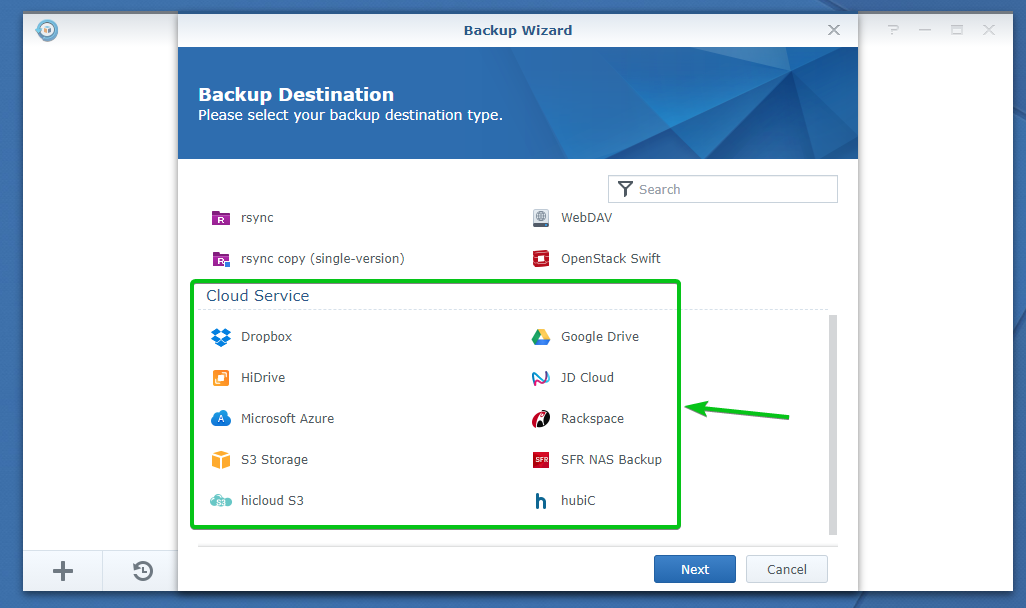
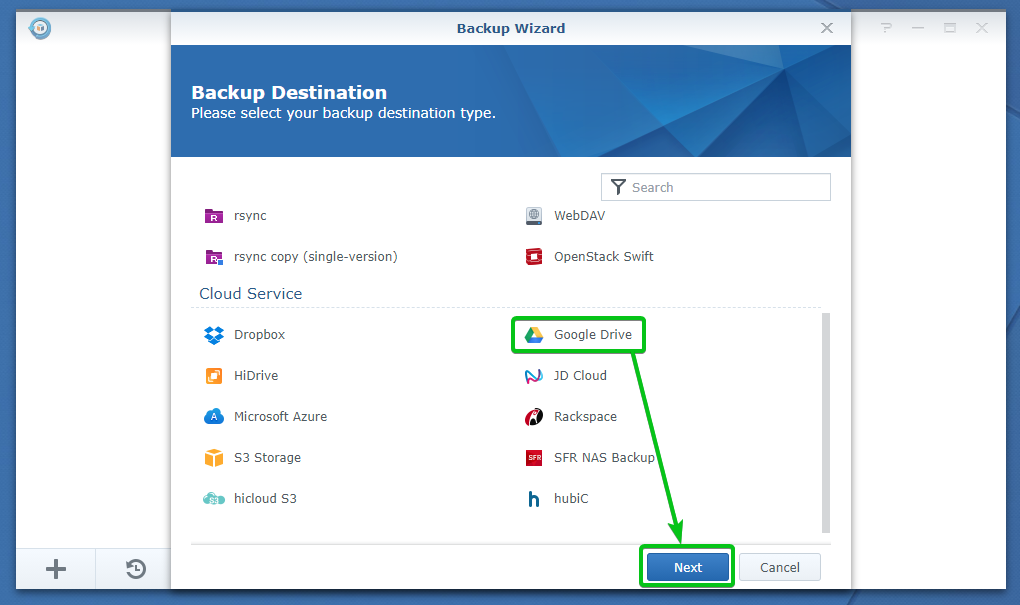
Select your desired cloud service from the list and click on Next, as marked in the screenshot below.
I will use Google Drive for demonstration in this article.
The login page of your selected cloud service should be opened. You will have to authenticate to the cloud service from here.
In my case, the Google sign-in page.
If you’re using other cloud services, then this section will be different for you. Make sure to adjust it as required.
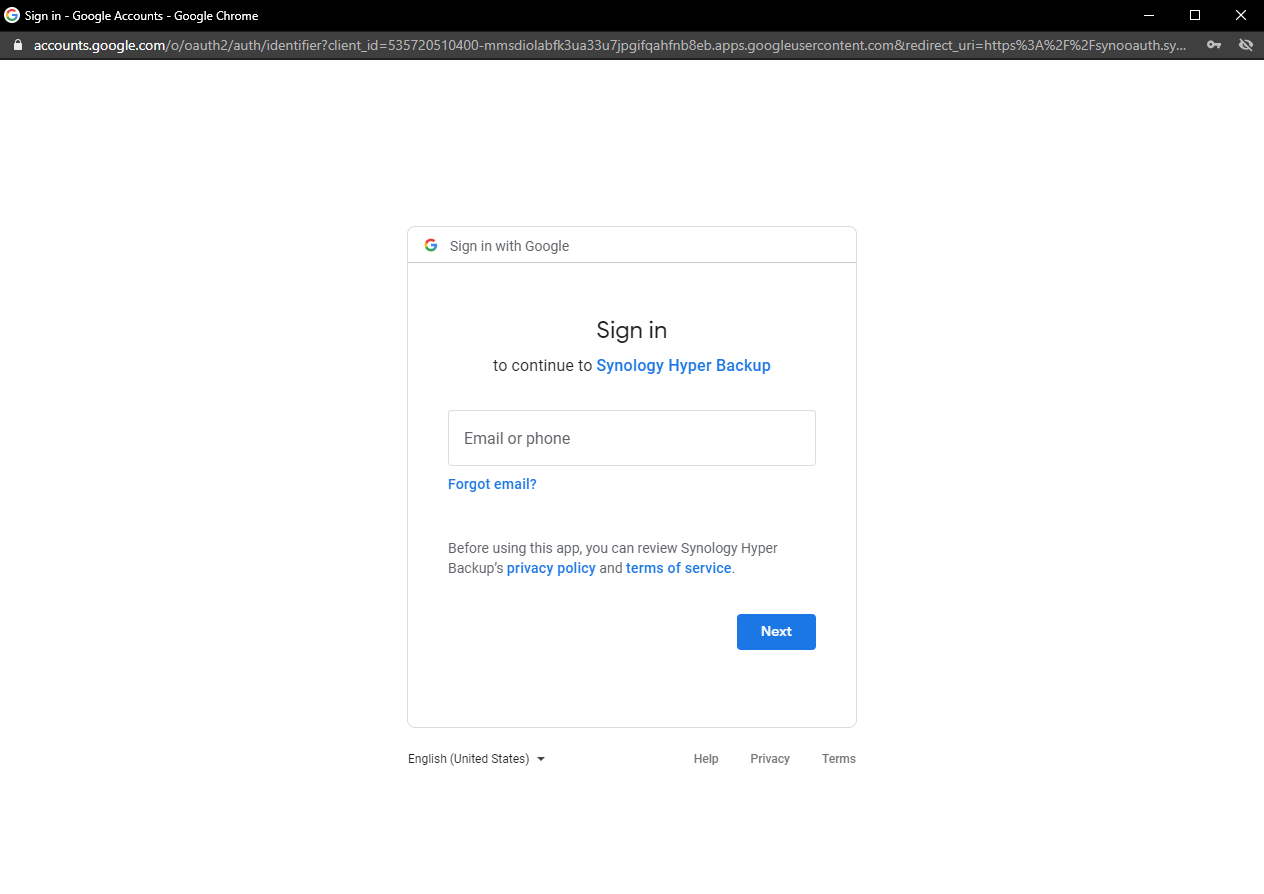
Type in your email and click on Next.
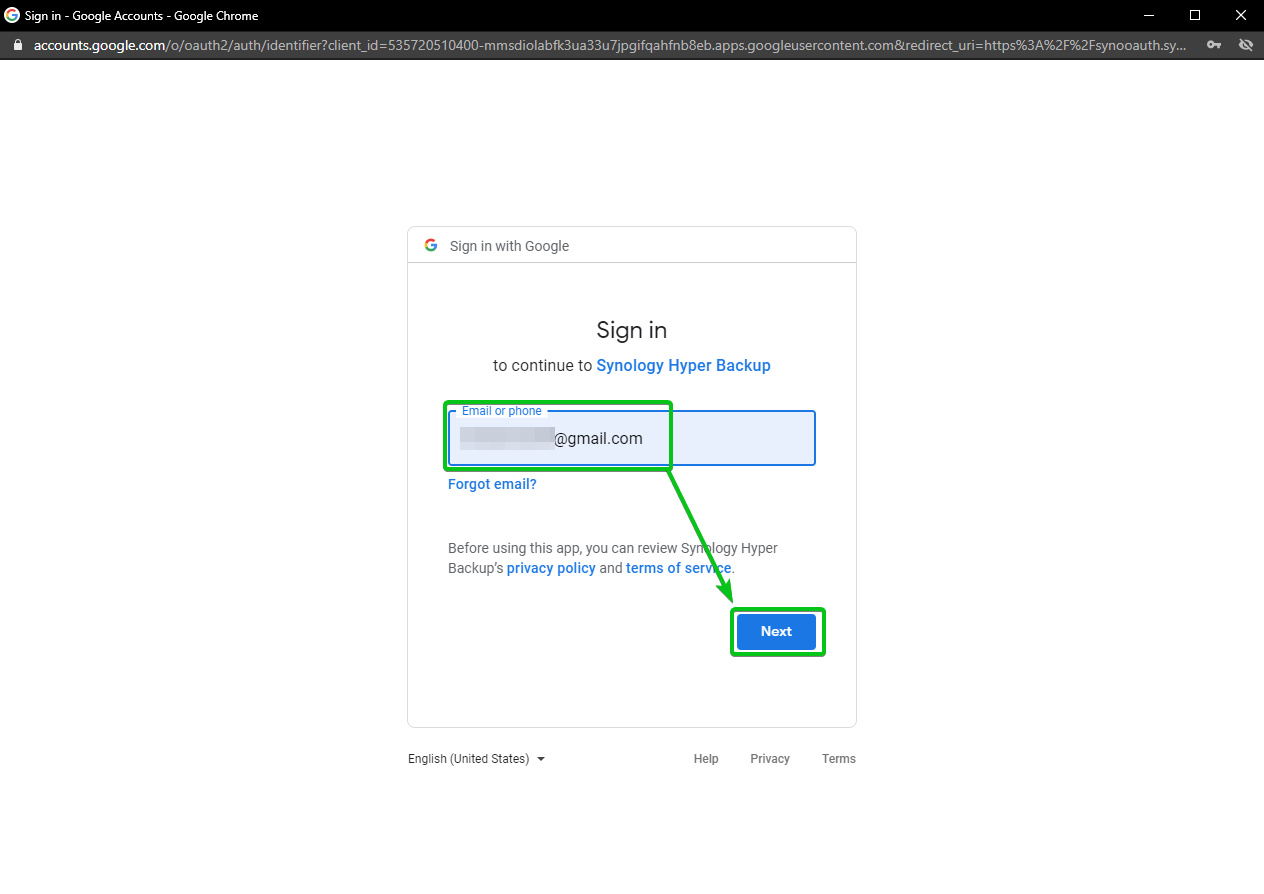
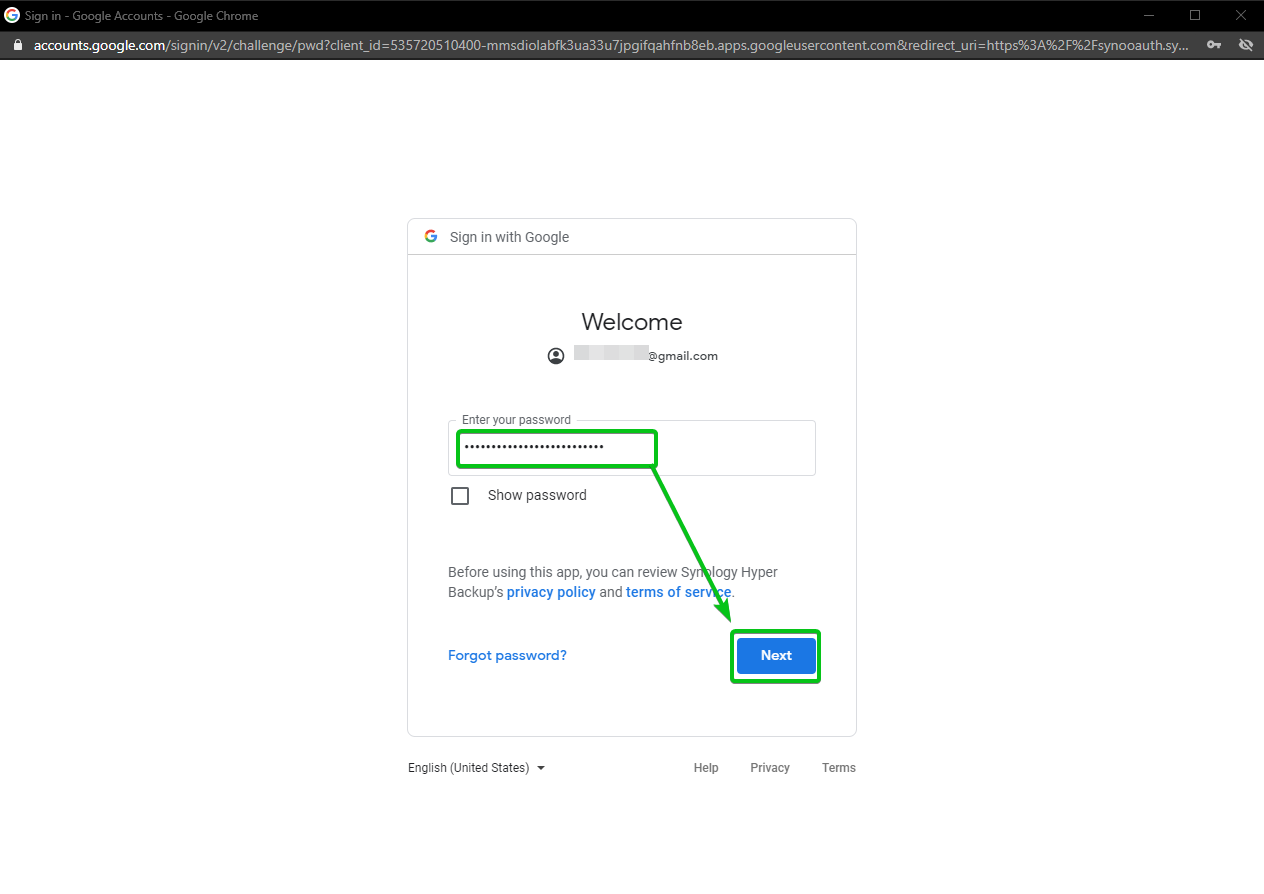
Type in your login password and click on Next.
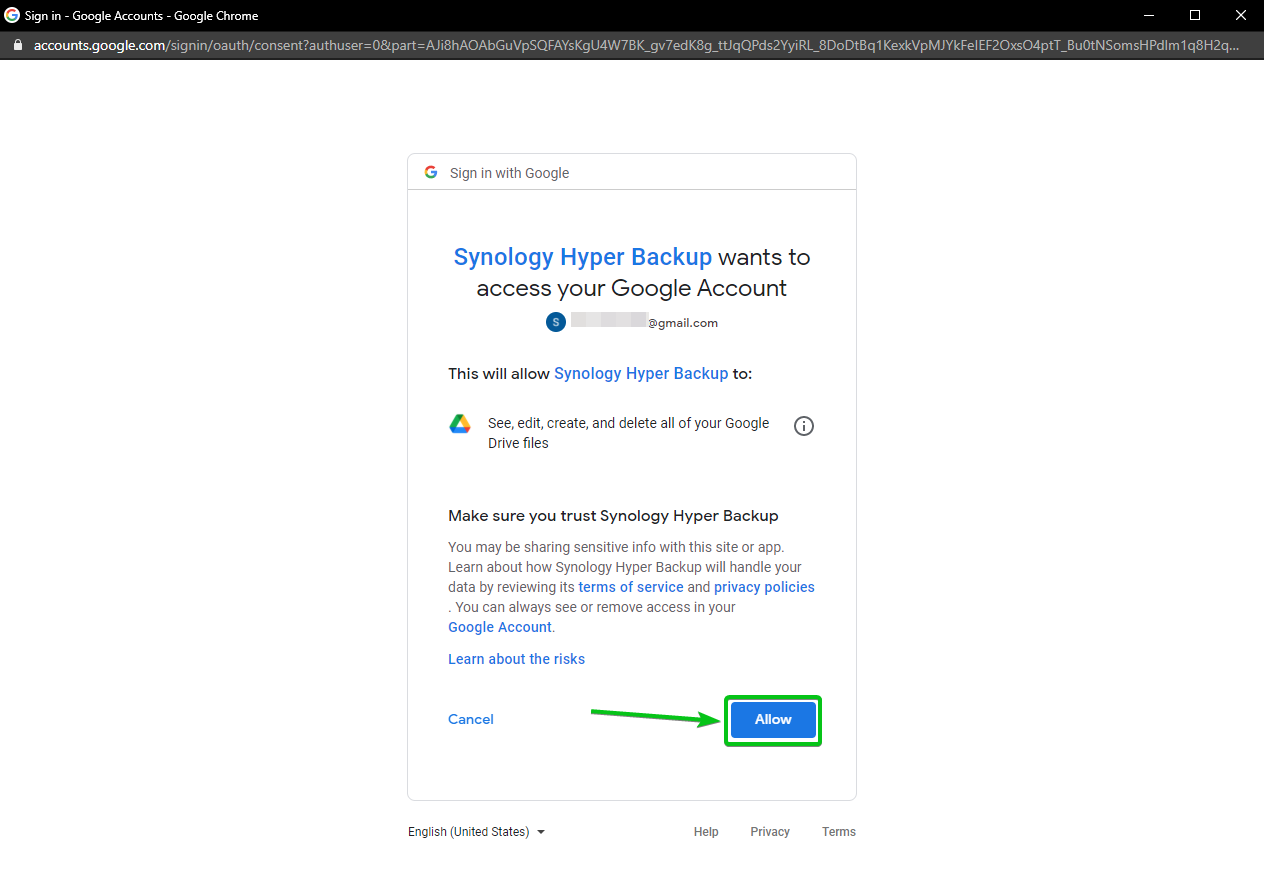
To allow the Synology Hyper Backup app access to your Google Drive, click on Allow as marked in the screenshot below.
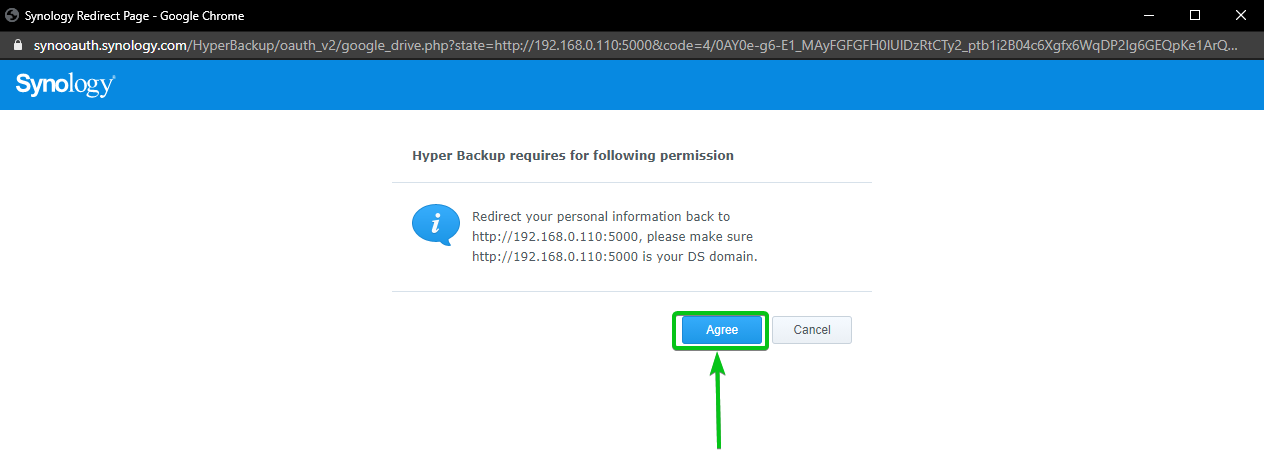
Click on Agree as marked in the screenshot below.
It would be best if you were back to the Backup Wizard window, as you can see in the screenshot below.
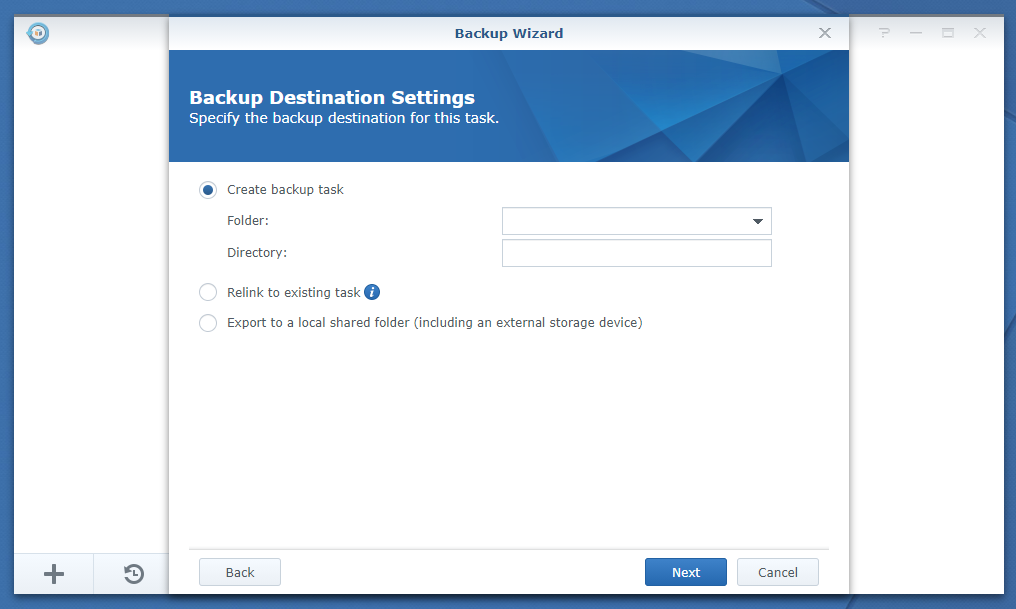
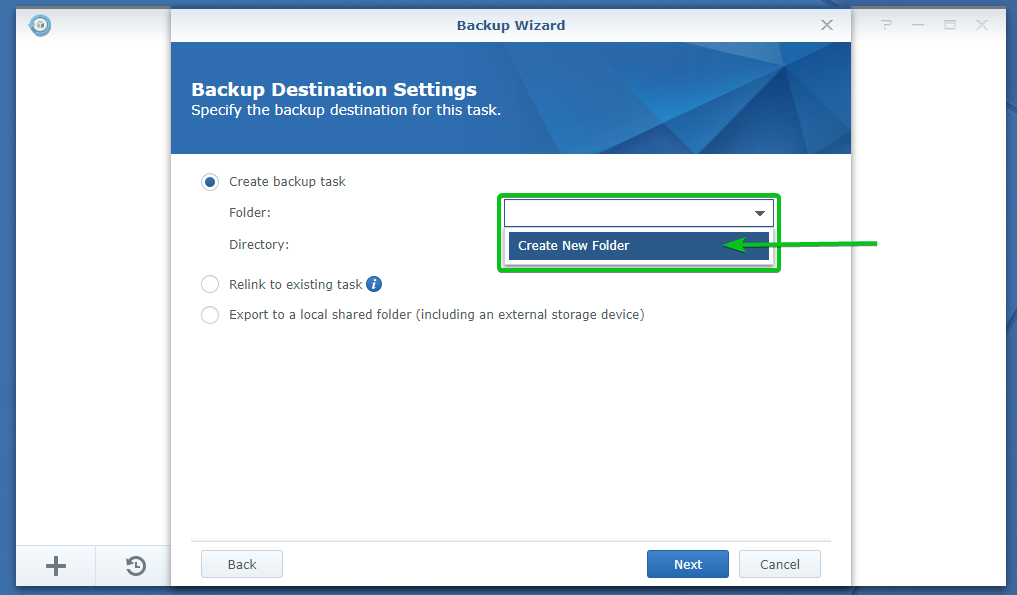
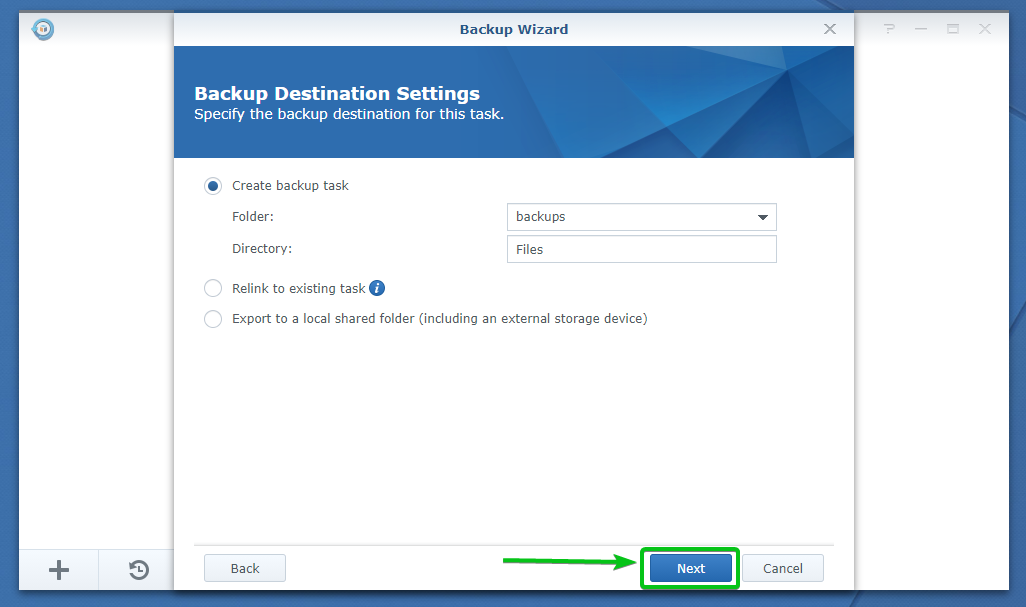
Now, you have to either select a folder from your cloud drive or create a new one. This will be the folder where the backups will be stored.
To create a new folder, select Create New Folder from the Folder dropdown menu as marked in the screenshot below.
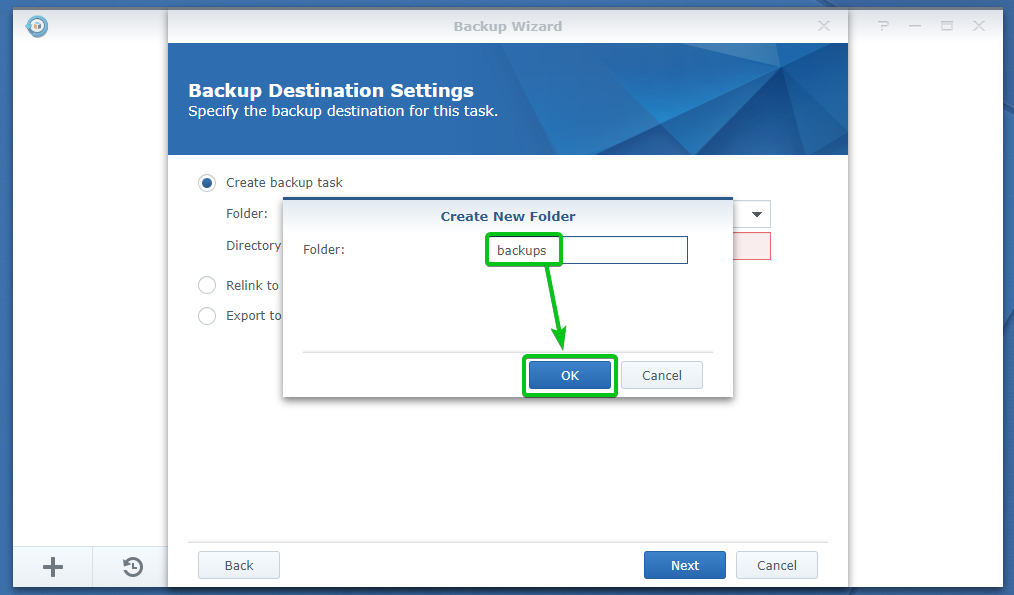
Type in a name for the folder and click on OK. I will call it backups.
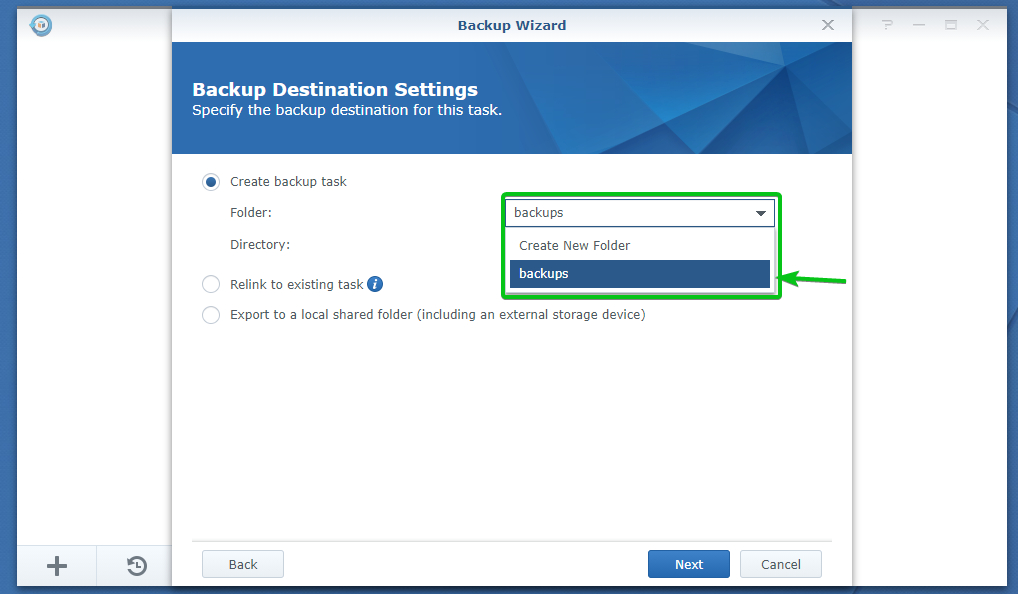
Once the new folder is created, you can select it from the Folder dropdown menu marked in the screenshot below.
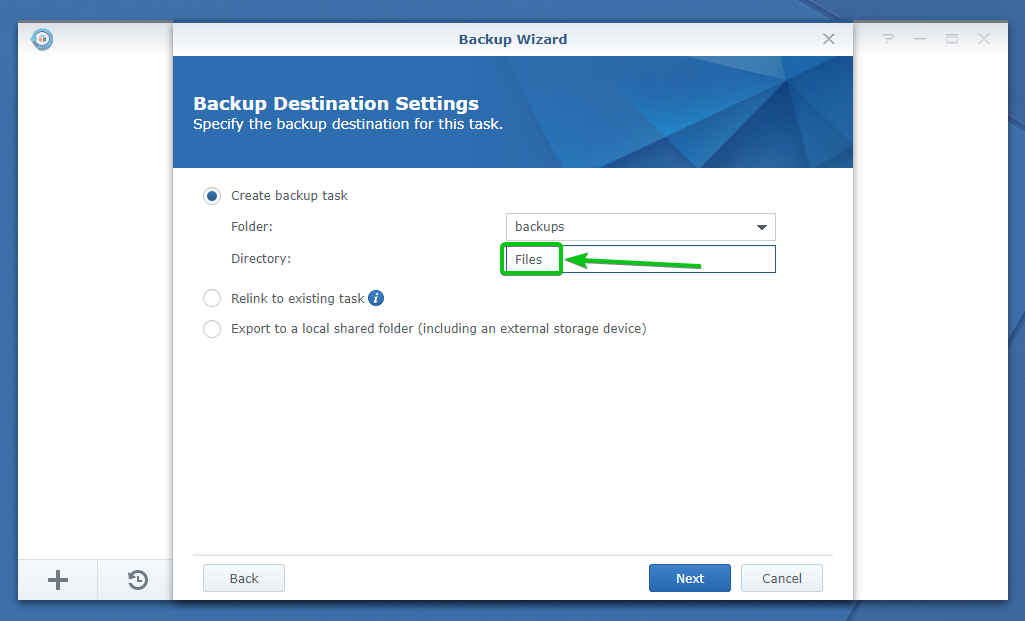
Now, type in a directory name in the Directory section as marked in the screenshot below. I will call it Files.
The backups this Hyper Backup task will take will be stored in the Files/ subfolder of the backups/ folder.
Once you’re done, click on Next.
Now, you have to select the data that you want to backup from your Synology NAS to the cloud from here.
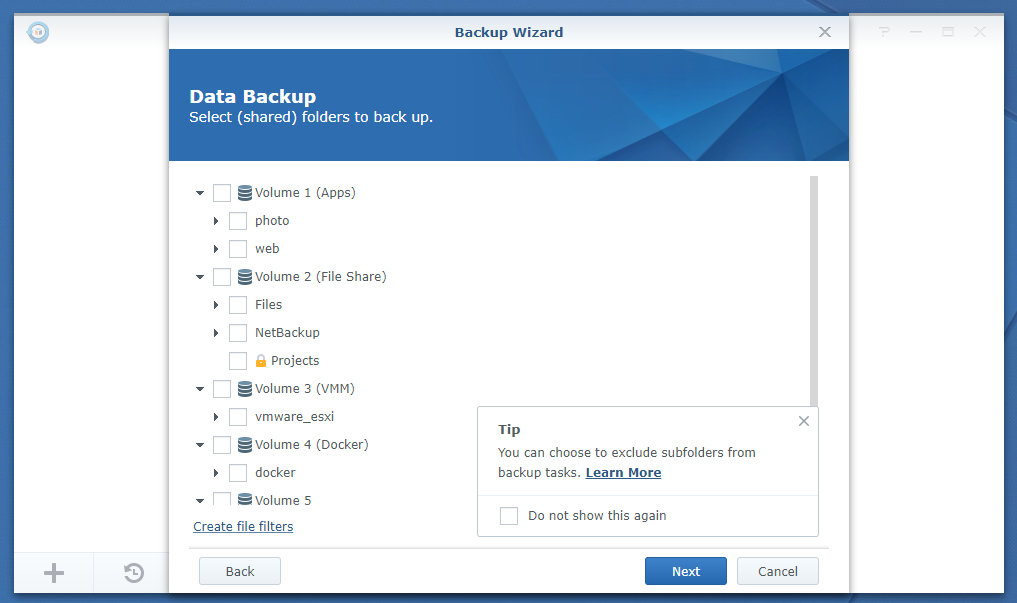
You can select one or more shared folders from here.
You can also select folders from shared folders as well.
To reveal the folders of a shared folder, click on the
![]()
icon of your desired folder as marked in the screenshot below.

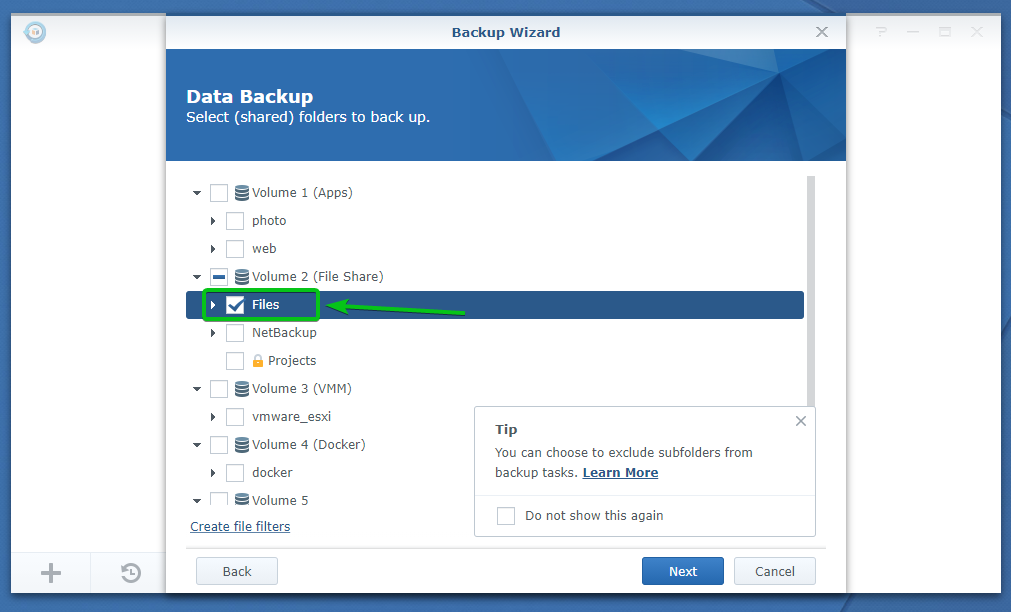
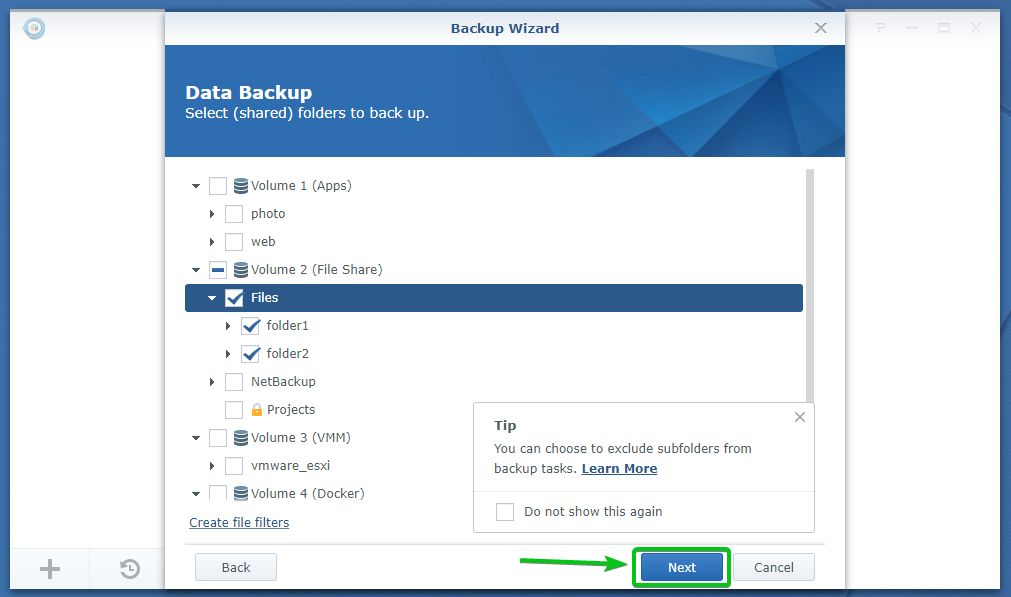
The folders of your desired shared folder should be revealed.
You can select the folders you want to include in the backup and deselect those you don’t get from here.
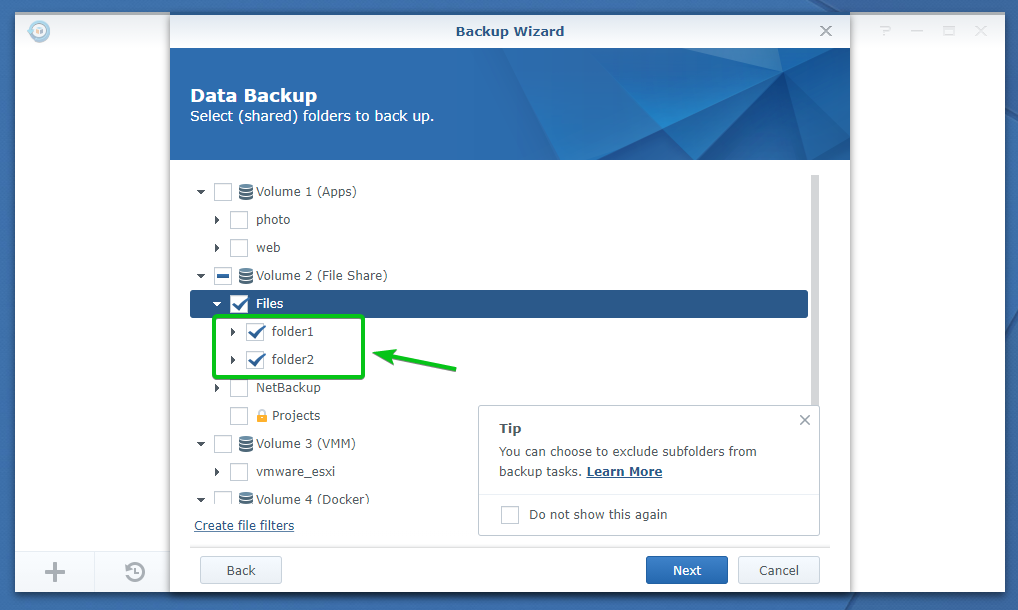
You can also create file filters to include and exclude files that match certain patterns.
To create file filters, click on Create file filters as marked in the screenshot below.

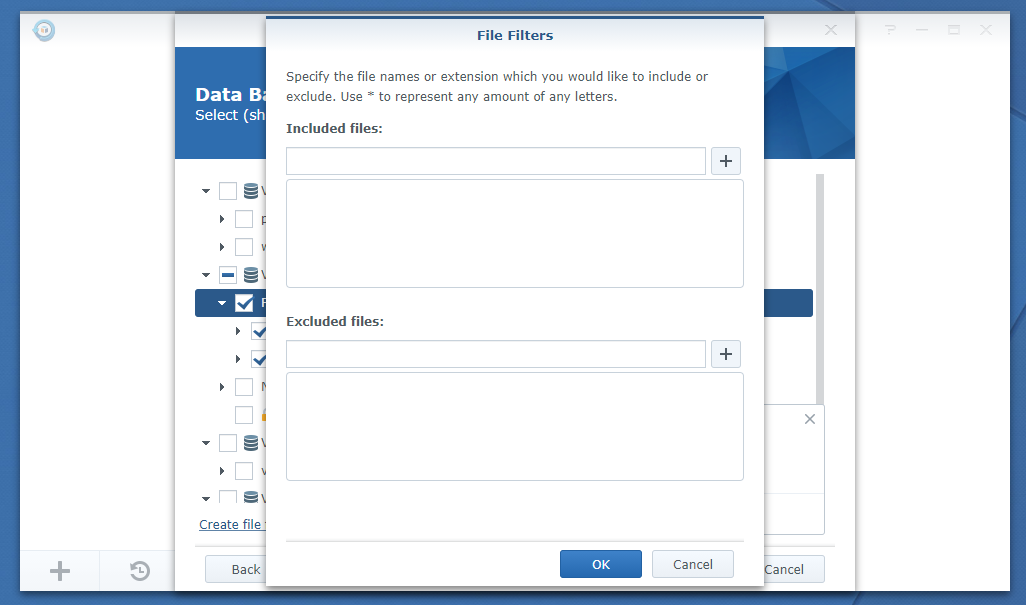
The File Filters window should be displayed. You can add, include and exclude file filter patterns from here.
The files that match the include pattern will be included in the backup. The files that don’t match the include-pattern or match the exclude-pattern will not be included in the backup.
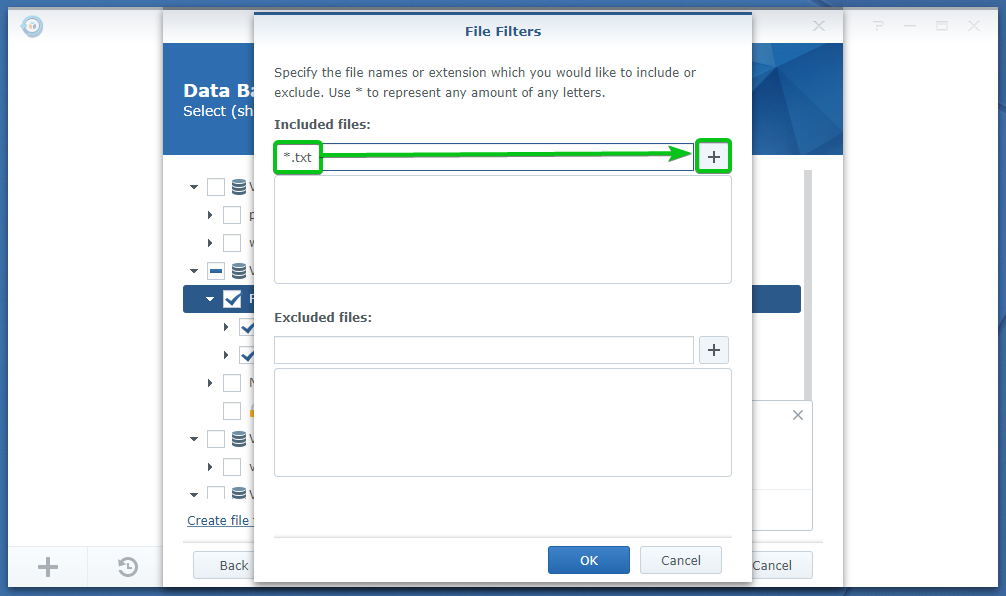
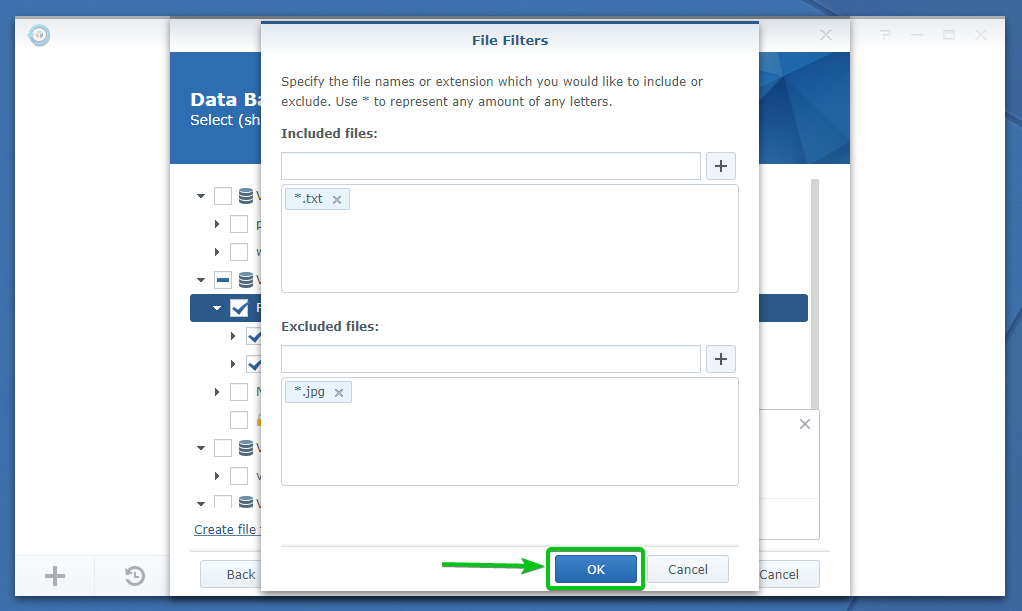
To include all the files ending with the extension txt (let’s say), type in the pattern *.txt in the Included files section and click on the + button as marked in the screenshot below.
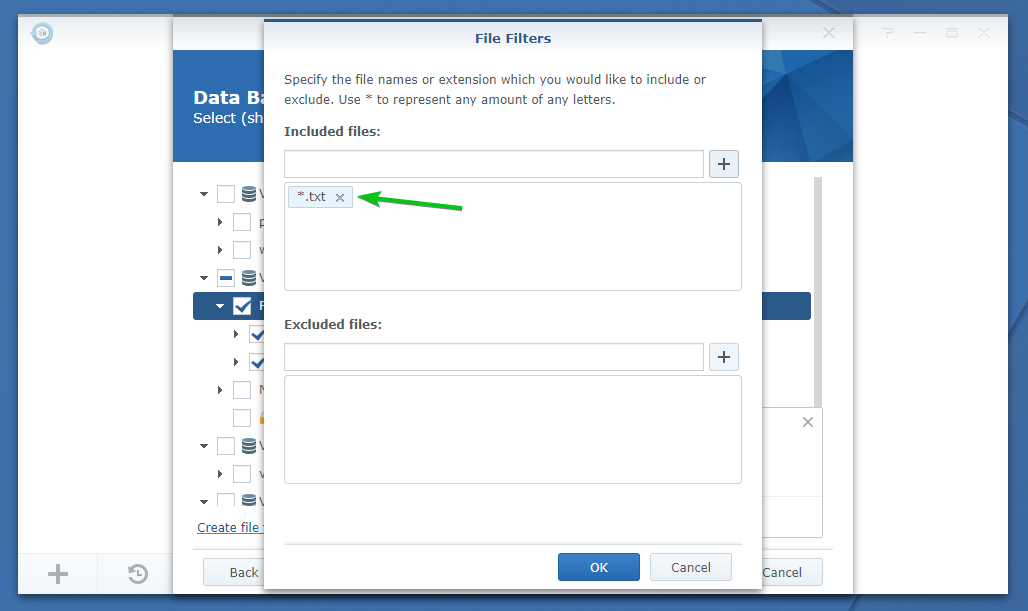
The filter pattern *.txt should be added in the Included files section, as you can see in the screenshot below.
You can add as many Included file patterns as you need.
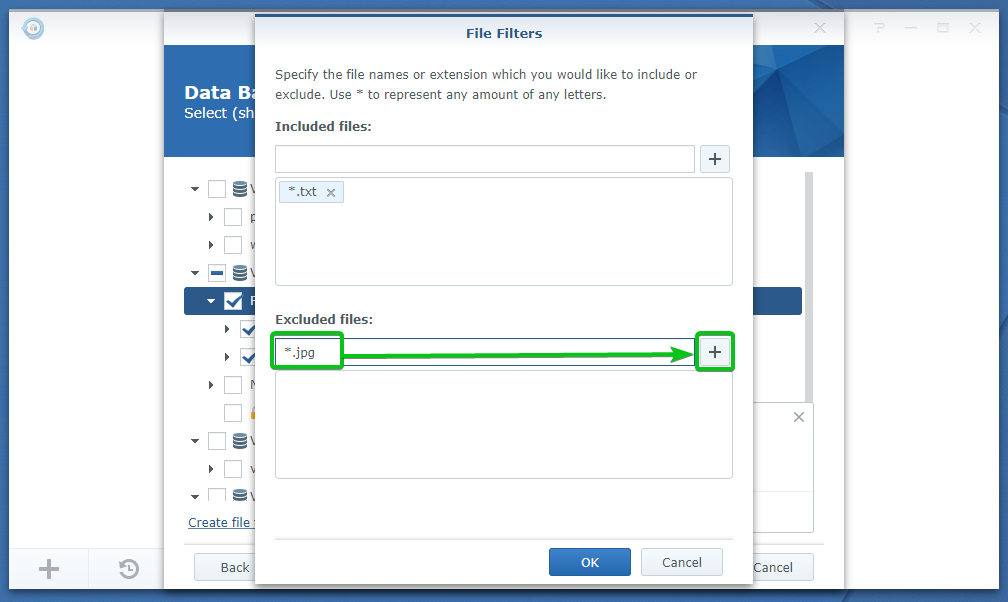
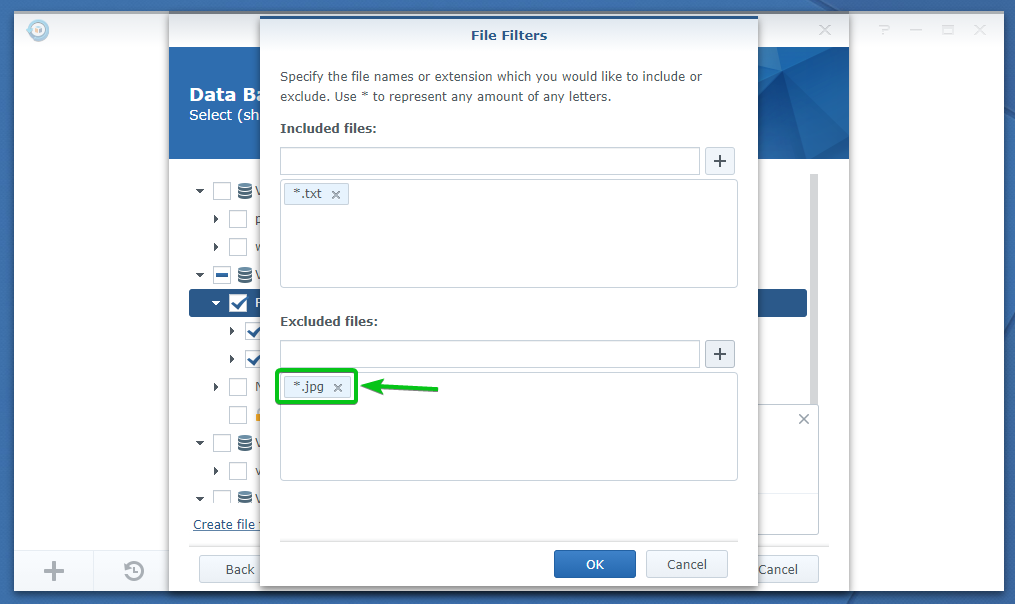
To exclude all the files ending with the extension jpg (let’s say), type in the pattern *.jpg in the Excluded files section and click on the + button as marked in the screenshot below.
The filter pattern *.jpg should be added in the Excluded files section, as you can see in the screenshot below.
You can add as many Excluded file patterns as you need.
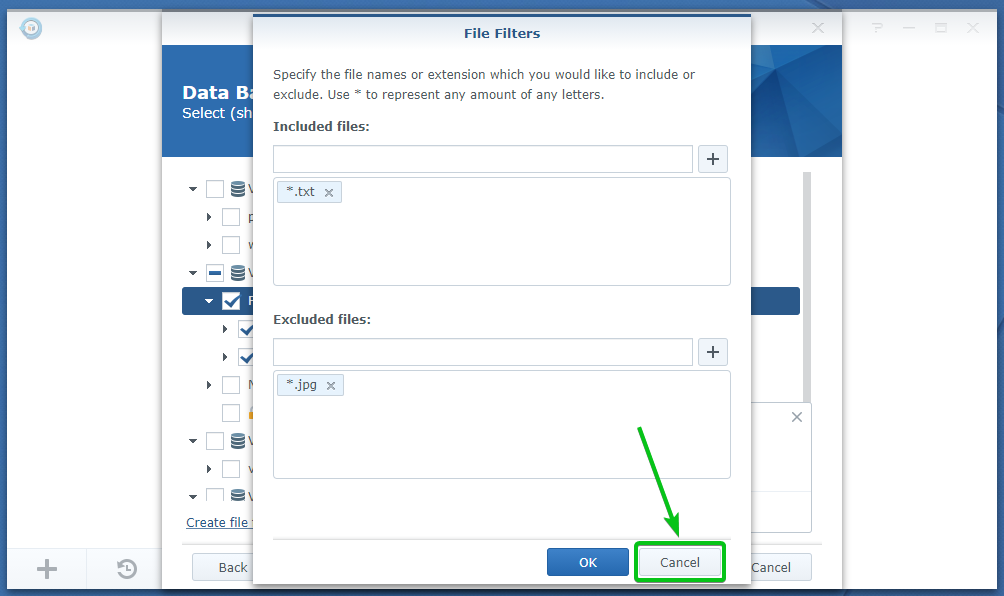
Once you’re done adding file filters, click on OK.
I will not add any file filters in this article. So, I will click on Cancel.
Once you’re done selecting the shared folders and subfolders you want to backup, click on Next.
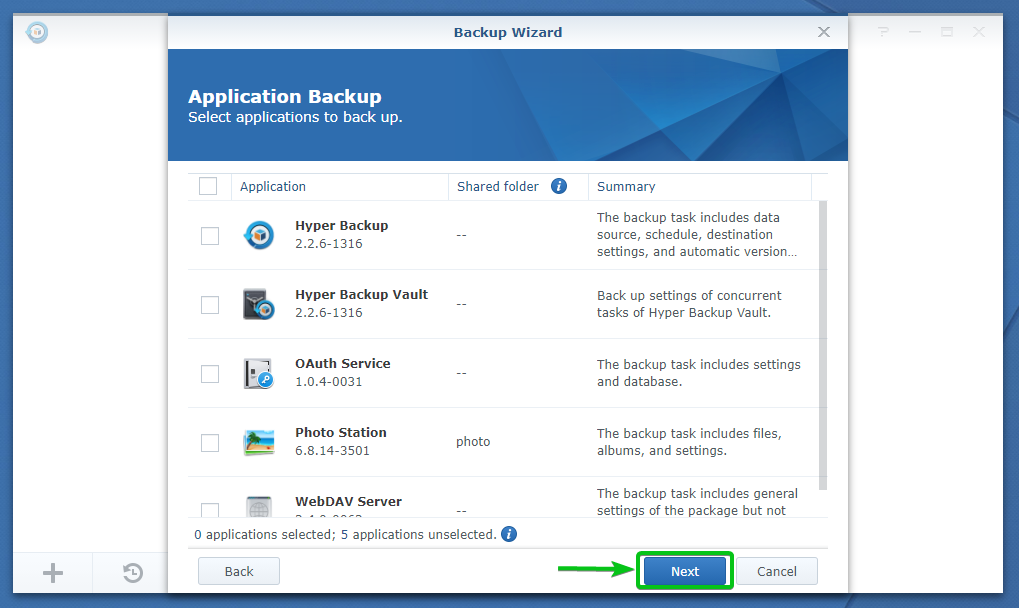
If you want to backup any apps installed on your Synology NAS to the cloud, you can select them from here.
I will not back up any apps in this article.
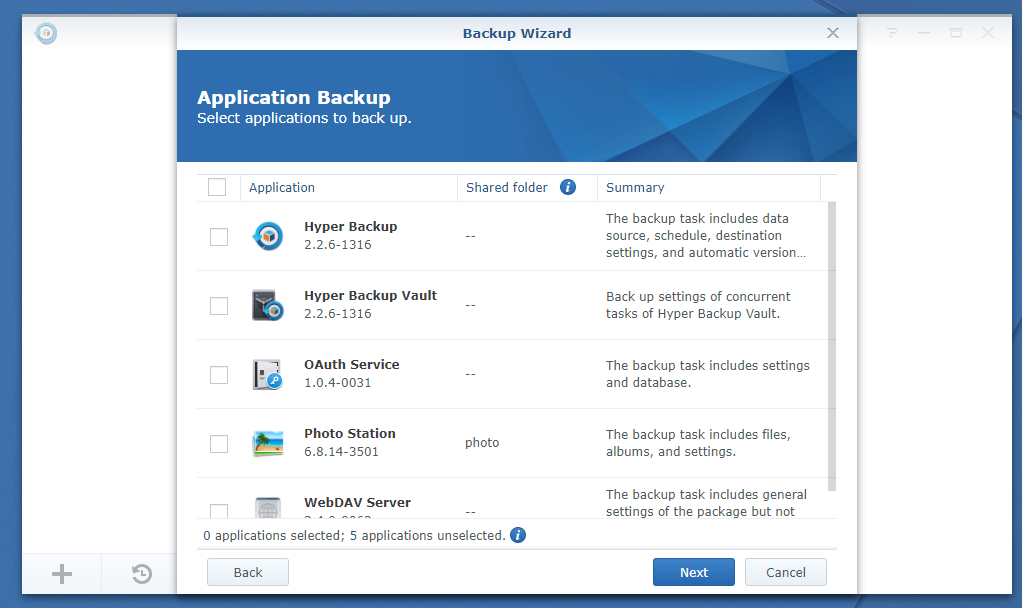
Once you’re done, click on Next.
Now, you have to configure the Hyper Backup task from here.
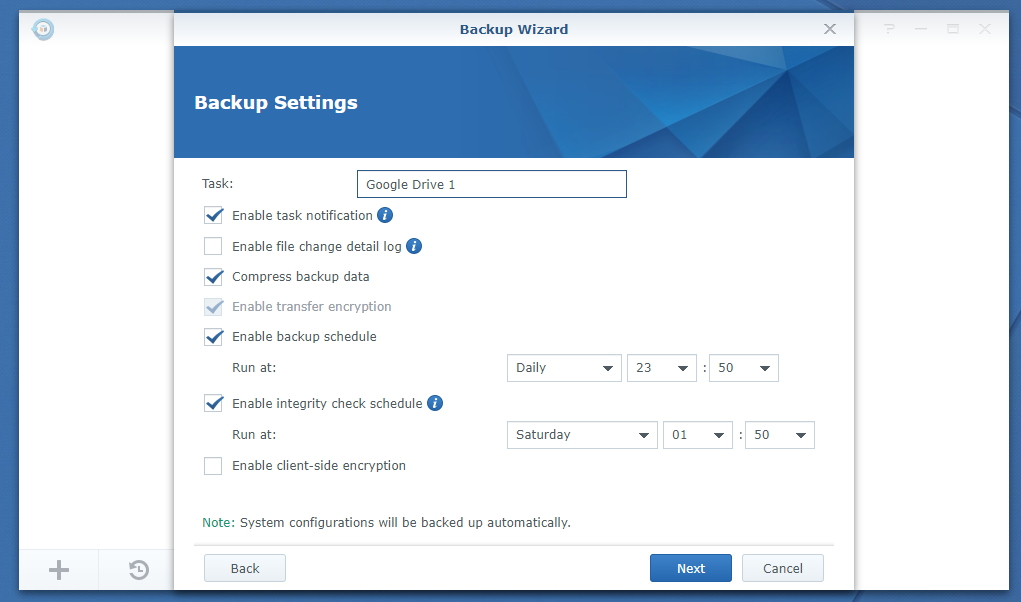
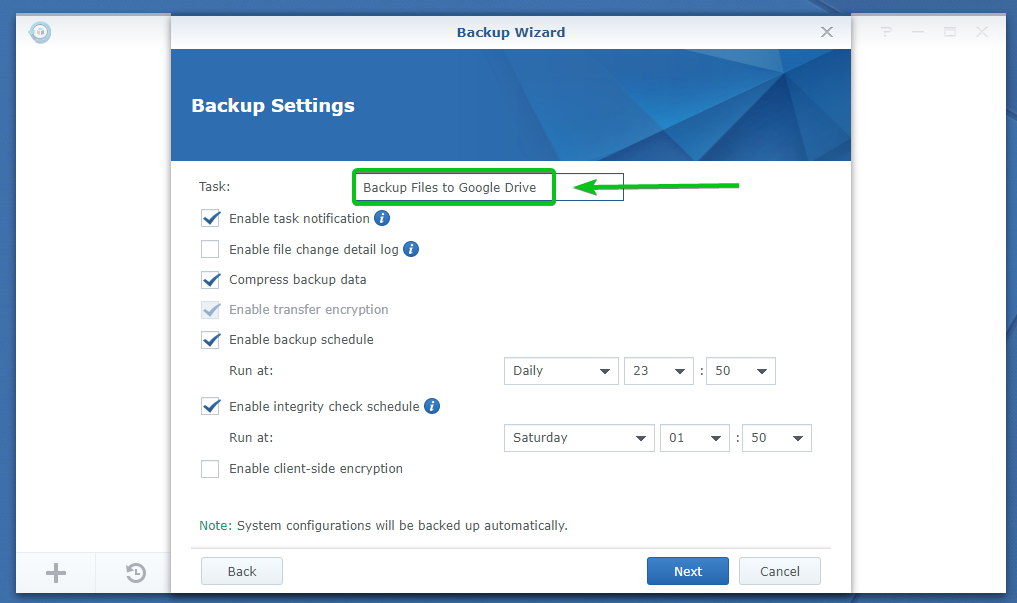
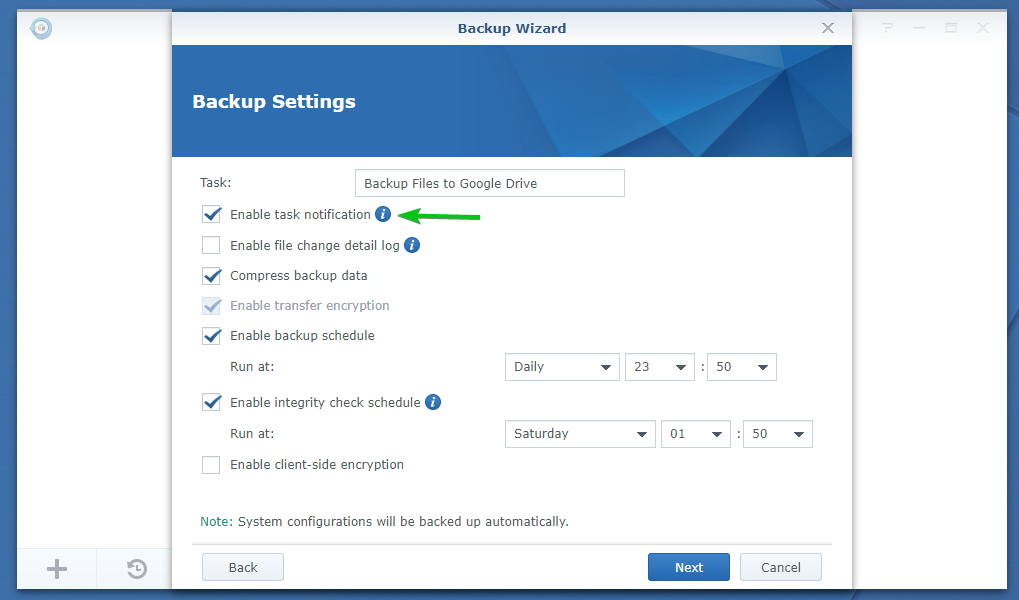
Type in a name for the Hyper Backup task in the Task section as marked in the screenshot below.
If you want Hyper Backup to send you notifications, keep the Enable task notification checkbox checked.
Otherwise, uncheck the Enable task notification checkbox.
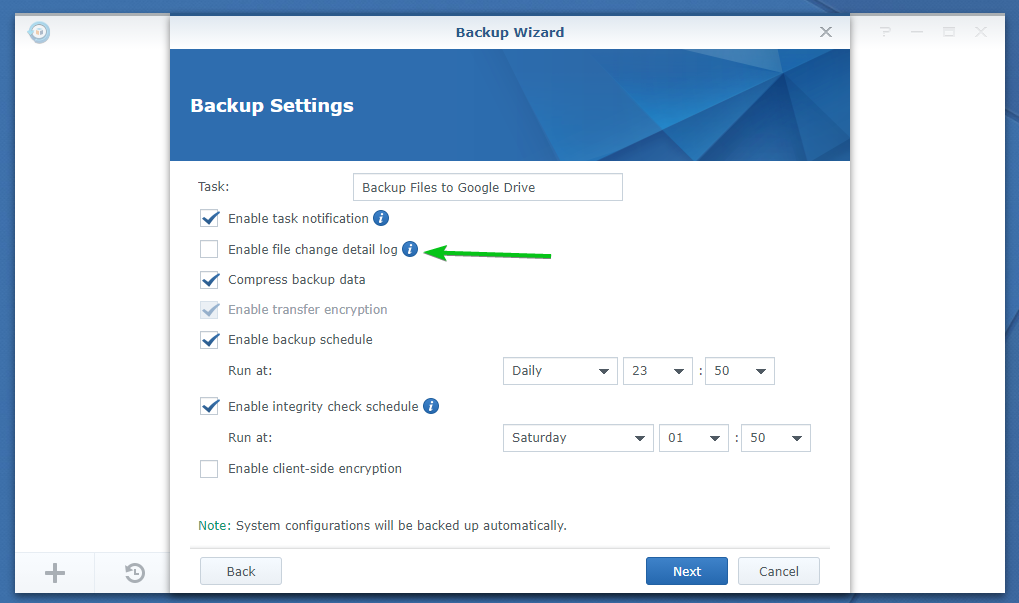
If you want to store file change detail logs, check the Enable file change detail log checkbox as marked in the screenshot below.
If you enable this option, more storage spaces will be required for each of the backups you take. When backing up data to the cloud, you must consider this as cloud services have storage space limitations.
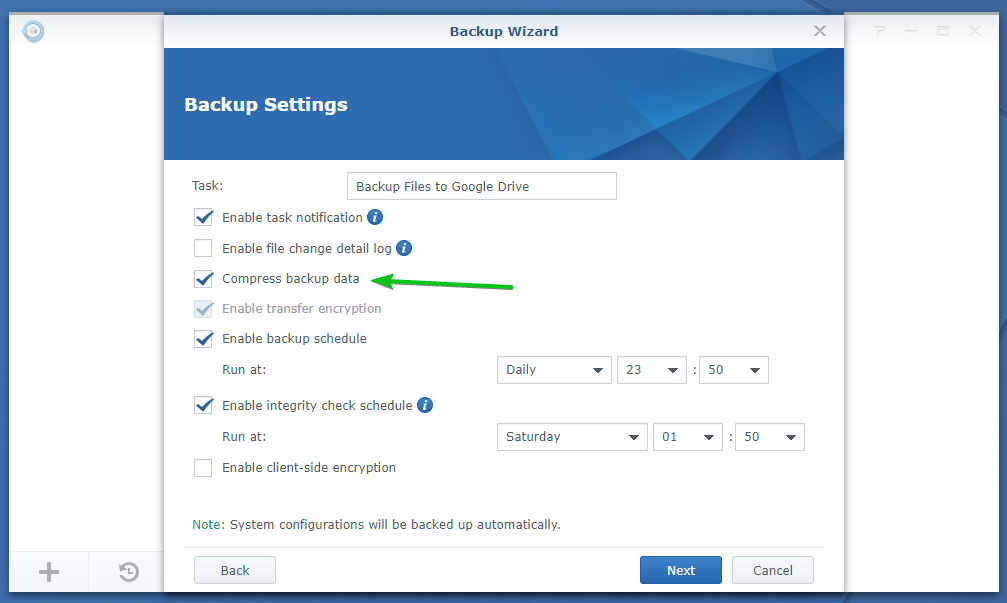
If the Compress backup data checkbox is checked, the backup data will be compressed before it is uploaded to the cloud. It will save you a lot of disk space on the cloud service you’re using to store the backups. So, you will want to keep this option checked.
If you want Hyper Backup to automatically take backups of your data, keep the Enable backup schedule checkbox checked and configure how often you want Hyper Backup to take automatic backups using the dropdown menus marked in the screenshot below.
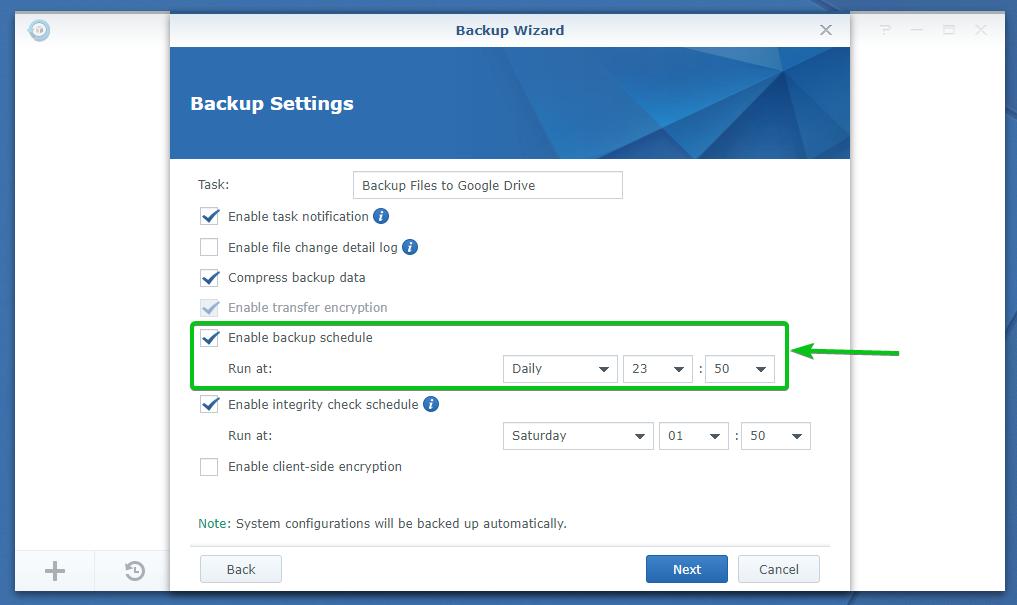
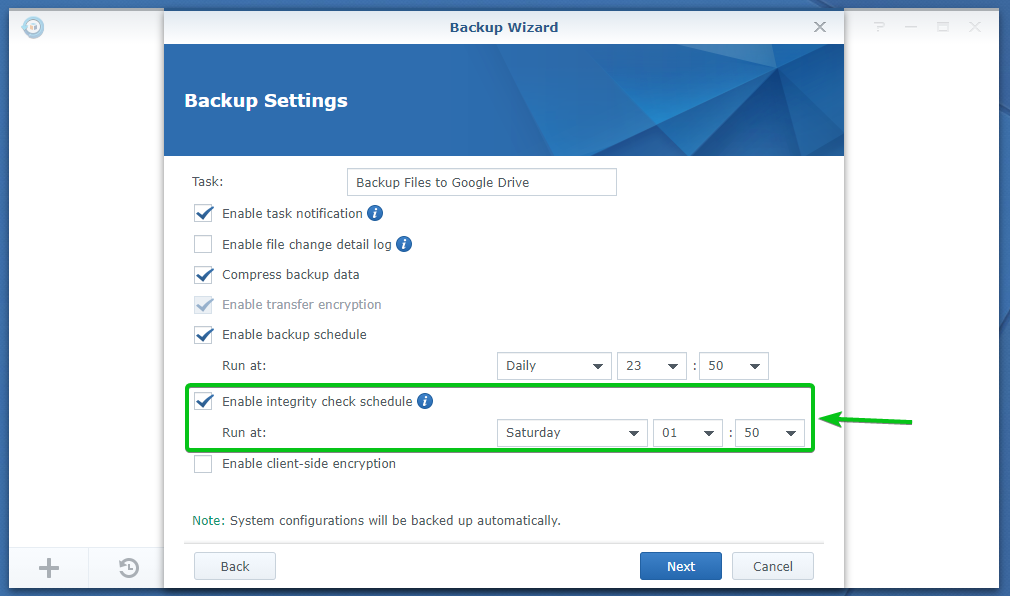
If you want Hyper Backup to check the integrity of the backups it had taken automatically, then keep the Enable integrity check schedule checkbox checked and configure how often you want Hyper Backup to check the integrity of the backups it had taken using the dropdown menus as marked in the screenshot below.
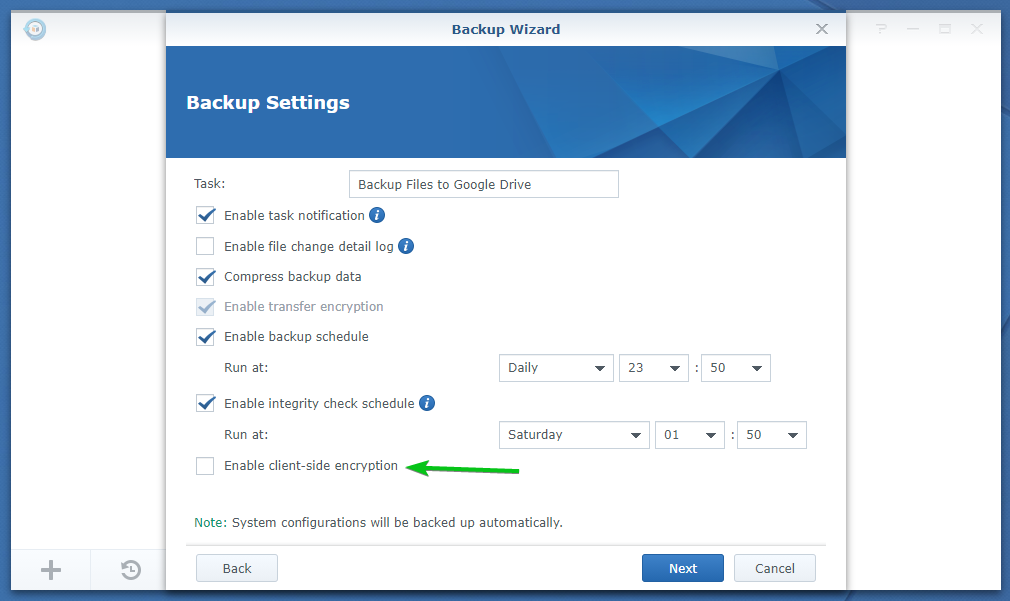
If you want to encrypt the data, you will be backing up to the cloud; check the Enable client-side encryption checkbox as marked in the screenshot below.
NOTE: You can enable encryption only when you create the Hyper Backup task. After the Hyper Backup task is created, you can’t change the encryption settings for the task.
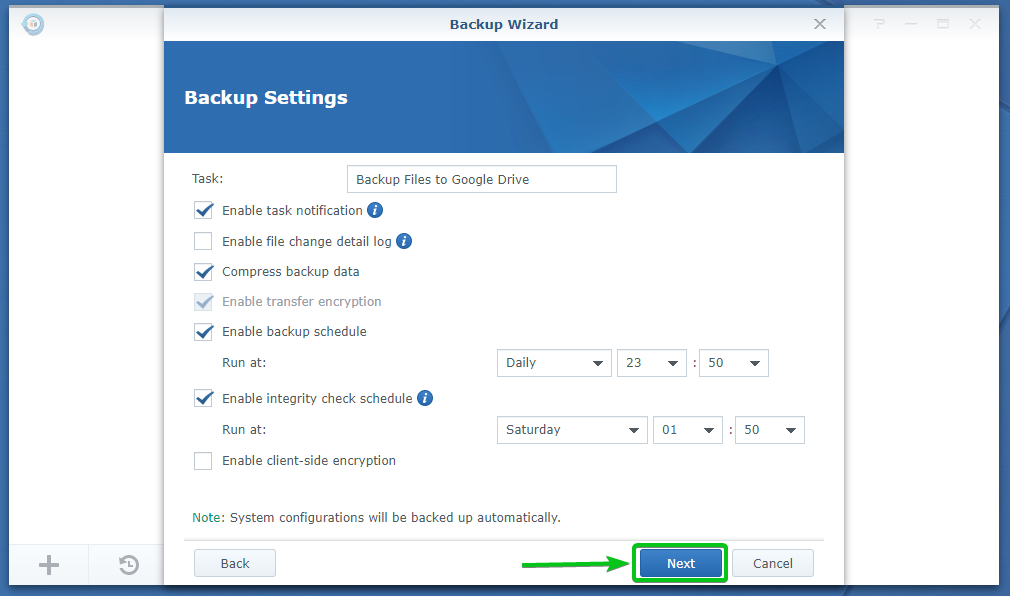
Once you’re done, click on Next.
As you want to back up data from your Synology NAS to the cloud and most of the time the storage space of your cloud service will be limited, the backup rotation settings are very important for you.
By default, all the backups the Hyper Backup task takes are stored on the cloud. But you don’t really need the backup versions that are too old. When backup rotation is enabled, Hyper Backup will automatically remove those unnecessary old backup versions for you and save storage the space requirements of your cloud service.
To enable backup rotation, check the Enable backup rotation checkbox as marked in the screenshot below.
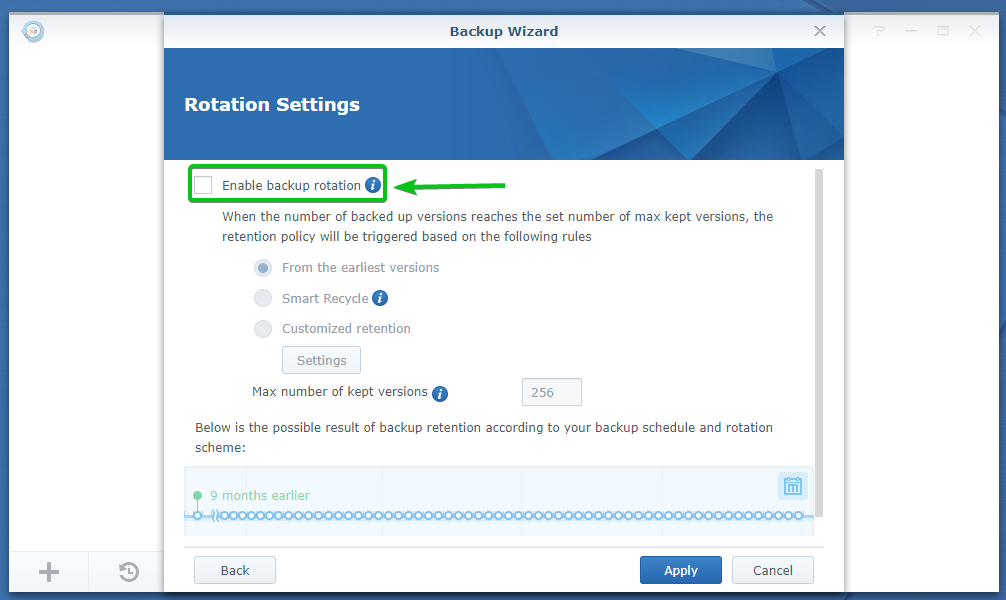
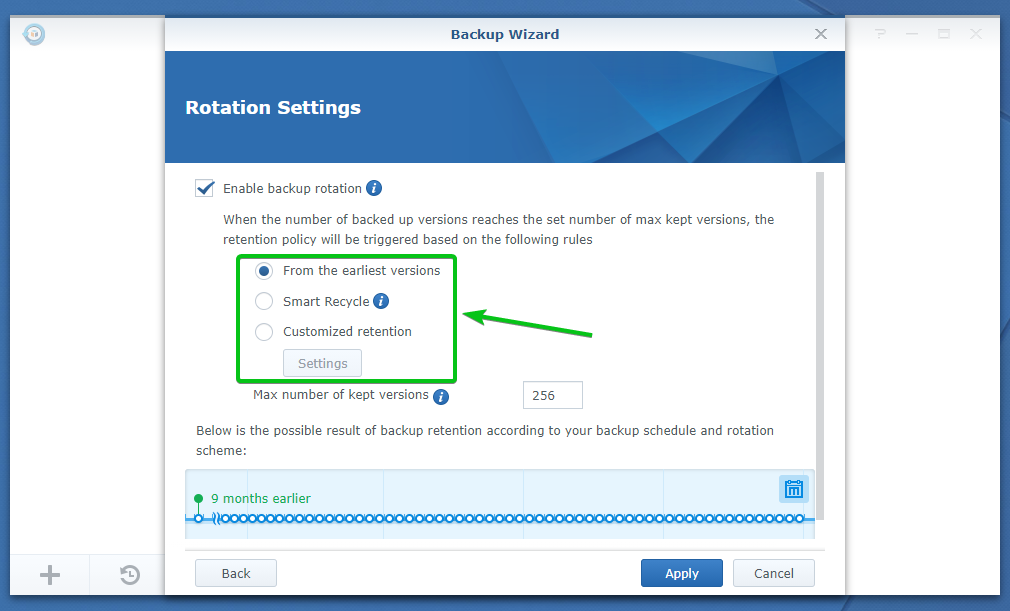
Once the backup rotation is enabled, you can select one of the retention policies marked in the screenshot below.
A retention policy is used to decide which backup versions should be removed and which ones should be kept.
At the time of this writing, Hyper Backup has 3 retention policies.
i) From the earliest versions: This is the default retention policy. This retention policy keeps the latest N number of backup versions and removes the older ones. Here, N is defined by the Max number of kept versions.
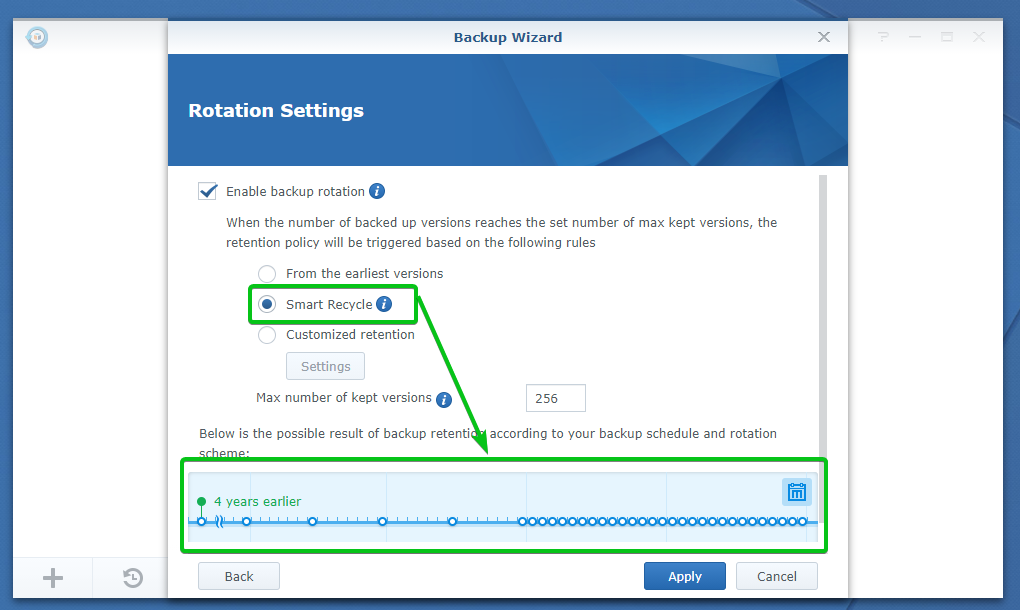
ii) Smart Recycle: This retention policy will keep N (defined by the Max number of kept versions) numbers of the latest backup versions and remove the older ones. But, some conditions will be applied to keep only the latest versions of the hourly, daily, and weekly backups. The version of the backup that meets the conditions will be kept, and if all the existing versions of the backups meet the conditions, then only the older versions will be removed, and the latest versions will be kept. It is an intelligent retention policy.
The conditions are:
Hourly versions from the past 24 hours: Keep the earliest backup version created each hour.
Daily versions from the past 1 day to 1 month: Keep the earliest backup version created each day.
Weekly versions older than 1 month: Keep the earliest backup version created each week.
iii) Customized retention: You can add retention period and versioning interval depending on your needs.
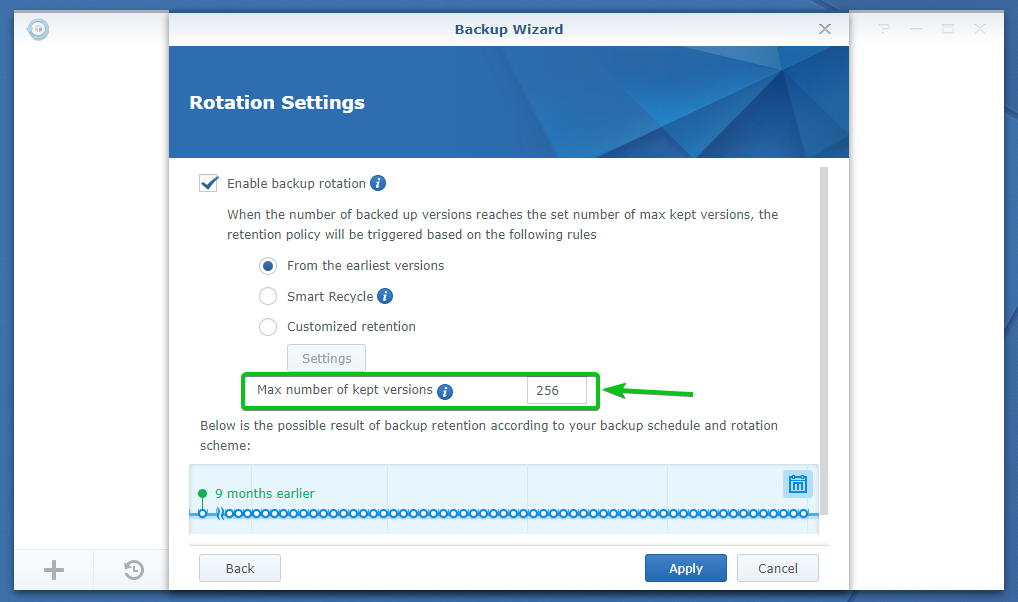
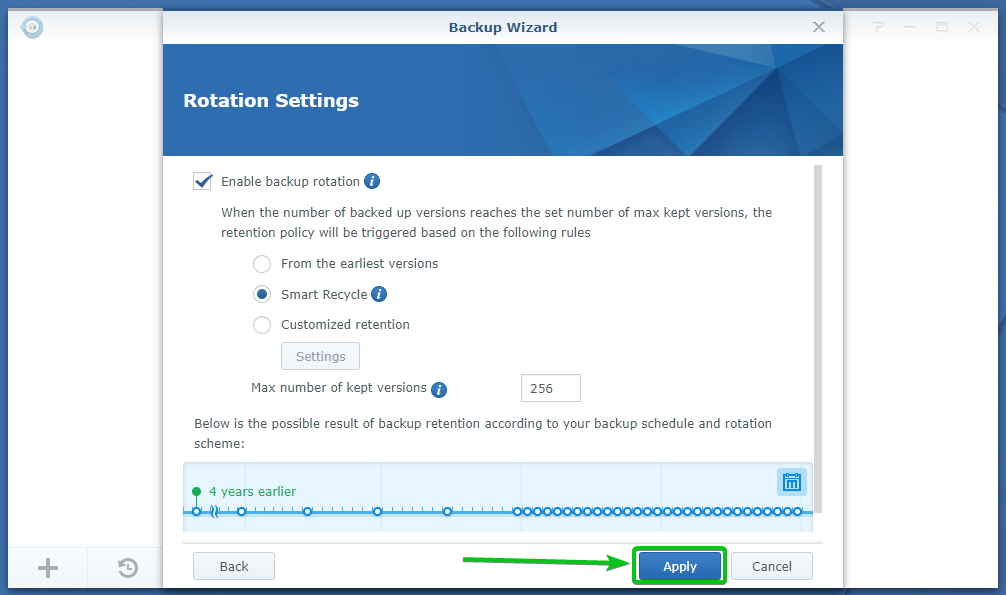
You can configure the number of backup versions you want to keep in the Max number of kept versions section marked in the screenshot below.
The timeline shows a preview of the backup versions that will be retained and the earliest recovery point.
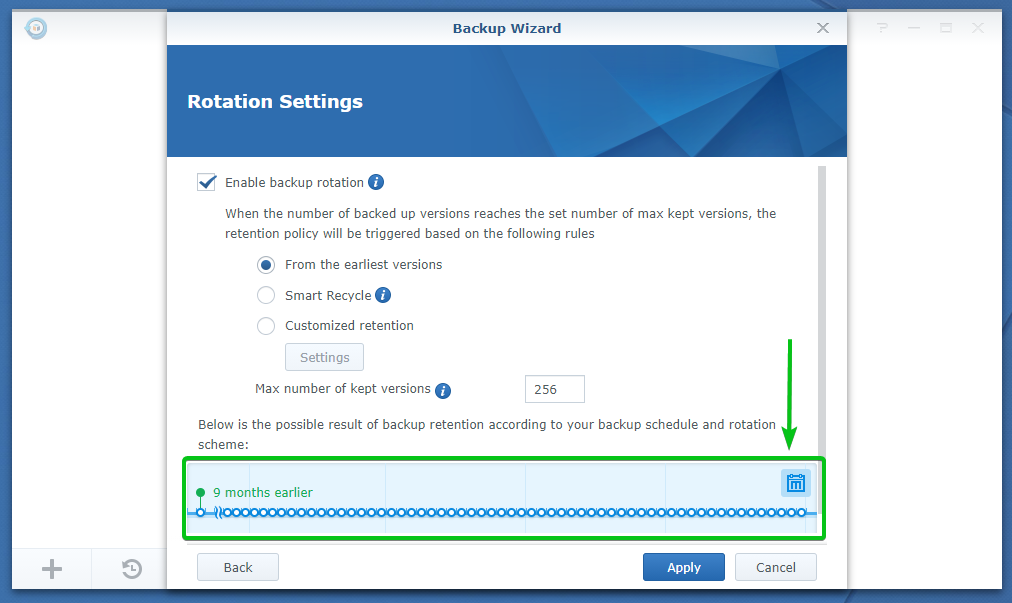
As you can see in the screenshot below, when you change the retention policy and the Max number of kept versions, the changes are reflected in the timeline preview.
Once you’re done, click on Apply.
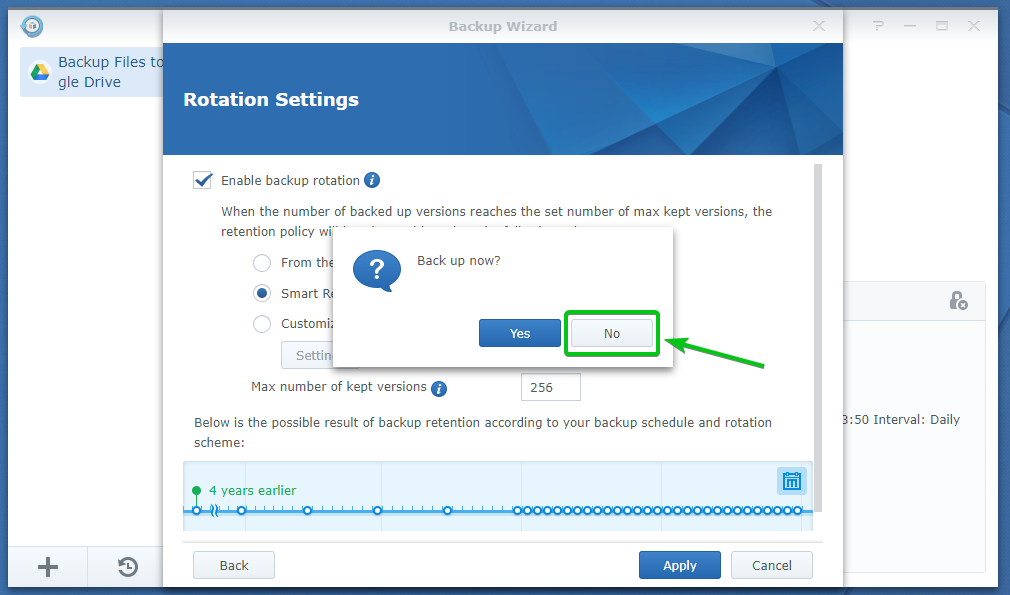
Hyper Backup will ask you whether you want to take a backup right now.
If you want to take a backup right now, click on Yes. Otherwise, click on No.
I will click on No for now.
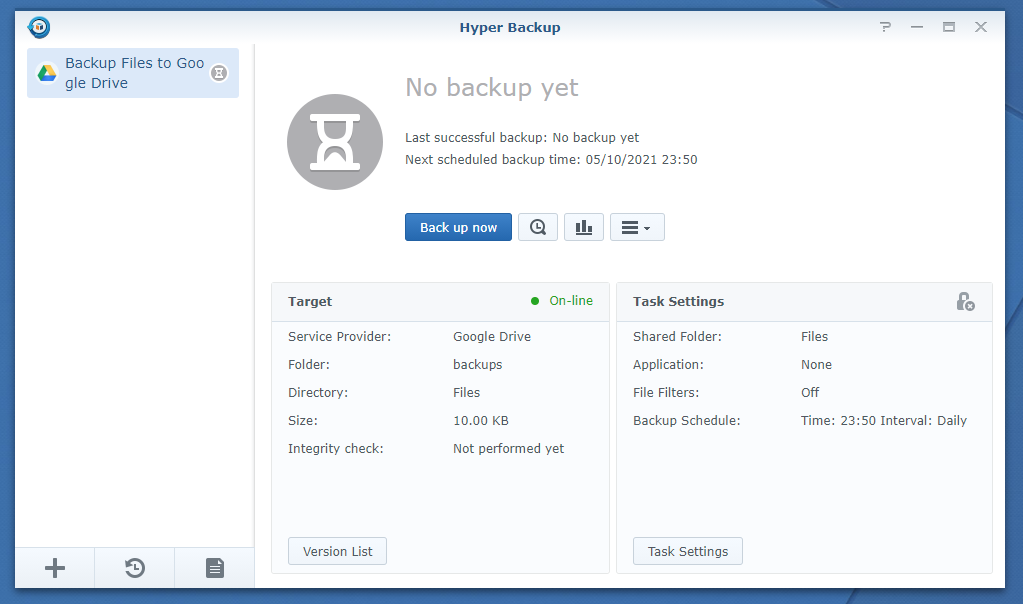
As you can see, a new Hyper Backup task is created.
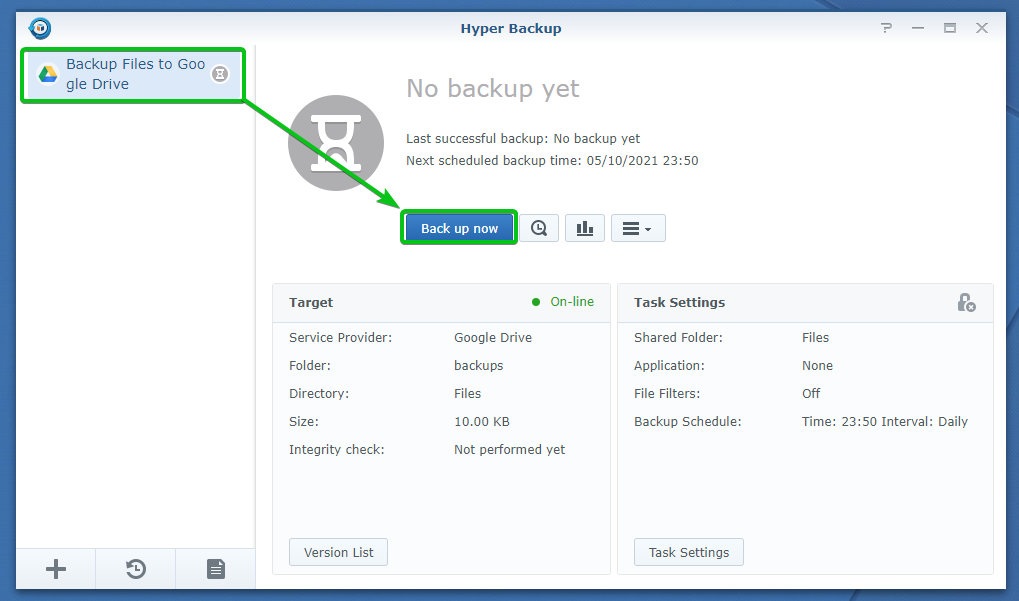
Backing Up Data to the Cloud:
To take a backup of your data from the Synology NAS to the cloud, select the Hyper Backup task you’ve just created and click on Back up now as marked in the screenshot below.
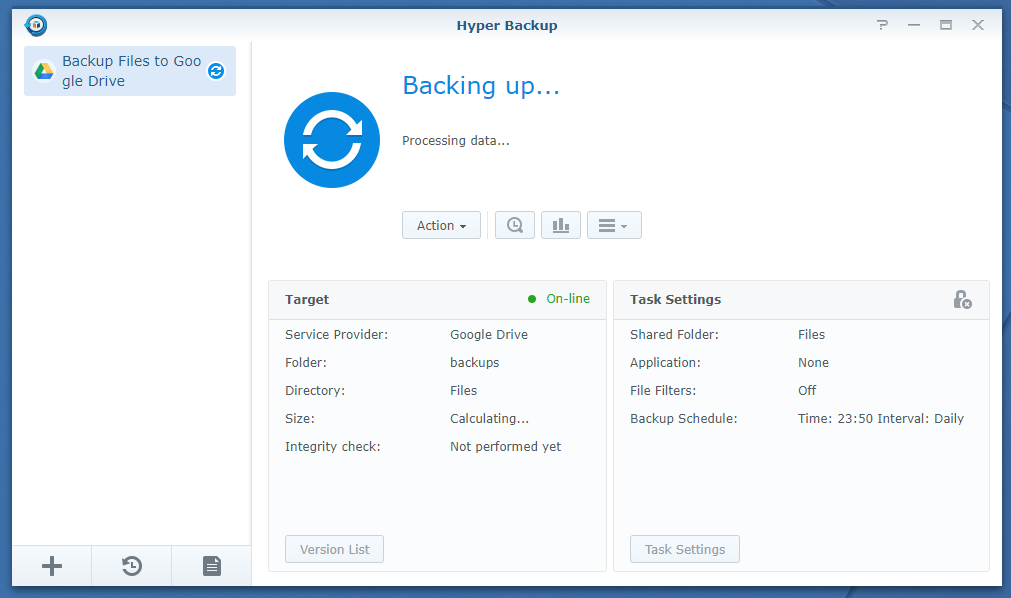
As you can see, the backup task is processing the data for backup. It may take a while to complete depending on the size of your data.
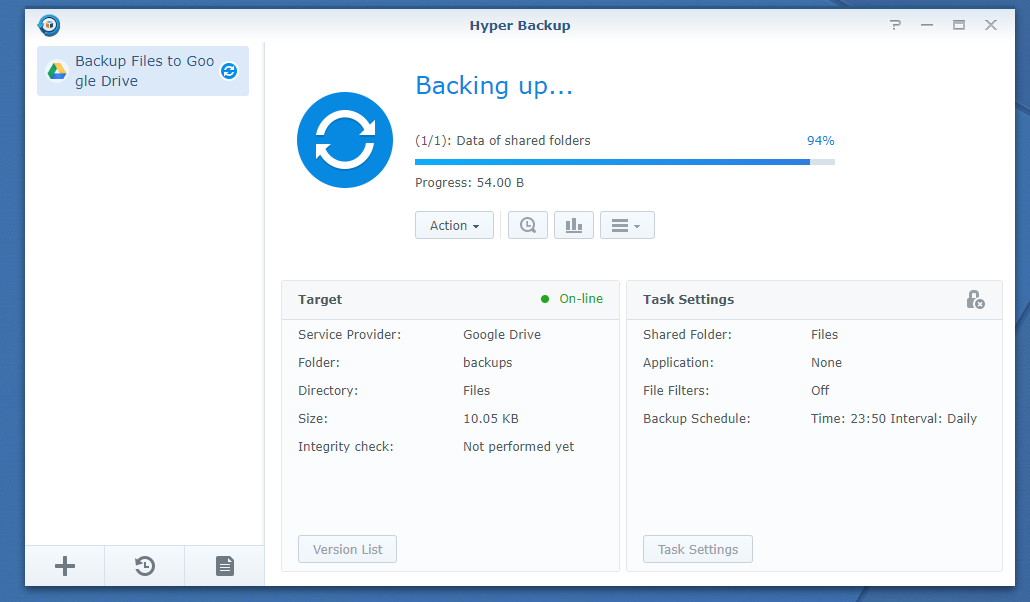
Once the data is processed, Hyper Backup should start uploading the data to the cloud. It may take a while to complete depending on the speed of your internet connection.
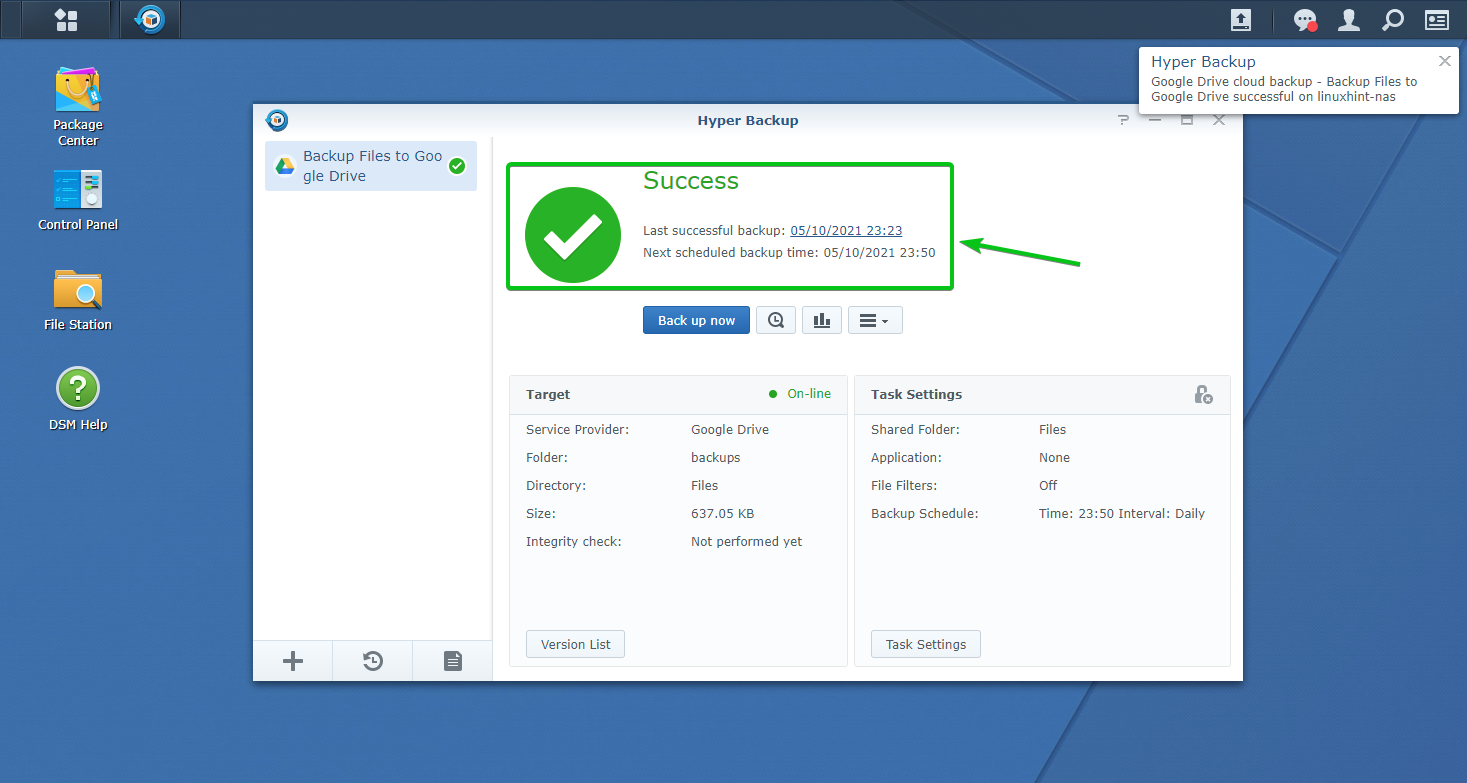
Once the data is backed up to the cloud, you should see a Success message marked in the screenshot below.
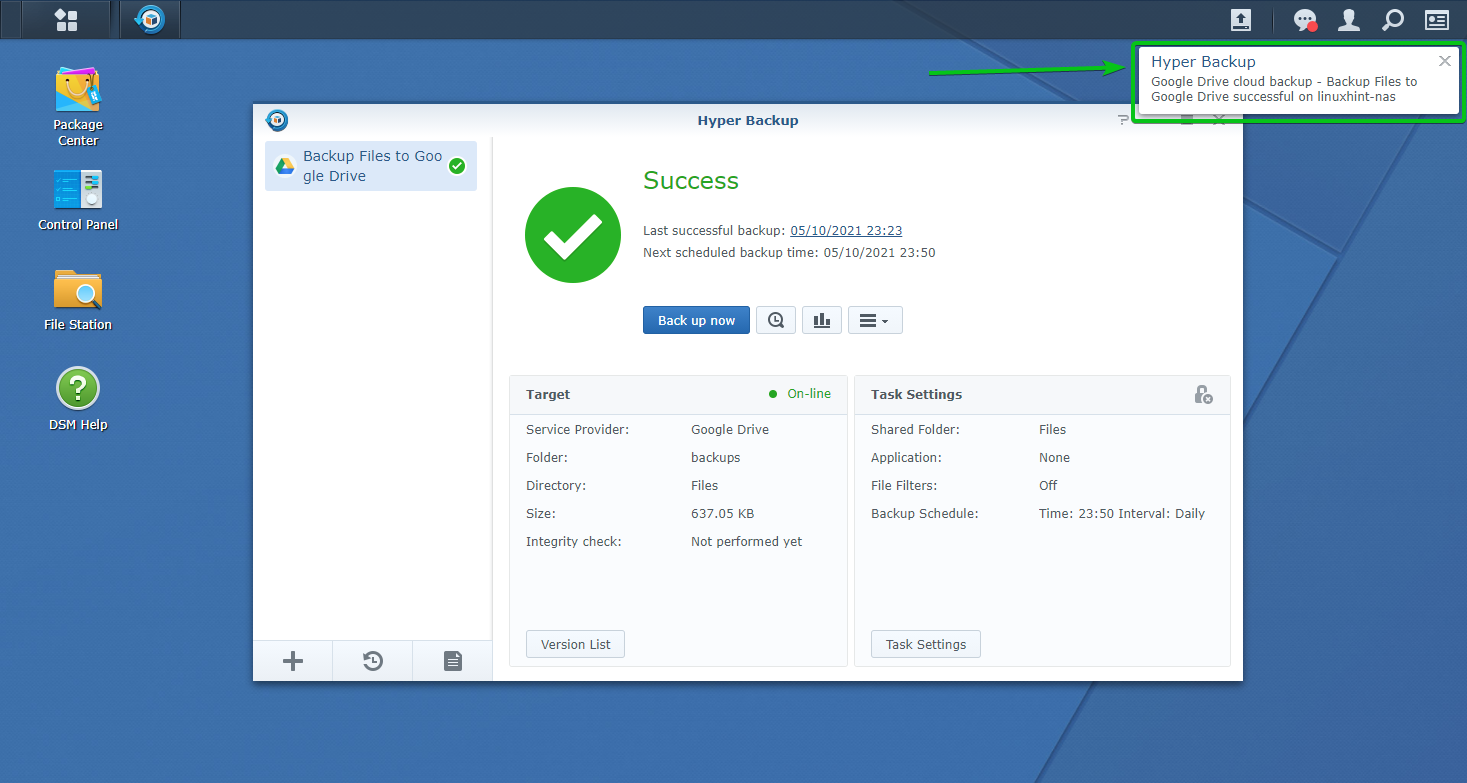
Hyper Backup should also notify you via the notification system of the Synology web management interface, as you can see in the screenshot below.
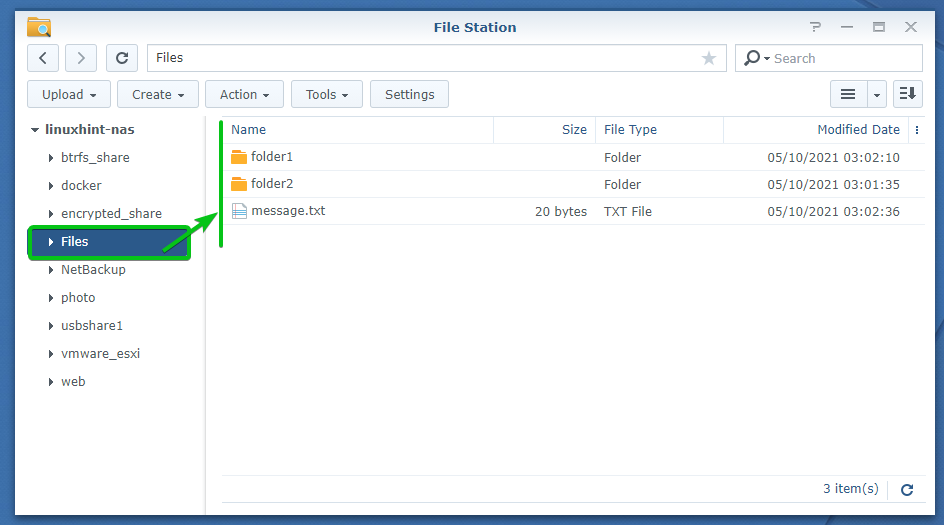
This is the shared folder that I have backed up to the cloud using Hyper Backup.
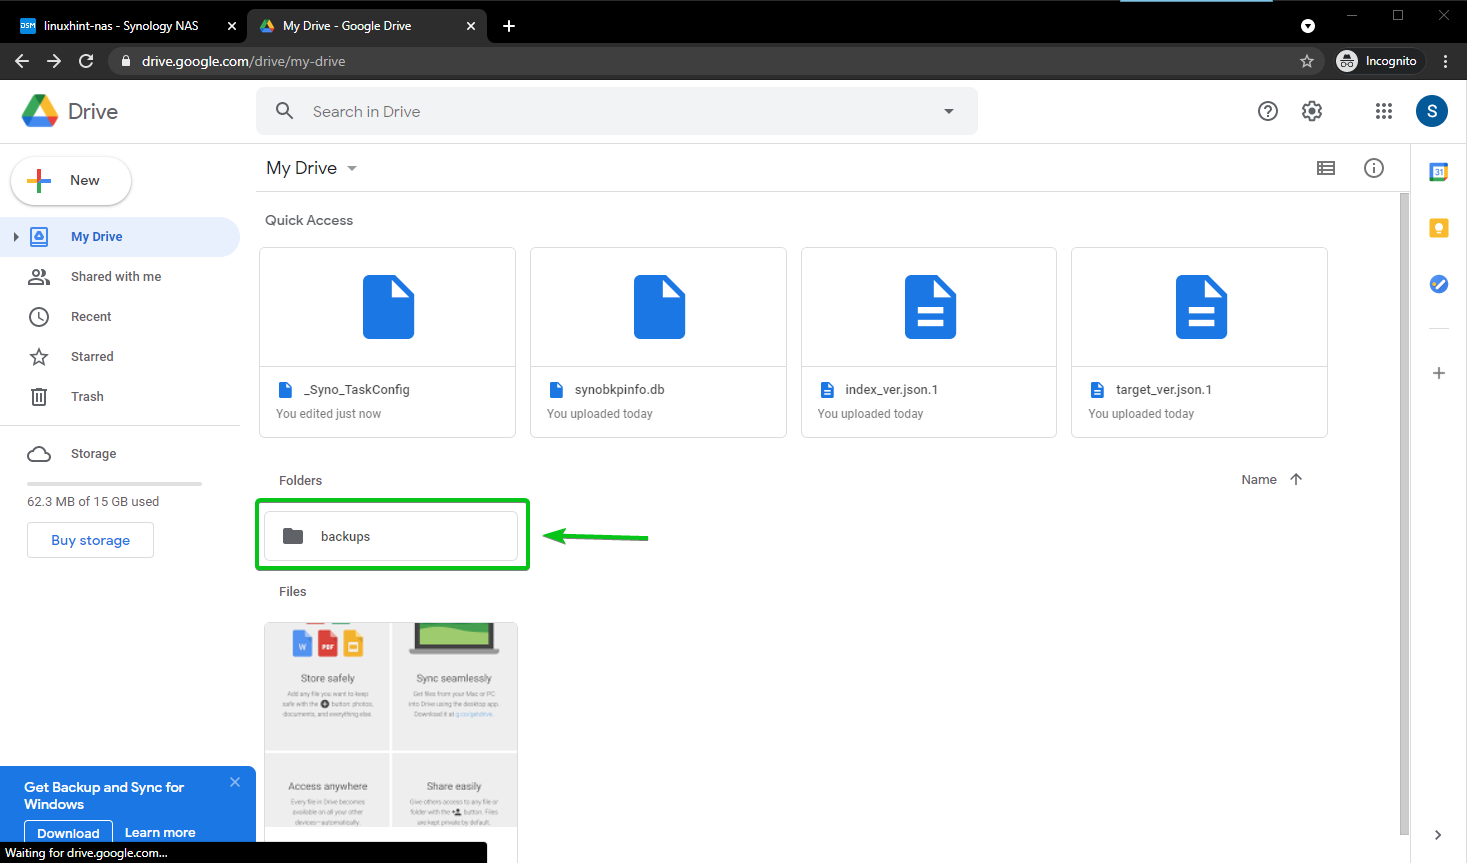
A new folder backup/ is created on my Google Drive, as you can see in the screenshot below.
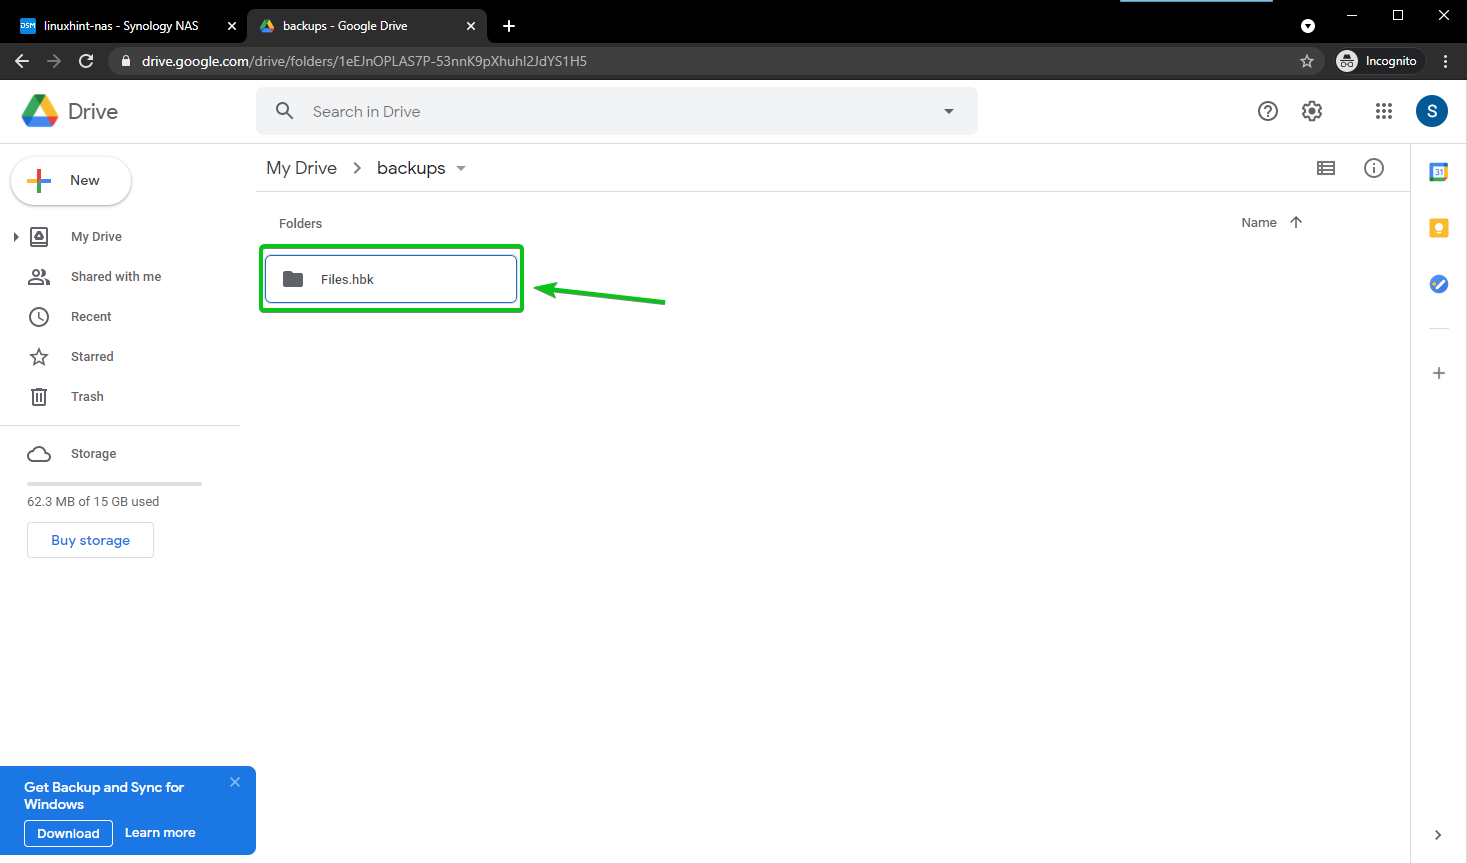
In the backups/ folder, another folder Files.hbk/ is created.
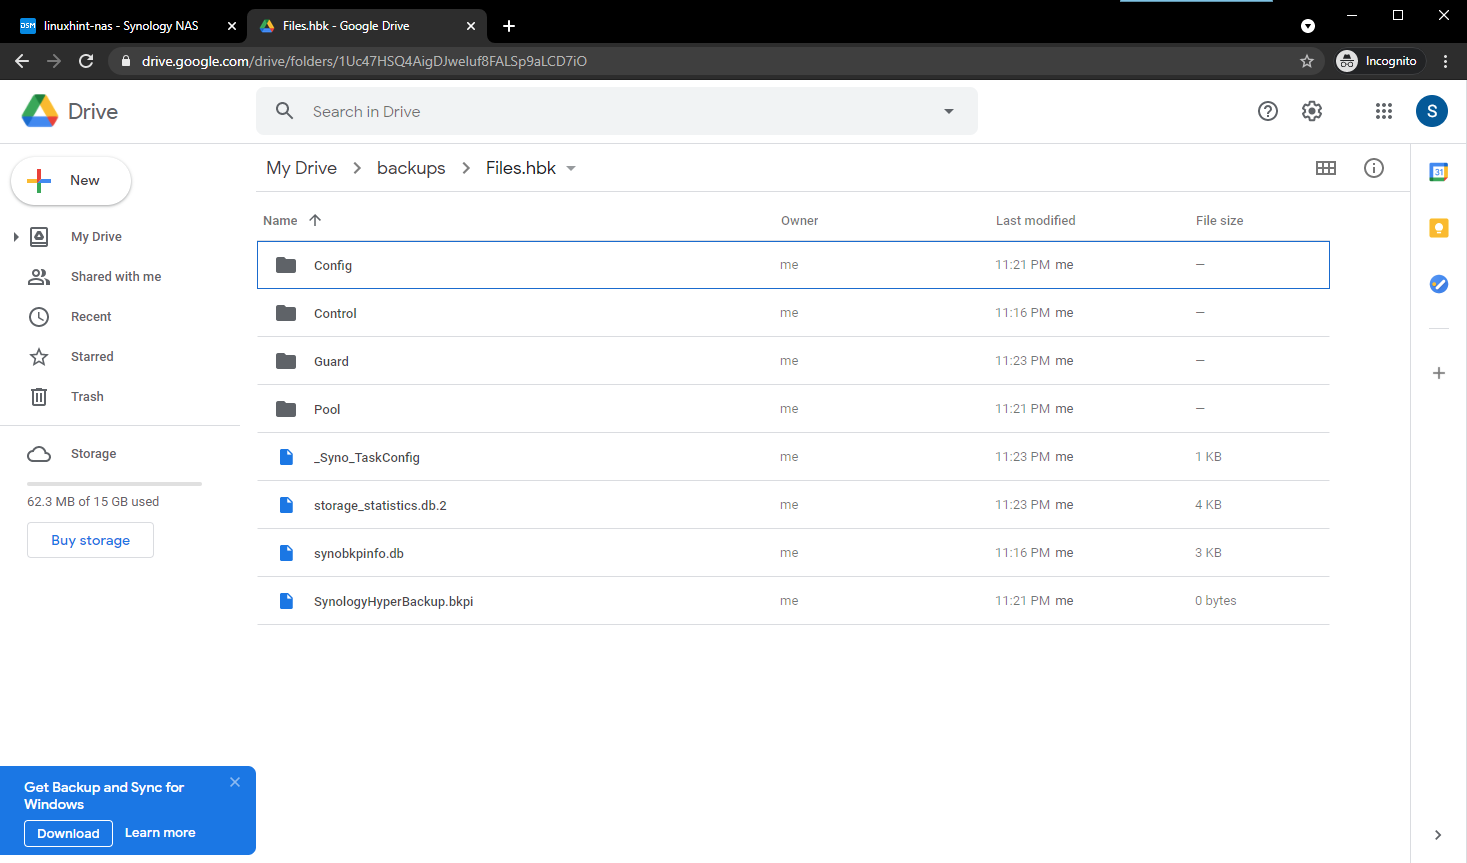
The backup is stored in the Files.hbk/ folder, as you can see in the screenshot below. You won’t make any sense of your data from these files as Hyper Backup stores them in its own format.
Restoring Data from Backups:
You can also restore the data you’ve backed up to the cloud with Hyper Backup. To learn how to restore data from backups with Hyper Backup, read the Restoring Data from Backup section of the article How to Use Synology Hyper Backup.
Where to Go Next?
You can do many other things with Hyper Backup. For example, you can check backup statistics, browse files/folders from your cloud backups, manage different backup versions, check the integrity of the backup, modify your backup task, and so on.
To learn about these features of Hyper Backup, read the article How to Use Synology Hyper Backup.
Conclusion:
This article shows you how to create a Hyper Backup task to backup data from your Synology NAS to Google Drive. I have also shown you how to take a backup of your data from your Synology NAS to the cloud. After you’ve read this article, you should be able to backup data from your Synology NAS to other cloud services like Dropbox, Amazon S2, Microsoft Azure, etc., with Hyper Backup as well.