What is Automatic1111 and What are its Key Features?
Automatic1111 has been packed with a long list of amazing features. We have listed some of the key ones here that will undoubtedly enhance your experience of Stable Diffusion:
- Automatic1111 provides users the ability to convert “text-to-image” as well as “image-to-image”. It does this by analyzing the user-uploaded image and creating its version of it.
- If you have already installed Python and Git on your system, then Automatic1111 can be set up in just a single click.
- You can use Automatic1111 to add further detail to your image either inside or outside its borders. This is called “inpainting” and “outpainting” and is a prominent feature of Automatic1111.
- The “Prompt Matrix” from Stable Diffusion is also utilized here allowing the user to assess which keywords have the greatest impact on the generated image.
- The “Upscale” feature is also available to increase the resolution of the image.
- With the release of Automatic1111, users can now specify which keywords within the prompt should the generator focus more on. The new “Attention” feature means that the words placed within double parentheses as such “((bowtie))” will have a greater impact on the image under process.
- This new image generator is capable of rerunning the image-to-image processing multiple times because of the “Loopback” feature.
- Users can now change the aspect ratio of the generated images even after the image has already been created. Previously, you had to enter the required aspect ratio with the prompt and could not change it afterwards.
- AI-generated images are notorious for creating distorted faces but that is no longer a concern. Automatic1111 now has a feature that can “Restore Faces” within the images to give a more realistic look.
- The “Tiling” of patterns is now also possible where you can repeat the original image as many times as specified to create the look of a tiled wallpaper.
How to Install Automatic1111 on Windows?
The installation procedure for Windows is straightforward however, the system requirements need to be kept in check. An integrated GPU is not capable of handling the processing-intensive tasks of Automatic1111 so an external GPU or a Graphics Card is mandatory. The Google Colab notebook for Automatic1111 can only be accessed after payment but it is free to use on Windows. If your system meets the minimum requirements and can effectively run Automatic1111, follow these steps for installation:
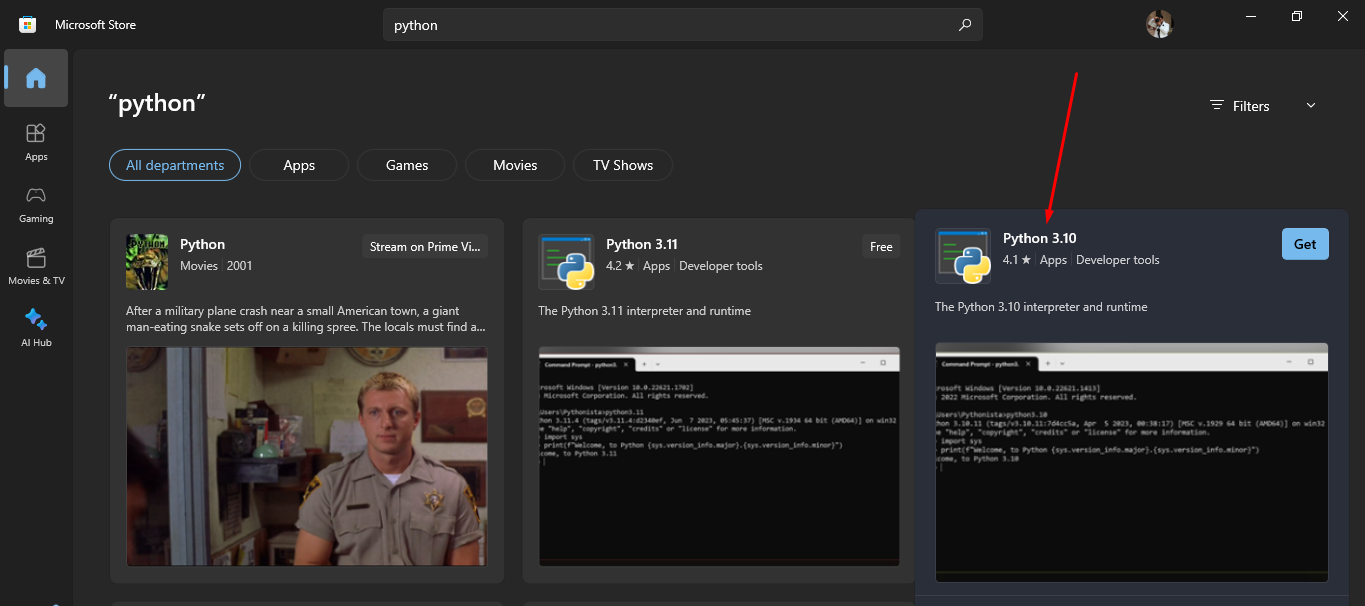
Step 1: You can start by installing Python directly from the Microsoft Store. The version 3.10 of Python is ideal as shown below:
Step 2: Next, you will have to install “Git” on your system. You can download the executable file at this link and run it as administrator for the installation:
Step 3: Now, we download the Stable Diffusion Automatic1111 Software onto the Windows system.
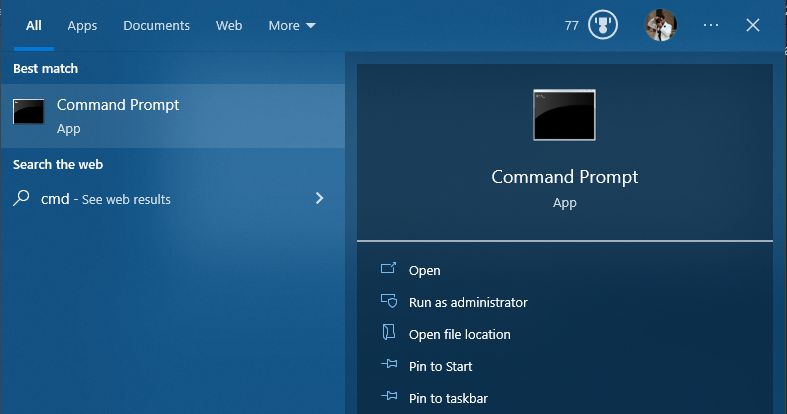
Step 4: Open the Command Prompt Window from the Start Menu as shown below:
Step 5: Type the given command in cmd to create a clone of the repository of Automatic1111 as shown in the screenshot:
Step 6: Now, download the checkpoint file “.ckpt” for Stable Diffusion that is available on the Hugging Face platform at this link.
Step 07: The last step is to run the Web User Interface and create images from the new Automatic1111 AI image generator.
Conclusion
Automatic1111 is one of the latest Web UIs released that run on Stable Diffusion. It is packed with advanced features that can put any other Stable Diffusion image generator to shame. The tricky UI is more tuned for the pro user but beginners can also try and experiment on it to unleash their creativity.


