One of the ways to interact with a Milvus cluster is using the Attu graphical manager. This recently developed tool (as of writing) allows you to manage Milvus from a graphical interface.
This tutorial covers how to use the Attu manager to show the system information about the Milvus server from the GUI interface.
Requirements:
To follow along with this tutorial, ensure that you have the following:
- Installed Milvus server on your local machine or server
- Docker 19.03 or later
- Milvus version 2.1.0 or later
Installing Attu with Docker
The first step is setting up Attu. You can use the provided Docker file to run the cluster for quick and easy setup.
Run the command as follows:
Using the provided configuration file, the previous command should launch an Attu instance in your Docker engine.
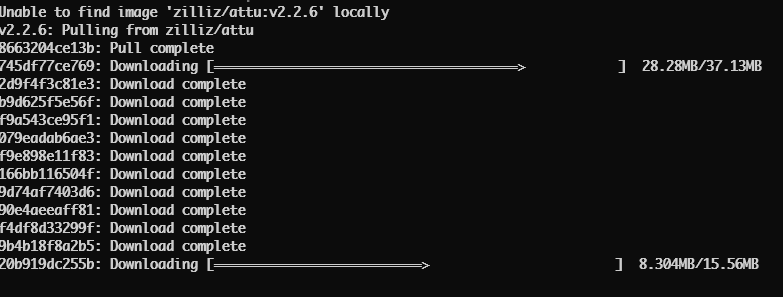
NOTE: The previous command assumes that you have a Milvus instance that is running on your local machine on the default port.
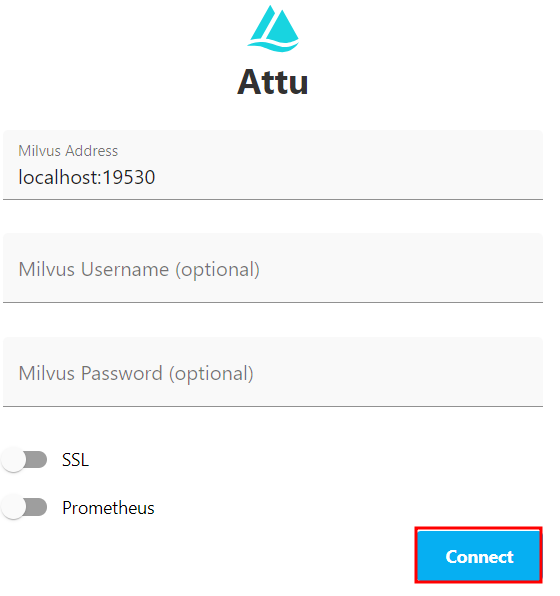
Once started, open your browser and visit http://localhost:8000. Next, click on “Connect” to enter the Attu service.
Installing Attu with the Debian Package
You can also download the installer package on your system and install it manually. Start by downloading the installer:
Once downloaded, run the following command to install it.
Show the System Information Using Attu
Once logged into the Attu manager, navigate to the “System View” section on the left-hand pane.
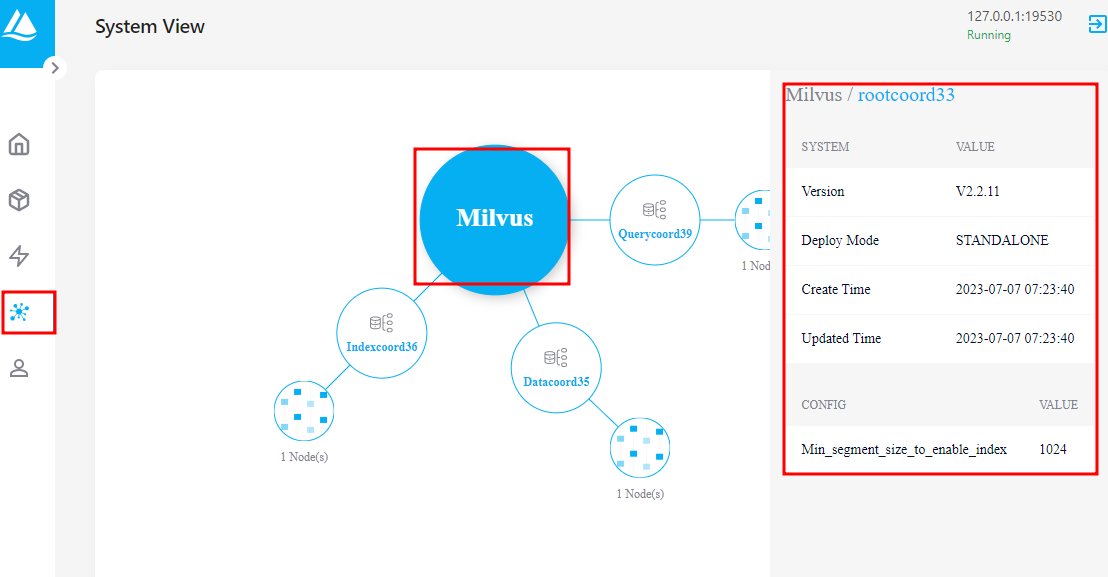
In the “System View” pane, locate the node whose information you wish to gather. This should automatically load the system information on the right-hand pane.

Conclusion
In this short post, we explored how to install the Attu manager for your Milvus cluster, how to connect to the Milvus server, and how to use it to show the system information about data nodes in the Milvus cluster.