Hence, if you are working on a document processor (LaTeX), adding a line spacing between the text is good. However, many users don’t know how to do it. So, let’s look at the methods on how to add a line spacing in LaTeX.
How to Add a Line Spacing in LaTeX
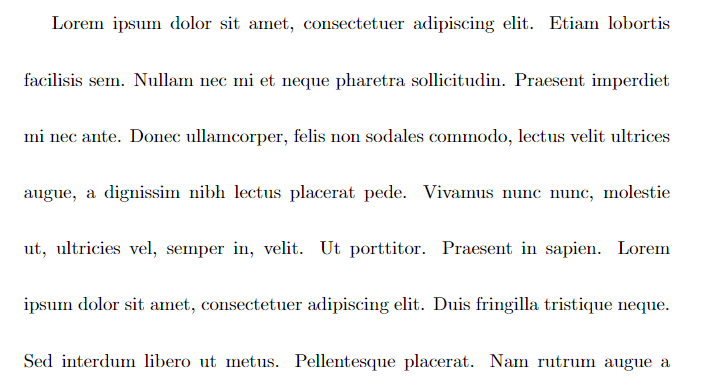
First, we use the {setspace} \usepackage and {\baselinestretch} to add a line space:
\usepackage{blindtext}
\usepackage{setspace}
\renewcommand{\baselinestretch}{2.5}
\begin{document}
\blindtext
\end{document}

Output:
In the given source code, we entered the line spacing of 2.5. But you can change the number accordingly.
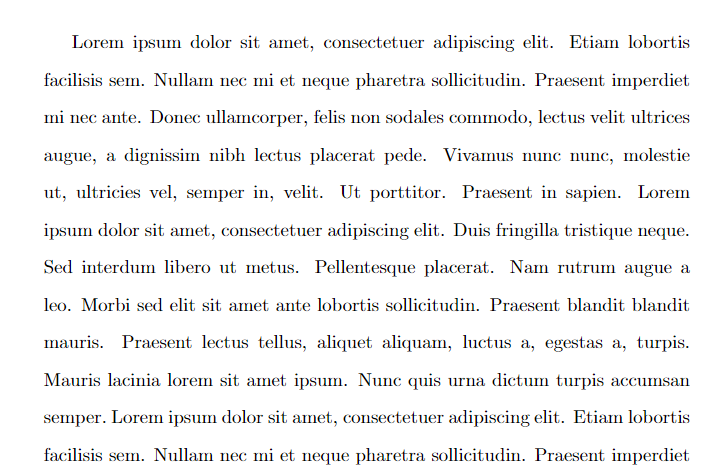
Similarly, you can use the different options of the {setspace} package. For example, if you want to add a double spacing in the complete document, use the following source code:
\usepackage{setspace}
\usepackage{blindtext}
\begin{document}
\doublespacing
\blindtext
\blindtext
\end{document}
Output:
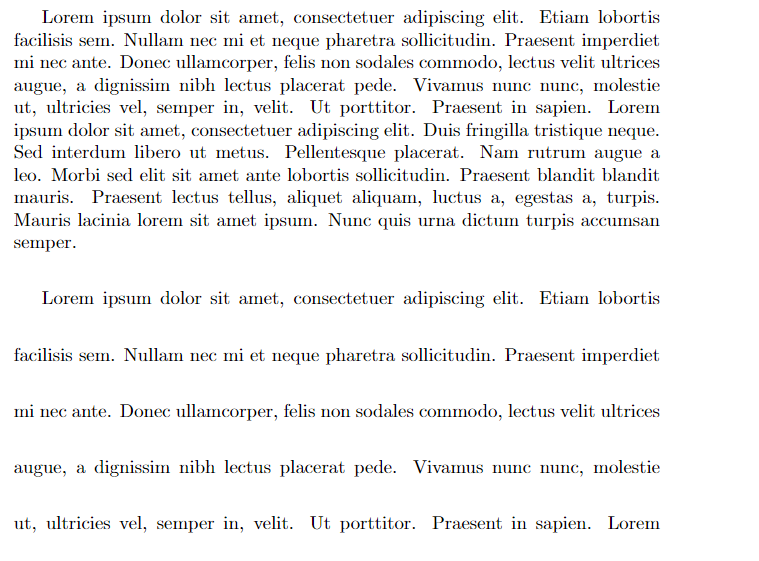
You can also use the \singlespcaing and \onehalfspacing. But if you want to add a line spacing on a specific section, use the following source code:
\usepackage{setspace}
\usepackage{blindtext}
\begin{document}
\blindtext
\begin{spacing}{2.5}
\blindtext
\end{spacing}
\end{document}
Output:
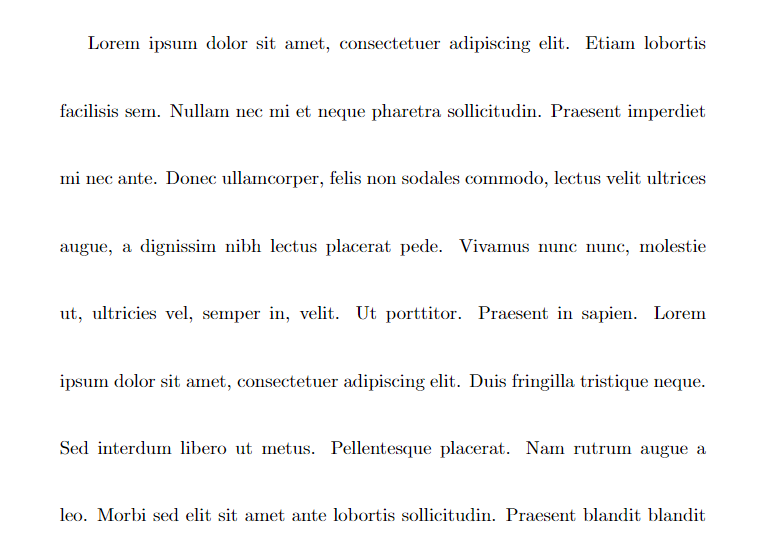
You can decide the line spacing per the requirements in the previous source code. The {setspace} package also contains the \setstretch code to add a line spacing easily:
\usepackage{setspace}
\usepackage{blindtext}
\begin{document}
\setstretch{3}
\blindtext
\blindtext
\end{document}
Output:
Conclusion
This is a brief information on the simple source codes to add a line spacing in LaTeX. The {setspace} package has multiple options, but we included the easiest ones to add a line spacing. If you don’t use the source codes correctly, you may get some errors while compiling them. Make sure to follow each step carefully to obtain the desired result.


