That’s why document processors like LaTeX contain various source codes to add a line break in the document. However, many new users don’t know how to create the line break in the LaTeX document page. So, in this tutorial, we will show different ways to add the line break in LaTeX.
How to Add a Line Break in LaTeX?
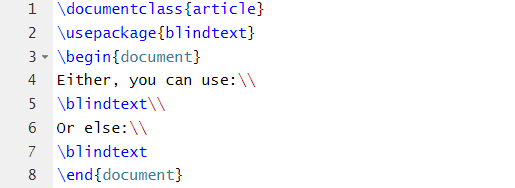
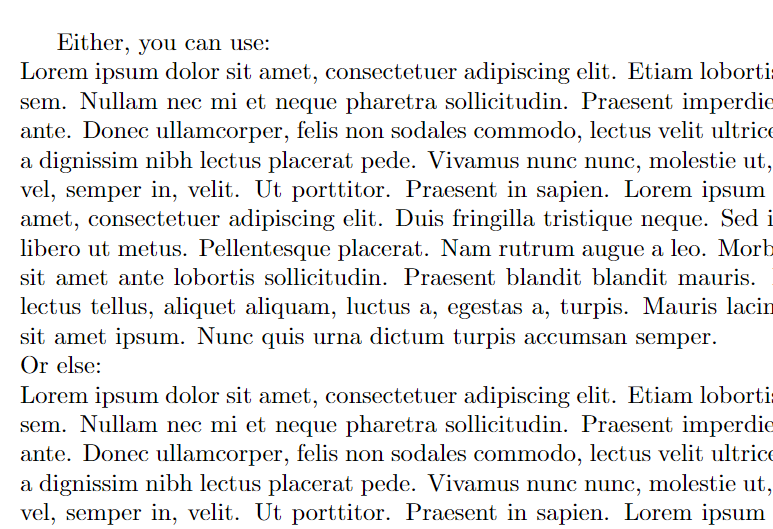
First, let’s start with the simple source code, i.e., \\ to insert a line break in the LaTeX document:
\usepackage{blindtext}
\begin{document}
Either, you can use:\\
\blindtext\\
Or else:\\
\blindtext
\end{document}
Output
Similarly, instead of inserting a line break in the paragraph, you can use the \newline code:
\usepackage{blindtext}
\begin{document}
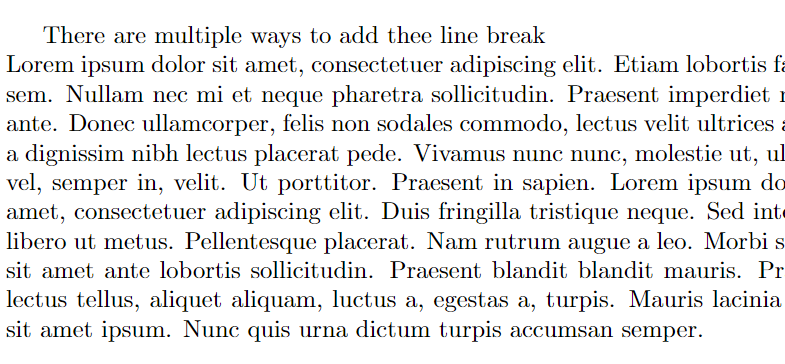
There are multiple ways to add the line break \newline
\blindtext
\end{document}
Output
You can also use the following source code in which \hfill creates line spacing and \break starts the next line in the new paragraph:
\usepackage{blindtext}
\begin{document}
There are multiple ways to add the line break \hfill \break
\blindtext
\end{document}
Output
Conclusion
This is how you can easily use different source codes to add a line break in LaTeX. For better information, we have used simple example source codes. A line break can make your content clean and suitable for the reader. Please check out our official website to learn more about LaTeX.


