Git bash is a Windows Microsoft platform tool that permits the Git command line emulation layer. It is usually used to control the Git Unix version. The Git bash is basically an application of git that will provide a command line interface to the end-user on the Windows operating system. It is similar to Windows Command Prompt.
In this article, we will guide you to add Git bash to Windows Terminal.
How to Add Git Bash to Windows Terminal?
To add the git bash (command line) to the Windows terminal, you need to install the Git Windows version on the system. The new version of Git introduces the new built-in component “Add the Git Bash profile to Windows terminal”. We just need to enable it during the Git installation process.
For a better understanding, the following steps are carried out:
Step 1: Download Git Setup
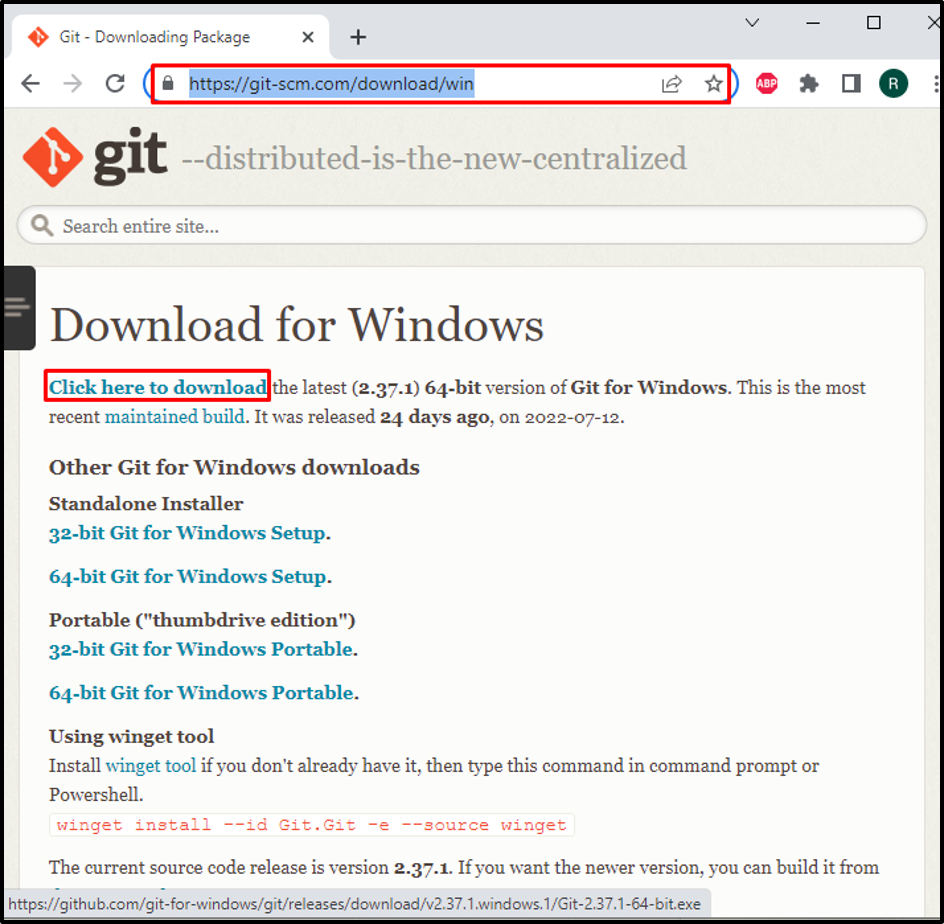
First, download the Git setup using the below-provided link:
Click on the “Click here to download” script to download the Git installer on Windows:
Step 2: Run Git Installer
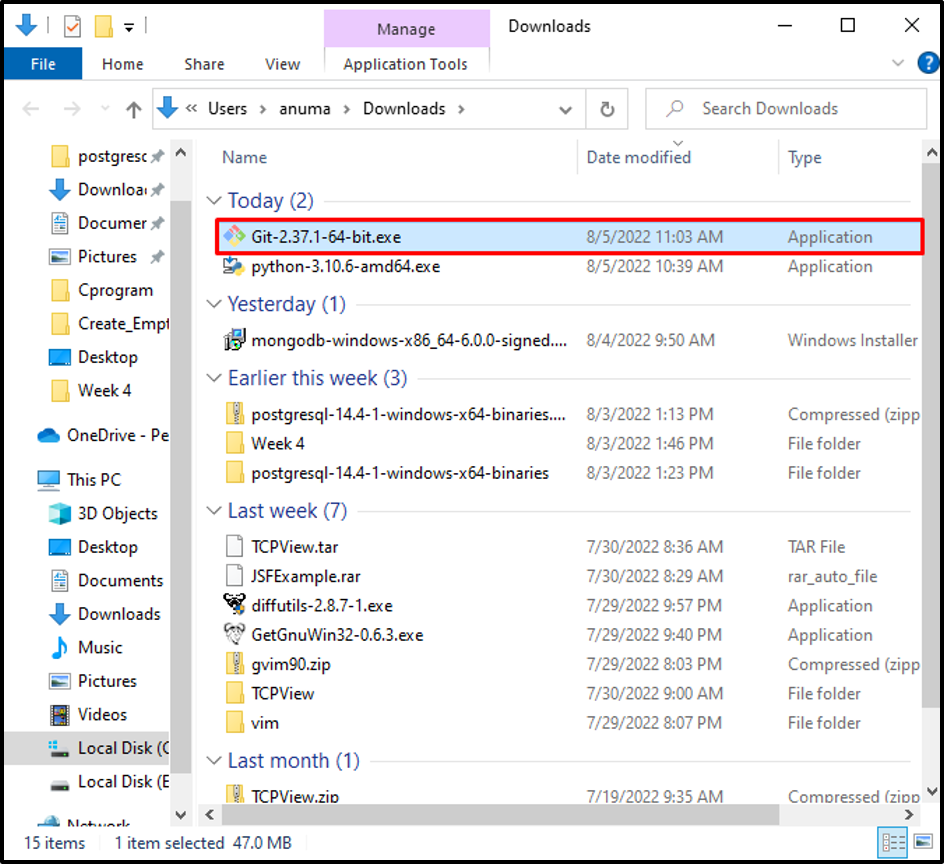
Visit the “Downloads” folder, double click on the Git Installer file to begin Git installation:
Step 3: Start Git Installation
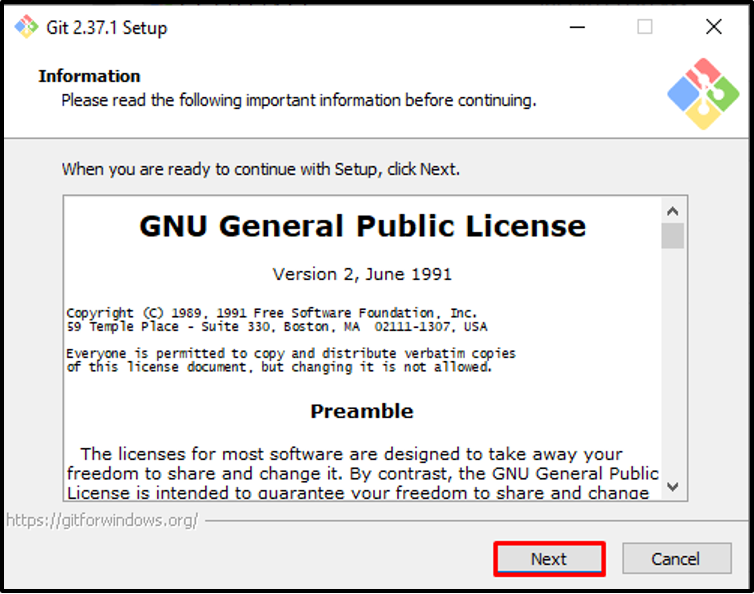
Click on the “Next” button to accept all license terms and to start Git installation:
Specify the location where the Git will install or go with the default selected location and hit the “Next” button:
Step 4: Enable Git Bash Windows Terminal Component
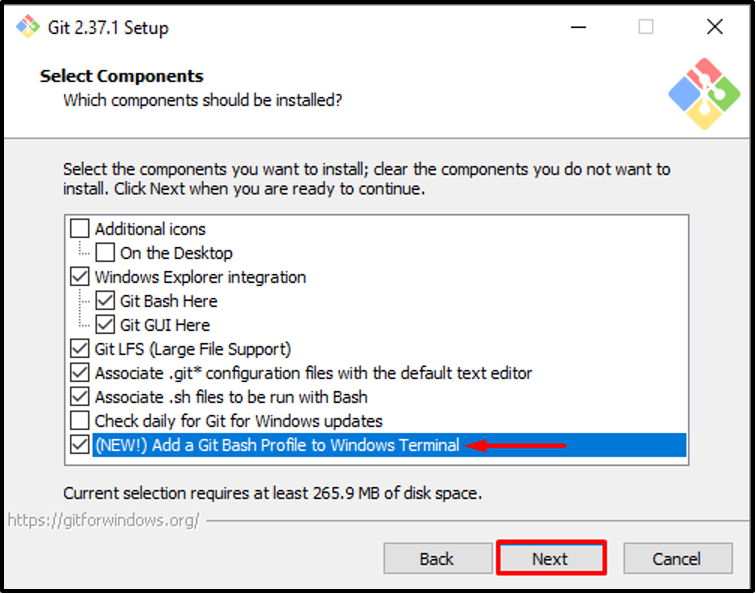
The Git Bash component is available by default. We need to mark the “Add the Git Bash profile to Windows terminal” checkbox to add Git Bash (command line) to the Windows terminal. After that, press the “Next” button:
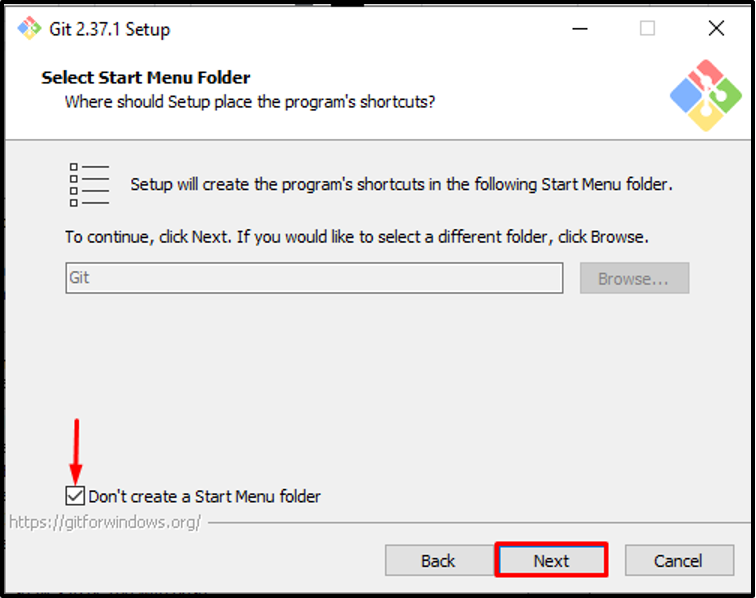
If you do not want to create a “Start Menu Folder” then mark the highlighted check box and click on “Next”:
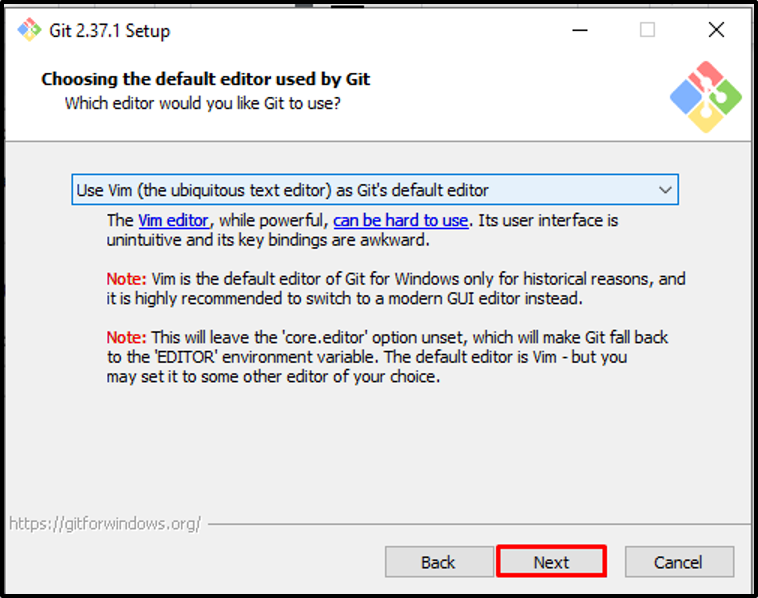
Choose the Git editor tool according to your desire or continue with the default selected option. Then hit the “Next” button:
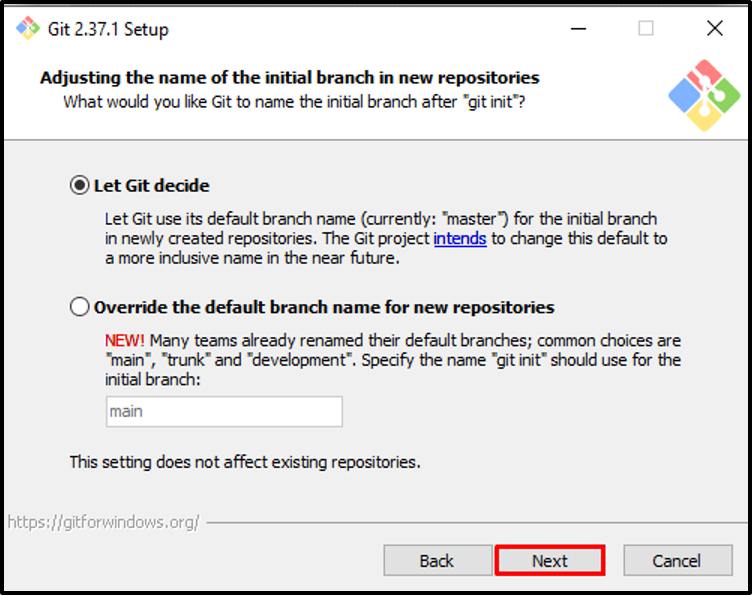
Go ahead with the default selected option and press the “Next” button:
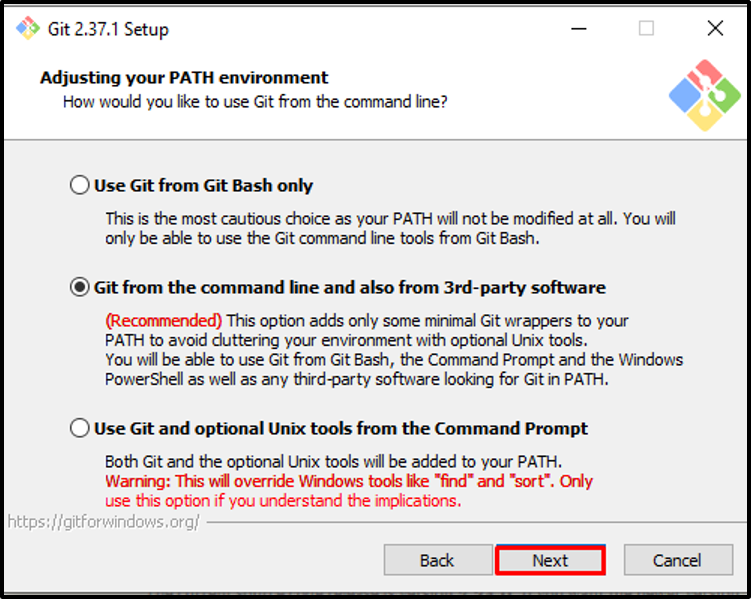
From the “Adjusting your PATH environment” settings, choose the recommended option as we are going to add Git Bash to the Widows terminal and click on “Next”:
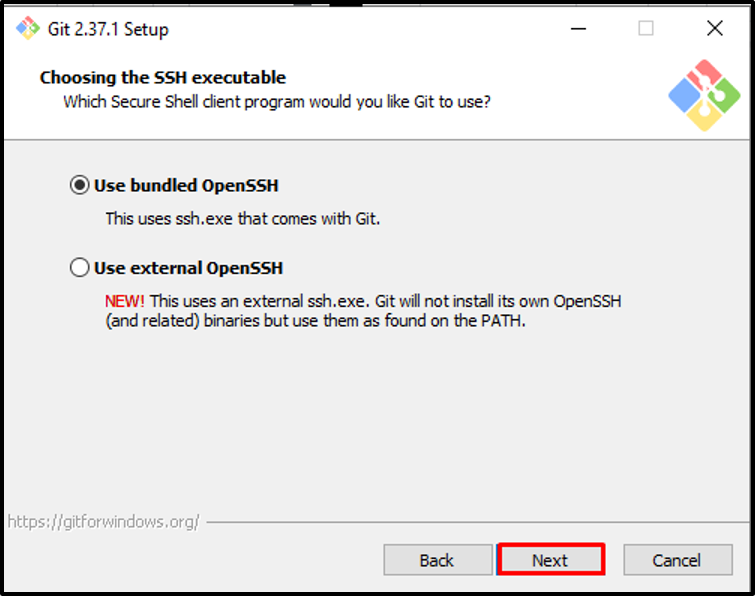
Continue with the default selected “Use bundled OpenSSH” option:
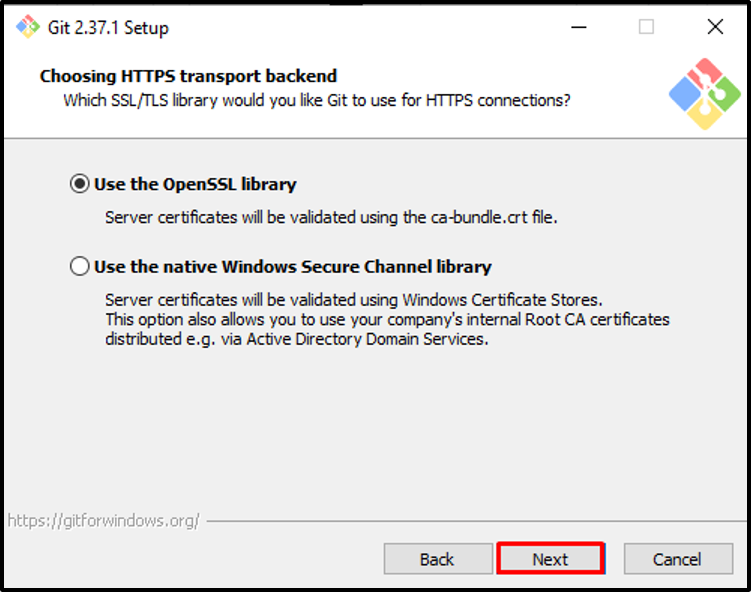
From the next appeared Window, choose the “Use the OpenSSL library” option and hit the “Next” button:
Go with the default chosen option and click on the “Next” button:
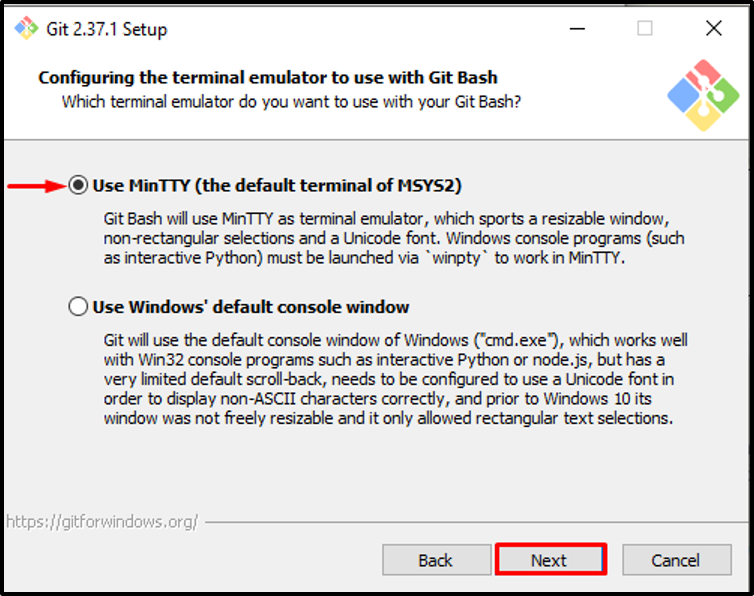
Choose the “Configuring the Terminal emulator” setting according to your preference or go with the default marked option and click on the “Next” button:
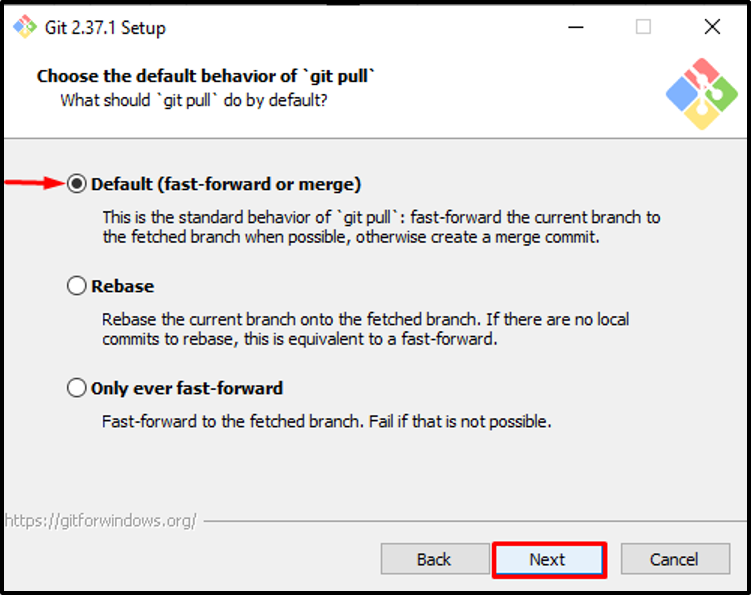
Now, mark the “Default (fast-forward or merge)” option and hit the “Next” button to move forward:
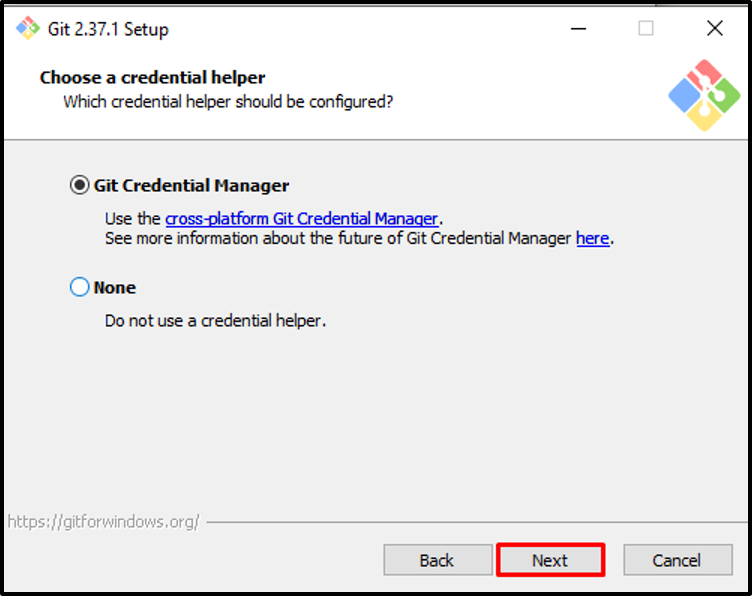
Mark the “Git Credential Manager” as a credential helper and press the “Next” button:
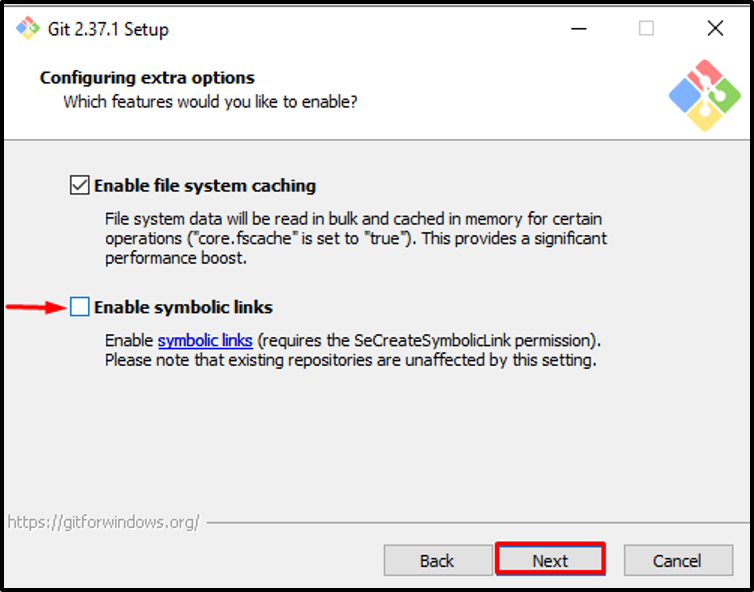
In the next step, unmark the “Enable symbolic links” and click on the “Next” button:
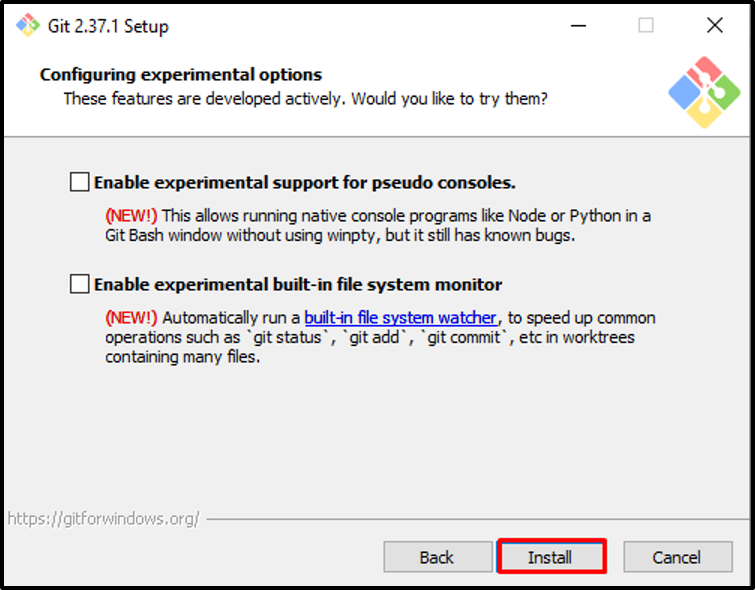
Lastly, continue with the default selected configuration and hit the “Install” button to start Git installation:
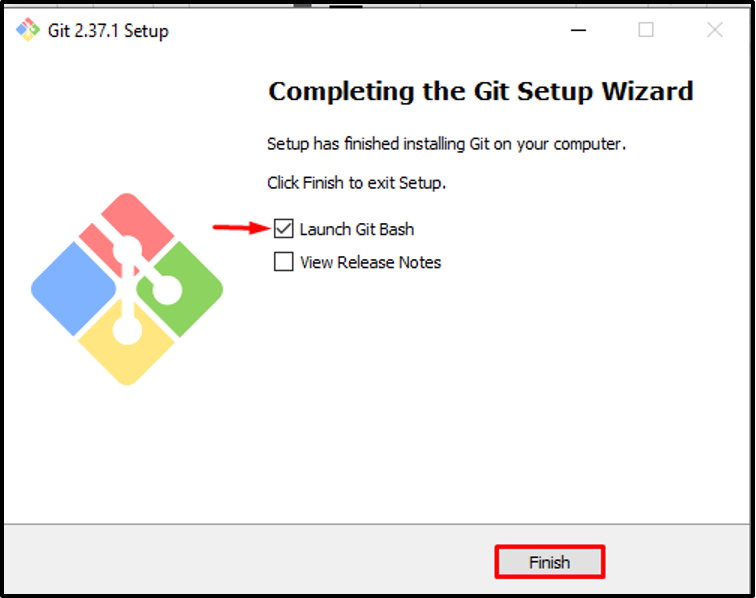
Mark the “Launch Git Bash” checkbox to launch the Git Bash terminal on Windows:
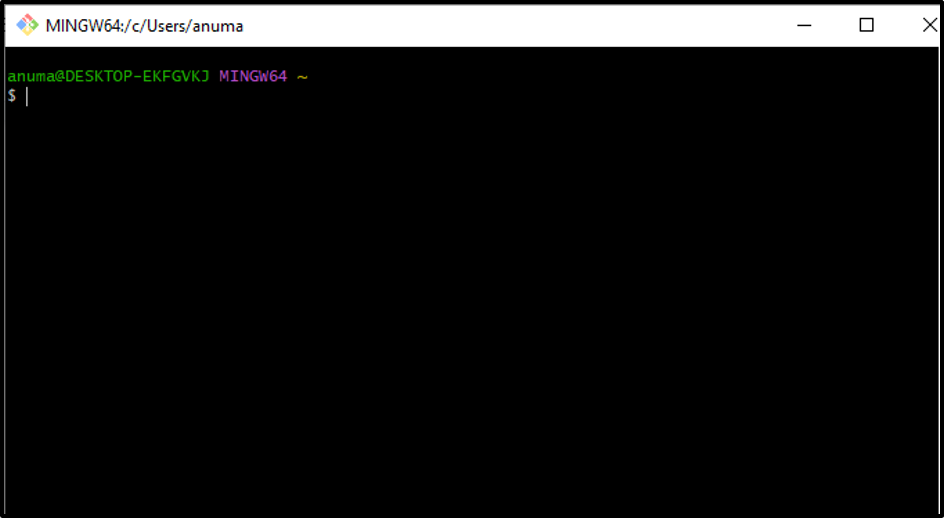
You can see that we have successfully added the Git Bash to Windows Terminal:
Step 5: Launch Git Bash Terminal
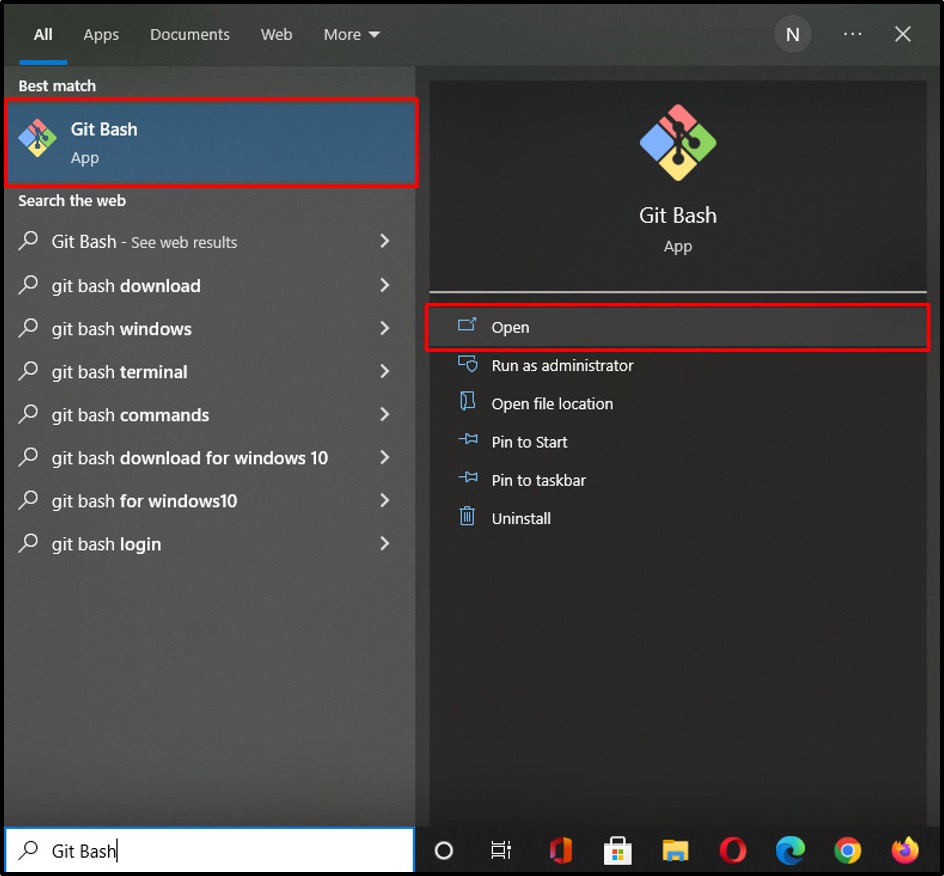
Make a search for “Git Bash” in the “Startup” menu and open the Git Bash from displayed results:
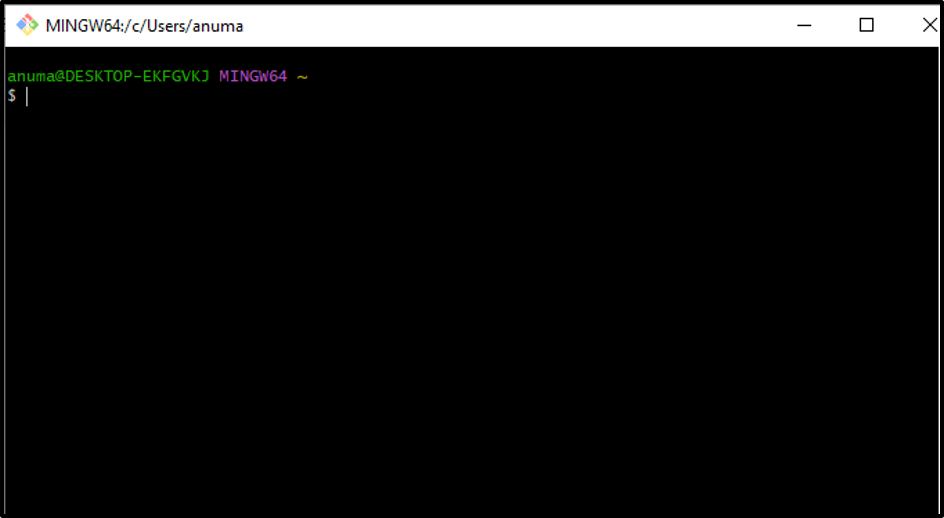
The below-mentioned output indicates that we have effectively launched Git Bash on Windows:
We have compiled the easiest method to add Git Bash (command line) to the Windows terminal:
Conclusion
In order to add Git Bash (command line) to the Windows terminal, it is required to install Git on Windows. During installation, enable the newly introduced “Add the Git Bash profile to Windows terminal” component. Upon doing so, the Git Bash will be added to the Windows terminal automatically. We have elaborated on the easiest method to add Git Bash to the Windows terminal in this post.

