A randomly placed figure can create confusion. Centering a figure in the document organizes the information and helps a reader understand everything easily. Furthermore, many experts prefer the center figure in the research papers to make it cleaner and detail specific.
That’s why the document processors like LaTeX include the different source codes to place the figure in the document. However, many beginners don’t know the correct source codes to add the images in the center. In this tutorial, we will provide a brief information on the source codes to add a center figure in LaTeX.
How to Add a Center Figure in LaTeX
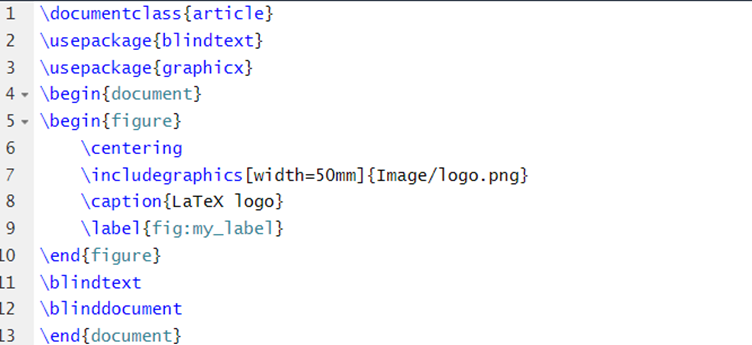
First, let’s start with the simple source code, \centering, to add the figure at the center of the document:
\usepackage{blindtext}
\usepackage{graphicx}
\begin{document}
\begin{figure}
\centering
\includegraphics[width=50mm]{Image/logo.png}
\caption{LaTeX logo}
\label{fig:my_label}
\end{figure}
\blindtext
\blinddocument
\end{document}
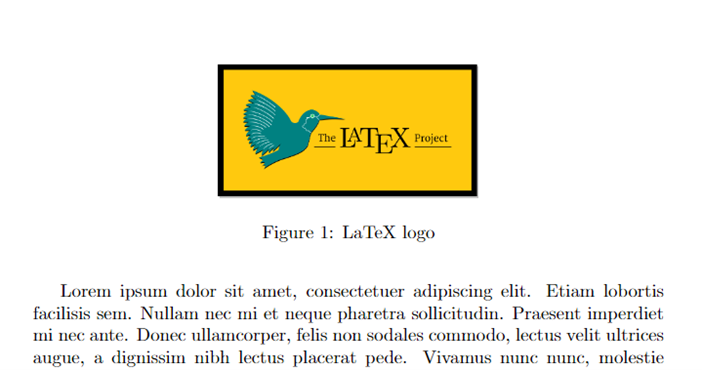
Output:
In the given code, we added an image in the LaTeX document. Check out this tutorial to learn the ways to insert the images.
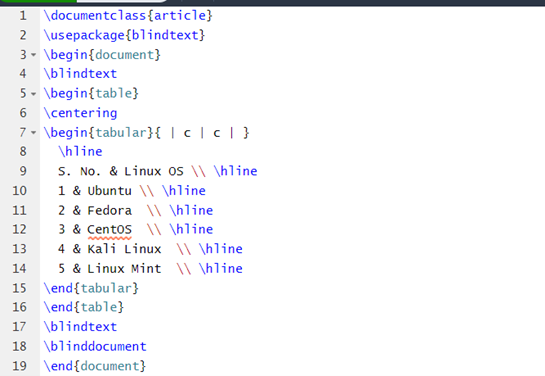
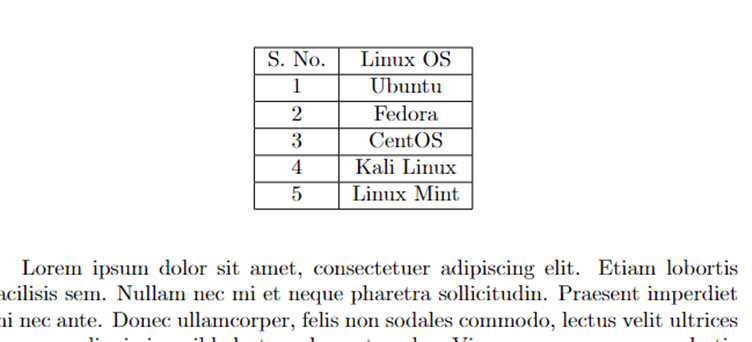
Similarly, you can also add the tables at the center of the LaTeX document through the following source codes:
\usepackage{blindtext}</strong>
\begin{document}</strong>
\blindtext</strong>
\begin{table}</strong>
\centering</strong>
\begin{tabular}{ | c | c | }
\hline
S. No. & Linux OS \\ \hline
1 & Ubuntu \\ \hline
2 & Fedora \\ \hline
3 & CentOS \\ \hline
4 & Kali Linux \\ \hline
5 & Linux Mint \\ \hline
\end{tabular}
\end{table}
\blindtext
\blinddocument
\end{document}
Output:
Conclusion
This is how you can easily add the figures and tables at the center using the easy-to-use source codes. We used the easy examples to explain on how to add a center figure in LaTeX. We recommend that you write the source codes correctly. Otherwise, you may get multiple errors while compiling the document in LaTeX. Check our official website if you want to know more about LaTeX-related stuff.


