elementary OS, being a popular Linux, is highly efficient in managing the system resources among all the running apps. However, there’s no default tool that allows taking control over the default functions. Luckily, elementary OS can do it through 3rd-party apps.
Let’s check out on using the system monitor in elementary OS.
What is system monitor?
A Linux system monitor is a common application of the same desktop environment that allows us to visualize the resource consumption of the operating system that is running it.
On the other hand, there are system monitors that run on the terminal and are very useful for servers or not to spend more resources even.
Some of these system monitors are quite complete and introduce new and better features such as process completion or statistical graphs. However, keep in mind that the main task is to monitor the consumption of memory, CPU and hard disk by each running programs.
So, it is always a good idea to have one on hand to see what the system is about.
Do I really need one?
The system monitor, although not a fundamental component of the system, is of great help in keeping the performance of your system under control, especially if your computer doesn’t offer great features. In addition, by using one of them, you will be able to notice which applications are using more memory or processor power than normal and thus, control it.
It’s good to remember that elementary OS is a system that is characterized by ease and user-friendliness, so newcomers coming from Windows or macOS will know how to thank the presence of one of these applications.
The elementary OS system monitor
elementary OS is a fairly flexible Linux distribution. For example, it gives the user control of the system. However, it doesn’t include a default system monitor, because it delegates the choice to the user. Something like that is, of course, appreciated because it helps to keep the system light and without occupying so much space with apps and bloatware that the user would never use.
So, we will install a system monitor called the GNOME System Monitor. It’s a part of the well-known GNOME software family. It’s available for all the Linux systems. Despite being a simplistic tool, it comes up with a variety of functions and advanced features.
Installing GNOME System Monitor
-
AppCenter
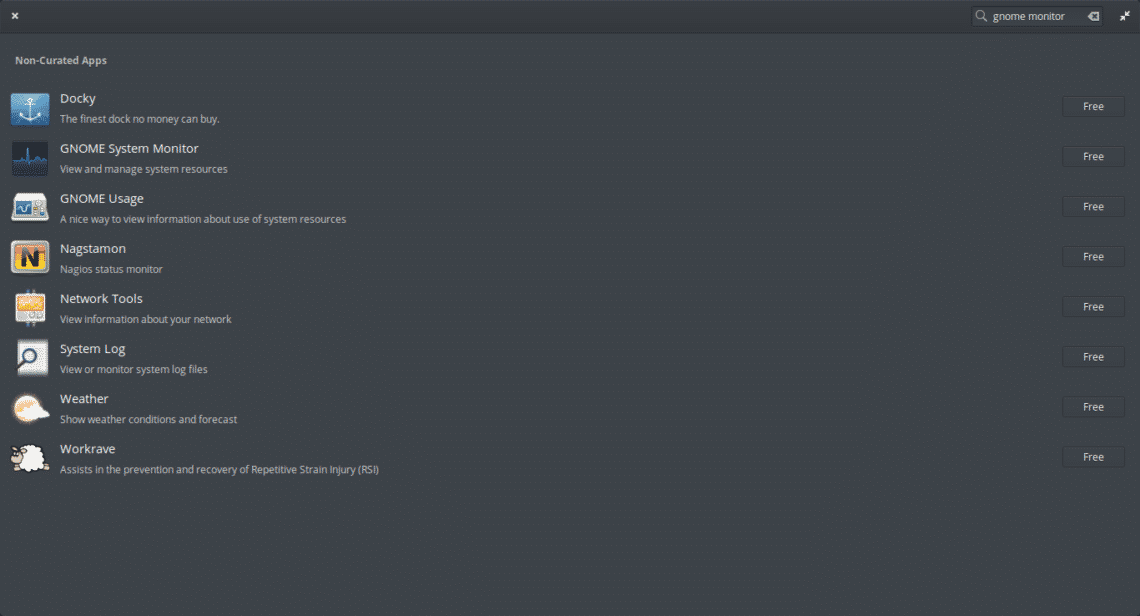
To do this, first, open the AppCenter.
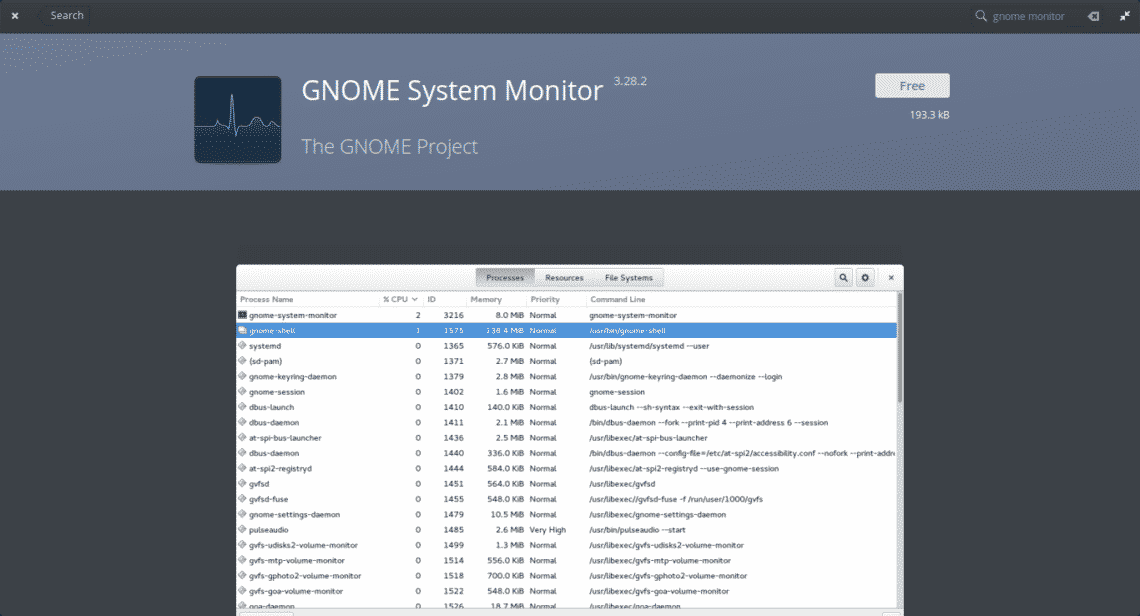
In the upper right corner, you’ll notice a search field. Let’s use it to find the application. Search for “gnome monitor”. From the list, select “GNOME System Monitor”.
Next, click on the “Free” button to start the installation.
Remember that when installing an app, the system will ask for the admin’s password. As soon as you type it in, the installation process will begin.
-
Command line
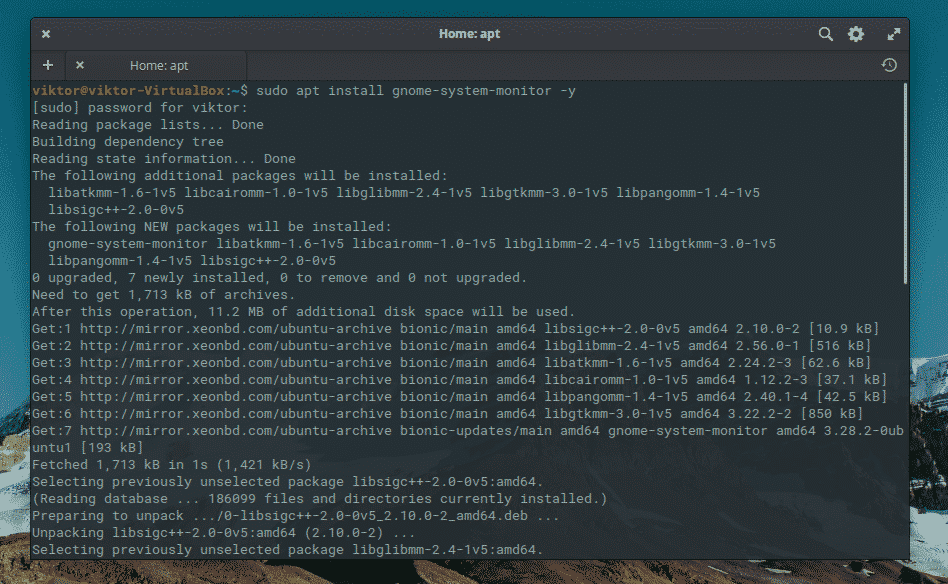
It’s also possible to install the GNOME system monitor using the terminal. Just open one and execute the following command:
Using GNOME System Monitor on elementary OS
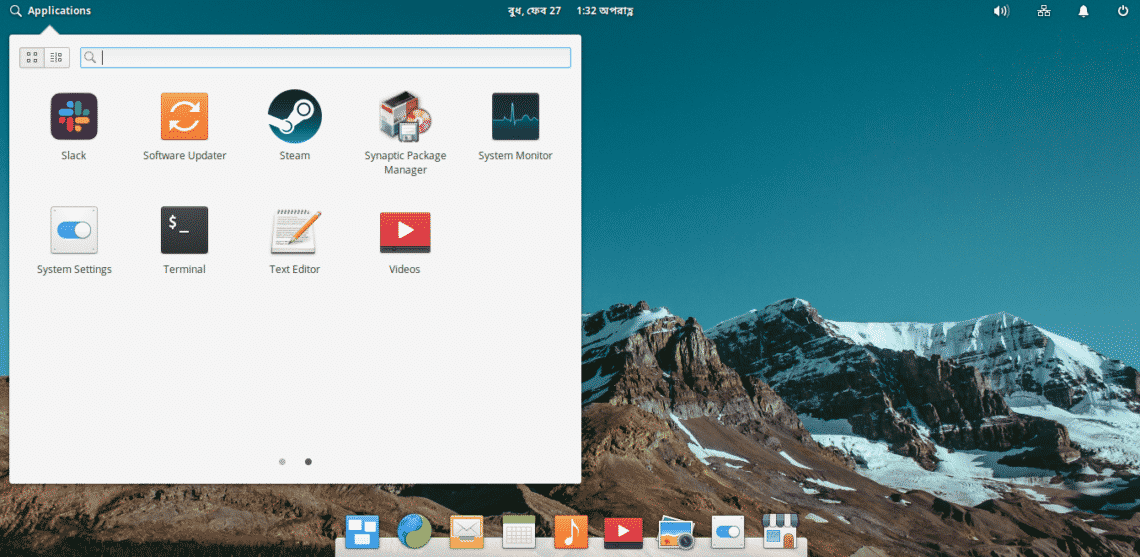
Once the installation is complete, you’ll notice the app in the main menu.
Let’s open it and immediately see the following.
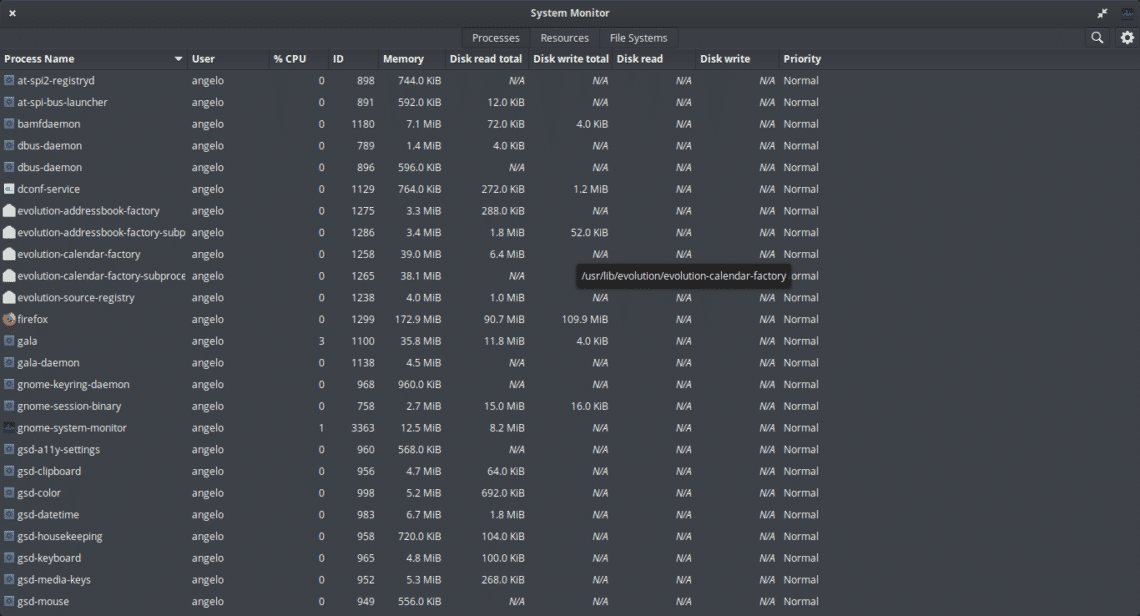
As we can see, in the previous image, the graphical interface is very simple. It has 3 tabs showing different types of information. By default, it opens in the “Processes” tab.
In this first tab, you’ll be able to observe all the active processes that the system is currently executing. The different columns provide additional information, for example, the user running it, the process ID, the amount of memory and CPU it uses. Also, information about the use that process gives to the hard disk.
Now, let switch to the “Resources” tab.
This tab is even simpler than the previous one because it shows us graphically and numerically the consumption of CPU, RAM, Swap and a history of network use.
In this part, you will be able to examine how saturated your system is, or simply know how much memory you have available quickly and easily.
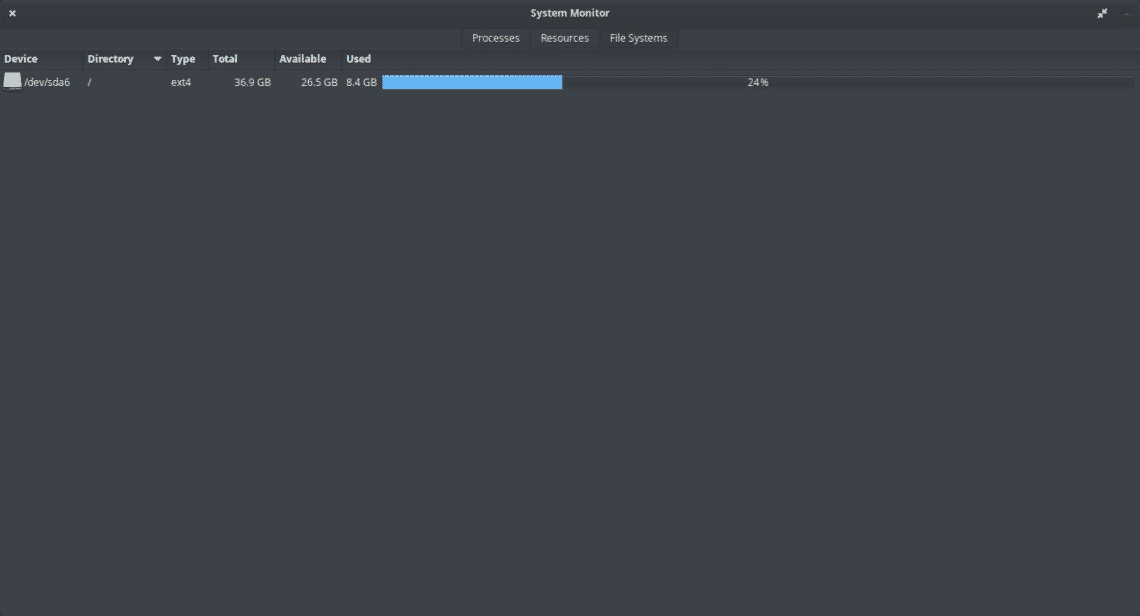
In the last tab, called “File System”, we can examine how much available space we have on the hard drive. If there were other partitions mounted, we would also be able to see them and examine them.
As we can see, it shows us information about the type of file system the hard disk has, as well as its mount point. Everything is quite simple and easy to use.
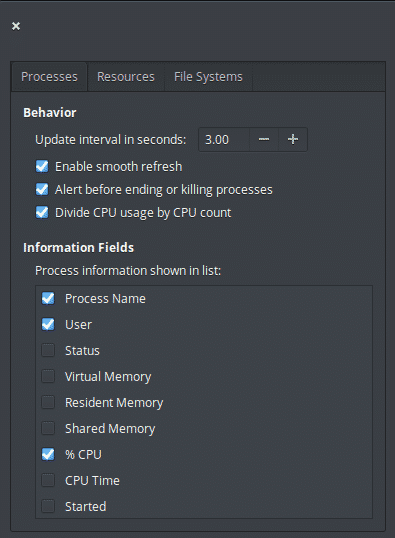
Finally, we can access the application preferences by clicking on the menu >> Preferences option. You can choose which info you want to see on different tab.
Knowing the use of computer resources by elementary OS and other apps, you can take over the system. GNOME System Monitor is one of the simplest apps for monitoring resource consumption. The simple and self-explanatory UI will tell you almost any info about the system.


