At times, you may face problems after upgrading your NVIDIA drivers. Some new bugs might be introduced in the new version which makes your games slower or degrading the performance of your productivity apps. In those cases, installing an older version of the NVIDIA GPU drivers that is known to work best on your hardware will solve your problem. The bugs will be fixed in a later version of the NVIDIA GPU drivers. You can keep using the older version of the NVIDIA GPU drivers until then.
In this article, we will show you how to find the version of the NVIDIA GPU drivers that are installed on your Windows 10/11 computer. We will also show you how to download an older version of the NVIDIA GPU drivers for Windows 10/11 and how to downgrade the installed NVIDIA drivers on Windows 10/11 as well.
Topic of Contents:
Check the Version of the Installed NVIDIA Drivers on Windows 10/11
You can check the version of the NVIDIA GPU drivers that are installed on Windows 10/11 from the NVIDIA Control Panel app.
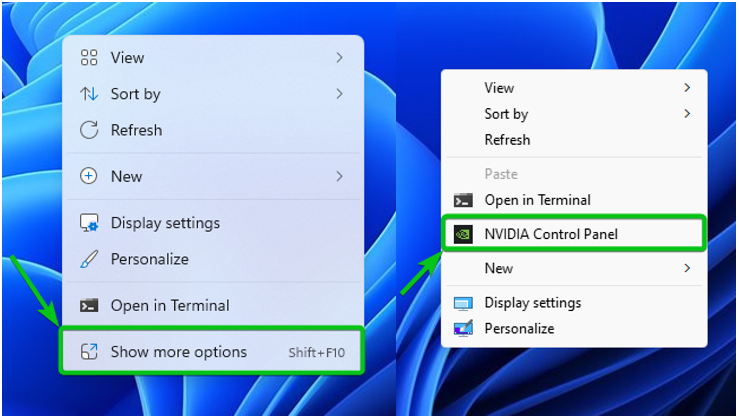
To open the NVIDIA Control Panel app on Windows 11, right-click (RMB) on the desktop, click on the “Show more options”, and then click on “NVIDIA Control Panel”.
On Windows 10, you can just right-click (RMB) on the desktop and click on the “NVIDIA Control Panel”.
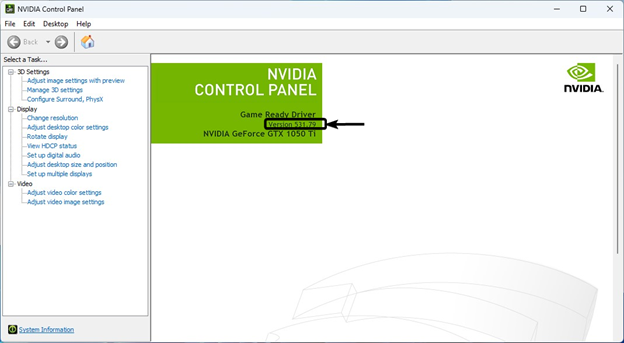
The NVIDIA Control Panel app should be opened. You can find the version number of the installed NVIDIA GPU drivers on your Windows 10/11 computer from this app. In our case, we have the NVIDIA GPU drivers version 531.79 installed on our Windows 11 computer.
Download the Older Versions of the NVIDIA GPU Drivers on Windows 10/11
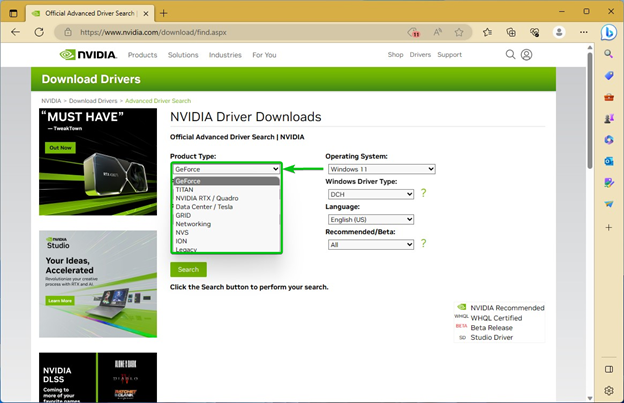
To download an older version of the NVIDIA drivers installer for Windows 10/11, open a web browser of your choice and visit the official NVIDIA Drivers Finder website.
Once the page loads, select the type of NVIDIA GPU that you have from the “Product Type” dropdown menu. For most people, GeForce is the correct product type.
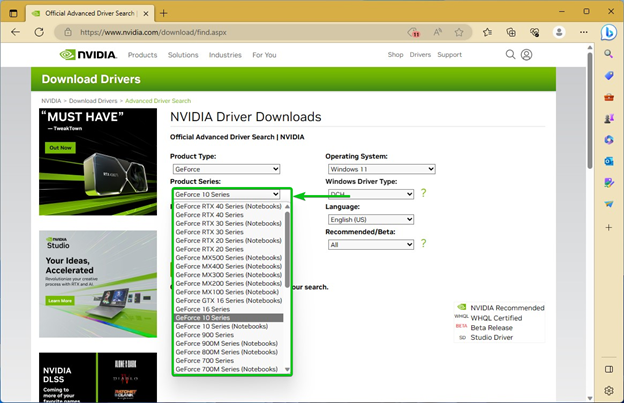
Select the series that your NVIDIA GPU belongs to from the “Product Series” dropdown menu.
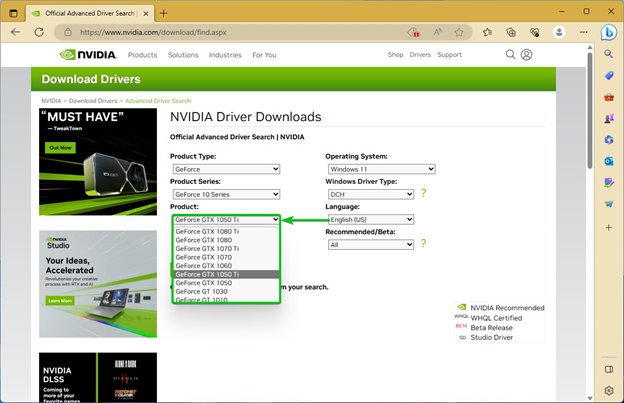
Select your NVIDIA GPU from the “Product” dropdown menu.
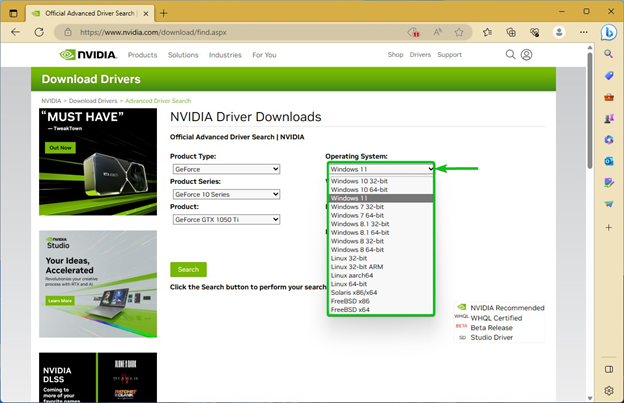
From the “Operating System” dropdown menu, select Windows 10 64-bit or Windows 11 depending on whether you’re using Windows 10 or Windows 11, respectively.
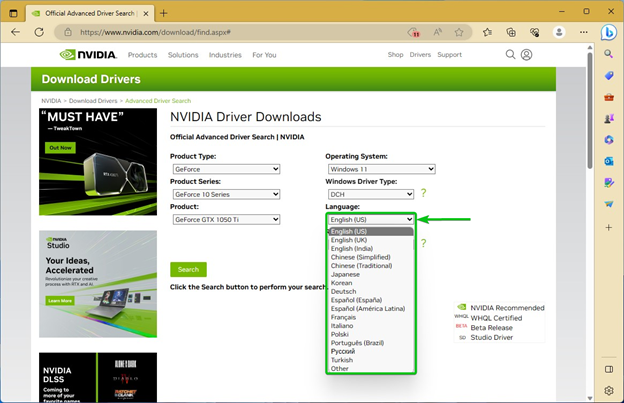
Select the language that you want to use for the NVIDIA GPU Drivers from the “Language” dropdown menu.
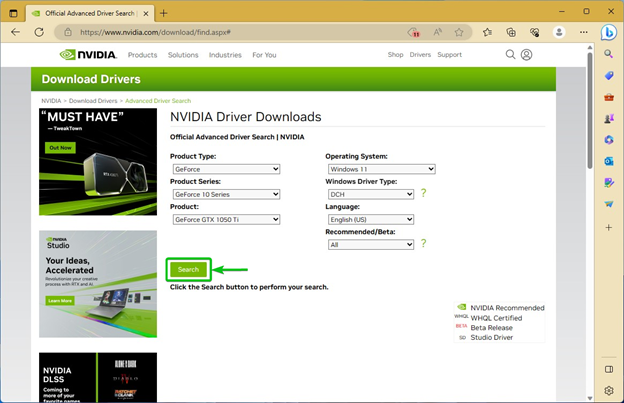
Once you’re done, click on “Search”.
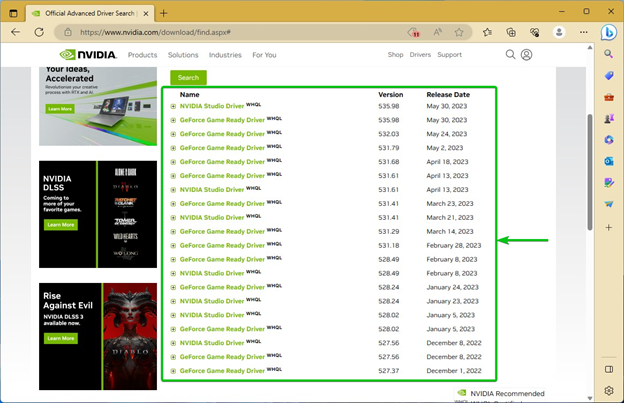
All the available NVIDIA GPU driver versions are listed. Click on the NVIDIA GPU driver version from the list that you want to install.
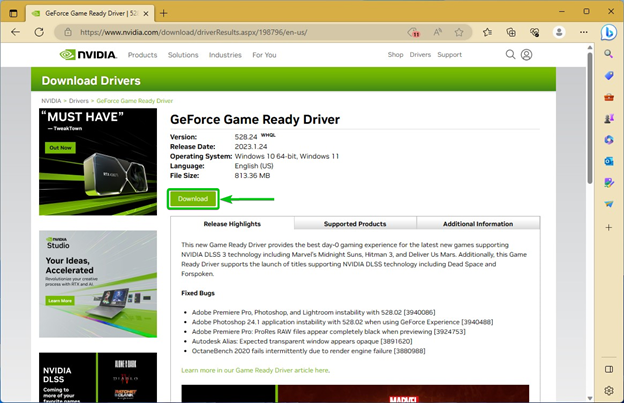
Click on “Download”.
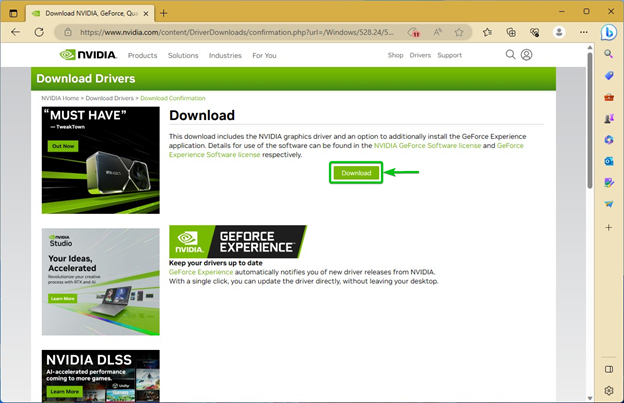
Click on “Download”.
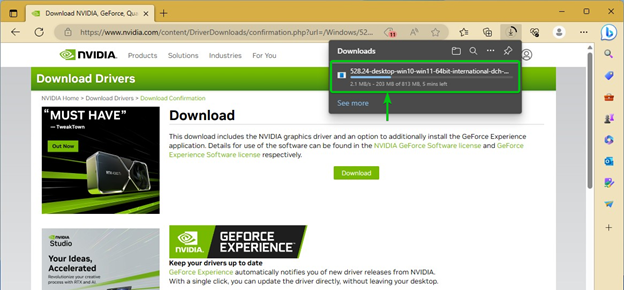
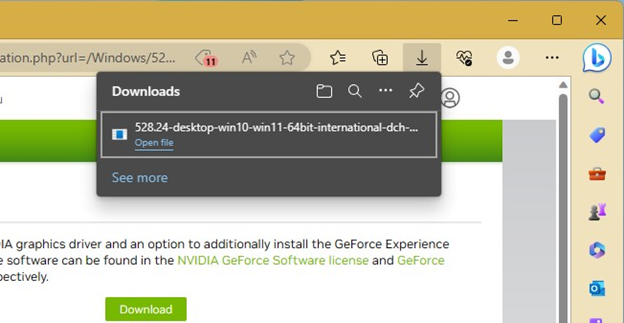
Your browser should start downloading the NVIDIA GPU drivers installer file. It takes a while to complete.
At this point, the NVIDIA GPU drivers installer file should be downloaded.
Install the Older Versions of the NVIDIA GPU Drivers on Windows 10/11
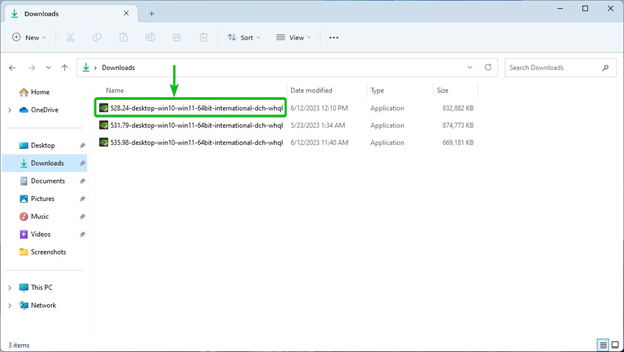
To install the older version of the NVIDIA GPU drivers on Windows 10/11, open the “File Manager” app, navigate to the folder where you downloaded the NVIDIA GPU drivers installer file, and double-click on the NVIDIA GPU drivers installer file.
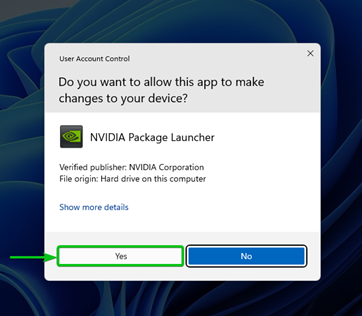
Click on “Yes”.
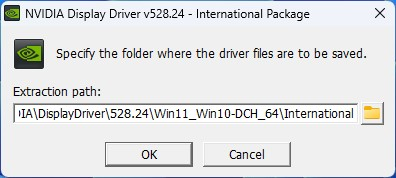
Click on “OK”.
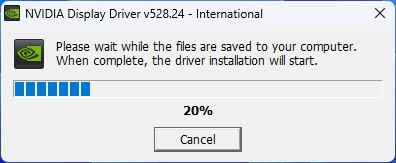
The NVIDIA GPU drivers installer is being initialized. It takes a while to complete.
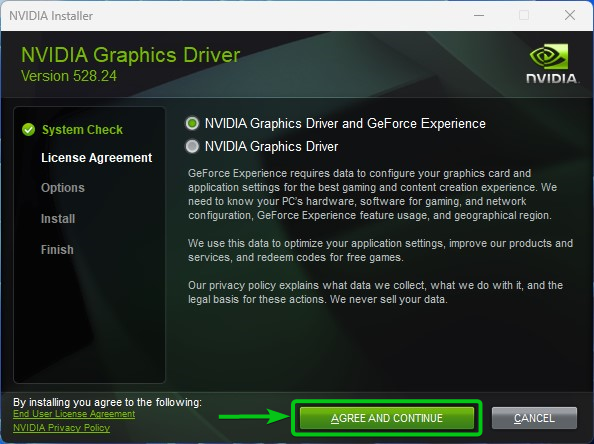
The NVIDIA GPU drivers installer window should be displayed.
Click on “AGREE AND CONTINUE”.
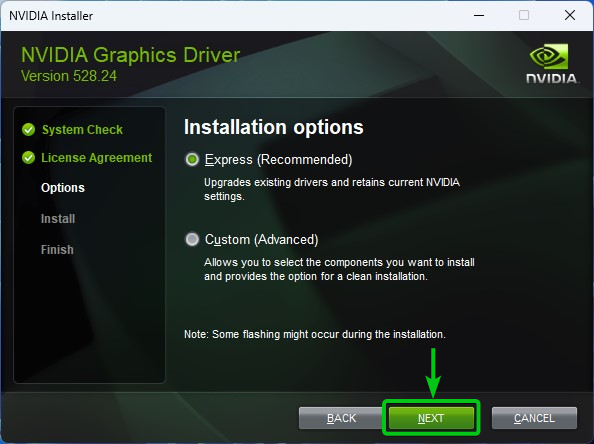
Click on “NEXT”.
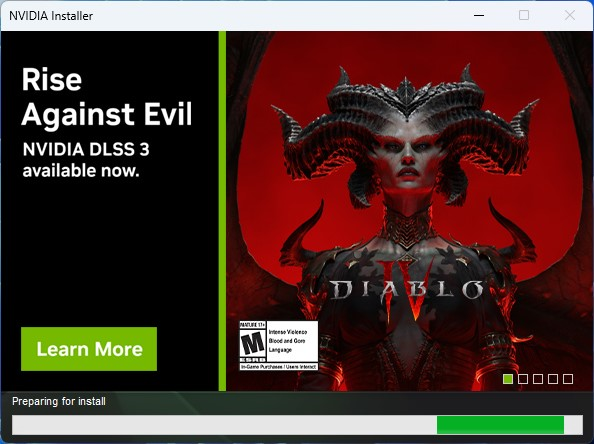
The NVIDIA GPU drivers are being installed on your computer. It takes a while to complete.
At this point, an older version of the NVIDIA GPU drivers should be installed.
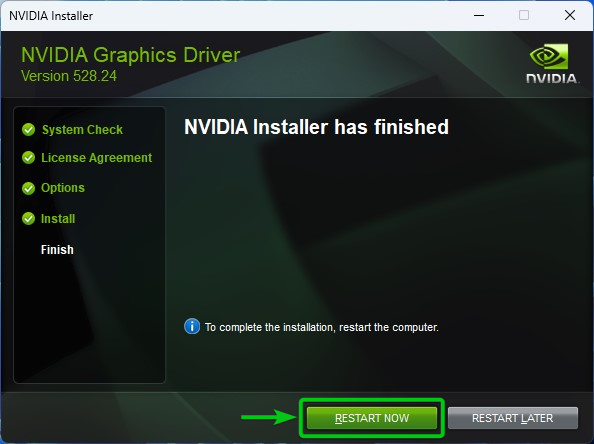
For the changes to take effect, click on “RESTART NOW” to restart your computer.
Verify that the NVIDIA Drivers Are Downgraded on Windows 10/11
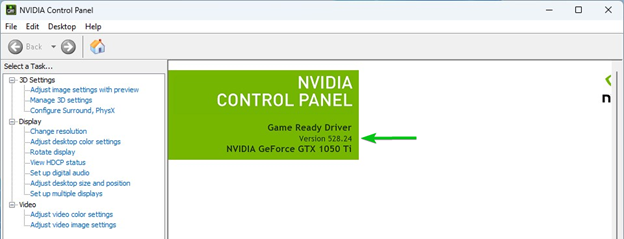
Once your computer starts, open the NVIDIA Control Panel app and check if the NVIDIA GPU drivers are downgraded.
As you can see, the NVIDIA GPU drivers are downgraded to version 528.24 from 531.79 (in our case).
Conclusion
We showed you how to find the version of the installed NVIDIA GPU drivers on your Windows 10/11 computer. We also showed you how to download an older version of the NVIDIA GPU drivers for Windows 10/11 and how to downgrade the installed NVIDIA drivers on Windows 10/11 as well.

