The Spyder IDE provides unique functionality that allows the users to write a code that is logically sound and computationally efficient. The built-in debugger tool ensures that your coding practices and memory usage are functionally correct, and any leaks are found and displayed right away. It has the abilities like code completion, syntax highlighting, and notebook support, all of which improve the overall coding experience that Spyder provides.
Installation
There are different ways in which Spyder can be installed on any device. Installing on Linux is a simple process. Spyder recommends you to access and use it by downloading the Anaconda navigator. Anaconda is a Python and R distribution management system that provides a built-in support for programming IDEs. It offers easy environment management capabilities and the ability to easily install and use the multiple versions of the same packages by isolating them in separate environments.
To install Anaconda on your Linux machine, follow the provided steps:
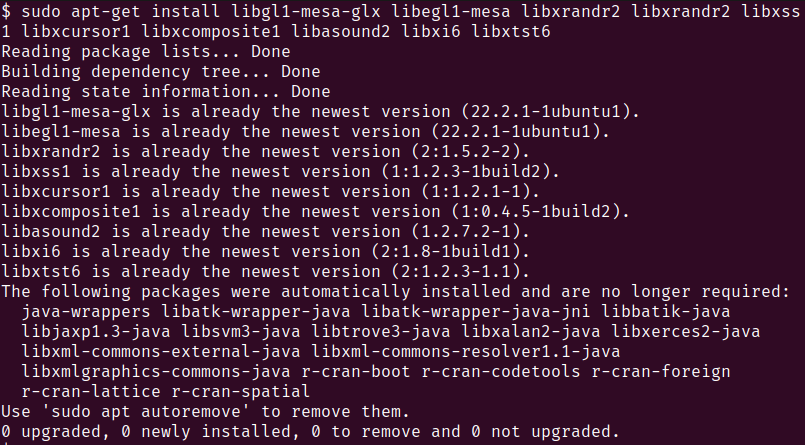
Since Anaconda provides a graphical user interface, we need to install some dependencies by running the following command in the terminal:
You should see an output which is similar to the following:
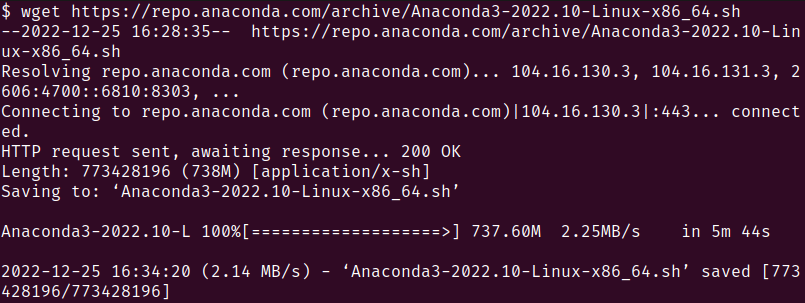
We now download Anaconda using the wget tool in the terminal.
Run the following command in the terminal:
You should see an output which is similar to the following:
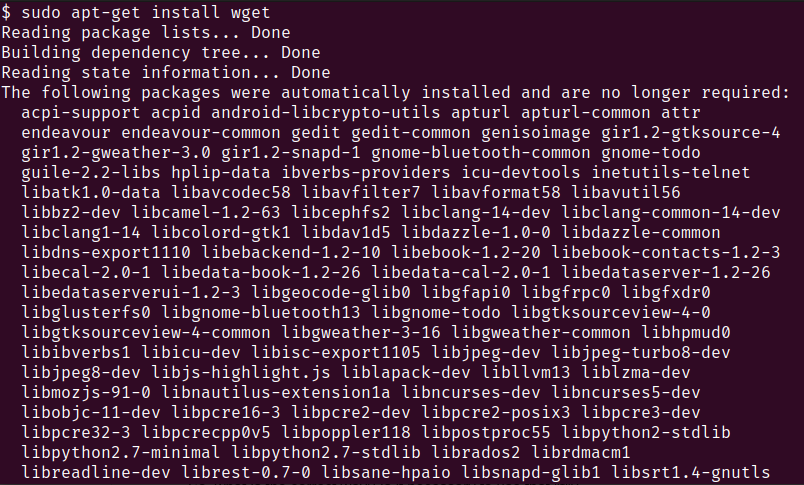
If you do not have the wget installed on your machine, you can manually download the Anaconda tool by opening this link and clicking on the install button.
You can also install wget by running the following command in the terminal:
Run the following command to install Anaconda for Python 3. Replace the “.sh” file name with the name of the file that you downloaded. Replace the ~/Downloads with your actual path:
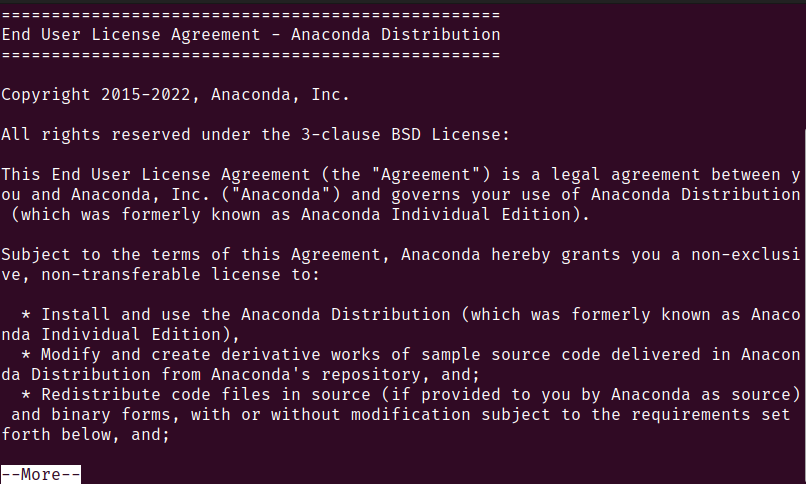
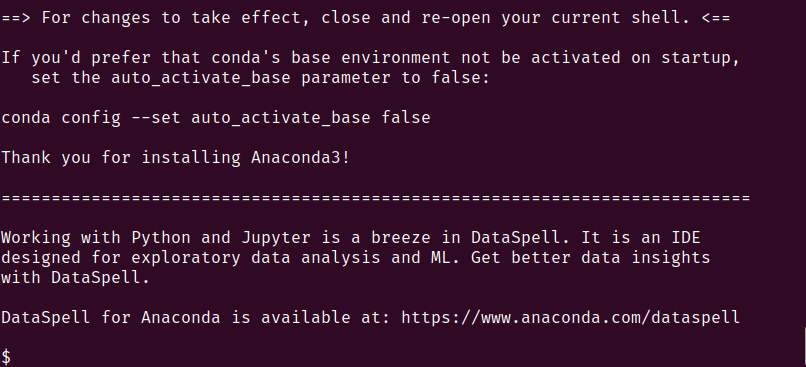
You should see an output which is similar to the following:
Press “enter” to go through and review the licensing information. Press and hold “enter” to scroll through.
Type in “yes” when prompted to whether or not accept the license terms of the Anaconda tool.
You will be prompted to select the location where you want to install Anaconda. Put in the correct path where you want it to be installed.
By default, it provides you with the root directory option to install Anaconda in.
You are now prompted to choose whether you want the installer to initialize the Anaconda3. Type “yes” here since Anaconda recommends that you select “yes” so that you do not have to deal with initialization steps when working with Anaconda every time you run it.
To run the Anaconda navigator, run the following command in the terminal:
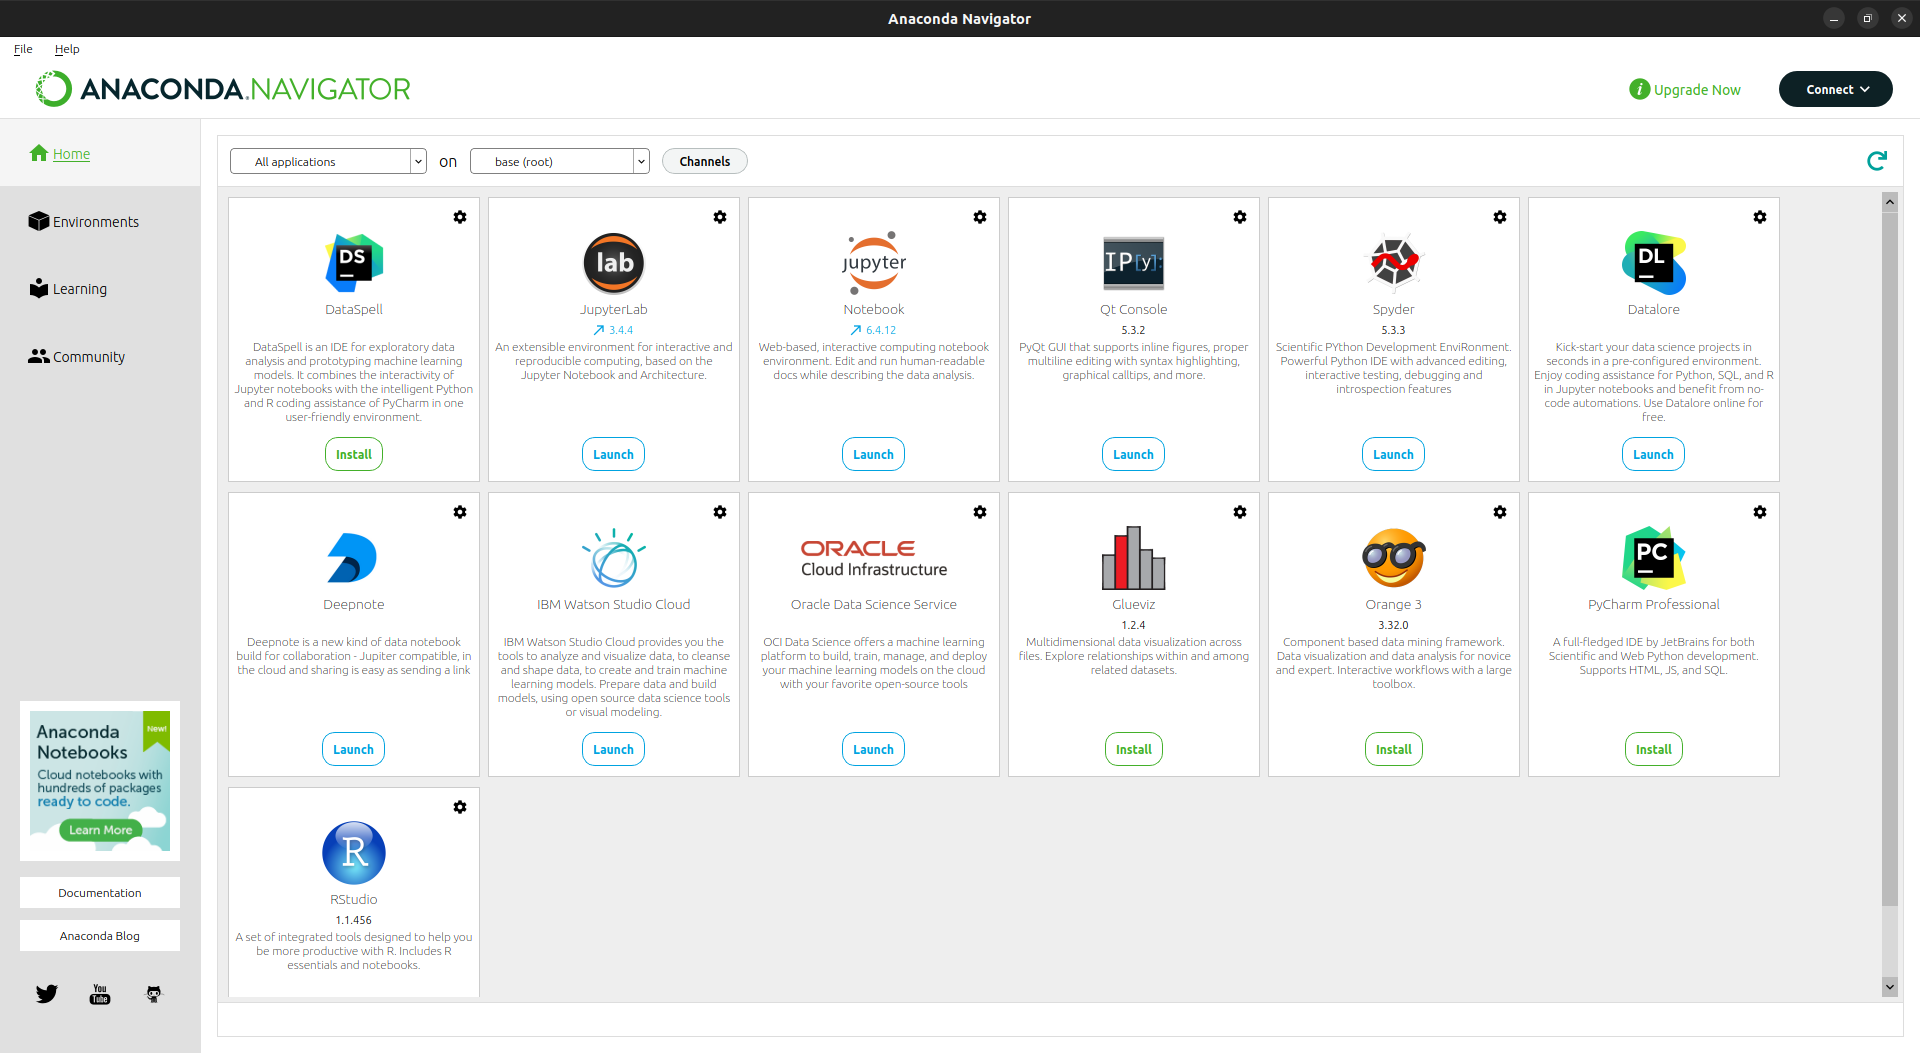
You should see the navigator open up:
Note: If you opted for “no” in step 7, you have to initialize the Anaconda environment before running the command in step 8.
Run the following command before running the command 8:
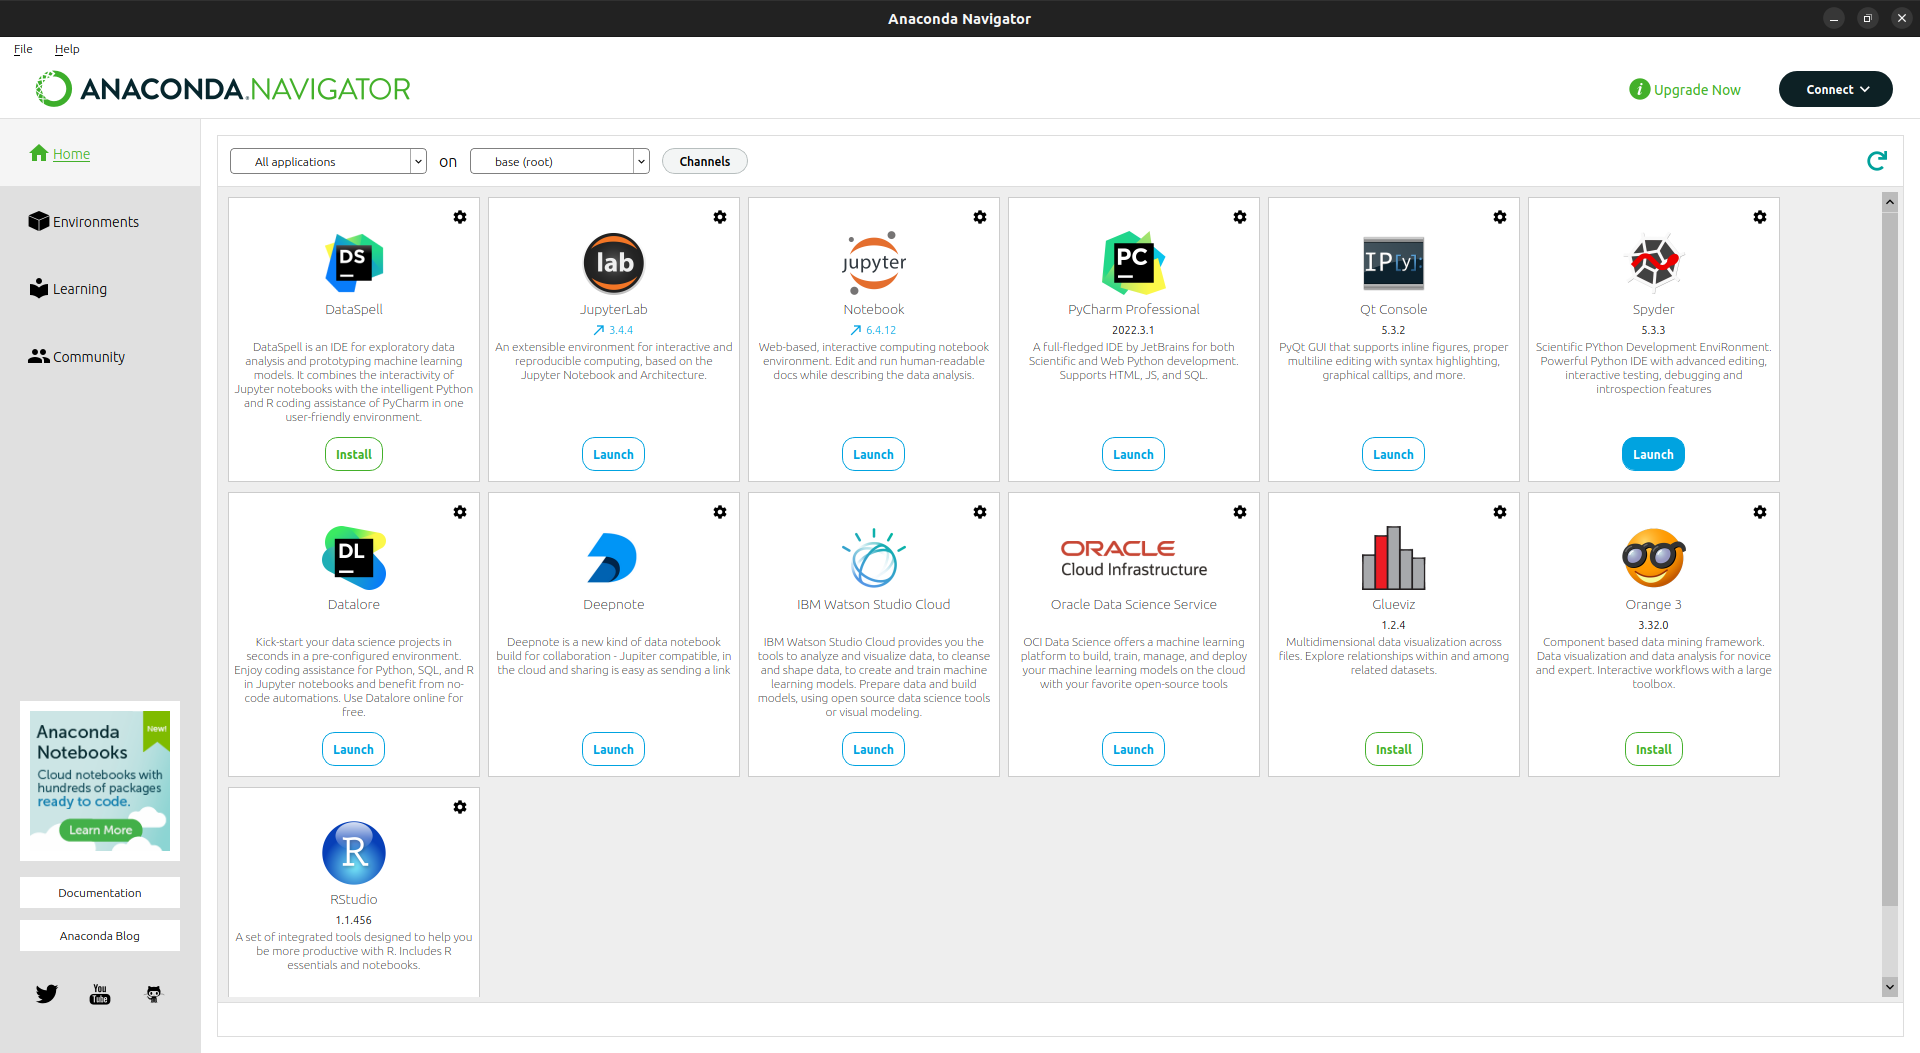
You can now select from a wide range of different tools that are tailored for specific use cases. These can be used to write the code that ranges from simple automation scripts to custom deep neural networks which are used for specific real-world problems.
Click on the “Launch” button under the “Spyder” option to start programming in Spyder.
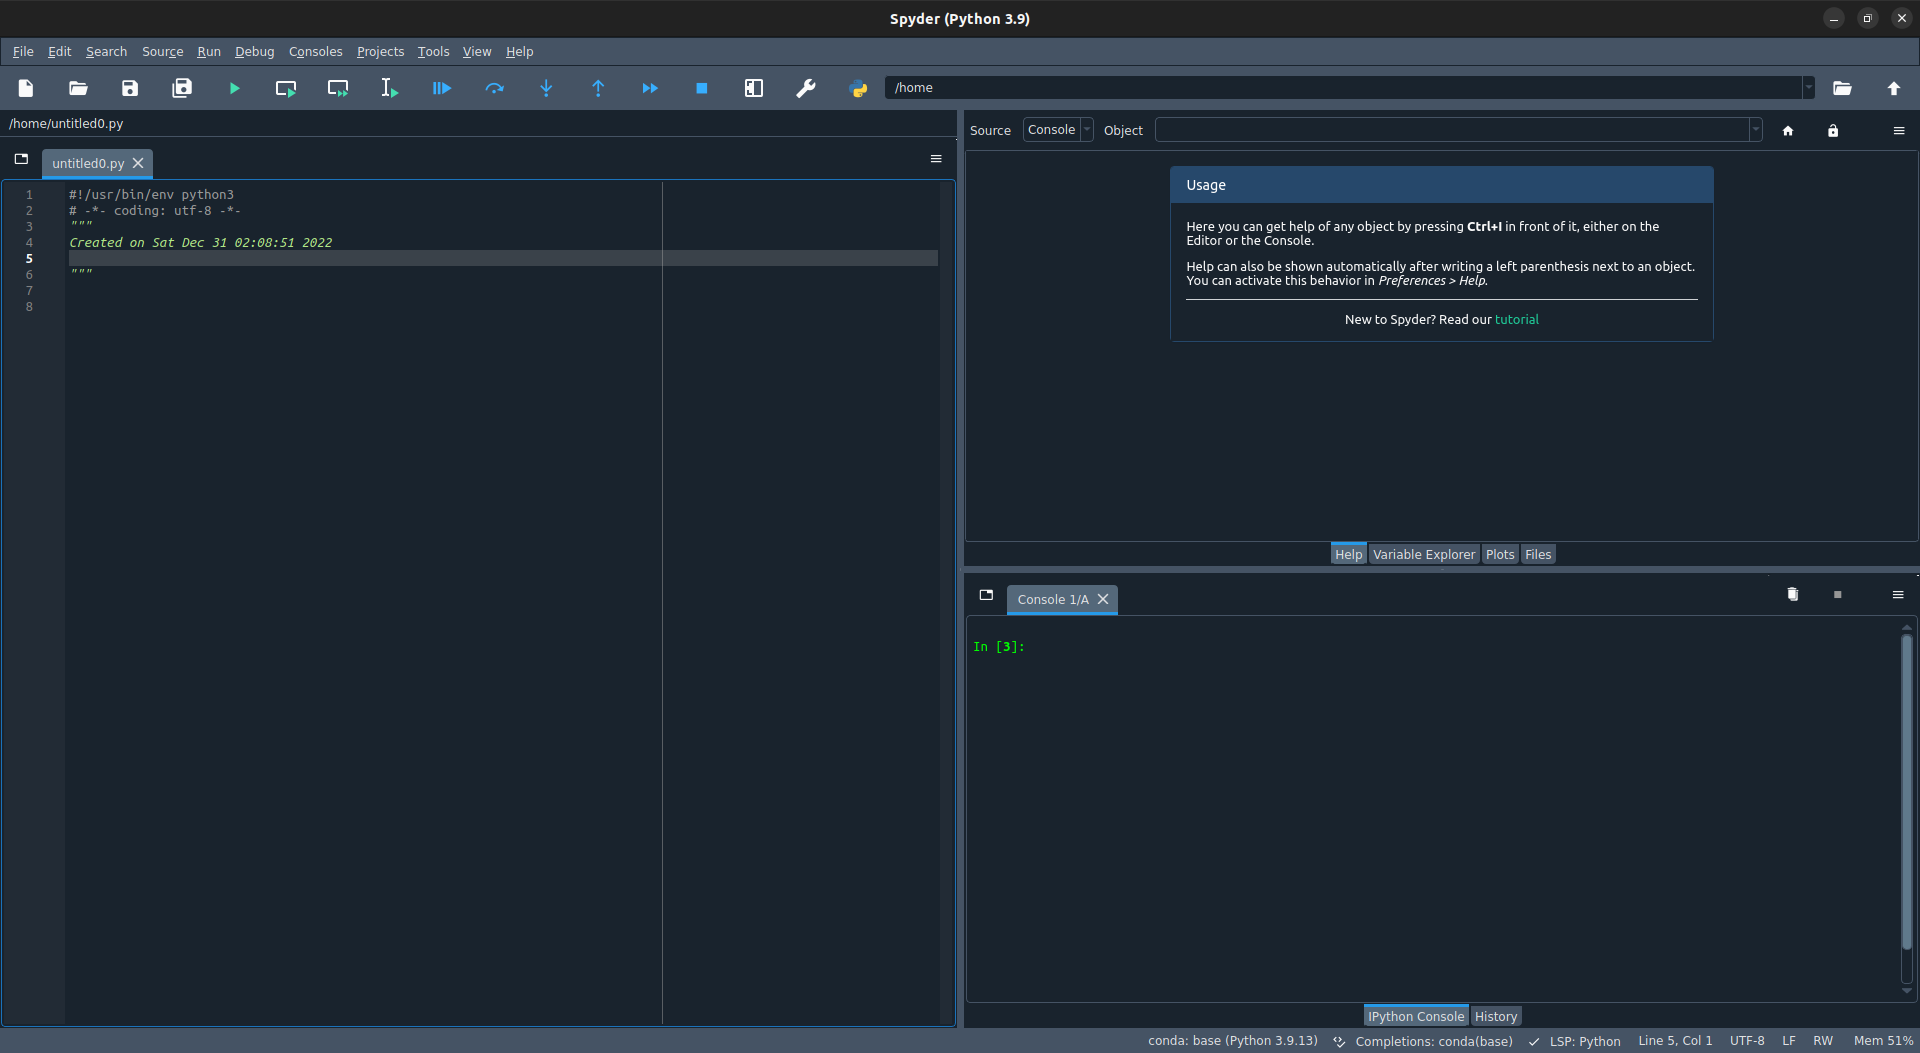
You should see Spyder open up:
User Guide
To start coding in Spyder, you first need to create a file with the extension of the language that you wish to code in. For the purposes of this demonstration, we use Python (.py).
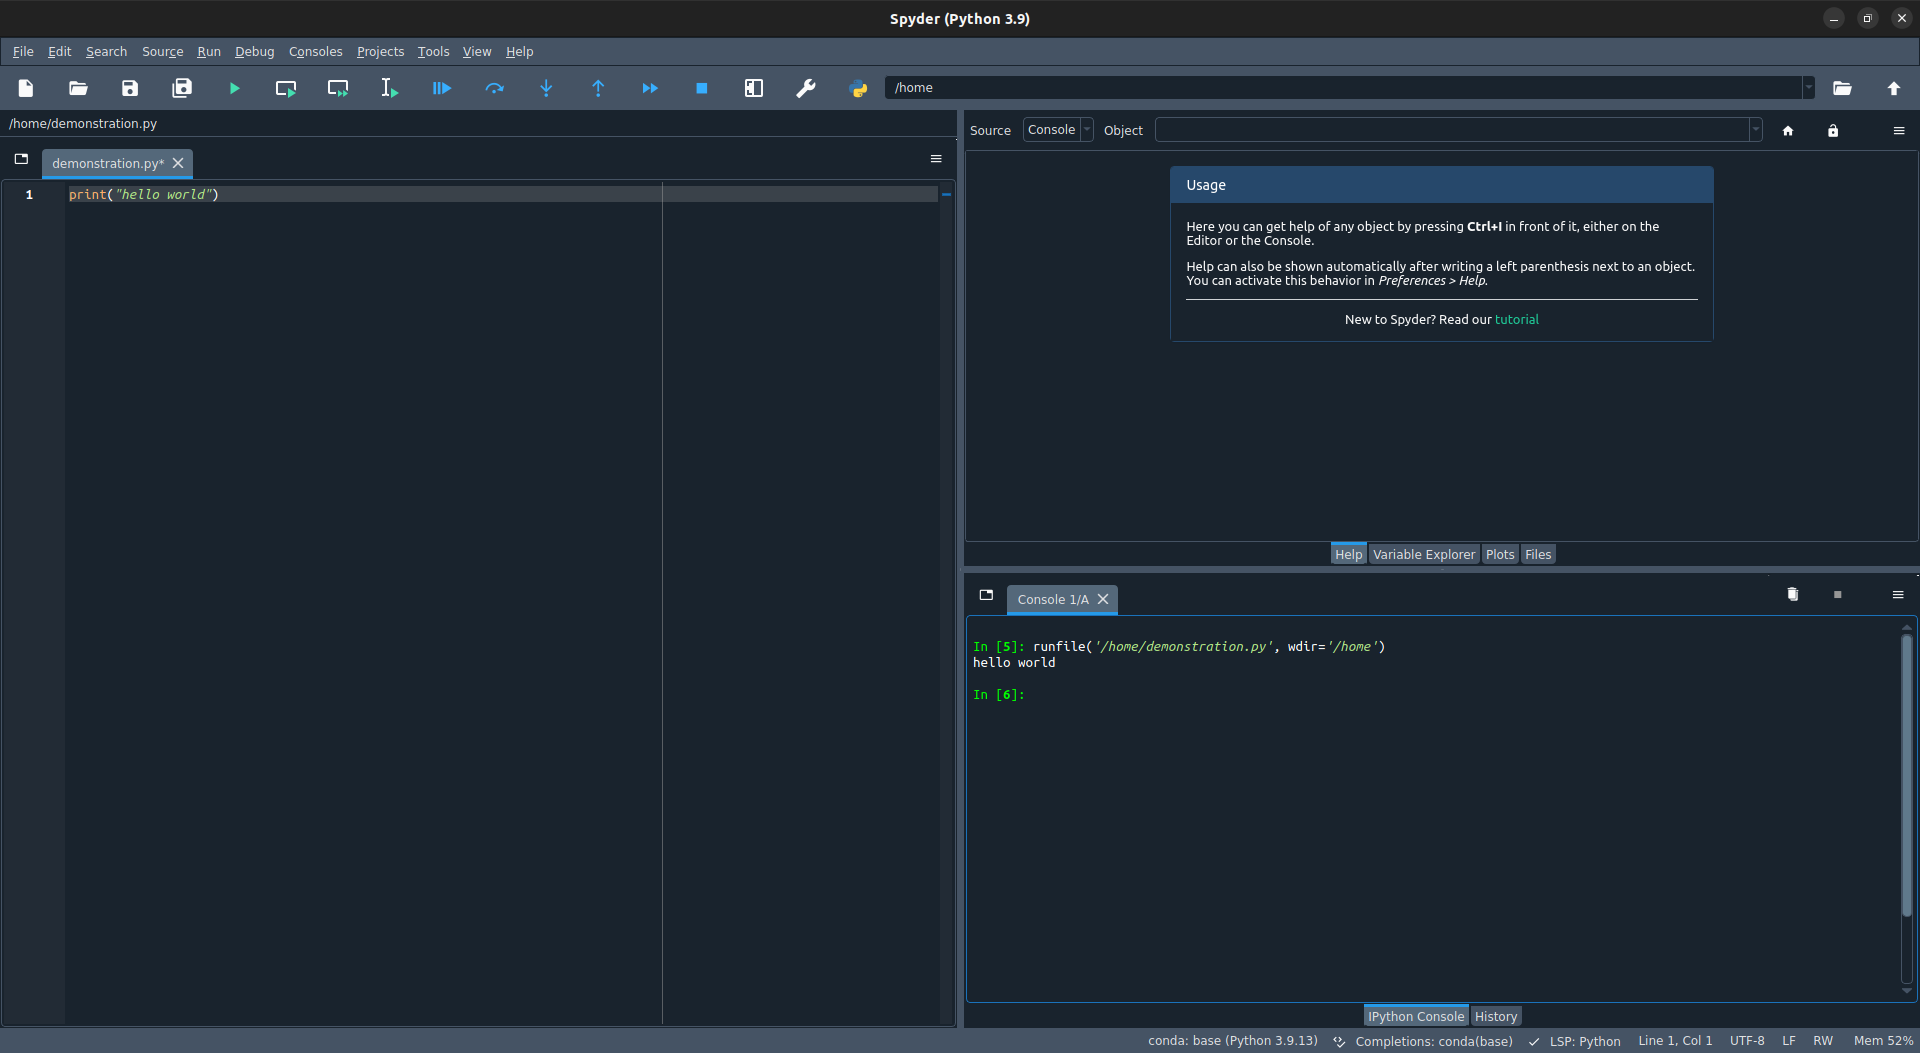
We now test whether Spyder is able to run a simple output statement by writing the following line in the code space:
We now click on the green play button (or press F5) to execute the code. You will be able to see the output at the bottom window on the right. This is the terminal window. It shows you your outputs.
The bottom window can also be used to interact with the Python shell. If you need to install the frameworks and packages, this is the place you should go.
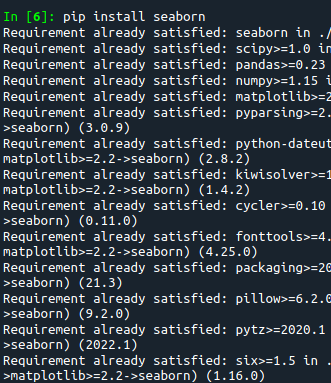
For example, we need to draw some graphs using the Seaborn module which is provided by Python. Navigate to the terminal window and run the following command:
You should see an output which is similar to the following if you have the Seaborn already downloaded:
These are just some of the ways that you can use and interact with Spyder after installing it on your Linux machine.
Conclusion
Spyder is a fully functional open-source IDE that enables the users with integrated support for a wide variety of libraries and packages. It is written in Python and provides support for Python alone. It can, however, be used to write the code in other languages since it does the syntax highlighting and code coloring for them as well.
Spyder is an amazing tool for people who primarily work with Python. To build the projects that contain a number of different code files that reference each other, Spyder is the way to go. It is lightweight and does not require a lot of resources to run. It is easy to learn and use even for beginners which makes it a very easy recommendation for almost anyone.

