This article will explain multiple solutions to fix the mentioned INF file issue.
How to Fix Windows 10 “INF file You Selected Does not Support this Method of Installation” Problem?
To fix the specified INF file issue in Windows 10, try the following fixes:
- Check/Determine if the INF Driver file and your PC Architecture are Compatible
- INF File Installation from the Device Manager
- INF File Installation from Command Line
Method 1: Check/Determine if the INF Driver File and Your PC Architecture are Compatible
This error can be faced by users who try to install a 32-bit driver on a 64-bit system. Therefore, check if the INF driver file and your PC architecture are compatible by following the provided step-by-step instructions.
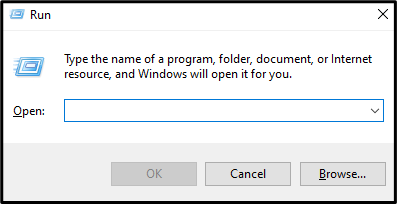
Step 1: Open the Run box
Hit the “Windows + R” keys to launch the Run box shown below:
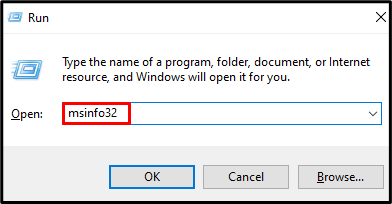
Step 2: Launch “System Configuration”
Write out “msinfo32” in the Run box and hit enter to open “System Configuration”:
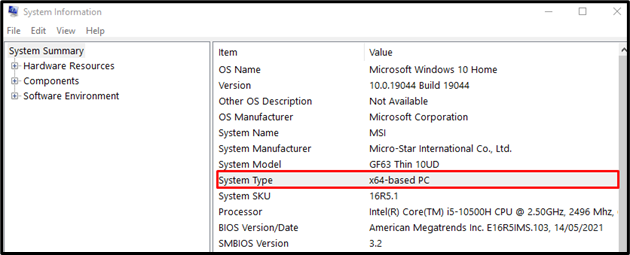
Step 3: Check the System Type
When “System Information” is launched, look for the “System Type” as shown below:
Method 2: INF File Installation From the Device Manager
We can manually install the driver through the mentioned file from the Device Manager utilizing the given steps.
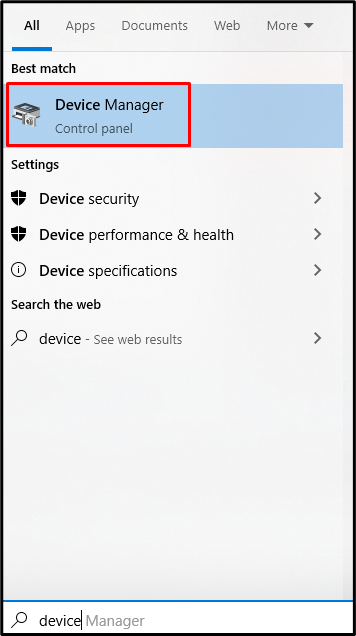
Step 1: Open Device Manager
Type “Device Manager” in the search box of the Startup menu and hit “Enter” to open it:
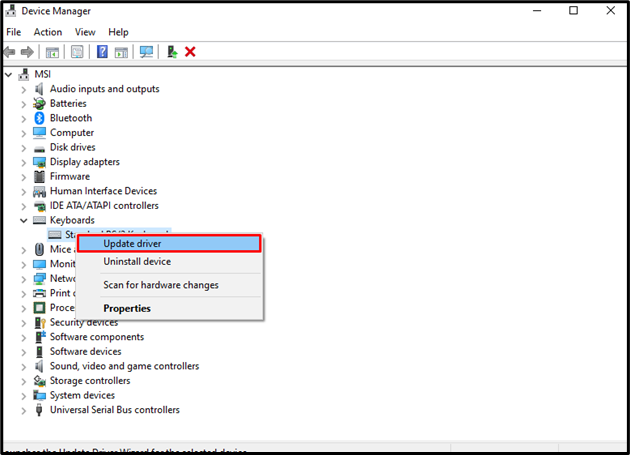
Step 2: Update Drivers
Update the driver of the device you want to install the INF file for by right-clicking it and hitting the “Update Driver” button:
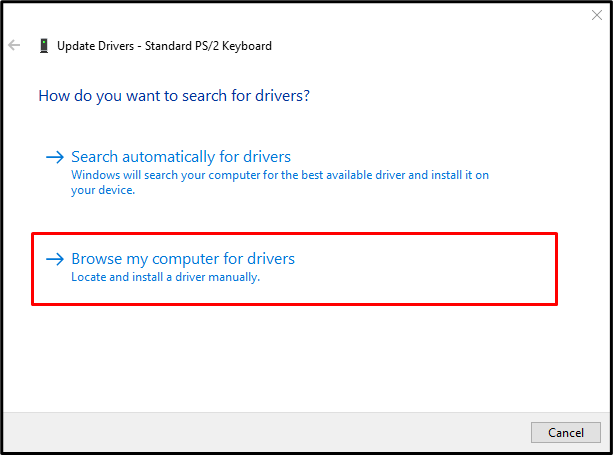
Step 3: Browse for Driver
Choose the highlighted option to manually locate the driver on your system:
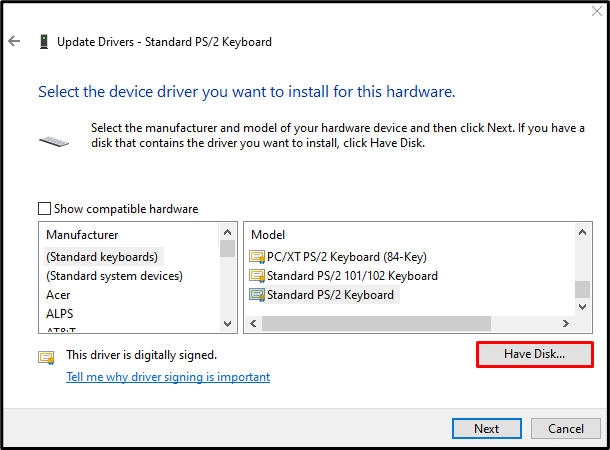
Step 4: Pick the Required Driver
Hit the option which is highlighted in the screenshot below:

Step 5: Click on “Have Disk”
If you have a disk that comprises the driver, click on the “Have Disk” button:
Step 6: Hit Browse
Click on the “Browse” button to open the file browser and look for the INF file:
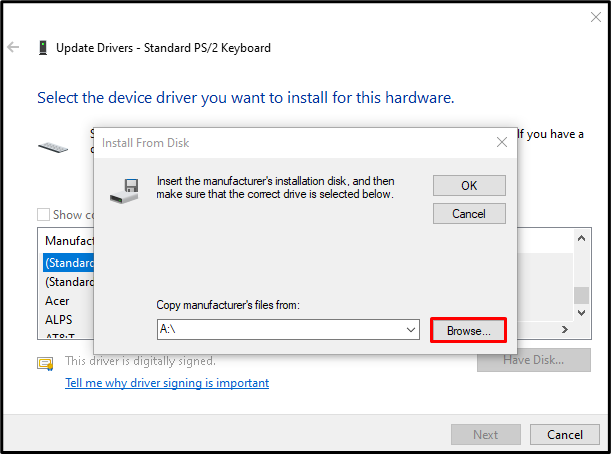
In the browse window, locate and select the INF file. Click on “Open”. Finally, click on “Next” to finish the installation process.
Method 3: INF File Installation From the Command Line
The INF driver file might not support installations from the “Device manager” or normal installations. In such a situation, install the INF file from the command line.
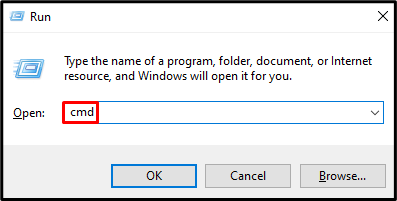
Step 1: Launch Command Prompt Being an Administrator
Write out “cmd” in the Run box and hit “CTRL+SHIFT+ENTER” to run the “Command Prompt” being an administrator:
Step 2: Install INF File
Then, run the provided command for the INF file installation on your system:
Lastly, reboot your system and the stated error will get resolved.
Conclusion
The specified INF file’s installation problem in Windows 10 can be fixed by following multiple methods. These methods include checking if the driver file and your PC architecture are suitable or installing this file from the Device Manager with the help of the Command line. This blog offered the solutions for fixing the mentioned INF file issue.