“Kiosk Mode” in Windows is a beneficial feature for multiple users utilizing a single system. This specific mode allows Chrome users to use a single window of their system. It performs this functionality to restrict the user’s access to any other part of the system by creating a second user profile, thereby keeping the existing personal data in the system confidential.
This blog will state the steps to set up “Chrome Kiosk Mode” in Windows.
How to Setup Chrome Kiosk Mode on Windows?
To set up “Chrome Kiosk Mode” in Windows, apply the following steps.
Step 1: Initiate “Google Chrome” and Add Profile
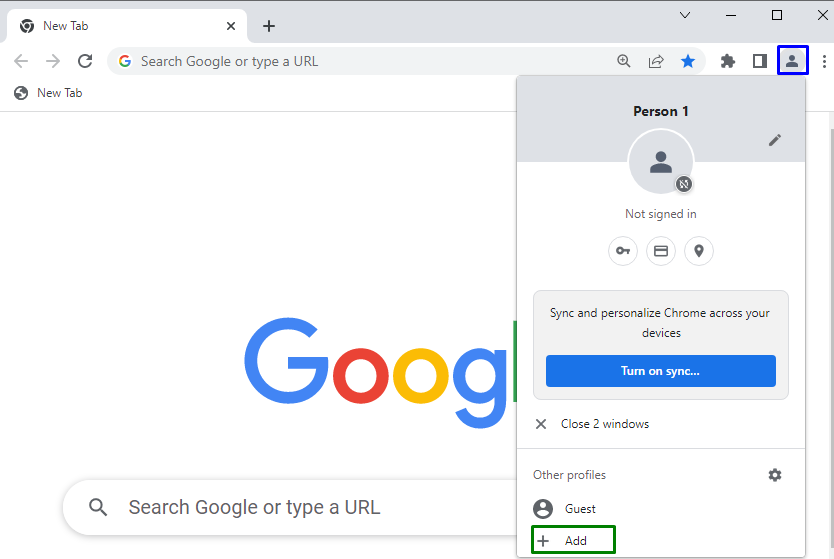
Firstly, open “Google Chrome” on your system. After that, opt for the highlighted icon and select “Add” to add a new profile:
Step 2: Setup a New Chrome Profile
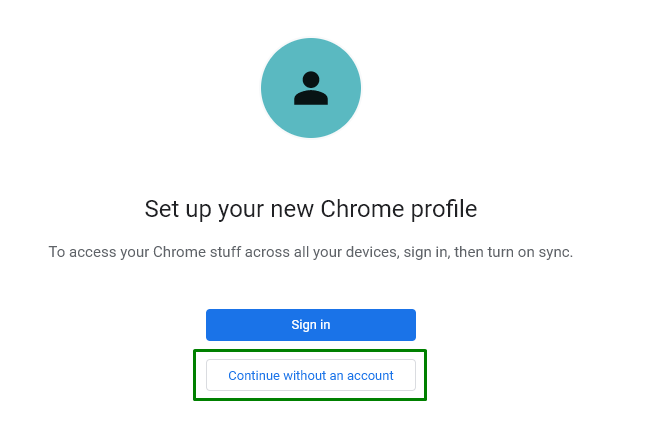
In the following pop-up, hit the highlighted option to proceed without an account:
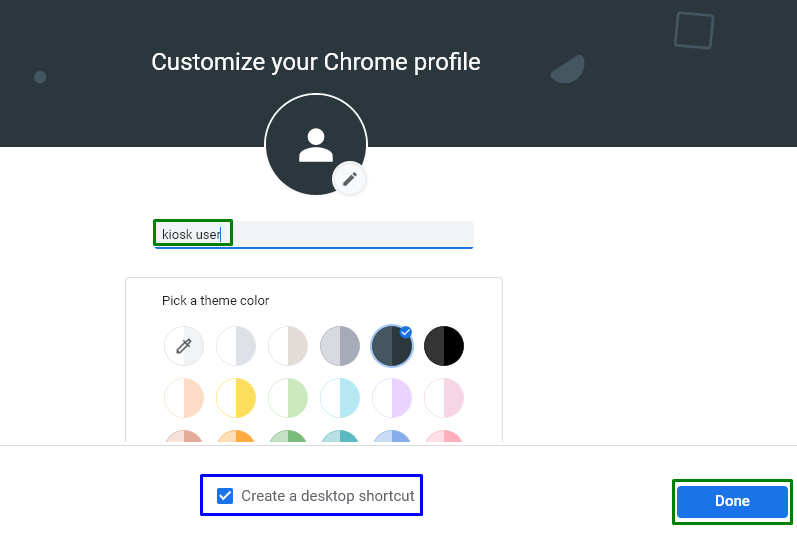
Then, perform the following steps:
- Specify a username of your choice.
- Select a custom theme color.
- Mark the highlighted checkbox to create a desktop shortcut.
- Lastly, click on the “Done” button to complete setting up the profile:
Step 3: Navigate to Chrome Shortcut Properties
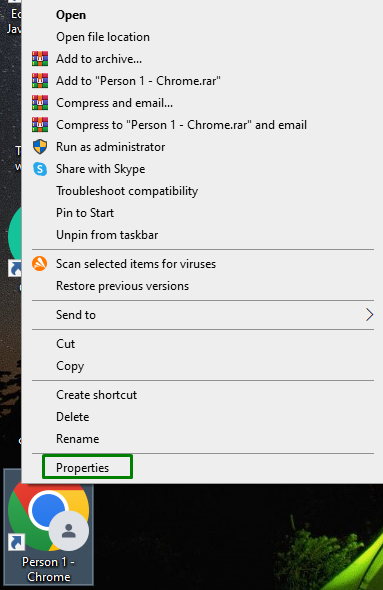
Now, minimize all the opened tabs, right-click on the created Chrome Shortcut on the “Desktop” and hit “Properties”:
Step 4: Modify the “Target” Value
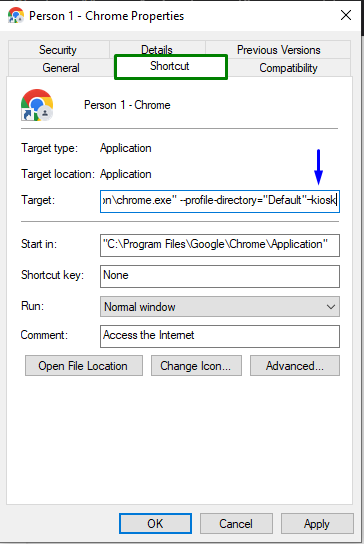
In the opened “Properties” window, switch to the “Shortcut” tab. In the “Target” field, append “-kiosk” at the end, and lastly, trigger “Apply-> OK” to save the added changes:
After applying all the above-discussed steps, click on the created shortcut to initiate “Chrome” in “Kiosk Mode”.
Conclusion
To set up “Chrome Kiosk Mode” in Windows, simply set up a new Chrome profile, and configure the profile properties by appending “-kiosk” in the “Target” value. This guide discussed the steps to set up Chrome Kiosk Mode in Windows.

