Spyder IDE is usually based on open-source and made to create user-friendly interactive environment for data science, engineering, and scientific research. This IDE is completely built for the Python based programming and has remarkable features such as user-friendly interface, powerful debugger, comprehensive development of applications, data exploration and many more.
You can install Spyder IDE on Raspberry Pi through this article’s guidelines.
How to Install Spyder IDE on Raspberry Pi
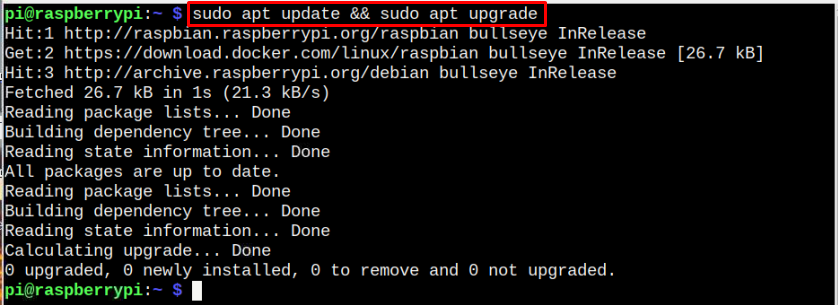
Before proceed to installation of Spyder, make sure you Raspberry Pi device is up to date. Execute the below syntax if you want to update package of Raspberry Pi device:
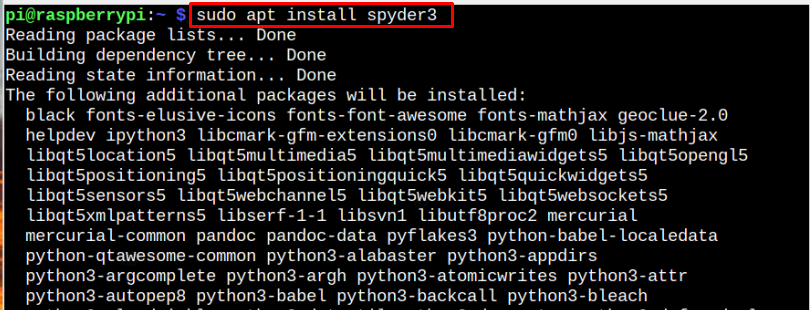
After the updates, you can install Spyder through the following command:
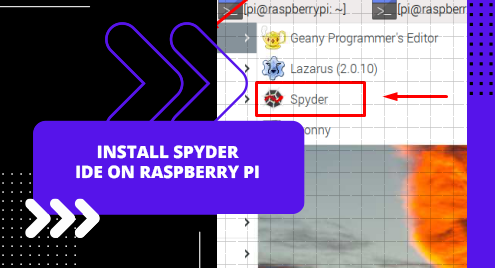
Once the installation gets completed you can open the Spyder IDE by directly going to Application Menu > Programming > Spyder.

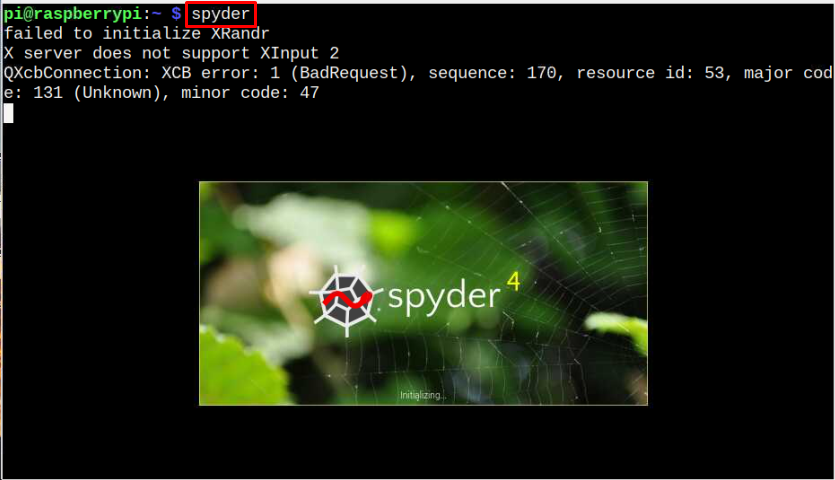
Spyder IDE tool can also be opened through the commands. To do this, simply type the name in terminal window.
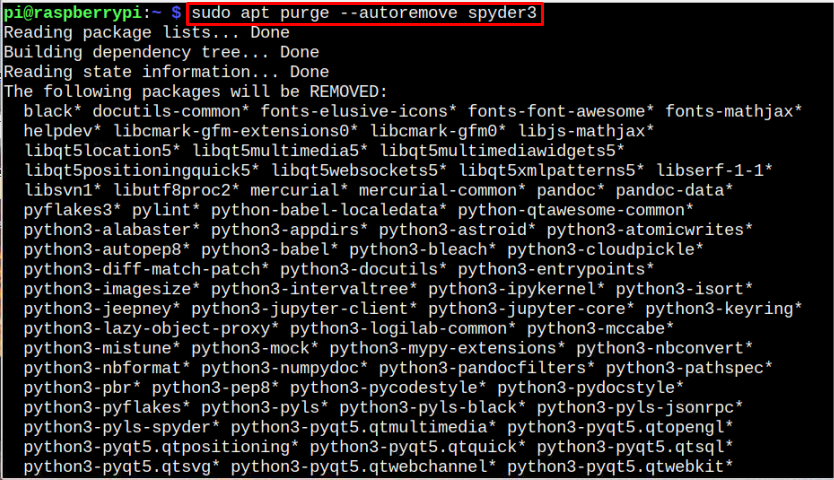
Remove Spyder IDE from Raspberry Pi
In order to remove the Spyder IDE from system, you can execute this command:
Conclusion
Spyder IDE is open source crossed platform programming IDE used for building applications, along with multiple impressive features of debugging, editing and many more. This IDE can be installed through Raspberry Pi repository with “apt” command. You can run Spyder IDE from GUI in the “Programming” section or through terminal using the “spyder” command.