If you are a Raspberry Pi user and want to monitor traffic, this article will help you to install TShark on Raspberry Pi.
Install TShark on Raspberry Pi
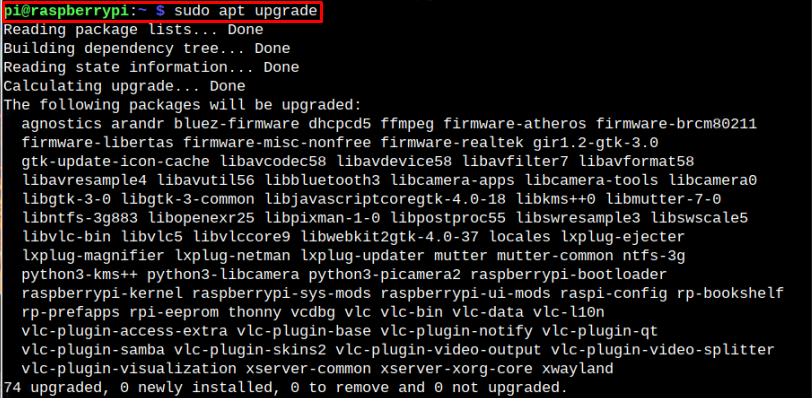
Before proceeding, make sure your Raspberry Pi device must be up-to-date. To check for latest updates on Raspberry Pi, use the following command:

To install the package updates, you must run the following command:
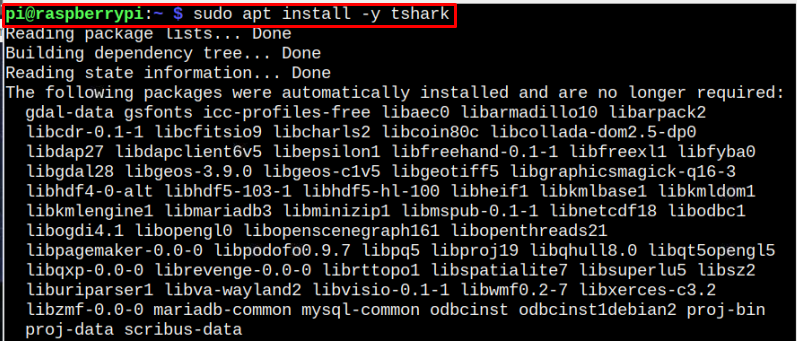
After the update, you can install TShark on Raspberry Pi from the following command:
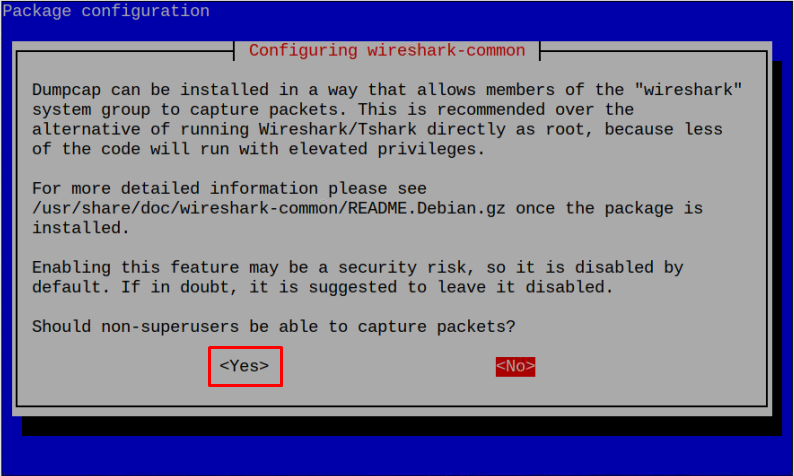
You will be prompted during installation as to whether you wish to permit non-root users to capture packets. Choose “Yes” from the option. It will automatically add the “Wireshark” group and anyone who belongs to the “Wireshark” group will be able to capture packets without being a root user.
After the installation of TShark, you can confirm the version by typing the following command in the terminal.
Capturing Data Traffic Using TShark
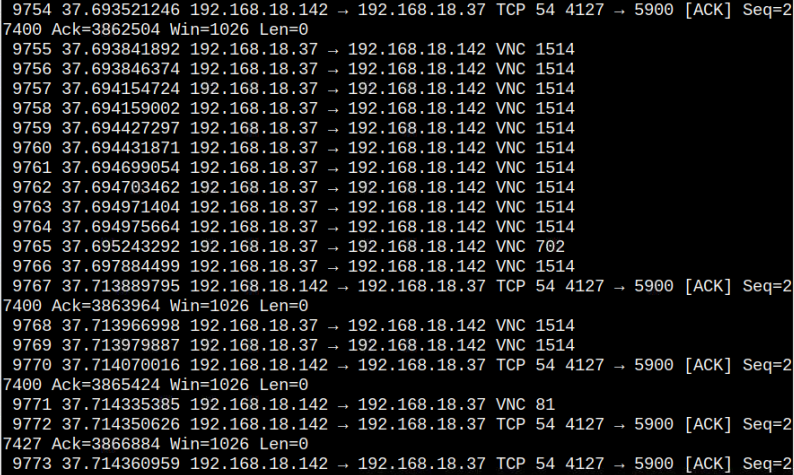
Now to start capturing data traffic through TShark, you must run it first through the following command:
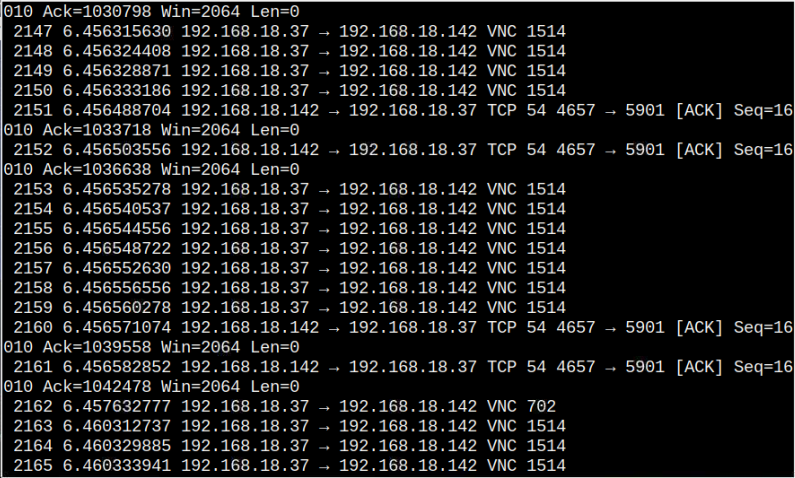
After executing the command, terminal window show multiple ongoing packets on the default network, which is “wlan0” in my case.
You can also capture traffic packets on the specific network interface using “-i” flag with the network interface”.
Note: Use “ifconfig” command to check for network interfaces on Raspberry Pi.
The “wlan0” is my network interface, which could be different in your case.
Remove TShark From Raspberry Pi
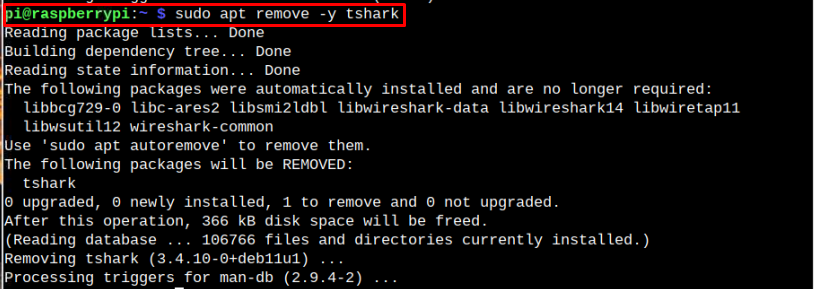
You can remove TShark on Raspberry Pi from the following command:
Conclusion
TShark is a platform to track and monitor the ongoing traffic data through any network interface. Using the above-mentioned straightforward installation and capturing command, you can quickly install the TShark on a Raspberry Pi device and captures the network packets on your Raspberry Pi system.

