The “100% Disk Usage” problem in Windows causes the system to slow down. As a result, the system may take some time to load apps. From firmware, outdated drivers, malware, and virus to Windows Superfetch, many reasons are behind the stated issue. You can check the high Disk usage can be noticed by navigating to the “Task manager > Performance” path.
This blog will observe several methods to repair the mentioned problem.
How to Fix the “100 Disk Usage” Problem in Windows 10?
Here is the list of the top five fixes for handling the high disk usage issues in Windows 10:
- Disable Superfetch (SysMain)
- Disable Windows search
- Reset the virtual memory
- Rebuild the Windows search index
- Check the hard disk for errors.
Fix 1: Disable SuperFetch (SysMain)
SuperFetch pre-loaded all the apps and processes, which can be launched when the user wants without wasting time. So, disabling the Superfetch will lower disk usage.
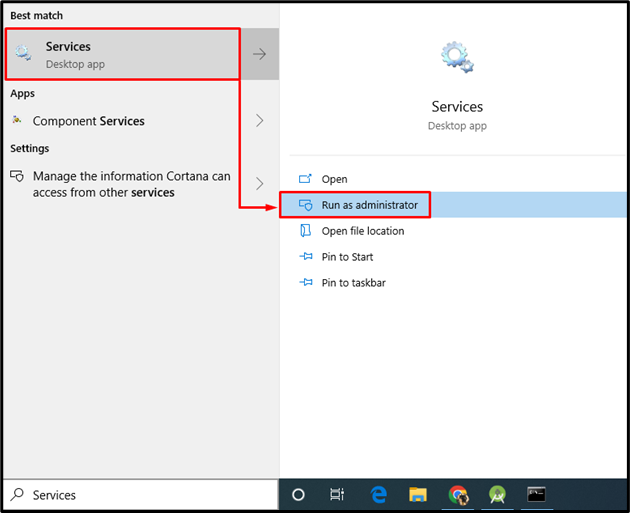
Step 1: Launch Services
First of all, launch the “Services” settings from the “Start menu” as demonstrated below:
Step 2: Disable SysMain Service
- Locate the “SysMain” service and launch its “Properties”.
- Switch to the “General” section.
- Set the service to launch in “Manual” mode and hit the “Stop” option to end it.
- Press the “OK” button to disable the SysMain (Superfetch service):
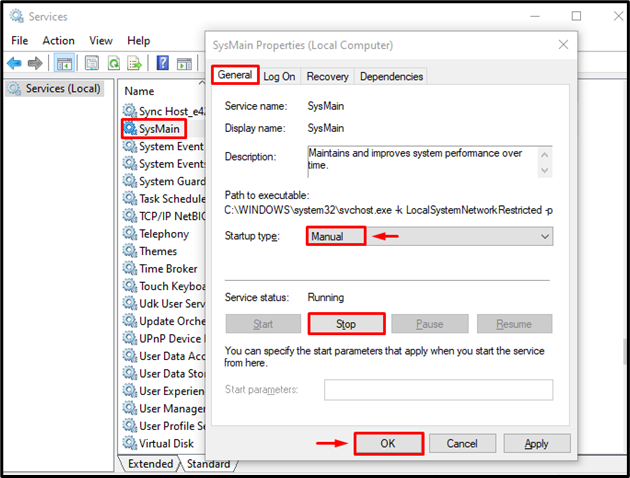
This will disable the SysMain (Superfetch service).
Fix 2: Disable Windows Search
Disabling the Windows search will stop the bug causing a search loop of consistent load on the disk:
- First, search and open the “Services” with the help of the Start menu.
- Search for the “Windows Search” service and launch its properties.
- Navigate to the “General” tab.
- Select the “Startup type” as “Disabled” and hit the “Stop” button to end it.
- Press the “OK” button to save changes:

This method will disable the “Windows Search”.
Fix 3: Reset the Virtual Memory
Sometimes, there could be errors in the pagefile.sys that might lead to using up all the disks. Therefore, resetting the virtual RAM will help to resolve 100% disk usage.
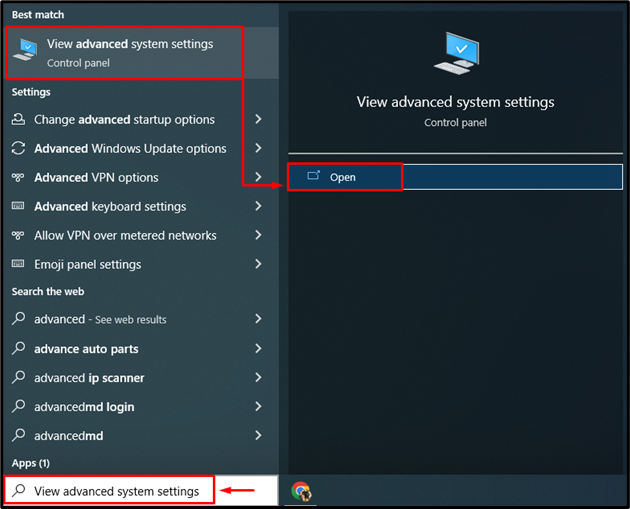
Step 1: Launch Advanced Settings
First of all, open “View advanced system settings” via the Start menu:
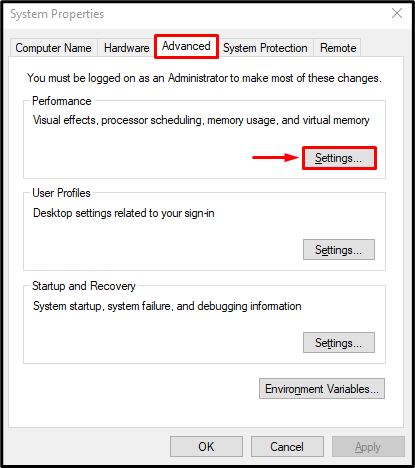
Step 2: Open Performance Settings
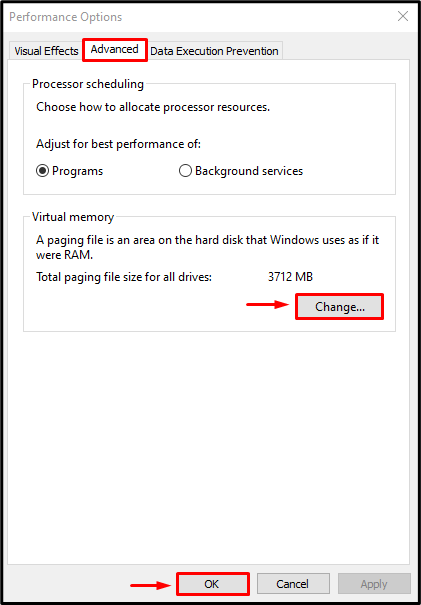
Navigate to the “Advanced” tab and click on the “Settings” option in the Performance section:
Step 3: Configure Virtual Memory Settings
Move to the “Advanced” segment, and hit the “Change” option:
Step 4: Change Virtual Memory
- Make sure to de-select the “Automatically manage paging file size for all drives” checkbox option.
- Select the “C” drive.
- Mark the radio button and enter your desired virtual memory’s initial and maximum MB size.
- Trigger the “Set” button and finally hit the “OK” button:
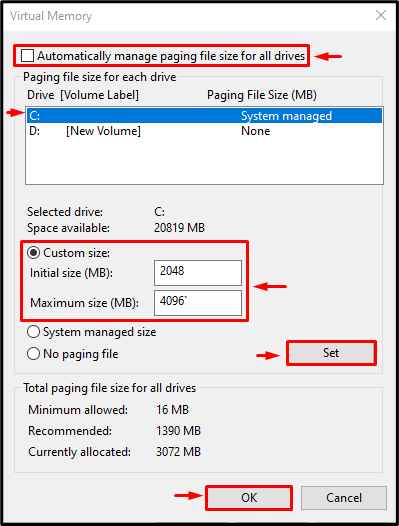
This will increase the virtual memory according to the desired size.
Fix 4: Rebuild the Windows Search Index
Rebuilding the Windows search index will reduce the load on the disk and resultantly resolve the high disk usage issue.
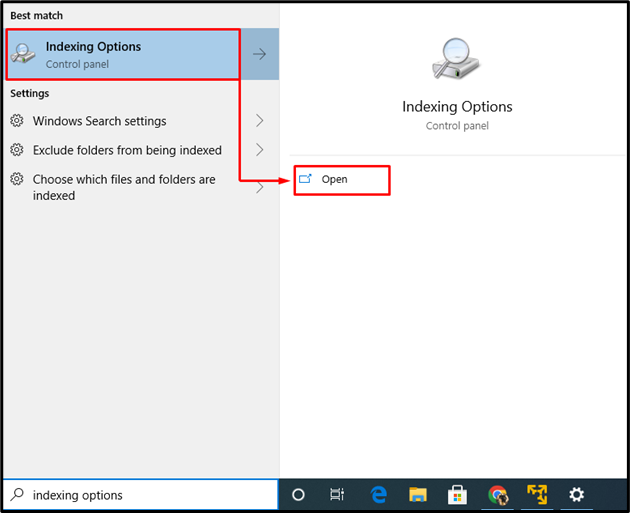
Step 1: Launch Indexing Options
First of all, open the “Indexing Options” via the Start menu:
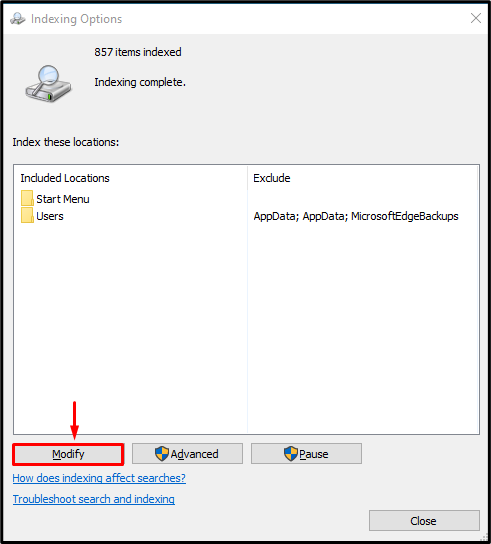
Step 2: Configure Indexing Options
Click on the “Modify” button:
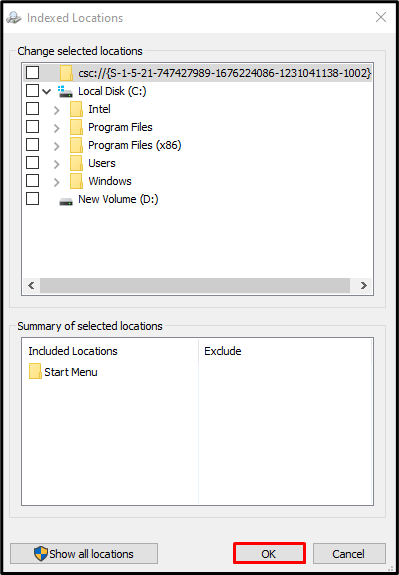
Expand the “C:” drive and make sure you have unchecked all the boxes to exclude them from appearing in the search results:
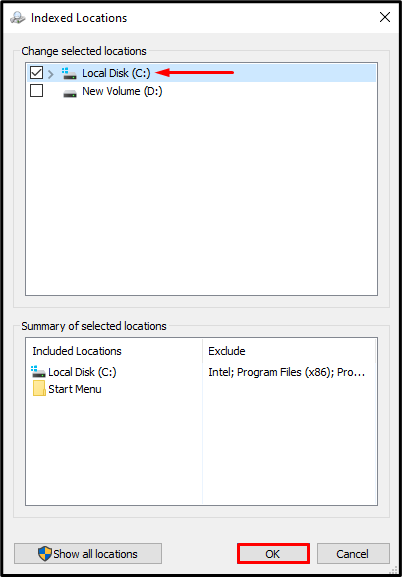
Step 3: Select the Disk
Mark the “Local Disk (C:)” checkbox and press the “OK” button:
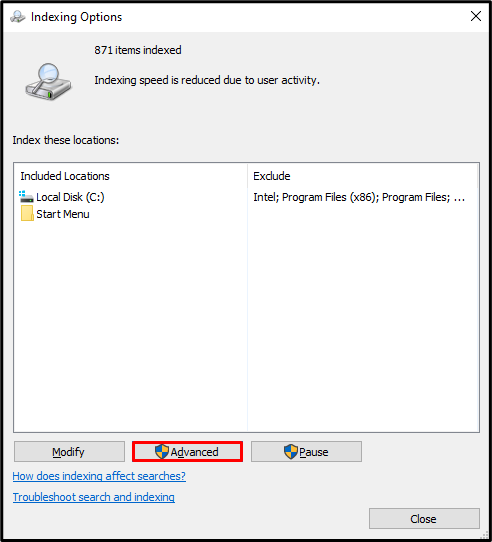
Step 4: Launch Advanced Options
Click on the “Advanced” option:
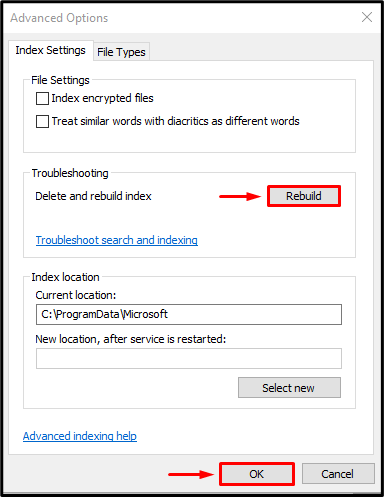
Step 5: Configure Advanced Options
- Navigate to the “Index Settings” and click on the “Rebuild” option.
- A pop-up will appear from where you have to select the “OK” option.
- Now, click on the “OK” button to save settings:
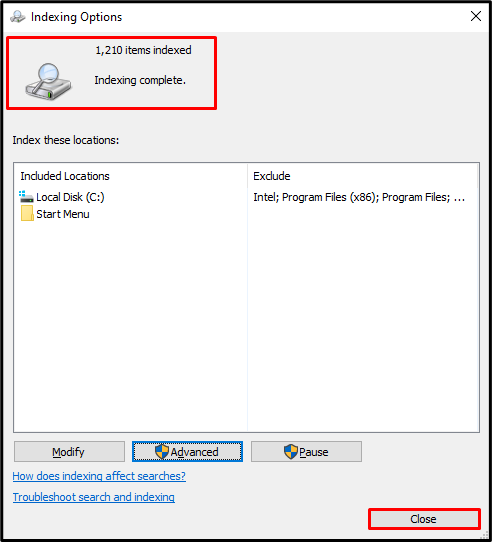
As you can see that the indexing is complete, click on the “Close” option for saving the changes:
Fix 5: Check Hard Disk for Errors
A check disk is a utility that can be used to check whether there are physical problems with the hard disk.
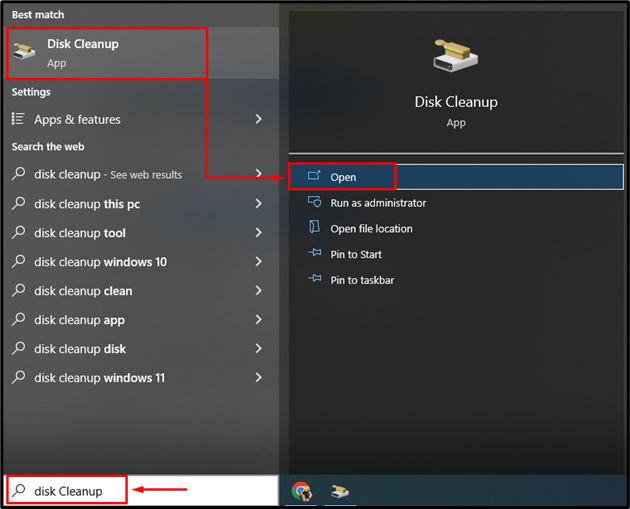
Step 1: Launch Disk Cleanup
First of all, launch the “Disk Cleanup”:
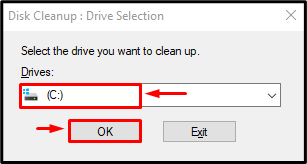
Step 2: Select the Drive
Then, select the required drive and click on the “OK” button:
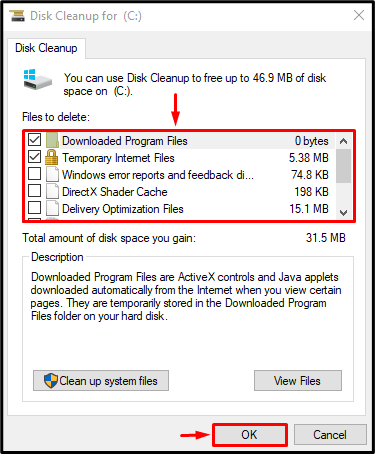
Step 3: Delete Junk Files
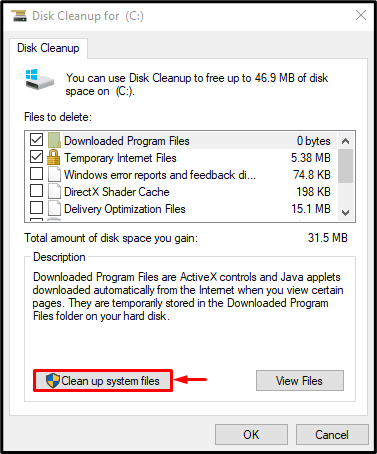
Mark tick the files you want to remove and hit the “OK” button:
Step 4: Clear System Files
Click on the “Clean up system files” option:
Select the drive and press the “OK” button:

Navigate to “More Options”, select the option of your “Program & Features” cleanup, or select “System”:
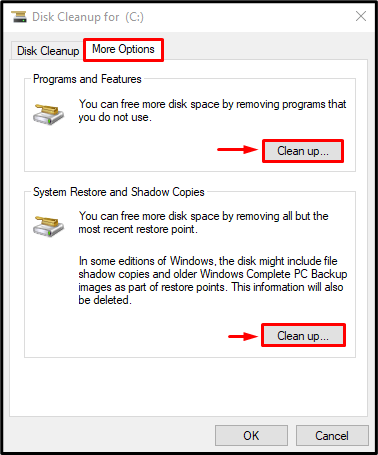
As a result, your disk will be cleaned up by removing junk or unnecessary files.
Conclusion
The “100% disk usage” issue can be repaired by applying several approaches. These approaches include disabling the super fetch, disabling the Windows search, resetting the virtual memory, rebuilding the Windows search index, or checking the hard disk for errors. This tutorial has presented all the authentic fixes to repair the high disk usage in Windows 10.