So, let’s dive into this guide to figure out how to install and run Kali Linux on Windows 10.
How to Install Kali Linux on the Windows 10 Subsystem?
The Linux distro can be installed on Windows 10 by enabling the “Windows Subsystem for Linux” feature. For that reason, check out the provided procedure.
Step 1: Visit Turn Windows Features on or off Settings
First, go to “Turn Windows features on or off” settings via the Windows “Startup” menu:
Step 2: Enable Windows Subsystem for Linux
Look for “Windows Subsystem for Linux”, mark its checkbox, and hit the “OK” button:
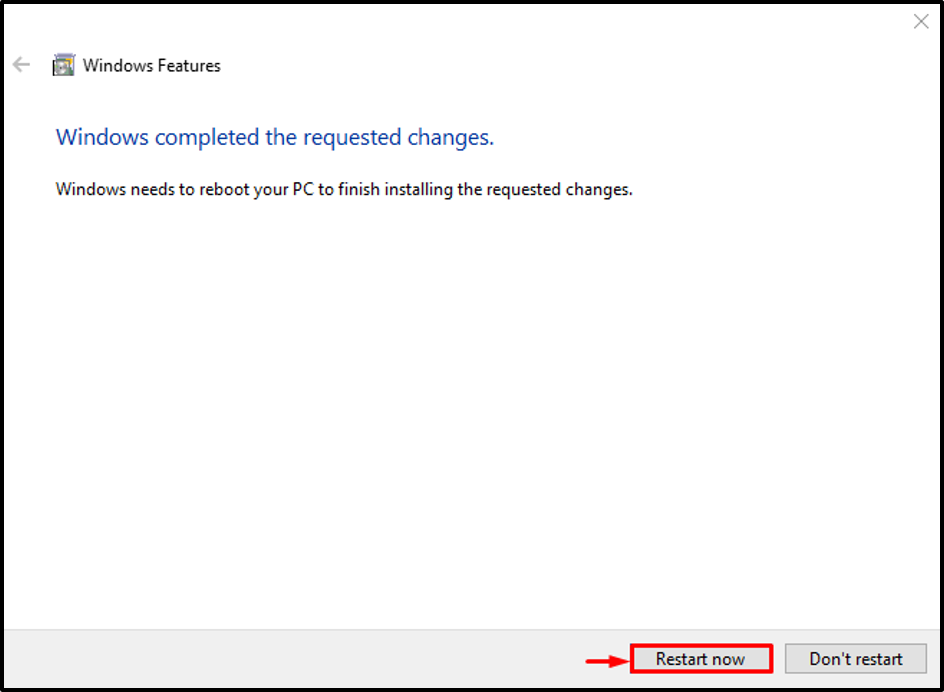
Step 3: Restart System
Trigger the “Restart now” button:
After the reboot, the “Windows Subsystem for Linux” will be enabled.
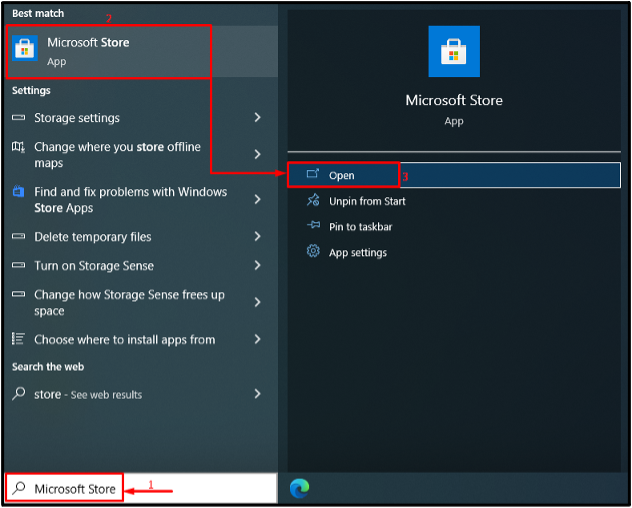
Step 4: Launch Microsoft Store
Now, install Kali Linux. To do so, launch “Microsoft Store” via the Start menu:
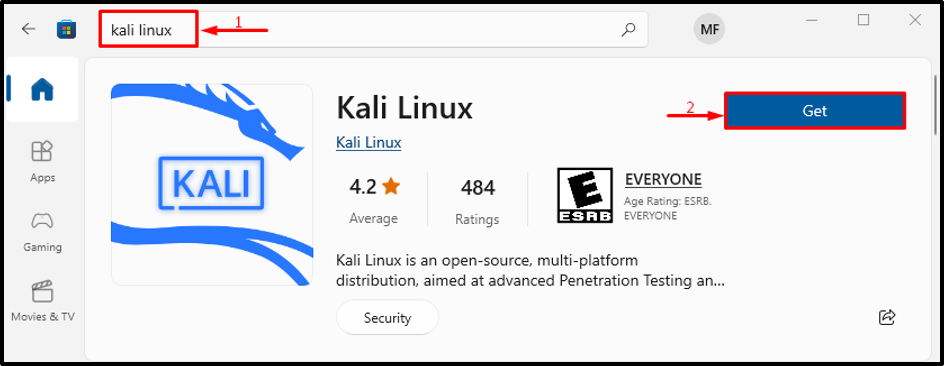
Step 5: Get Kali Linux
Search for “Kali Linux” in the store. Then, click on “Get” to initiate the installation:
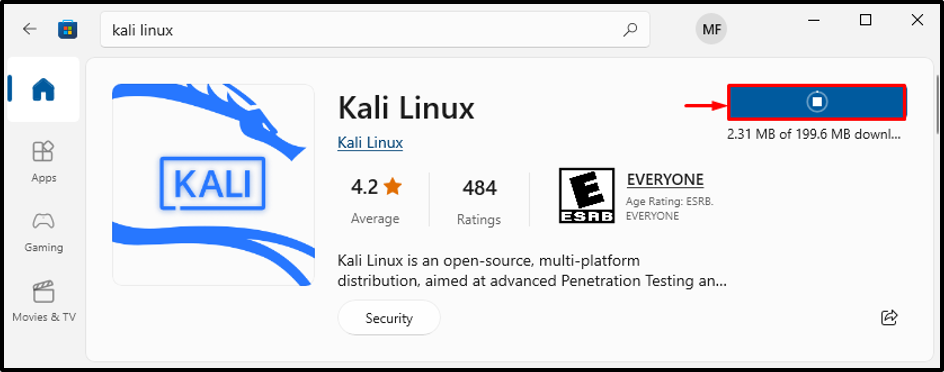
The Kali Linux has started to download:
Step 6: Install Kali Linux
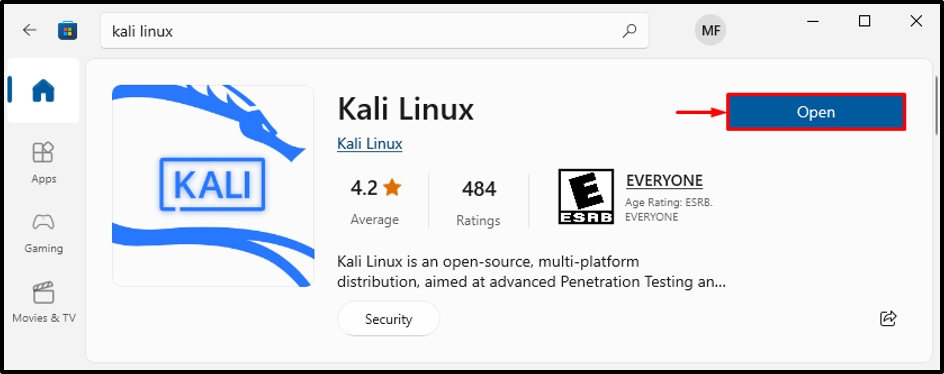
Hit the “Open” button to launch Kali Linux:
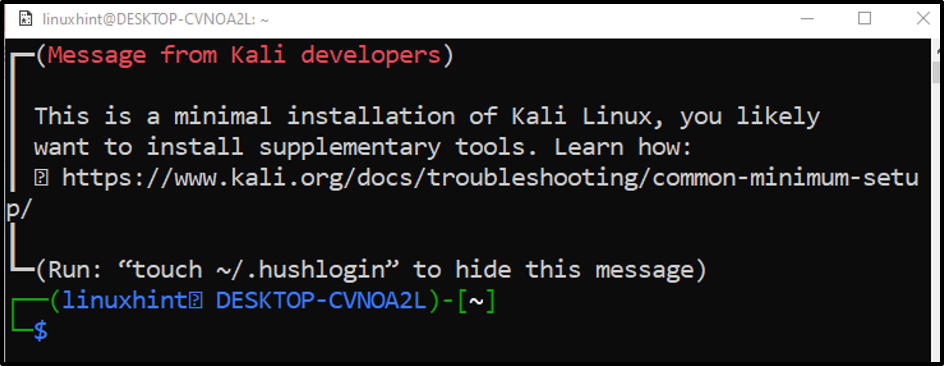
Kali Linux has started to install:
Step 7: Specify Username and Password
Enter the username and password for your Kali Linux login:

The installation of Kali Linux has been completed.
Conclusion
The Kali Linux distro can be installed on Windows 10 by enabling the “Windows Subsystem for Linux” feature. After that, to complete the process reboot your system. Next, launch Microsoft Store, search for Kali Linux, and get it on your system. This article demonstrated the method for installing Kali Linux on Windows 10.


