This article will show you how to turn your Raspberry Pi into a Virtual Private Network through Hamachi.
Turn Raspberry Pi into a Virtual Private Network Using Hamachi
Hamachi doesn’t require any configuration settings and it can be installed on Raspberry Pi from the following steps:
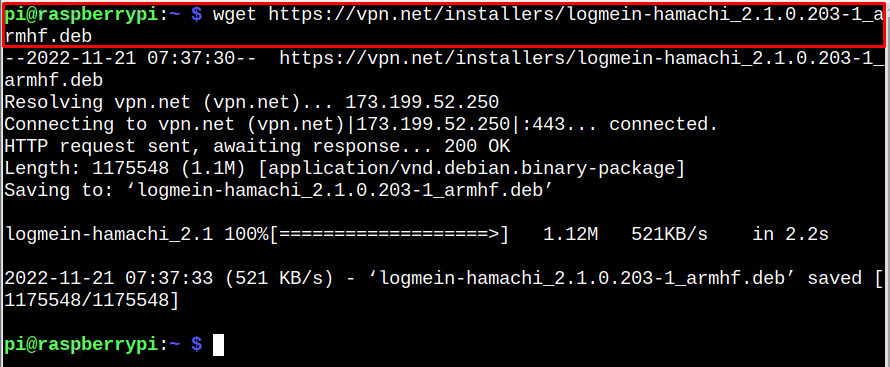
Step 1: Download Hamachi Deb Package on Raspberry Pi
First download the Hamachi deb package from the official website using the wget command:
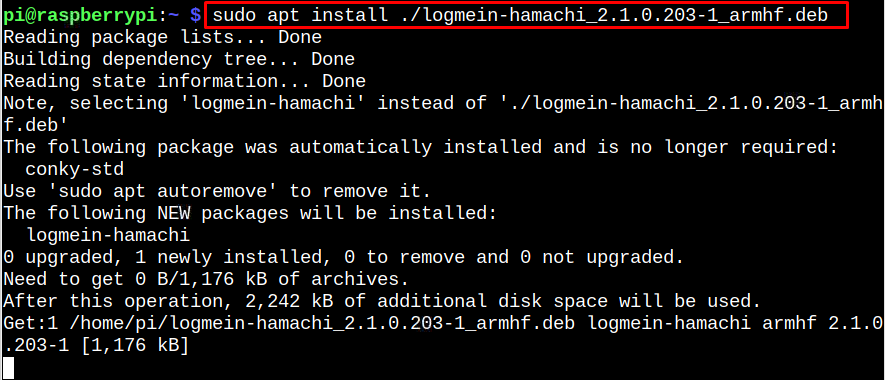
Step 2: Install Hamachi Deb Package on Raspberry Pi
To install Hamachi deb package on Raspberry Pi, use the following apt command:
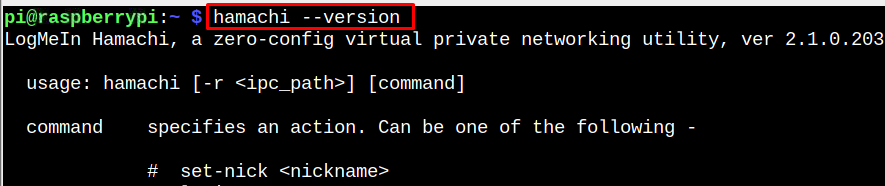
Step 3: Confirm Hamachi Installation
To ensure Hamachi is successfully installed, you can run the following “version” command:
Step 4: Automatically Login to Hamachi
To automatically login to Hamachi on Raspberry Pi, use the following command:

Wait until you receive an “OK” message that ensures you have successfully logged into Hamachi on the Raspberry Pi system.
Step 5: Create a Private Network on Raspberry Pi using Hamachi
To start creating your first virtual private network, follow the below-given syntax:
Note: Replace <network_name> with the name of your choice, while in the password section write your own password.

This will create a virtual private network on your Raspberry Pi system. To see your network IP created through Hamachi, you can use the “hostname -I” command:

The highlighted IP address is the IP created through Hamachi and you can use this IP address to access the device remotely.
Add a Device to your Virtual Private Network
To add another system to your virtual private network, you must install the Hamachi application on the system. In my case, I am adding my laptop to Raspberry Pi’s network and for this reason, I have to install Hamachi for Windows through this website.
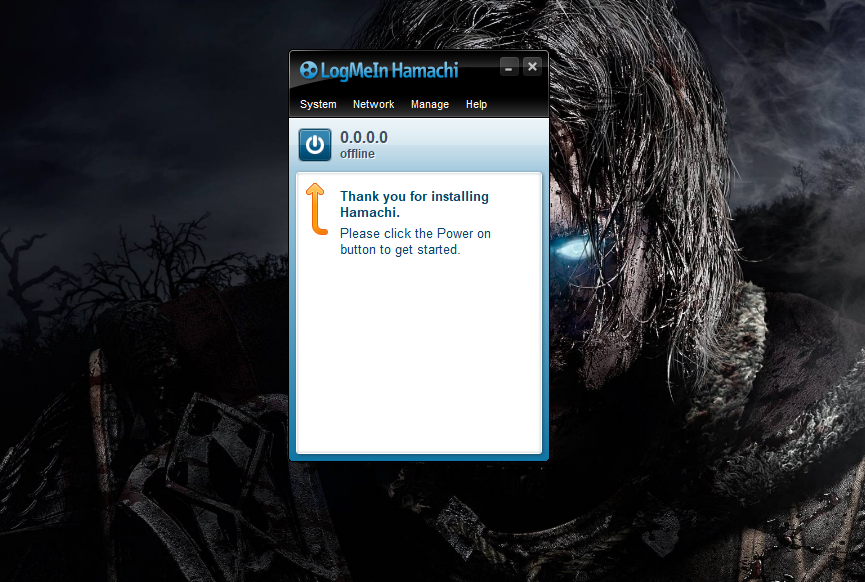
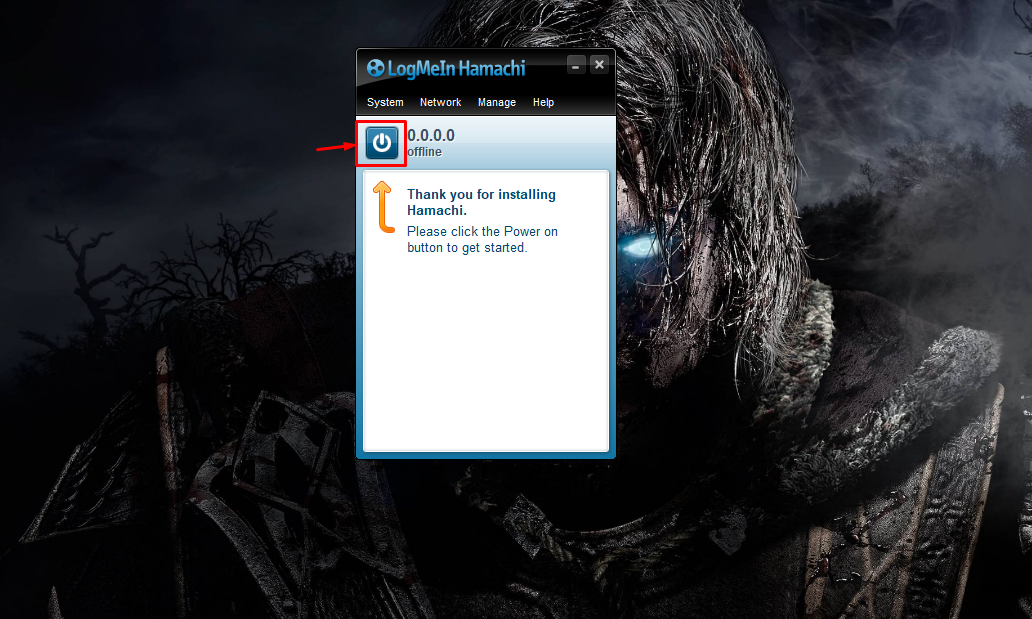
Click the “Power” button to enable or tun on the Hamachi.
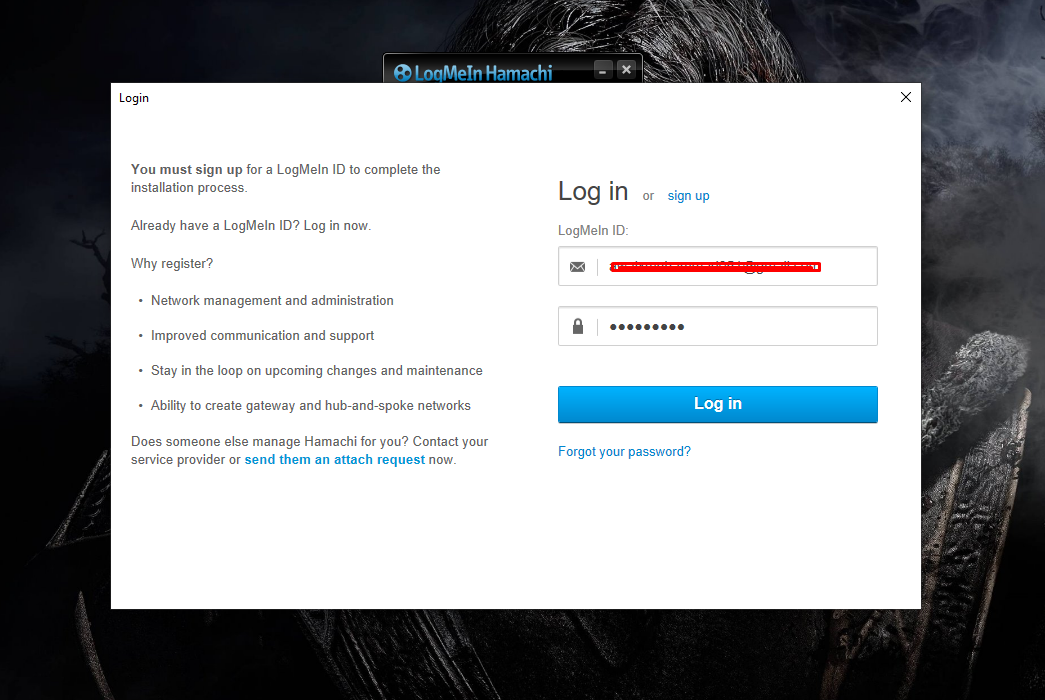
Signup to Hamachi or log in if you have an account.
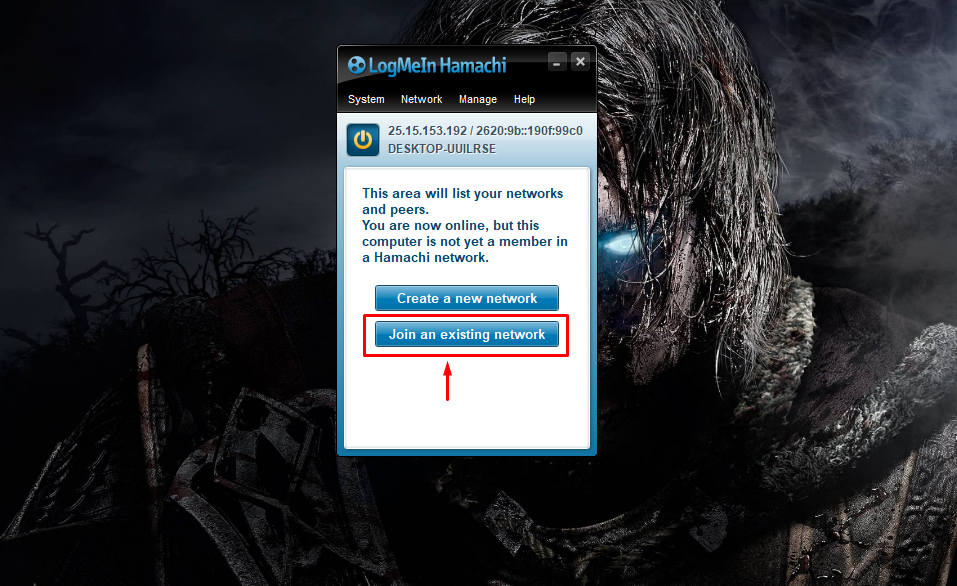
Click on the “Join an existing network” option.
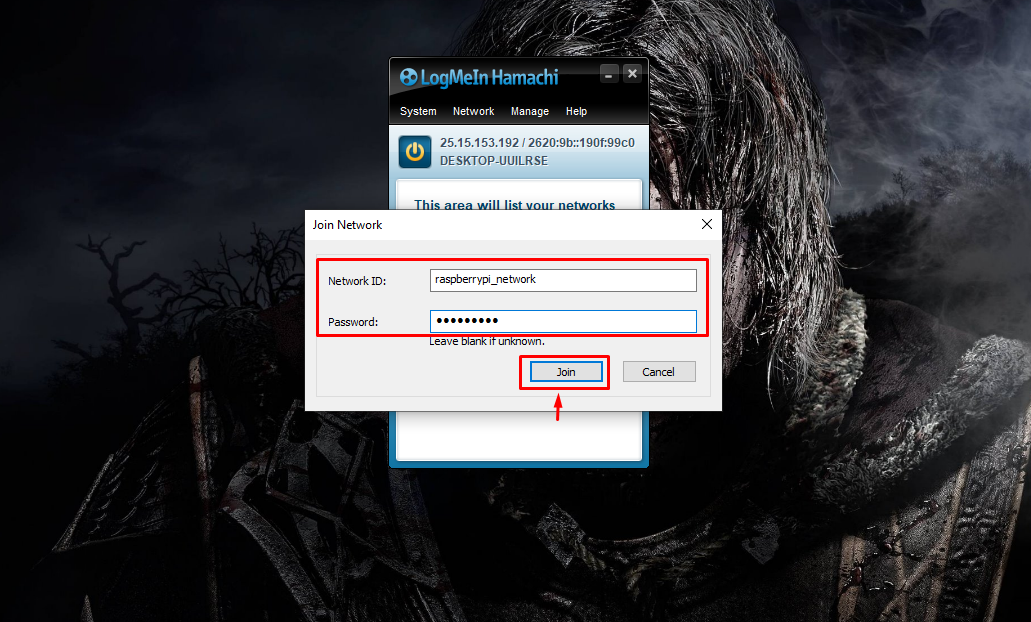
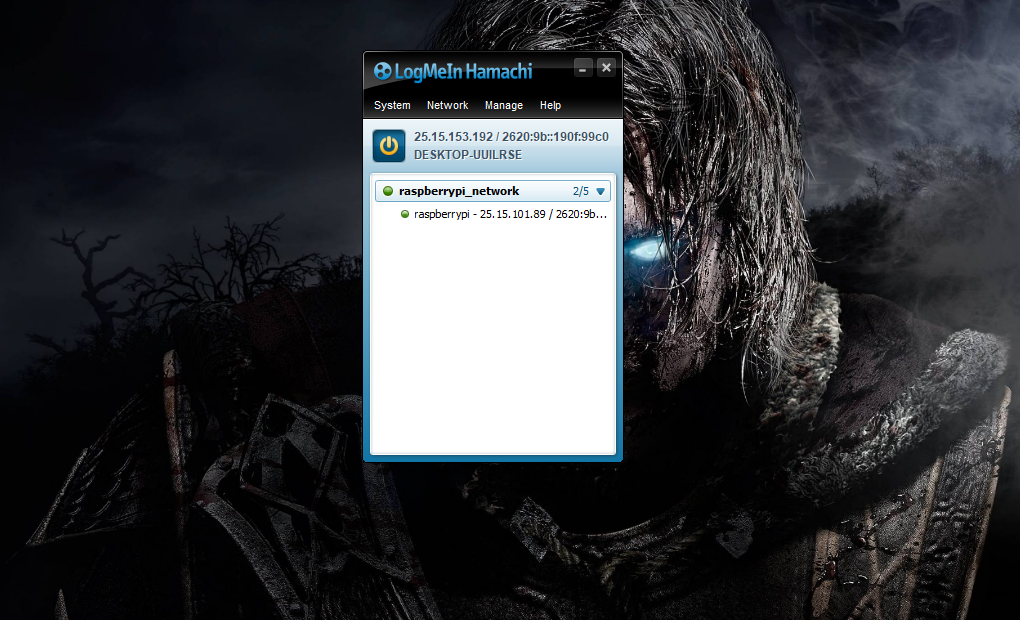
Write down your Raspberry Pi Network ID and password you have created in Step 5 and click on the “Join” button to log in.
This adds the other system to the Raspberry Pi network.
In this way, you can add multiple networks to your private network and start hiding your real identity.
Conclusion
Hamachi is a platform that allows Raspberry Pi users to create a virtual private network and hide the device’s real identity. You can install this tool from the Debian package and after the installation, you can automatically log in to Hamachi, create a virtual network and set a password to protect your network. Later, you can use the virtual network’s credentials to add other devices to your network.