This guide will help you in installing NVM on Raspberry Pi and later, it also shows you the way to use it for installing different versions of Node.js.
Install NVM and Node.js on Raspberry Pi
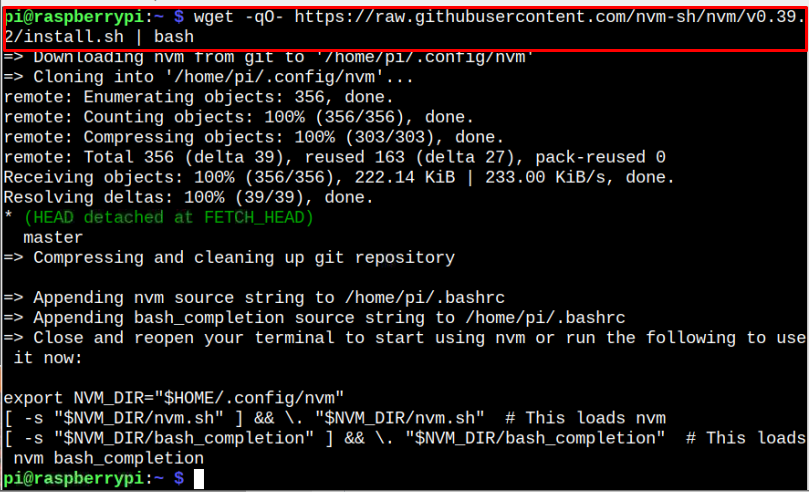
The installation of NVM on your Raspberry Pi system is quiet simple, which requires executing the following script on your Raspberry Pi terminal.

After the installation, close the terminal and open it again to confirm the installation of NVM on your Raspberry Pi system from the following command:
Install Node.js Versions Through NVM
Now to start installing the latest stable version of Node.js on your Raspberry Pi system, follow the below-mentioned command:
You can check the Node.js version using the command mentioned below:
If you want to install an old version of Node.js, you can use the following syntax:
To install version 8, use the command:
You can also install the latest LTS version of Node.js through the following command:
To switch to any Node.js version, you can use the following command with the version you want to use.
To switch to the version 8.0.0, use:
To switch to the latest Node.js version, you can use the following command:
Conclusion
NVM is a tool for installing and using different versions of Node.js on your Raspberry Pi system. It can be installed directly from the script, which needs to be executed in the Raspberry Pi terminal. After the installation, you can easily install different versions of Node.js through the “nvm install” command and use the particular Node.js version on your Raspberry Pi system through the “nvm use” command.


