Sometimes developers need to use a specific version of node.js to build or modify the node.js application. Therefore, developers always need to downgrade or upgrade the nodejs version depending on application specifications or needs.
In this blog, we will describe the method to downgrade the Nodejs version on Windows.
Prerequisite: Install NVM on Windows
NVM stands for Node Version Manager primarily used for managing Node versions. We can easily switch between versions of Node using NVM. We will use NVM to downgrade the node version. To install NVM on Windows, follow the provided instructions:
Step 1: Install the NVM installer
Firstly, install the Node version manager (NVM) that manages the node version. For this purpose, navigate to the provided link and install the NVM setup execution file:
Step 2: Execute NVM Installer
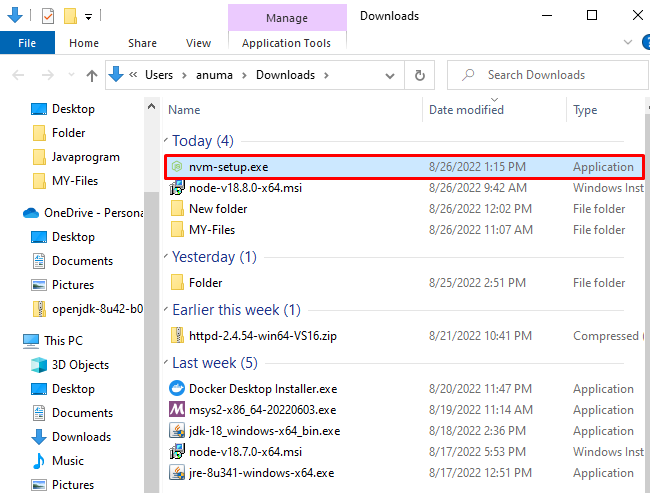
The NVM installer will be saved in the “Downloads” folder (by default), navigate to the location and double click on the “nvm-setup.exe” file to execute NVM installer:
Step 3: Install NVM
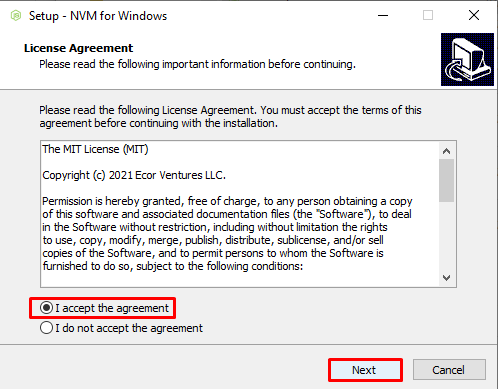
The “Setup-NVM for Windows” wizard will appear on the screen. To start NVM installation, accept the all-license agreement by marking the respective radio button and press the “Next” button:
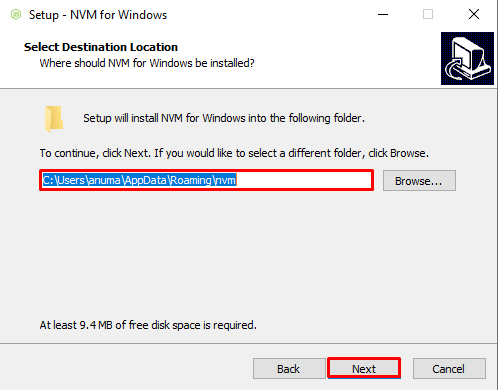
Select the NVM installation location or continue with the default chosen path. Then click the “Next” button:
Go with the default selected Symbolic link (Shortcut) location and hit the “Next” button:
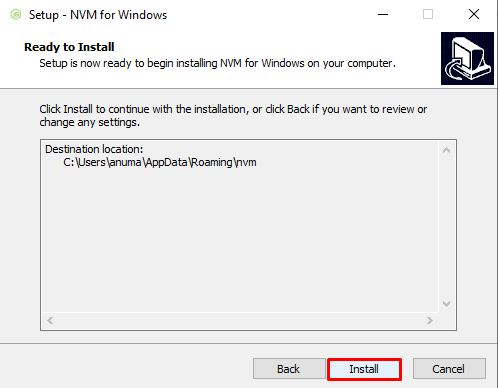
Lastly, press the “Install” button to begin the NVM installation:
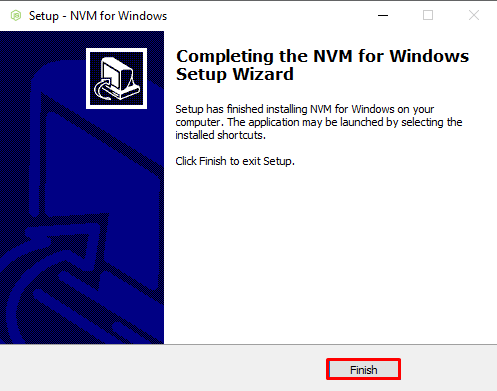
We have completed installing NVM on Windows. Now hit the finish button to close the setup wizard:
How to Downgrade Node Version Windows?
Mostly, the developers needed to change the Node version due to work on a specific Node version for older libraries/packages. NVM is a Node Version Manager used to downgrade or upgrade the node version. According to our query, we will utilize NVM to downgrade the Windows version, but the process remains the same in both cases.
Follow the listed steps to downgrade the Node version on Windows.
Step 1: Open Command Prompt
Open the Windows Command Prompt as administrator by searching “Command Prompt” in the “Startup” menu:
Step 2: Check the Current Node Version
Check out the current Node version using the “-v” option:
You can see that we are currently using node “v18.6.0” on Windows.
Step 3: Downgrade the Node Version
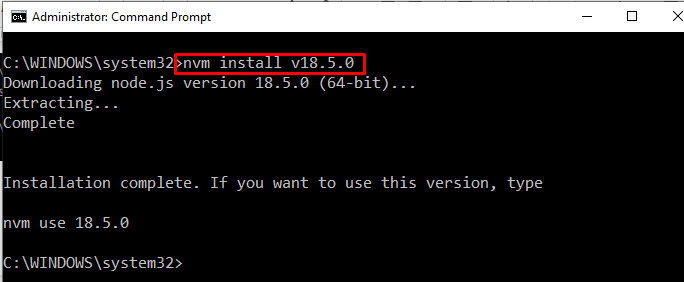
Downgrade the node version using the NVM package manager. For this purpose, use the “nvm” command and define the version you want to install. Let’s say we want to switch from node 18.6.0 to 18.5.0:
Step 4: Use the Downgraded Version
To use downgraded version, you need to utilize the “nvm” command with the “use” keyword as follows:
Step 5: Verify Node Version
Verify whether the Node version is downgraded or not. For this purpose, check out the Node version again:
The below-given output indicates that we have successfully downgraded the Node version:
We have compiled the most frequently used and simplest method to downgrade the Node version in Windows.
Conclusion
To downgrade the Node version on Windows, it is essential to install NVM (node version manager) first. After installing NVM, utilize the “nvm install <version-number>” command in the Windows Command prompt to downgrade the Node version. After downgrading the Node version, use the “nvm use <version-number>” command to use the downgraded version on Windows. In this blog, we have elaborated the technique to downgrade the Node version in Windows


