
SQLite is an in-process module that provides an interactional SQL database system that is self-contained, virtualized, and requires no initialization. SQLite is one of the most popular database systems. Yet, its usage has something to do with its complexity. SQLite’s code is publically available. It’s a zero-configuration database that indicates users will not have to install it on the computer like other databases.
The SQLite database would not be a stand-alone procedure like some other databases; users may integrate it into any program explicitly or interactively, depending on the demands. SQLite has instant access to its stored records. In SQLite, the SELECT statement is the most appropriate command for accessing and retrieving data from within particular tables. The SELECT command is used to perform simple database queries or complex queries against various constraints. A SELECT command will not alter the database in any manner.
A query, often known as a SELECT command, instructs a database to retrieve specific data from a specified table stored in a database. The term SELECT is accompanied by using a space and a set of comma-separated values in the SELECT statement. The * symbol would be applied to select all of the attributes of the defined table. Afterward, the FROM term, the title of the table, appears. This statement is being used to specify updates and other operations in the database in addition to reading the information.
We’ll go over the details of the SELECT statement and illustrate how to employ it to retrieve information in this article. We’ll hold the usable forms in the instances to demonstrate the basic structure. SELECT can easily manage a lot more complicated use cases.
For running the queries, we have to install any compiler. Here, we installed the software “BD Browser for SQLite”. First, we have created a new database by picking the “New database” selection from the menu bar. This would be saved into the folder having the type SQLite database files. To make a new Database, we execute the query. Then, we will create a table by running its specific query. We need to add the data to the table, so we execute the query of “INSERT”.
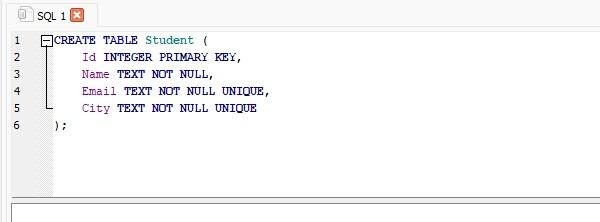
Create a Table
We create the table named “Student” and store the data. This table has different columns, including “Id”, “Name”, “Email”, and “City”. ID has an “integer” data type. Whereas, Name, Email, and the City have “text” data type. The primary key of the following table is “ID”:
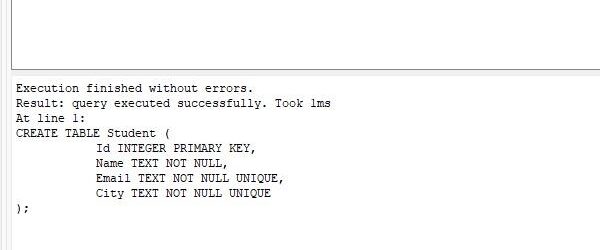
The table “student” is successfully created.
Insert the Data
After creating the table “student”, we insert the data of the student in this table. So, we execute the “INSERT” query.

The specified data is effectively inserted into the following table:

SELECT Query for a Single Table
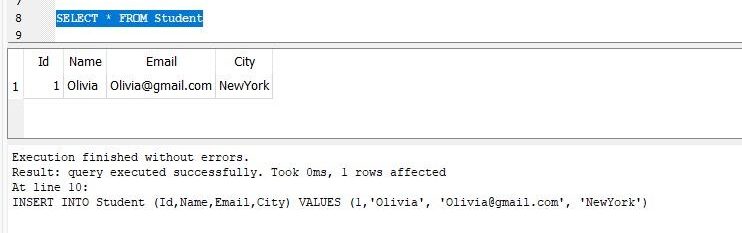
We run the “SELECT” query by fetching the entire data of the table “student”.

We get the data of the student ‘Olivia’ by running the “SELECT” query.
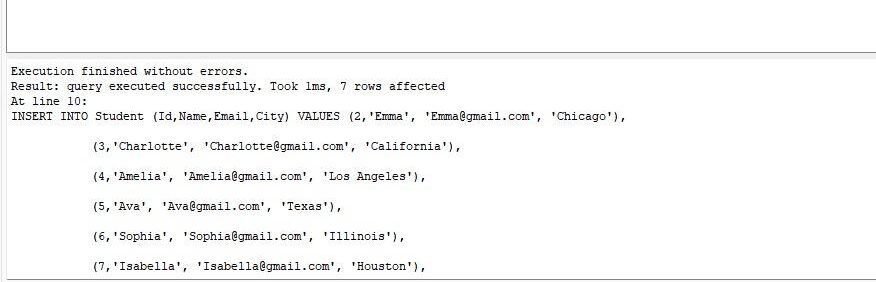
We want to insert the data, including the id, name, email, and city of six more students, so we execute the “INSERT” query.
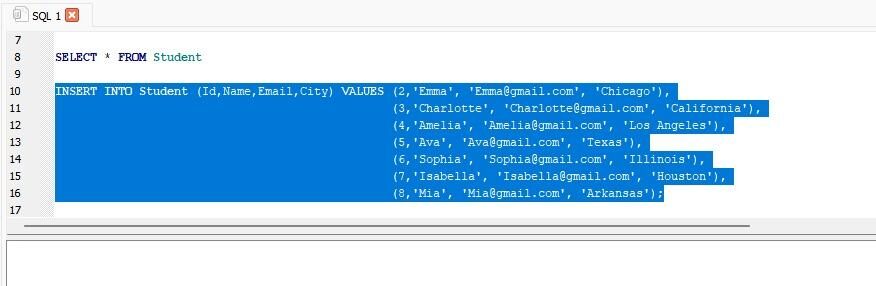
The query of “INSERT” is successfully employed.
Select Defined Columns
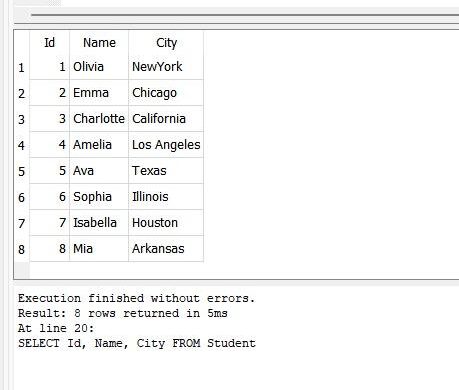
The following query retrieves the specific data of the table “Student”, which is mentioned in the “SELECT” query.

Here, we get defined columns (ID, Name, and City) of all the students after running the query.
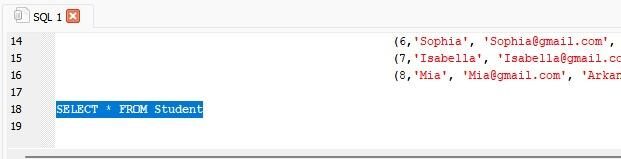
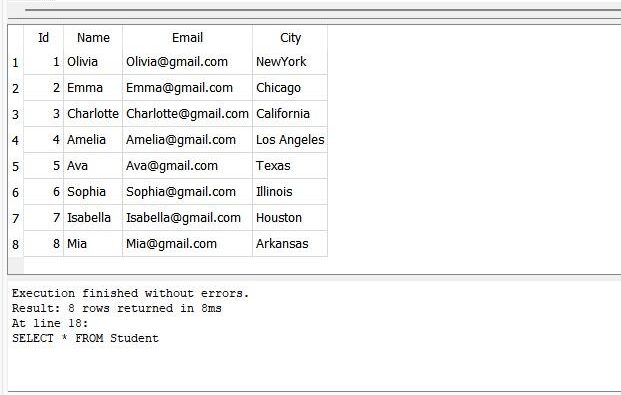
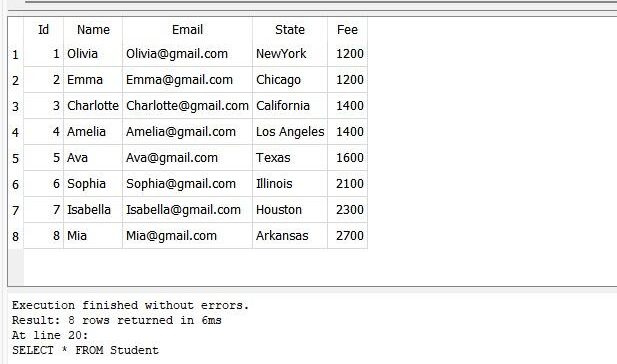
Suppose we want to fetch all data of the required students. Then, we run the “SELECT” query with the * symbol.
The previous query is successfully executed. We get the table that shows the Id, Name, Email, and City of all students.
Rename the Column Name
In this step, we employ the “ALTER” query on the table “Student”. This query changes the column name “City” to column name “State”.

The query of ALTER-REMOVE executes successfully.

Now, we again implement the “SELECT” command with the * symbol to get the data of all students.

We get all the columns of the table “student”.
Use WHERE Clause
Whenever we need the data of some defined students, we have utilized the “WHERE” clause along with the “SELECT” command. The “WHERE” clause comprises the condition to fetch the data.

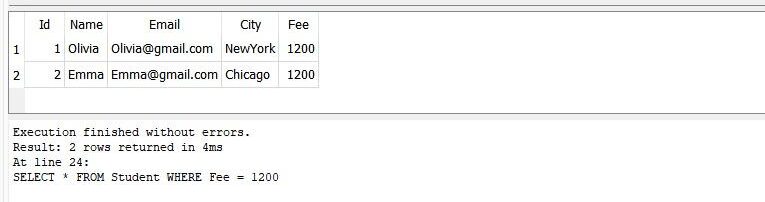
Here, we want the data of the students having the fee equal to 1200, so add “WHERE Fee = 1200” in the query.
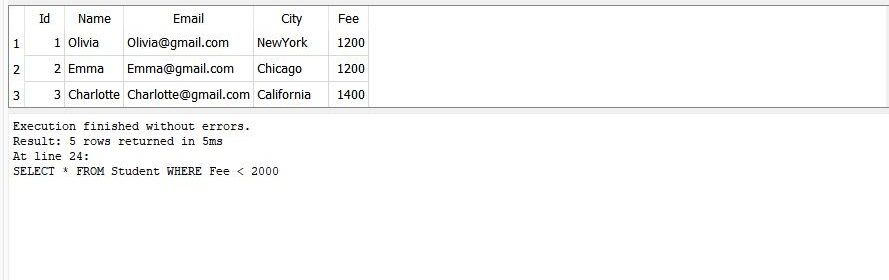
In this instance, we use the “WHERE” condition on the “SELECT” query to fetch the details of the students whose fee is less than 2000. In the “WHERE” clause, we can define the expression.

We have the data of three students “Olivia, Emma, and Charlotte” in the output.
Use LIMIT Clause
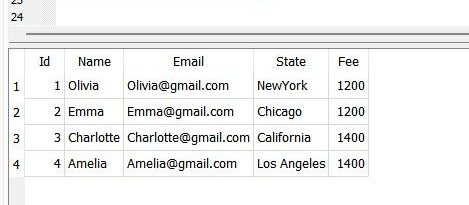
Now, we want to retrieve the data of the first four students. Hence we have been using the “SELECT” query alongside the “LIMIT” clause. Here, we set the value of “LIMIT” to 4.

The previous query runs successfully, and we get the entire details of the first four students. We will limit the number of rows.
We can fetch the data of the students by applying upper and lower limits. For this purpose, we have applied the “LIMIT” clause along with the “SELECT” query. The limits are employed on the “ID” of the student.

The table shows the result of the student having the Id = 3 and Id = 5 because we have utilized lower limit “2” and upper limit “3” in the query.

Conclusion
In this artifact, we have discussed the SQLite SELECT query. The main statement for querying an SQLite DB is the SELECT section. We can specify what to retrieve in the “SELECT” section. But, until we get to the SELECT declaration, we can acquire the data from the FROM section. The “FROM” statement would designate where data should be fetched from. We may specify the data from one or maybe more tables or subqueries using the “FROM” statement. We can apply conditions on the “SELECT” query by using the word “WHERE” and specify the upper and lower limits on the Id with the help of “LIMIT”.