In this write-up, we will discuss the installation and the usage of the OMXPlayer on the Raspberry Pi 4 which has the Raspberry Pi OS Buster installed.
How to install the OMXPlayer on the Raspberry Pi
It has been discussed above that it comes pre-installed on the Raspberry Pi buster version but if it is not installed, then OMXPlayer can be installed by using the command:
Now to confirm the installation as well as to check the commands by which we can control the OMXPlayer, we will use the command of omxplayer with its option of help using an “h” flag:
How to use the OMXplayer on Raspberry Pi
We have already downloaded the video in our system, now we will use the OMXPlayer to stream that video using the command:
The video has been played:
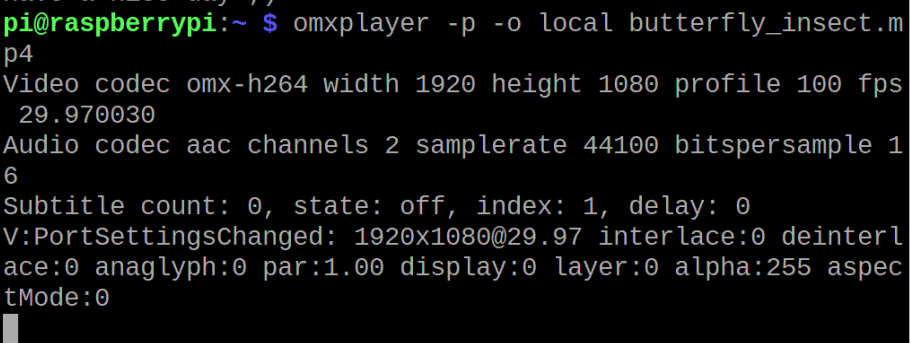
Now if we want to play the audio sound of the video from the HDMI port, we can do so by using the flag of “-p”, which tells the OMXPlayer that this file has to be transferred and next is “-o”, which tells from which medium the audio output should be transferred.
We have four options to transfer the video:
| local | Using this the audio will be transferred to the 3.5 mm audio jack |
| hdmi | Using this the audio will be transferred to the HDMI port |
| both | Using this the audio will be transferred to both the 3.5 mm audio jack and the HDMI port |
| alsa[:device] | Using this the audio will be transferred to the ALSA devices |
We want to listen the audio through the 3.5 mm audio jack by connecting the handsfree, so we will use the command:
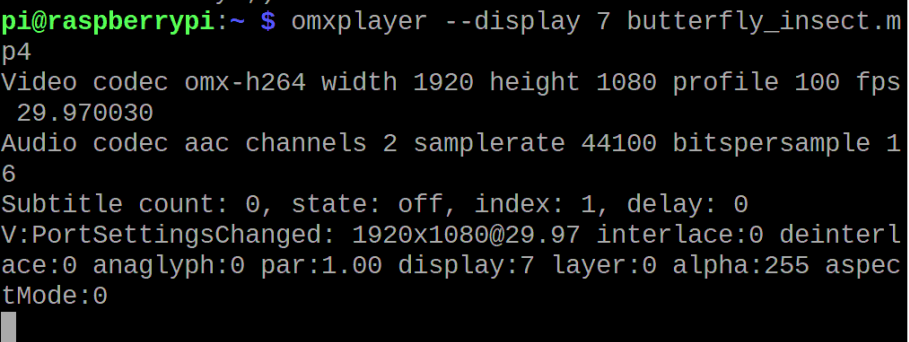
Similarly to the audio control, we can also control where the display of the video should be displayed either through HDMI port or touchscreen. In the Raspberry Pi 3, we have one HDMI port, so we will use the 5 number to display the video through the HDMI port and 4 to display through the touch screen. But in the Raspberry Pi 4, we will use the number 2 to display the video from HDMI0 and number 7 from the HDMI1 port.
We have a Raspberry Pi 4 and we want to display the video from port HDMI1, so we will use the command:
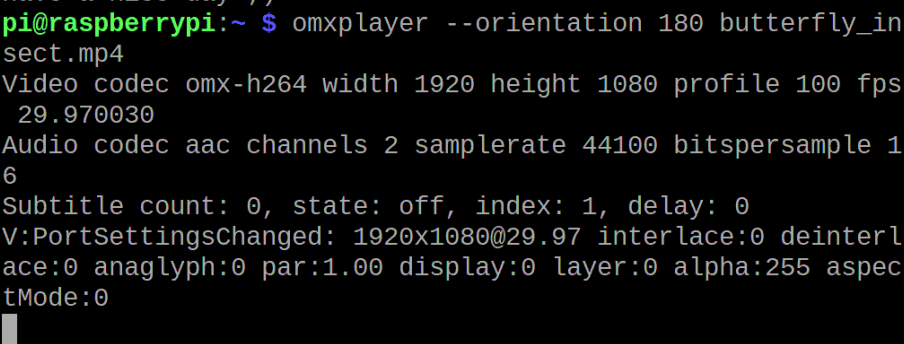
We can also change the orientation of the OMXPlayer among 0,90,180, and 270 degrees by using the option of “orientation”, for understanding, we will rotate the video by 180 degree using the command:
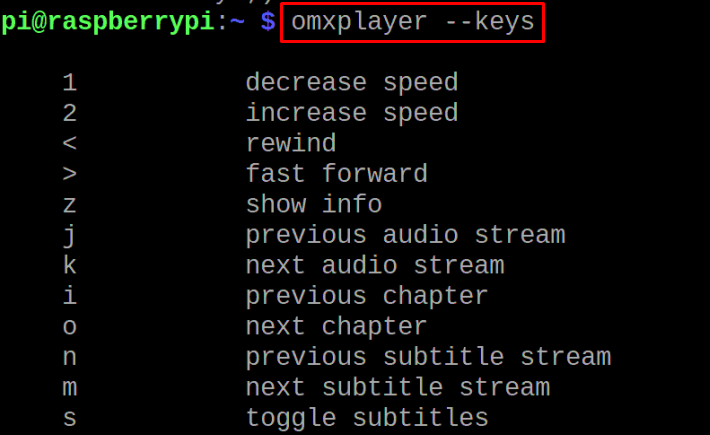
We can also control the audio and display of the video by using the keyboard keys, for this, we can use the command to display the keys by which we can control the OMXPlayer:
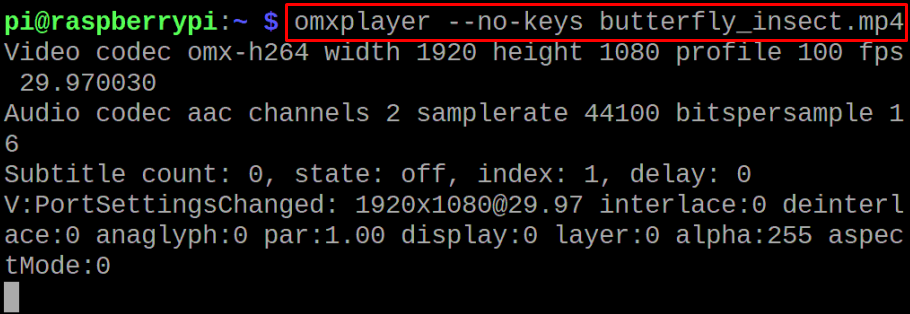
And if you want that these key shortcuts should not work, then use the following command:
Conclusion
The OMXPlayer is the lightweight media player that is created especially for the models of the Raspberry Pi having low RAM like the Raspberry Pi 3. On such models, the OMXPlayer plays videos with much better results than any other media player. In this write-up, we have installed the OMXPlayer on the Raspberry Pi 4 and also explore the methods of playing a video as well as controlling the video. The OMXplayer is being deprecated now and does not come with the Raspberry Pi Bullseye but you can use it on Raspberry Pi Buster.


