In this article, we will use some examples to illustrate how we can add line breaks and random empty spaces. Let’s get started with the opening of the terminal shell in Ubuntu first with the shortcut key “Ctrl+Alt+T”. Make sure you have Latex and texmaker already been configured on Ubuntu. Because, without these two, you cannot implement the examples going to be discussed in this article on your system.
Start the “texmaker” tool for Latex by adding the below-shown instruction on the shell followed by the key “Enter”. Within a few seconds, the texmaker will be popped-up.
The screenshot below is showing the first look of the texmaker tool. Click on the “File” from the menu of the texmaker and select the option of New to create a new Latex type file. Otherwise, select the Open option to open the already used file from your system.
We have opened the “test.tex” file of Latex and will update it to use for our new examples.
Example 01: Using \\ Command
We have started our first example the Latex document with the basic commands for the creation of a new document of “article” type i.e., via the “\documentclass” command. You must add the \begin and \end tags with the keyword “document” in the curly brackets at the start and end of this latex file.
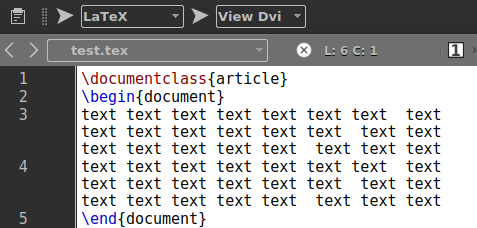
Within the \begin and \end tag, we will be performing our things. As we will be going to skip a line, we need some paragraph-sized data in the file. Therefore, we have added the below-shown paragraph of the repeated word “text” within our \begin and \end command.
Execute this latex file by the “arrow” sign before the drop-down list as “Latex” shown in the image to apply the changes. Now, press the next “arrow” icon to open the latex updated file in the DVI format.
\begin{document}
text text text text text text text text
text text text text text text text text
text text text text text text text text
text text text text text text text text
text text text text text text text text
text text text text text text text text
\end{document}
As we haven’t used any commands to skip a line, therefore this code is showing a simple representation of a text paragraph in the DVI format of the test.tex latex file as beneath.
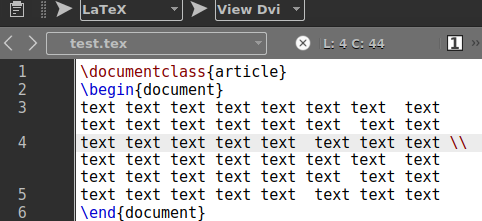
Open the code area once again and add the “\\” sign after half of a paragraph as displayed in the image as well. Again use the first “arrow” and then the next “arrow” to execute and open the file respectively.
\begin{document}
text text text text text text text text
text text text text text text text text
text text text text text text text text \\
text text text text text text text text
text text text text text text text text
text text text text text text text text
\end{document}
The output of this simple update of using the “\\” sign is showing a clear line break at the half of a paragraph. Let’s do some more examples now.
Example 02: Using \break Command
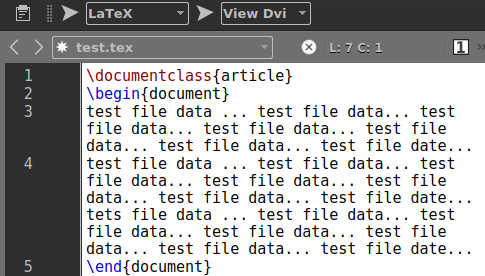
Latex has come up with another way to add a line break or skip a line within the data. Therefore, we will be using the \break command in the code to do so. Before that, we have added new text data as a paragraph within the \begin and \end command as below.
Execute and run this code file by using both arrow icons.
The latex file data will look like something shown in the image below.
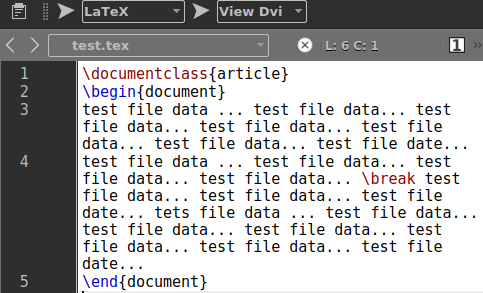
Let’s add the \break command at the half of this text paragraph, same as shown in the below-attached screenshot. Let’s see the changes given by this command once again by using the arrow icons before the Latex dropdown list and file format list.
This puts a 1 line break along with the little distraction of values in the upper half of a paragraph. Let’s remove these distractions from the upper half of the paragraph.
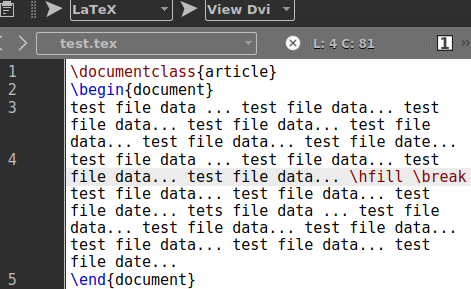
To do so, you need to add the command \hfill before the \break command just like below.
The upper half paragraph is now styled in the normal text as it should.
Example 03: Using \newline Command
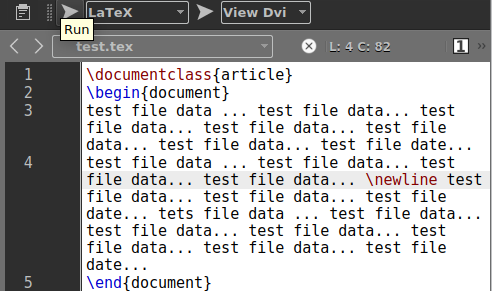
Same as the commands mentioned in the above examples, the \newline works the same. It is also used to add a line or skip a line within the data of a Latex file. Therefore, we have used the \newline command at the middle of the below-shown text paragraph data.
After that, we have saved our content code and executed it with the latex format by the “arrow” key. After this is executed, we need to see the changes made to our text by the use of the next “arrow” key.
The output is clearly showing that it has also added a line or skipped a line within the text.
Example 04: Using \bigbreak Command
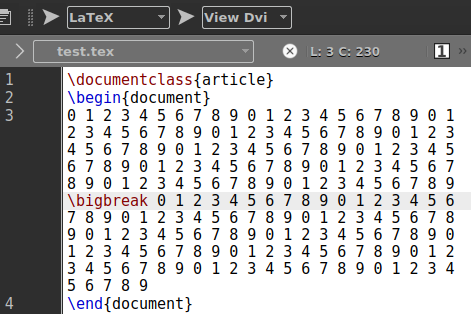
The \bigbreak is the most suggested command from our side to our users as it gives a very clear one-line skip in the latex file. Therefore, we have added new numerical data in our code file as a paragraph and use the \bigbreak command within the middle of this paragraph.
Let’s execute the file and open it within the DVI format.
\begin{document}
0 1 2 3 4 5 6 7 8 9 0 1 2 3 4 5 6 7 8 9 0 1
2 3 4 5 6 7 8 9 0 1 2 3 4 5 6 7 8 9 0 1 2 3
4 5 6 7 8 9 0 1 2 3 4 5 6 7 8 9 0 1 2 3 4 5
6 7 8 9 0 1 2 3 4 5 6 7 8 9 0 1 2 3 4 5 6 7
8 9 0 1 2 3 4 5 6 7 8 9 0 1 2 3 4 5 6 7 8 9
\bigbreak 0 1 2 3 4 5 6 7 8 9 0 1 2 3 4 5 6
7 8 9 0 1 2 3 4 5 6 7 8 9 0 1 2 3 4 5 6 7 8
9 0 1 2 3 4 5 6 7 8 9 0 1 2 3 4 5 6 7 8 9 0
1 2 3 4 5 6 7 8 9 0 1 2 3 4 5 6 7 8 9 0 1 2
3 4 5 6 7 8 9
\end{document}
The numerical data in the paragraph has been split into 2 clear parts by skipping 1 line.
Conclusion:
This article has demonstrated the use of texmaker to add a line break or skip a line within the latex file. We have covered the use of 4 different Latex commands to complete this article i.e., \bigbreak command, \break command, \\ sign usage, and \newline command. We are extremely happy that we have done our part to help users easily understand Latex.


