This article will show you how to download the Windows 10 ARM ISO image for Raspberry Pi 4 and install it on your Raspberry Pi 4. So, let’s get started.
Table of Contents:
- Downloading Windows 10 ARM Image for Raspberry Pi 4
- Flashing Windows 10 ARM Image on the SD Card
- Booting Windows 10 on Raspberry Pi 4
- Initial Setup of Windows 10 on Raspberry Pi 4
- Windows 10 Performance and Issues
- Conclusion
- References
Downloading Windows 10 ARM Image for Raspberry Pi 4:
This section will show you how to download the ISO image of the Windows 10 ARM version for Raspberry Pi 4.
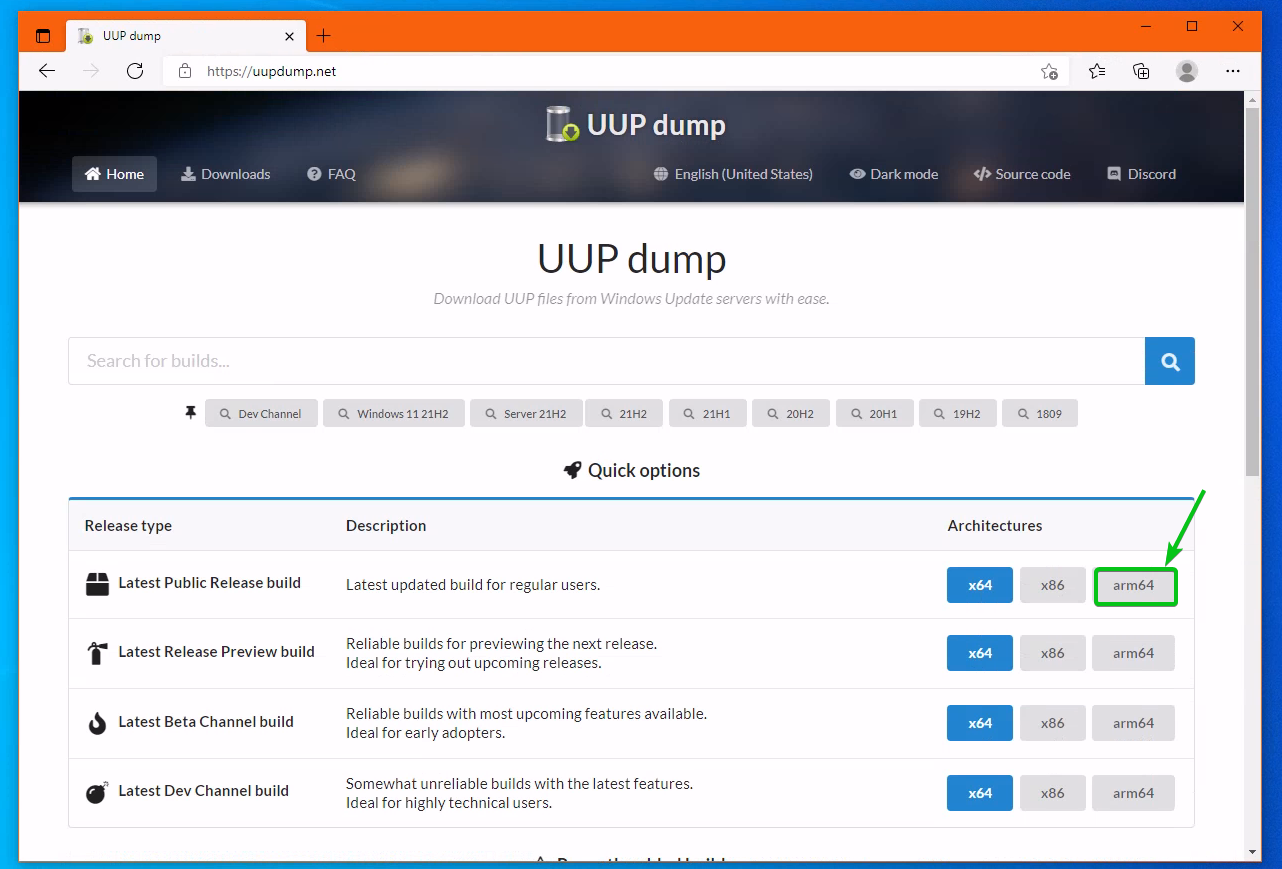
To download the Windows 10 ARM ISO image downloader, visit https://uupdump.net using your favorite web browser and click on the arm64 button of the Latest Public Release build section as marked in the screenshot below.
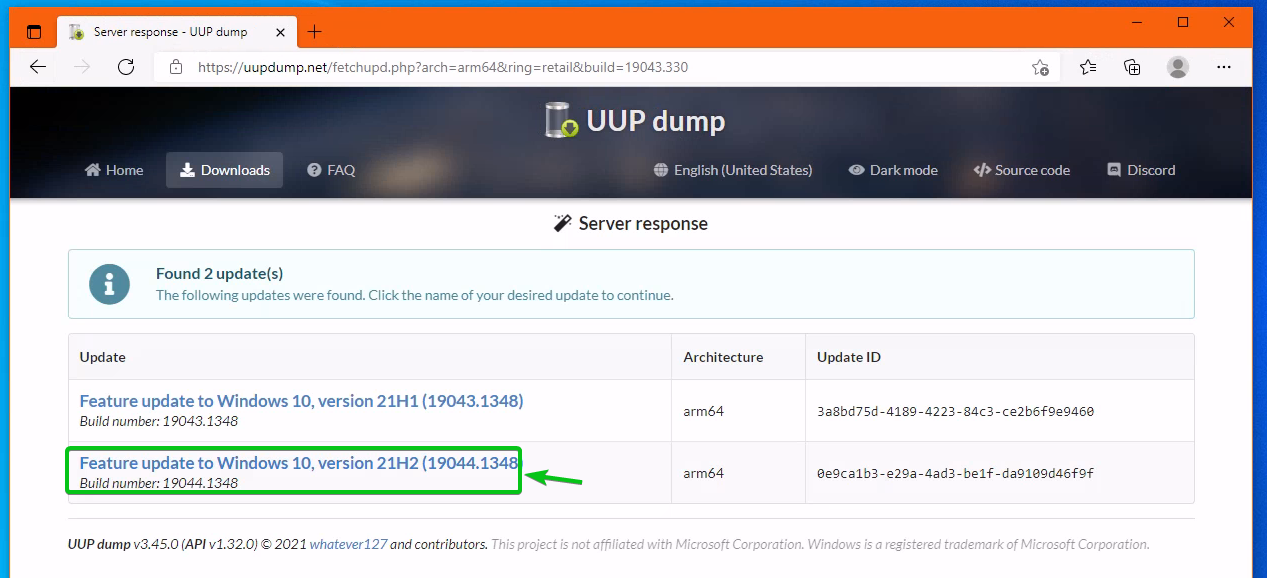
At the time of this writing, the latest version of Windows is version 21H2. So, click on the link Feature update to Windows 10, version 21H2 (or the latest version available while you’re reading this article) as marked in the screenshot below.
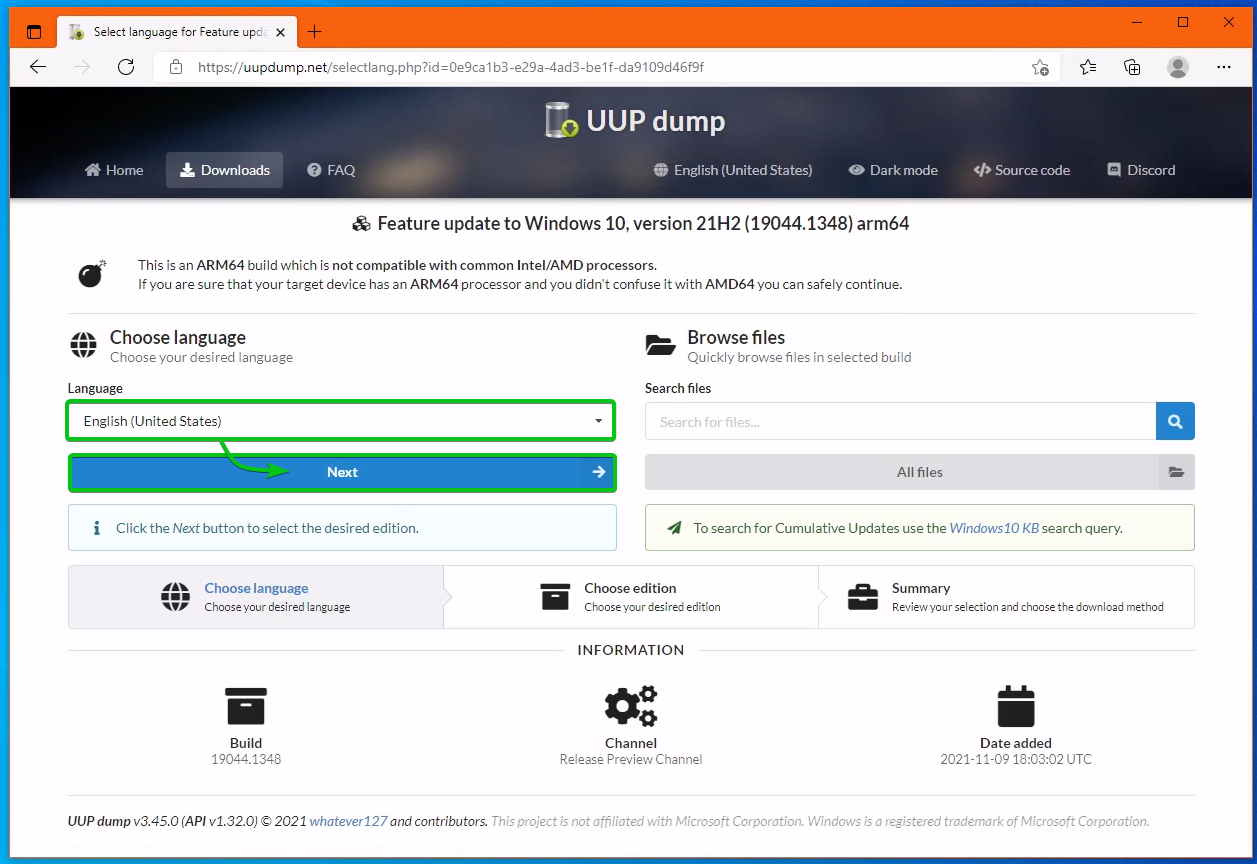
Select your language from the Language dropdown menu and click on Next.
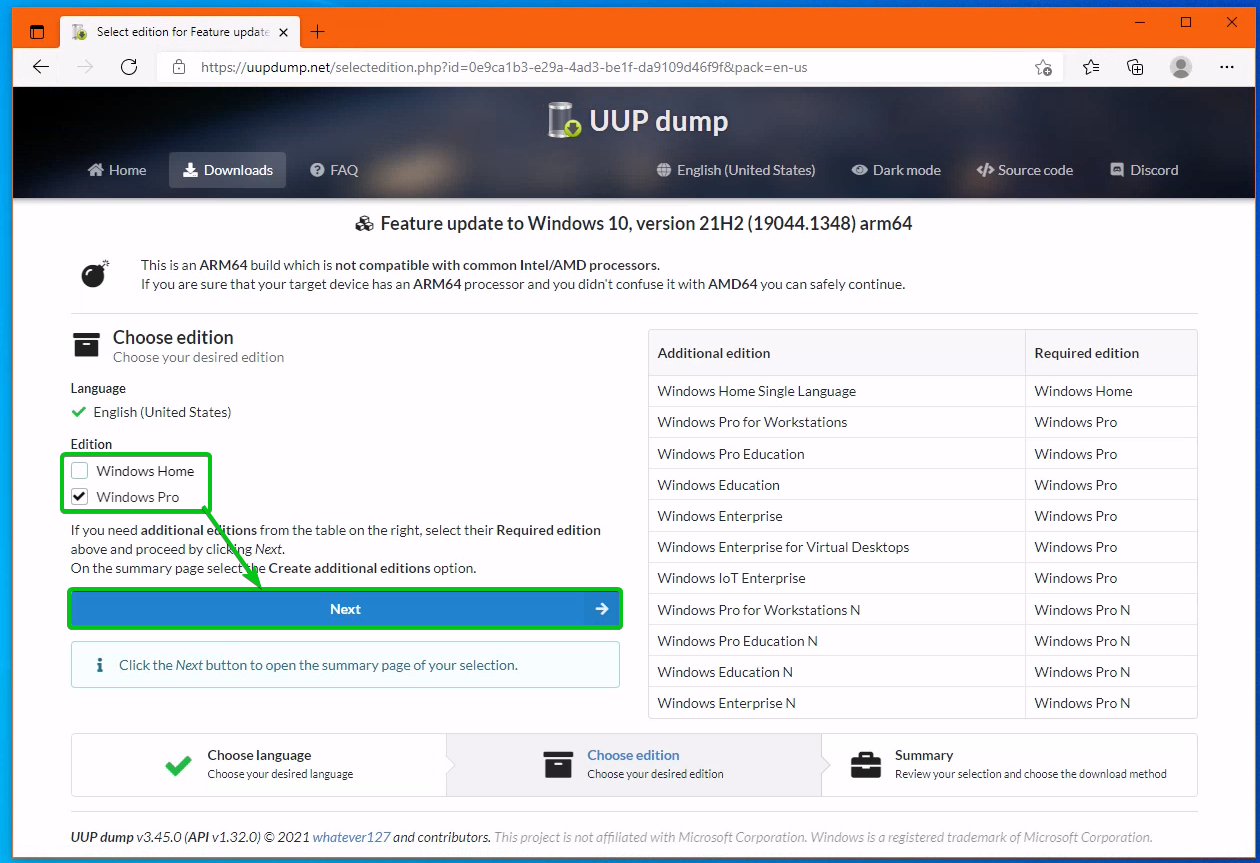
Check the Edition of Windows you want to install on your Raspberry Pi 4 and click on Next.
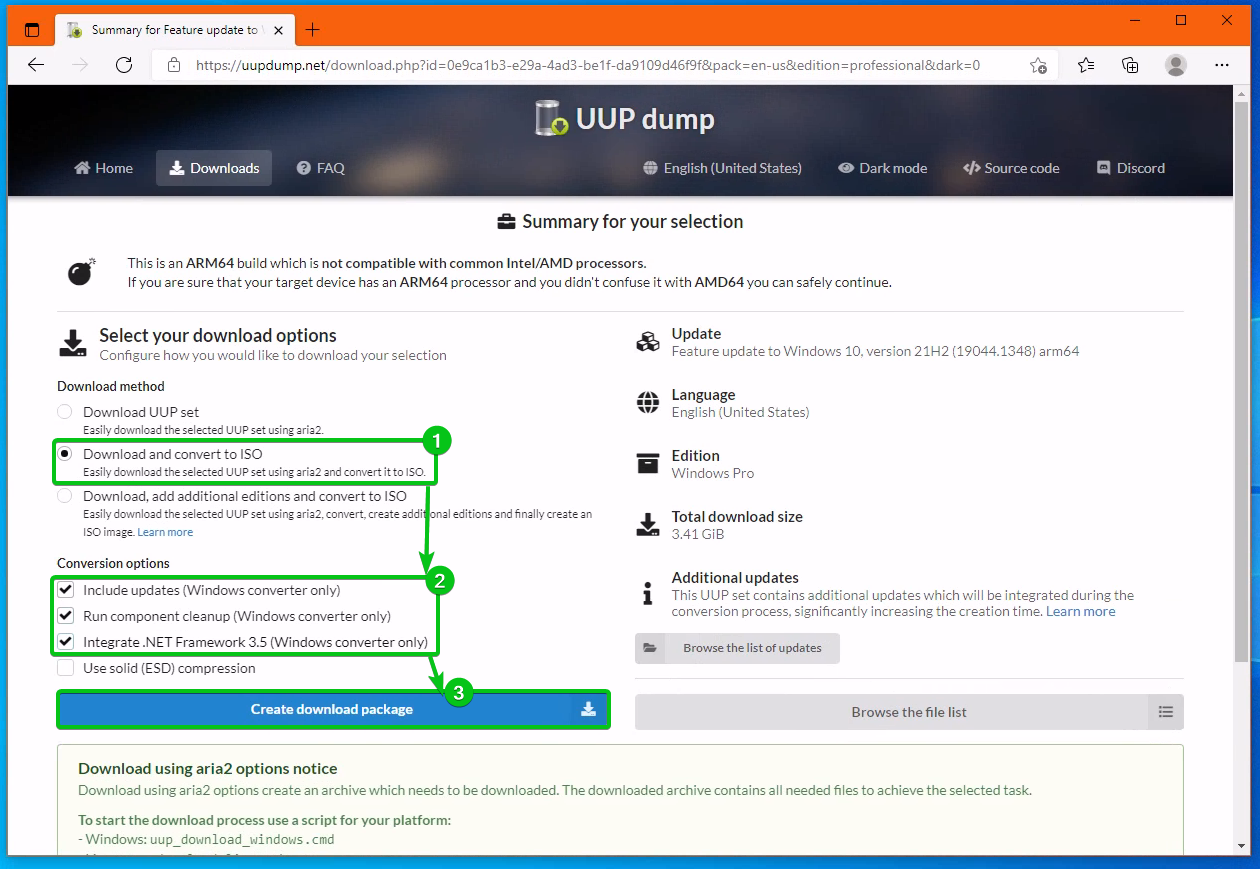
Select Download and convert to ISO1, check the marked Conversion options2, and click on the Create download package button3 as marked in the screenshot below.
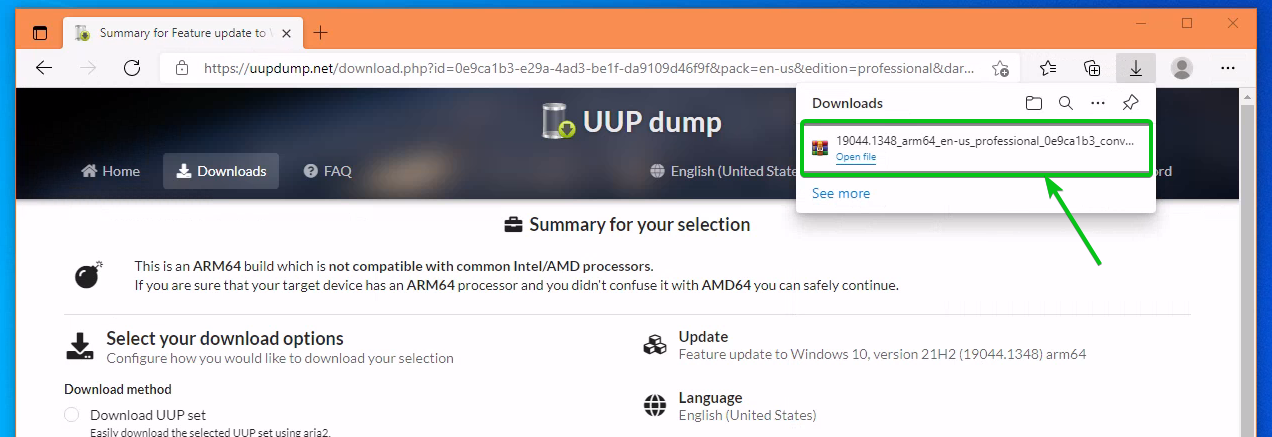
Your browser should download the Windows 10 ARM ISO downloader archive.
To extract the Windows 10 ARM ISO image downloader archive, right-click (RMB) on the archive and click on Extract All…
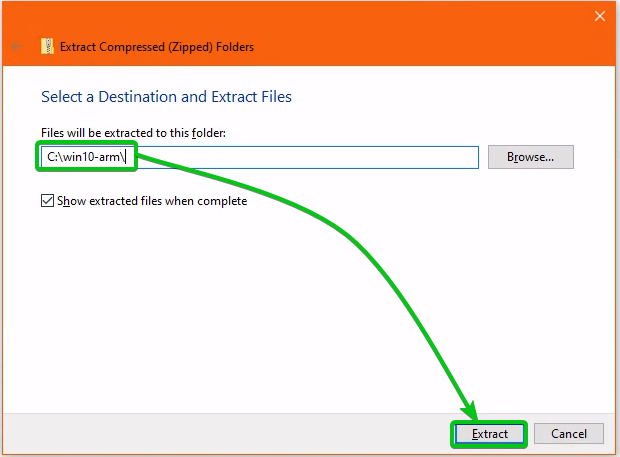
Set the extract path to C:\win10-arm\ and click on Extract as marked in the screenshot below.
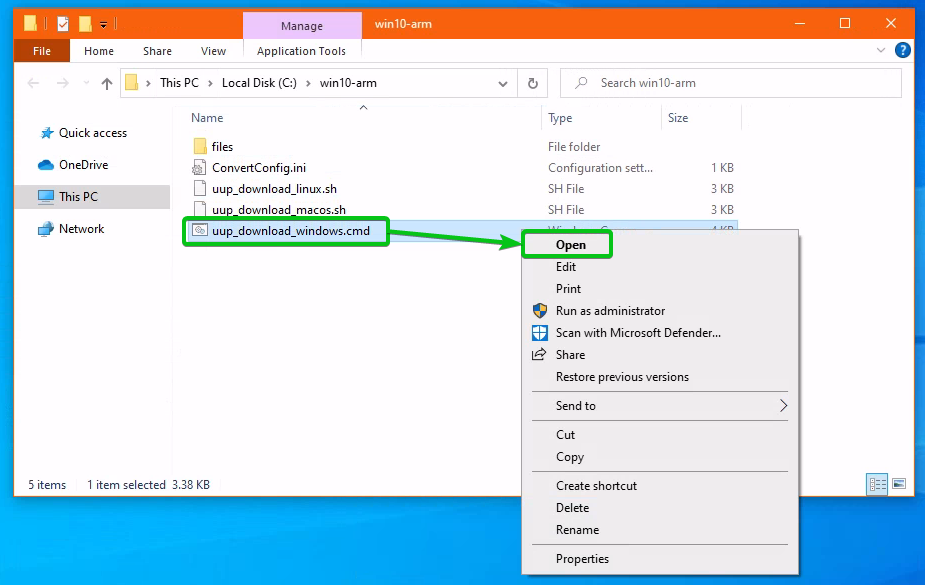
The Windows 10 ARM ISO downloader archive should be extracted in the C:\win10-arm\ folder, as you can see in the screenshot below.
Right-click (RMB) on the uup_download_windows.cmd file and click on Open.
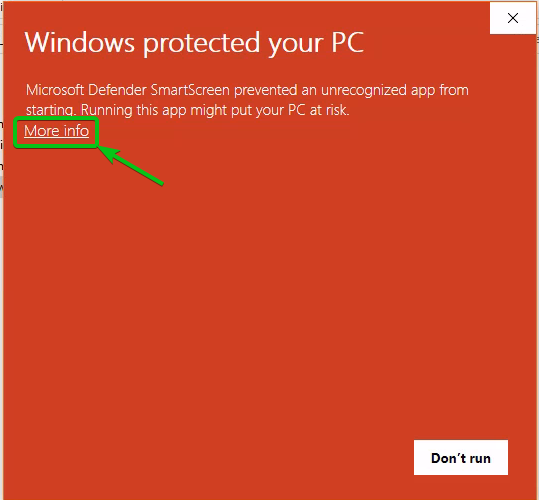
Click on More info.
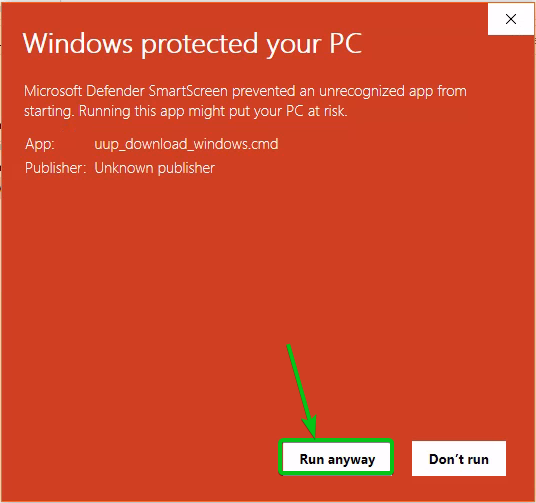
Click on Run anyway.
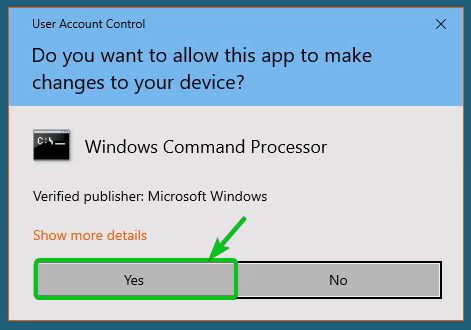
Click on Yes.
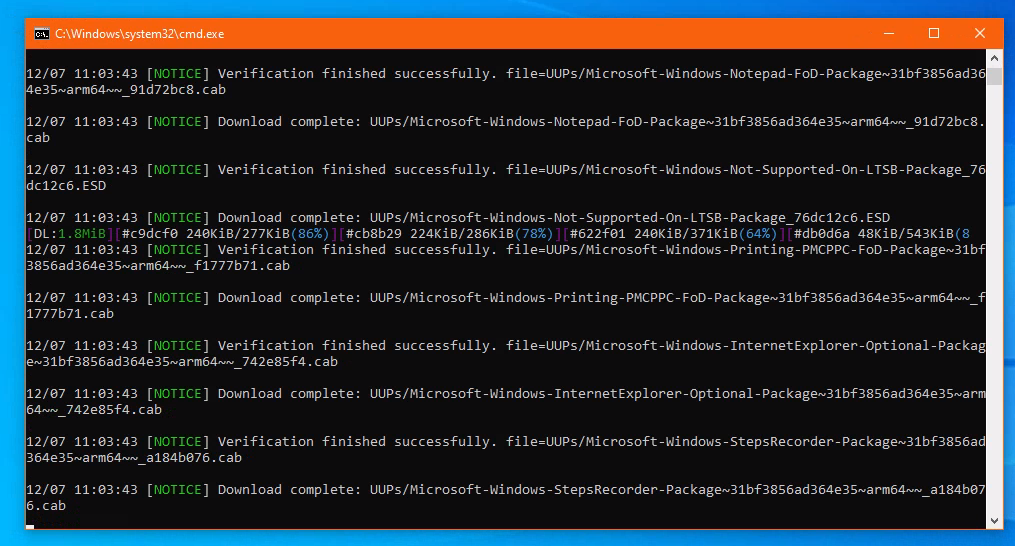
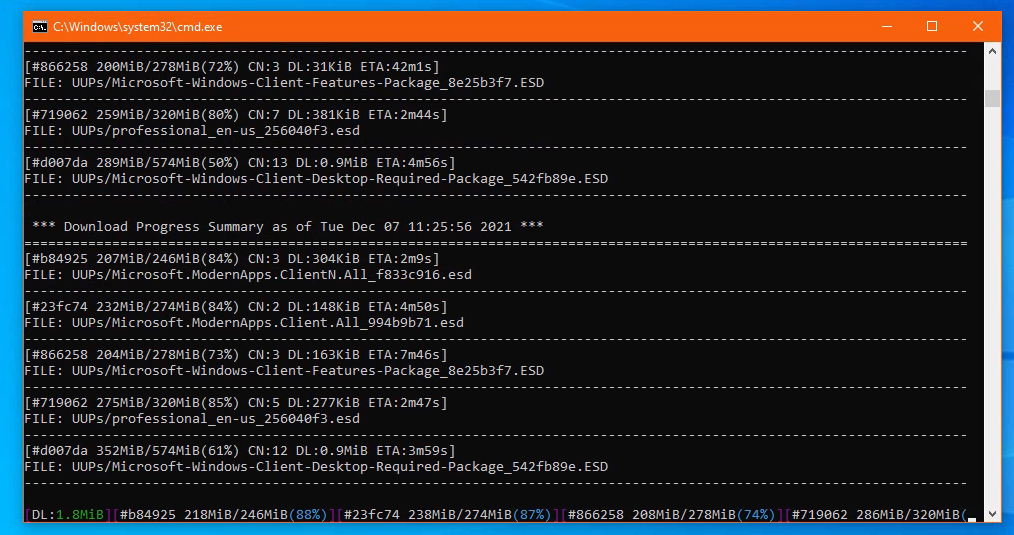
The uup_download_windows.cmd script will run. The script will download all the required components to build the Windows 10 ARM ISO image. It will take a while to complete.
The script downloads the required files to build an ISO image of Windows 10 ARM.
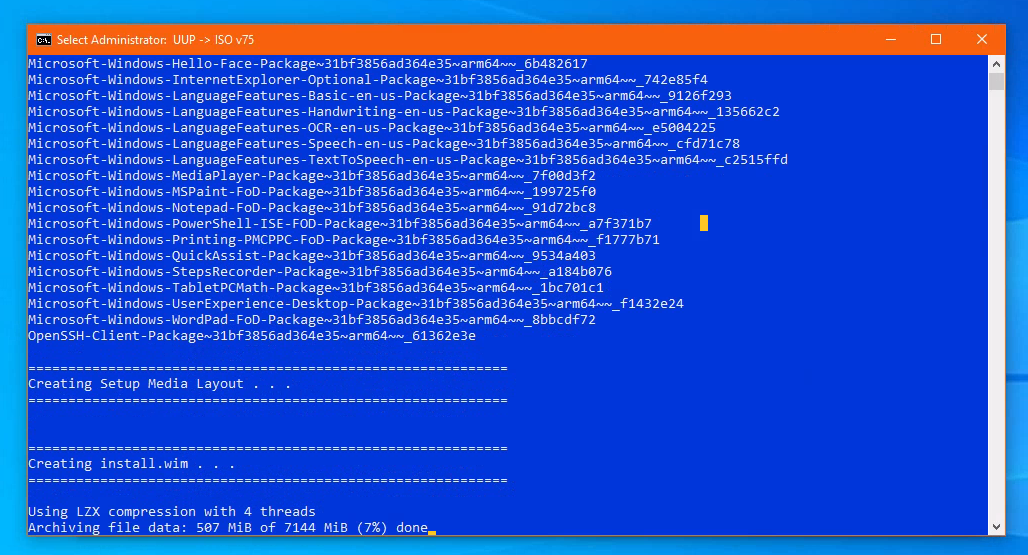
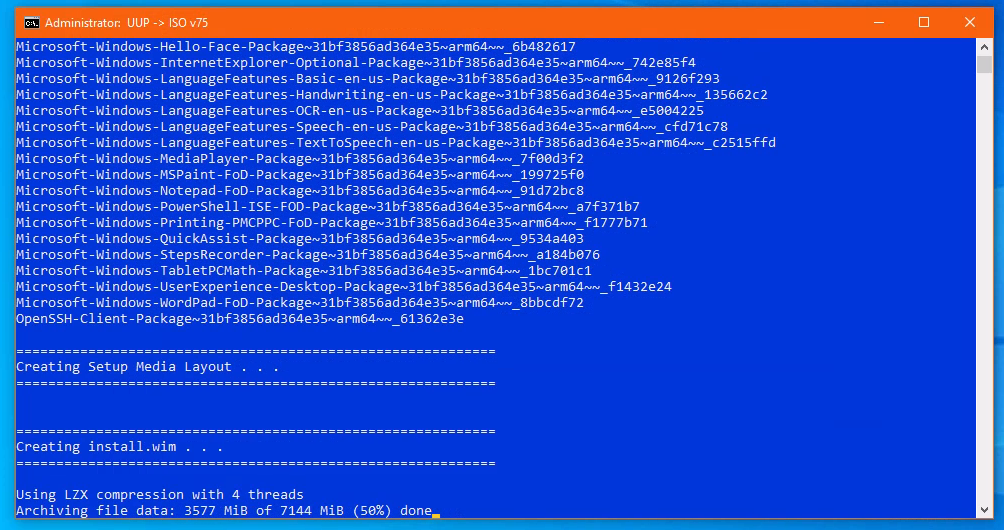
The downloaded files are being compressed.
The downloaded files are being compressed.
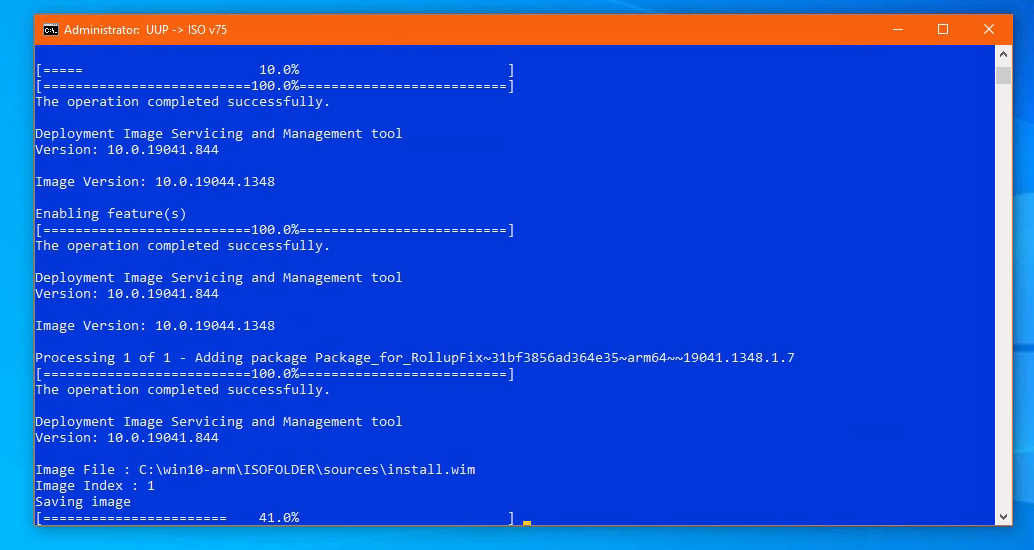
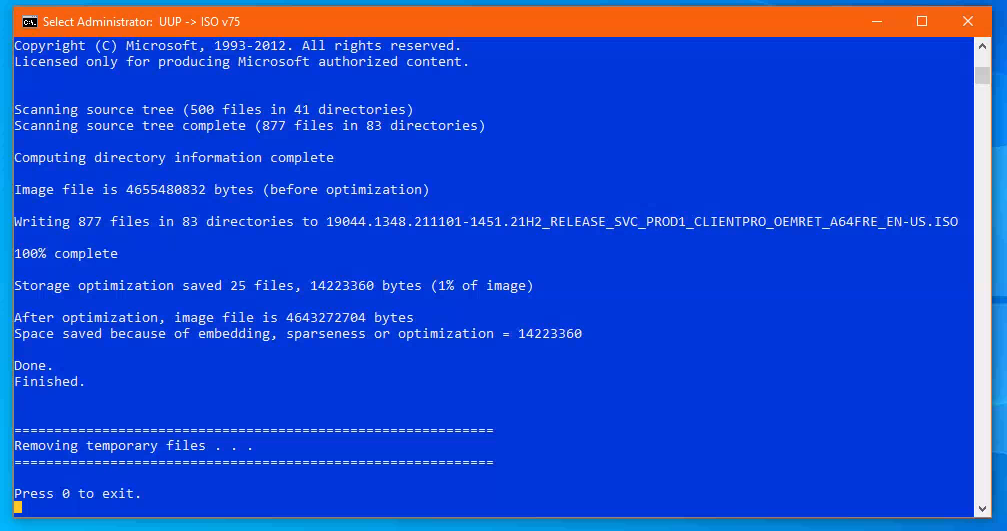
The ISO file is being created.
At this point, the Windows 10 ARM ISO image should be created. Press 0 to close the terminal.
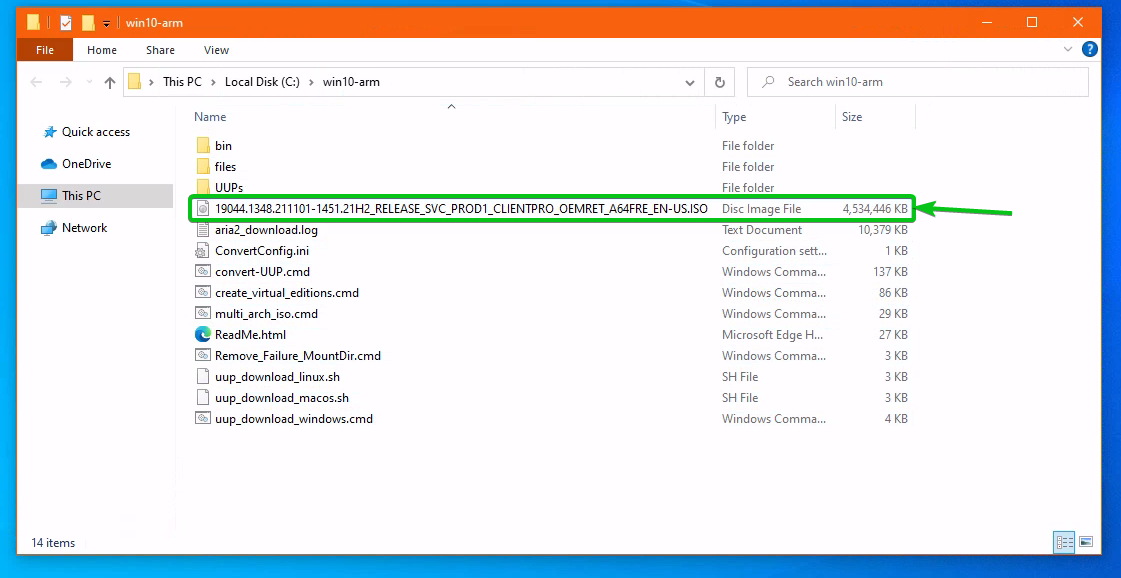
The Windows 10 ARM ISO image should be saved in the C:\win10-arm\ folder, as shown below.
Flashing Windows 10 ARM Image on the SD Card:
In this section, I will show you how to flash the Windows 10 ARM ISO image on a microSD card so that you can use it to boot Windows 10 on your Raspberry Pi 4. To flash the Windows 10 ARM ISO image to microSD cards, you need to use the Windows on Raspberry Imager (or WoR in short) app.
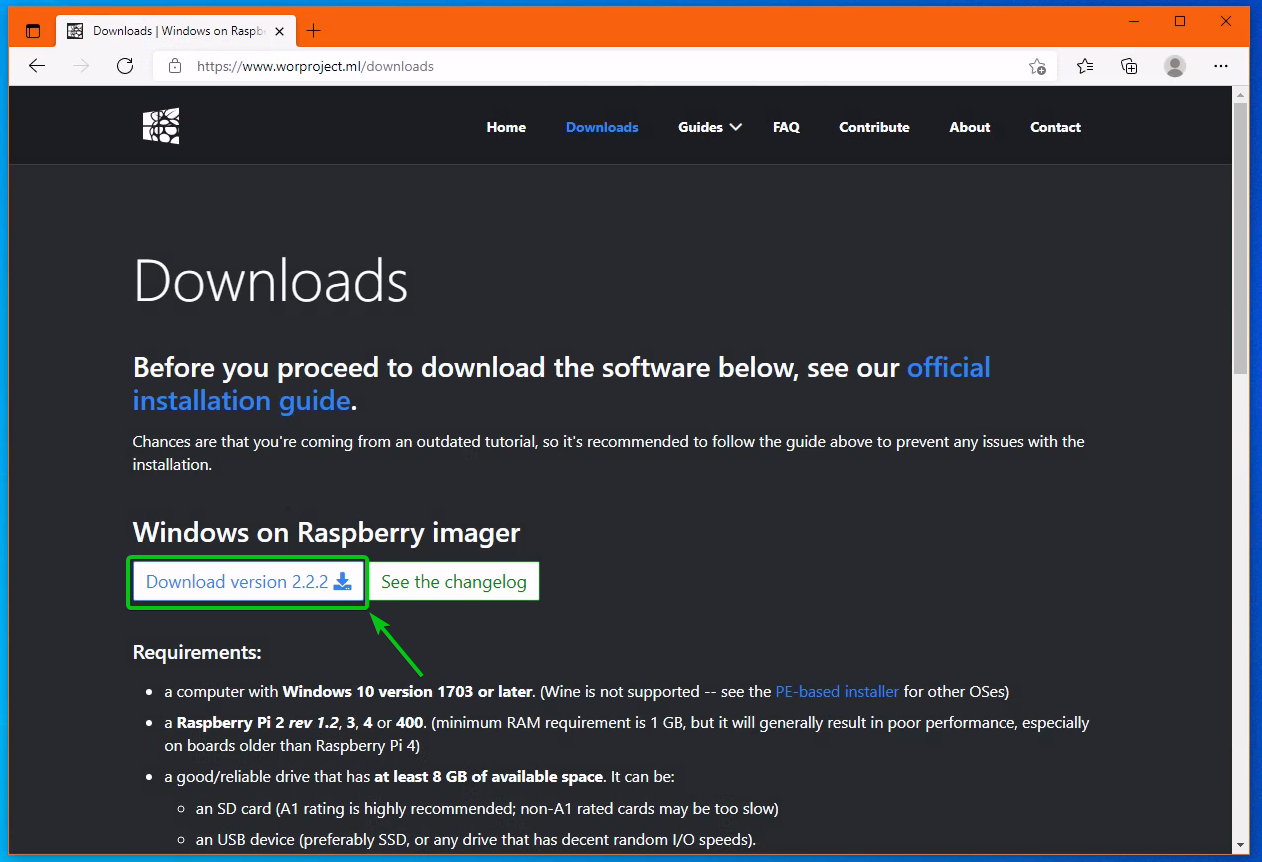
To download Windows on Raspberry Imager, visit https://www.worproject.ml/downloads from your favorite web browser. Once the page loads, click on the download button as marked in the screenshot below.
The Windows on Raspberry Pi or WoR archive should be downloaded.
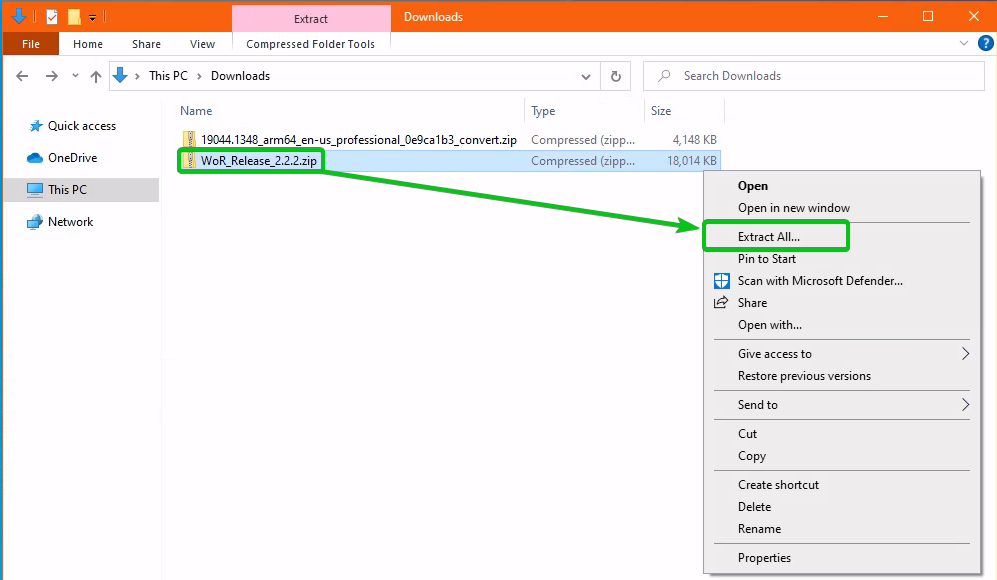
Right-click (RMB) on the WoR archive and click on Extract All…
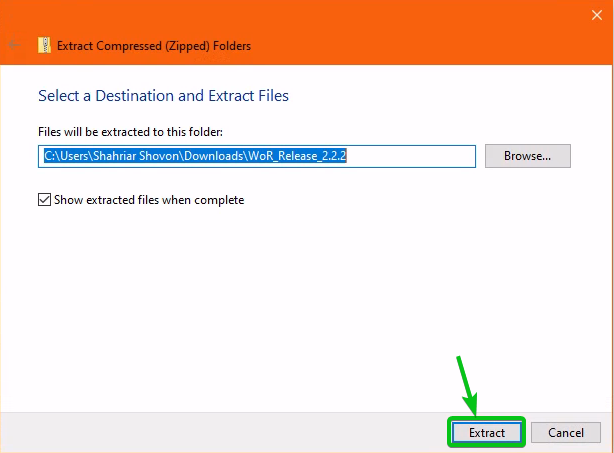
Click on Extract.
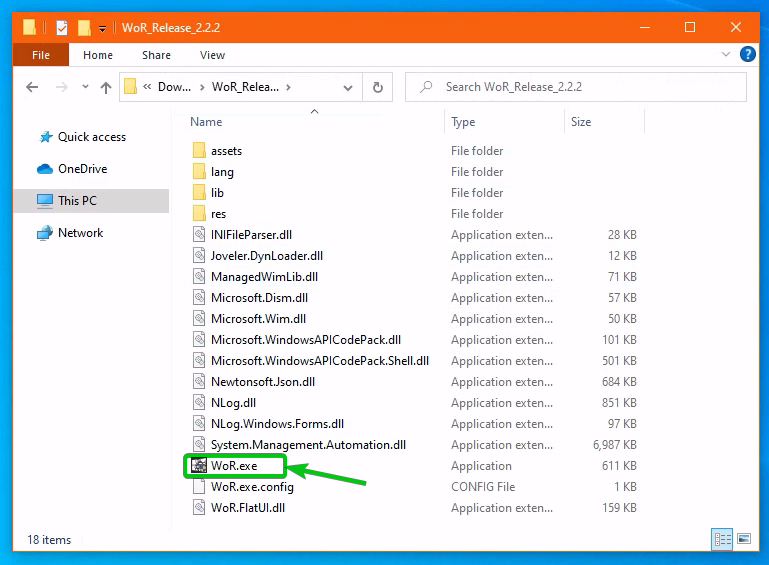
The WoR archive should be extracted.
Insert your microSD card on your computer and double-click on the WoR.exe file as marked in the screenshot below.
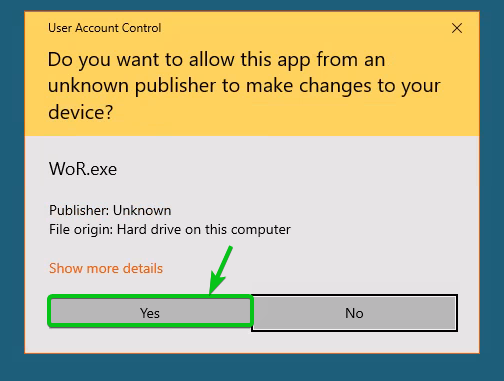
Click on Yes.
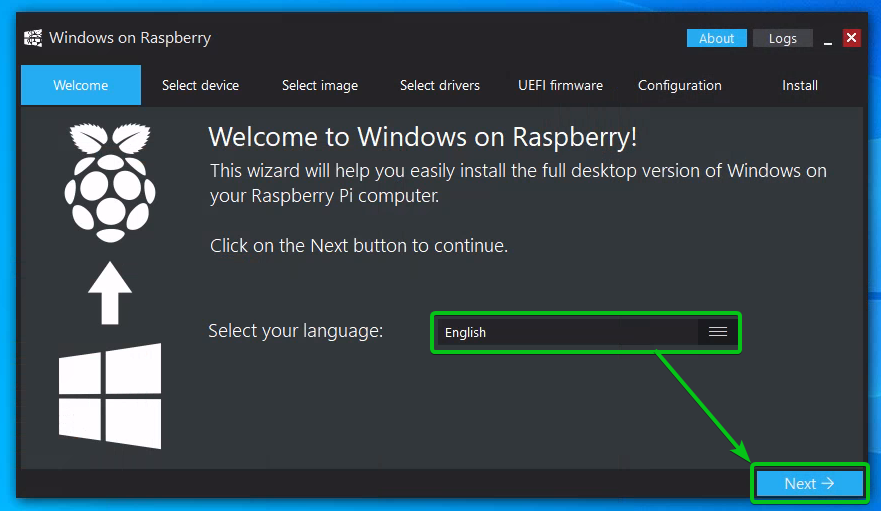
Windows on Raspberry Imager app should be opened.
Select a language and click on Next.
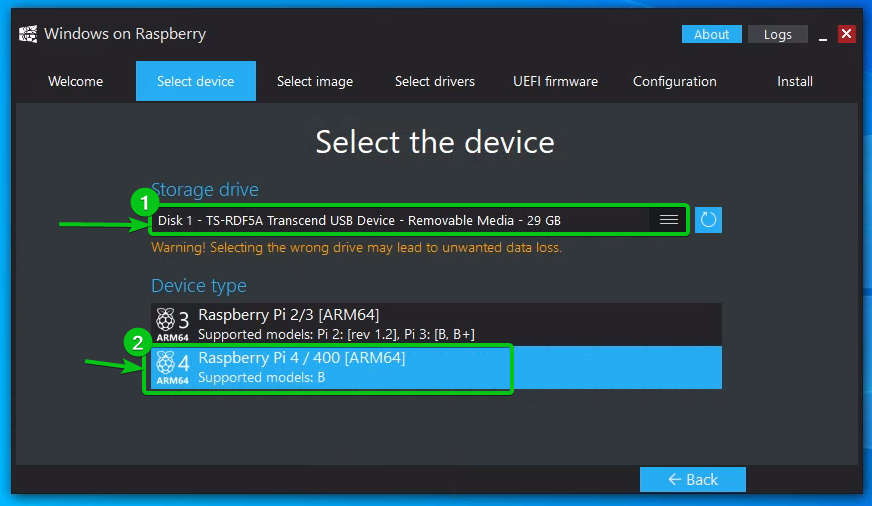
Select your microSD card from the Storage drive dropdown menu and select Raspberry Pi 4 / 400 [ARM64] as the Device type.
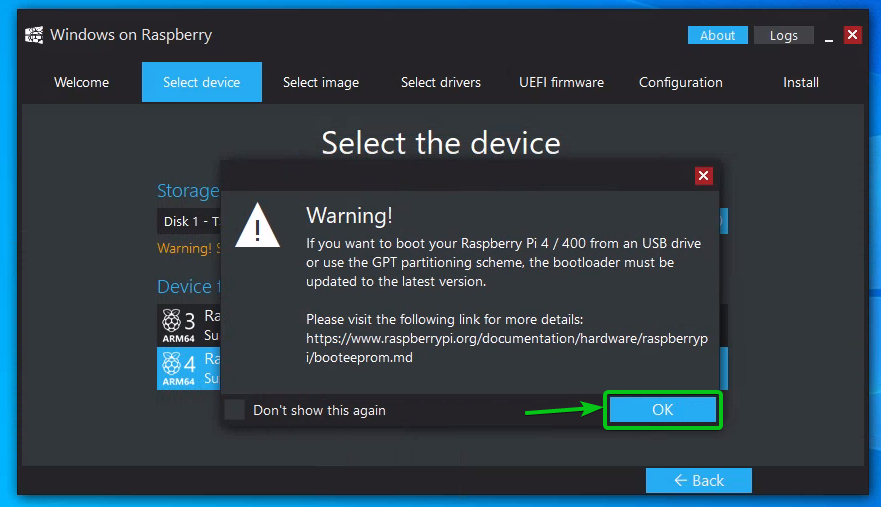
Click on OK.
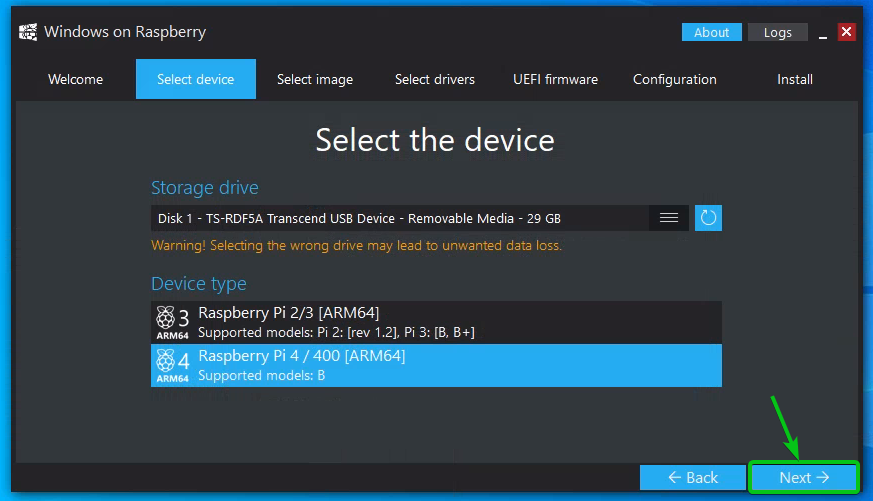
Click on Next.
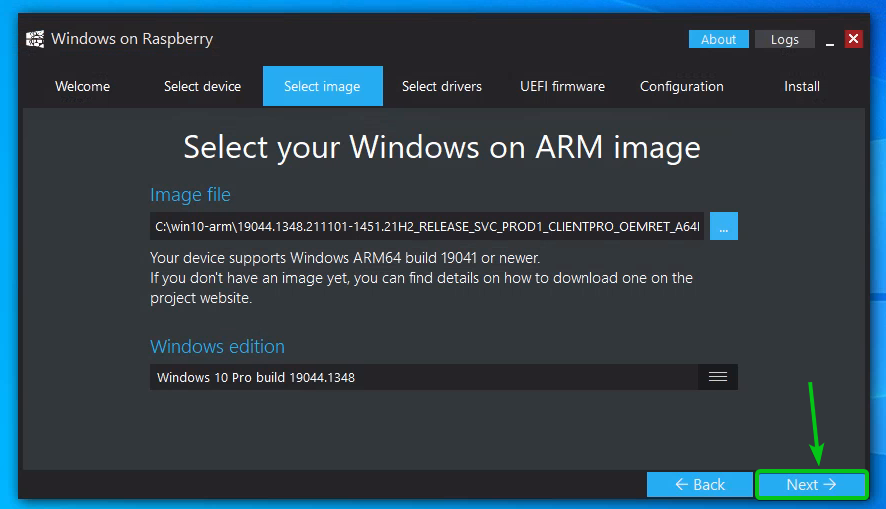
Click on the … button from the Image file section.
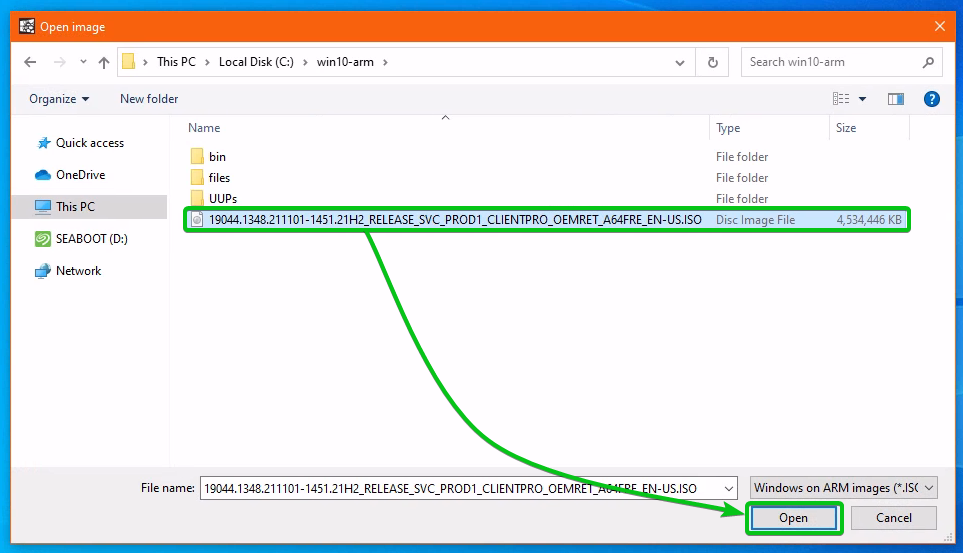
A file picker will be opened. Select the Windows 10 ARM ISO image from the C:\win10-arm\ folder and click on Open as marked in the screenshot below.
Click on Next.
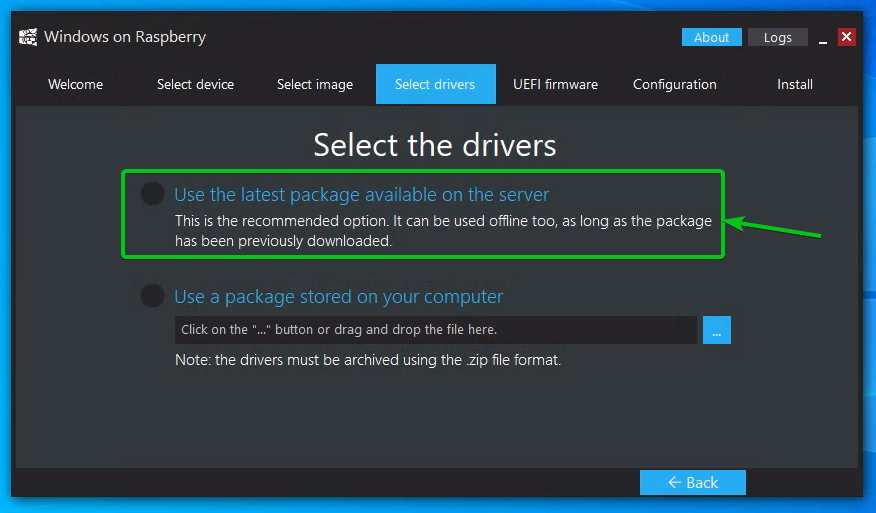
Select Use the latest package available on the server as marked in the screenshot below.
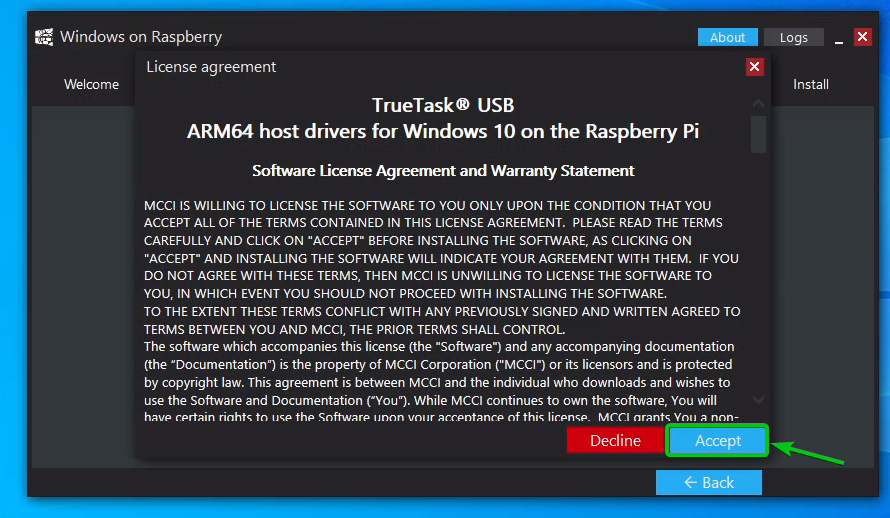
Click on Accept.
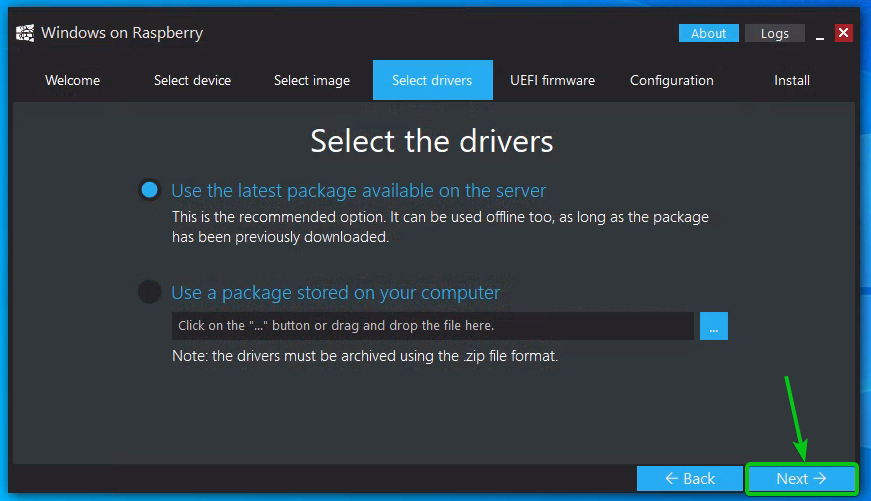
Click on Next.
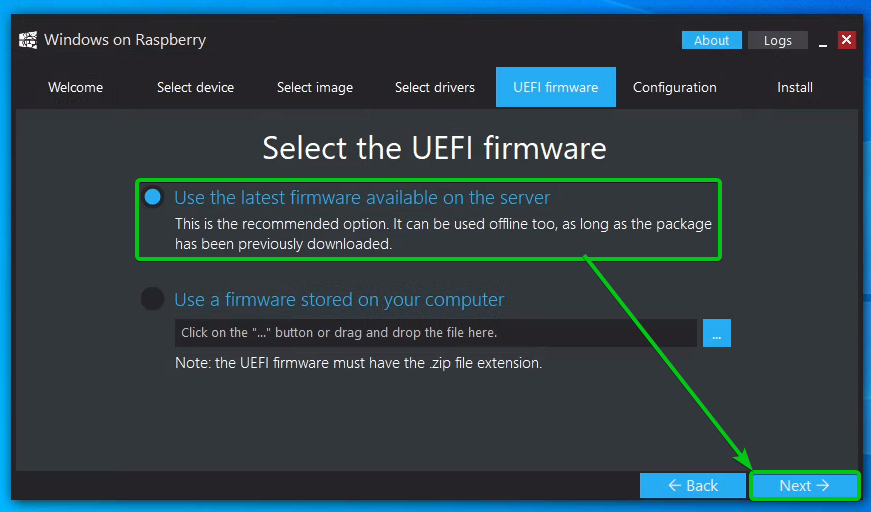
Select Use the latest firmware available on the server and click on Next.
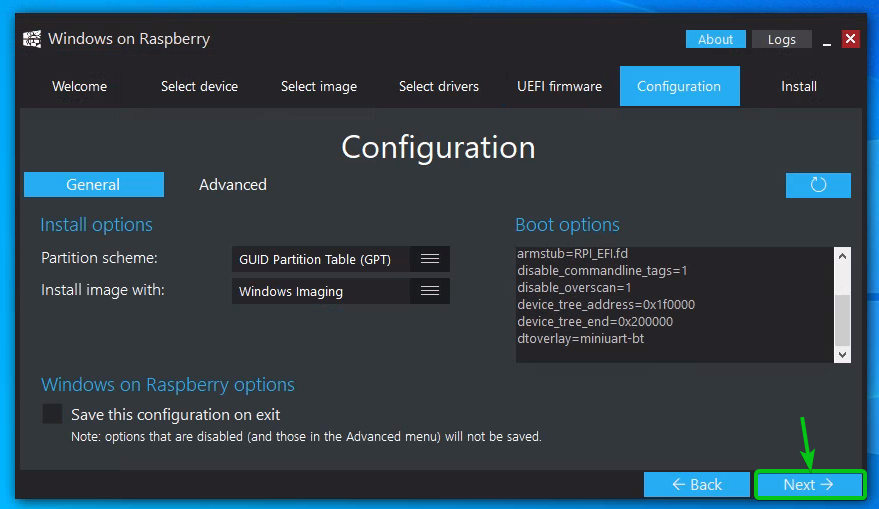
Click on Next.
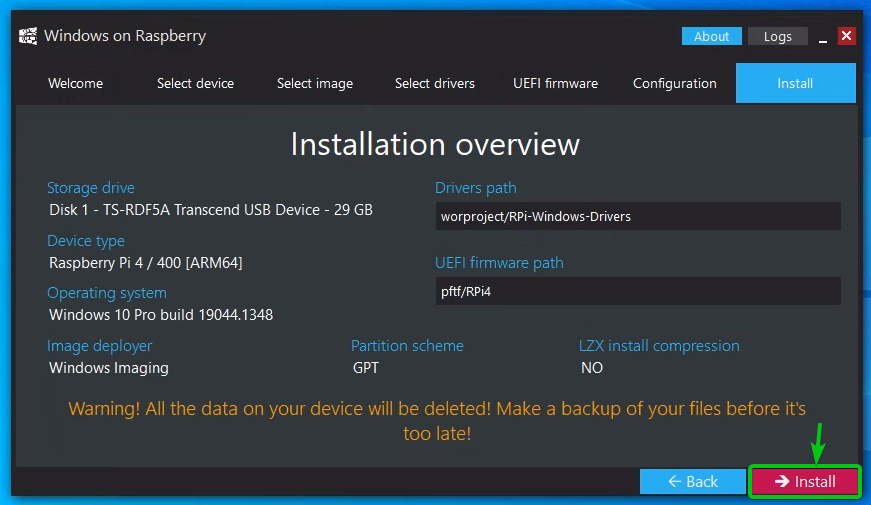
Click on Install.
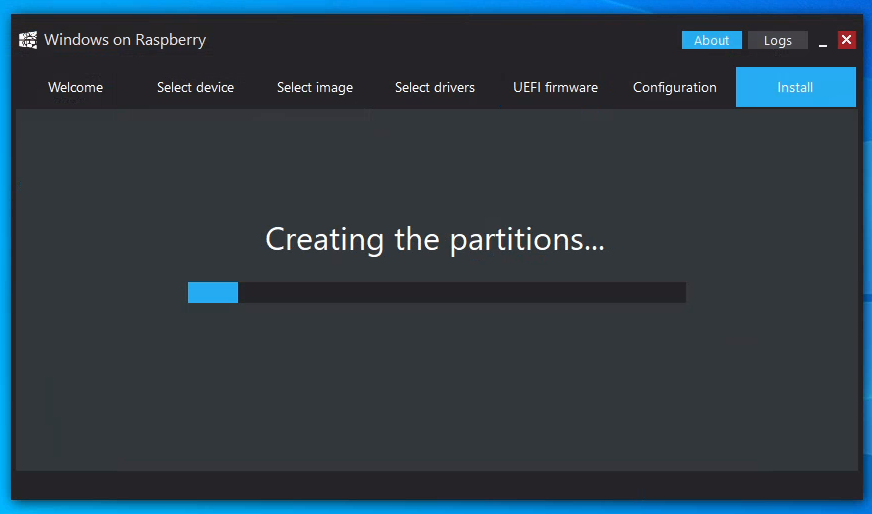
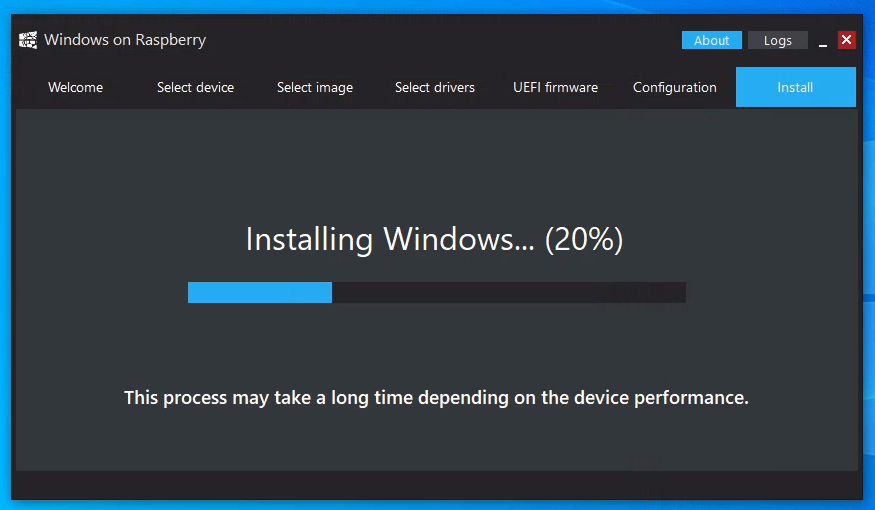
WoR is flashing Windows 10 ARM on the microSD card. It will take a while to complete.
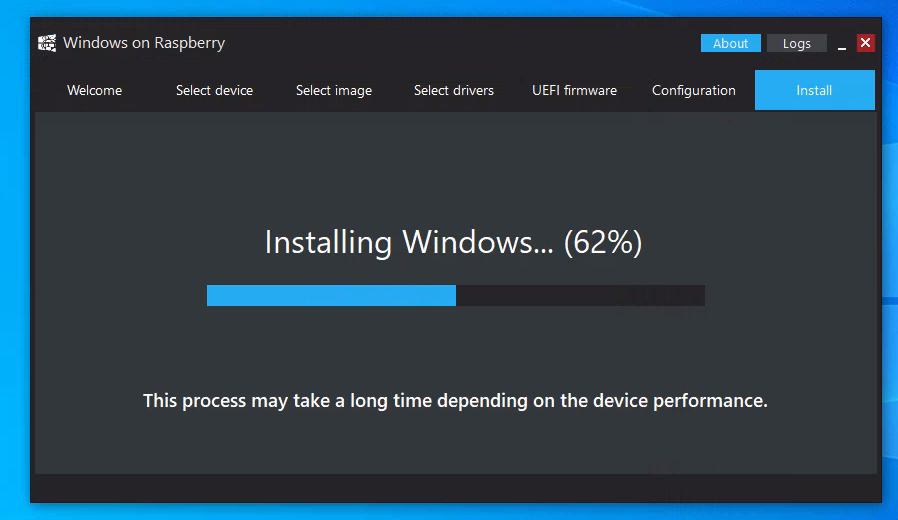
WoR is installing Windows 10 ARM on the microSD card.
WoR is installing Windows 10 ARM on the microSD card.
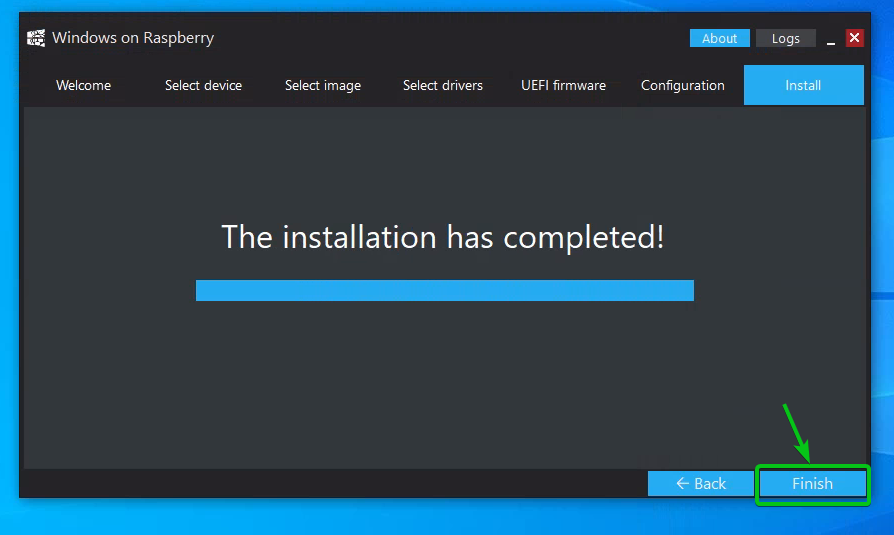
At this point, Windows 10 is installed on the microSD card. Click on Finish.
Now, you can take out the microSD card from your computer and insert it on your Raspberry Pi 4.
Booting Windows 10 on Raspberry Pi 4:
This section will show you how to configure the UEFI firmware of Raspberry Pi 4 for booting Windows 10 from the microSD card and to use more than 3 GB of RAM.
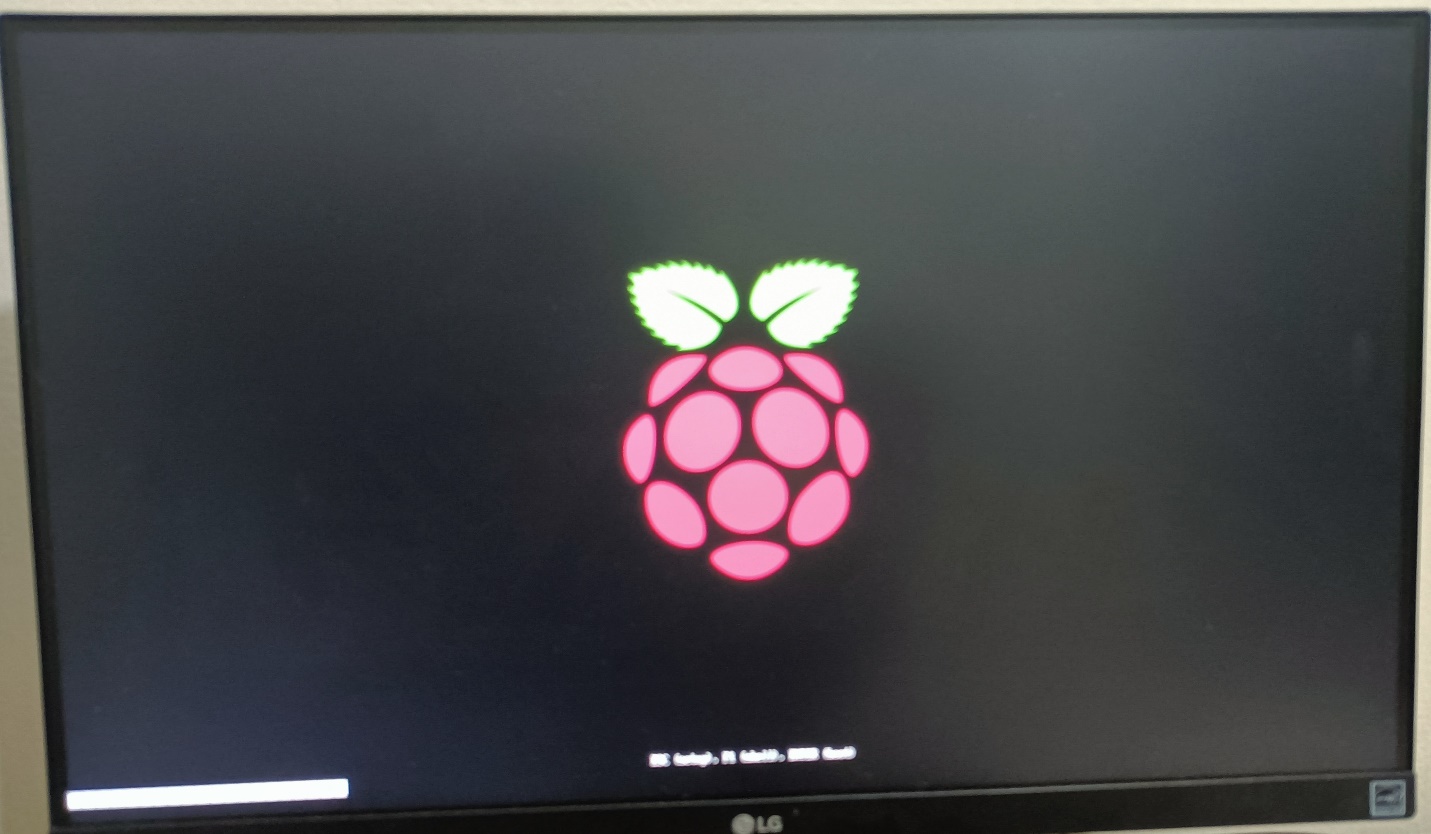
Once you insert the microSD card on your Raspberry Pi 4 and power it on for the first time, keep pressing <Esc> to go to the UEFI firmware settings of your Raspberry Pi 4.
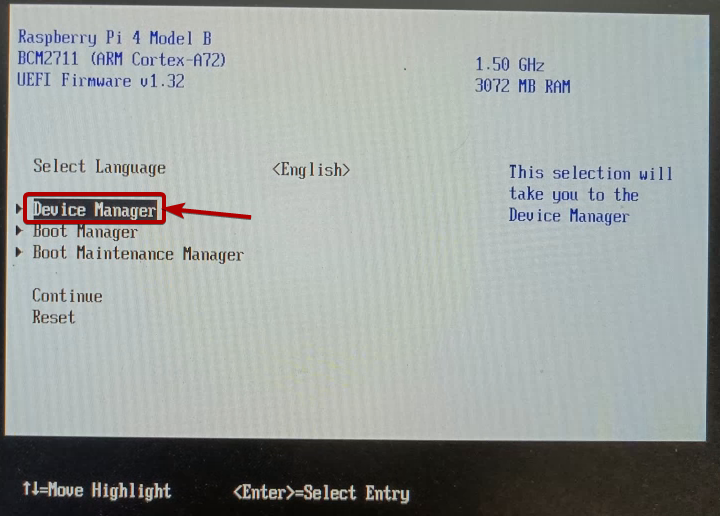
Once the UEFI Firmware window is displayed, select Device Manager and press <Enter>.
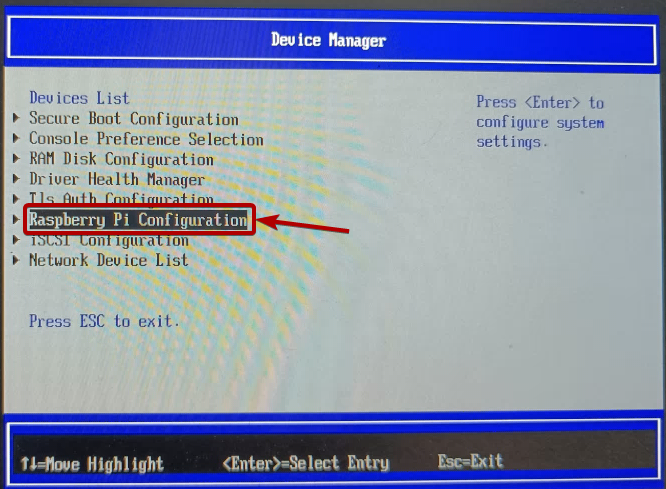
Select Raspberry Pi Configuration and press <Enter>.
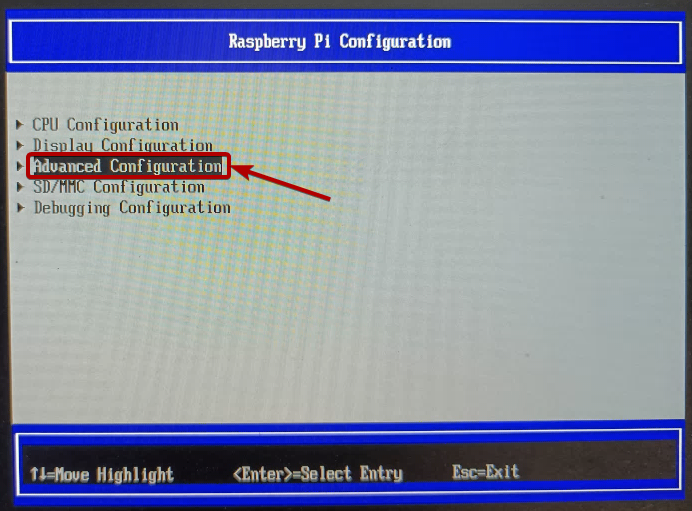
Select Advanced Configuration and press <Enter>.
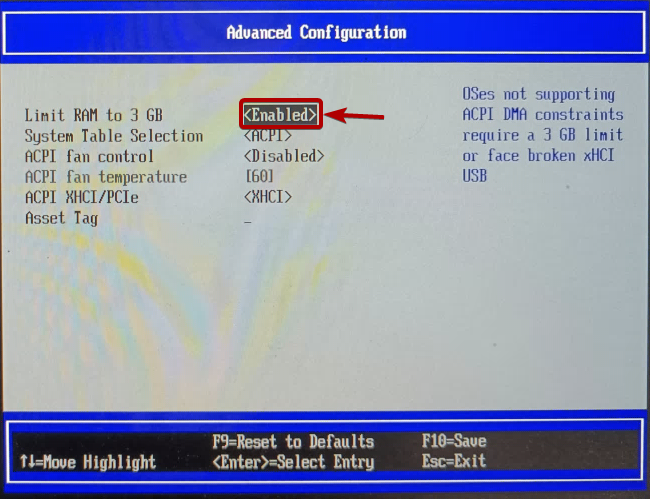
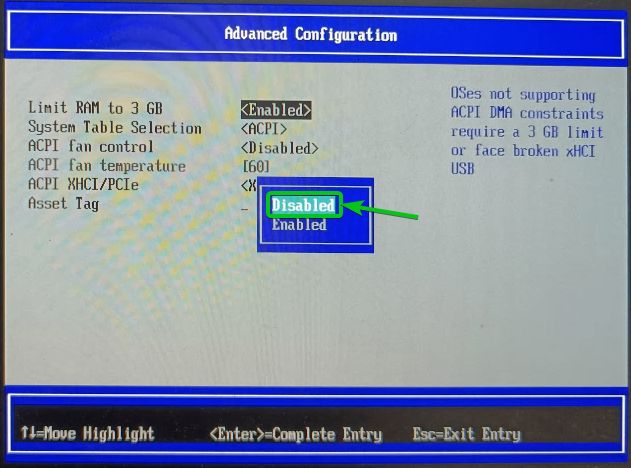
Limit RAM to 3 GB is Enabled by default, as you can see in the screenshot below.
Select it and press < Enter> to enable support for more than 3 GB of RAM, select it and press <Enter>.
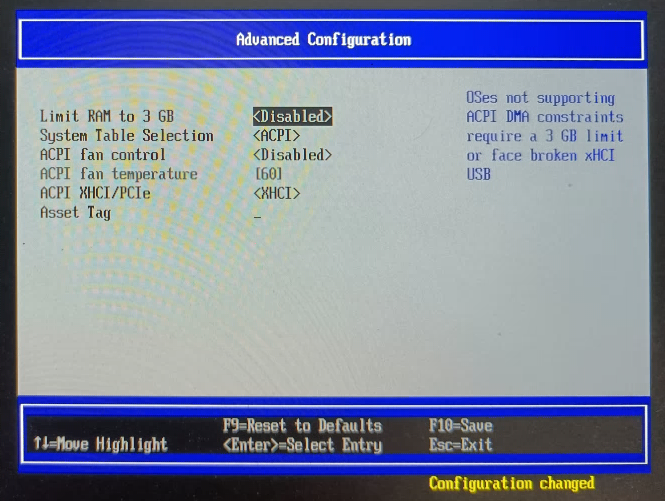
Select Disabled and press <Enter>.
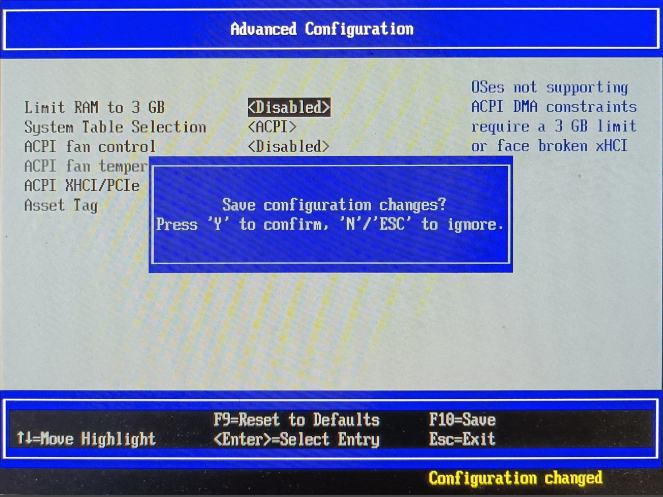
The configuration should be changed. Press <F10> to save the changes.
To confirm the changes, press Y.
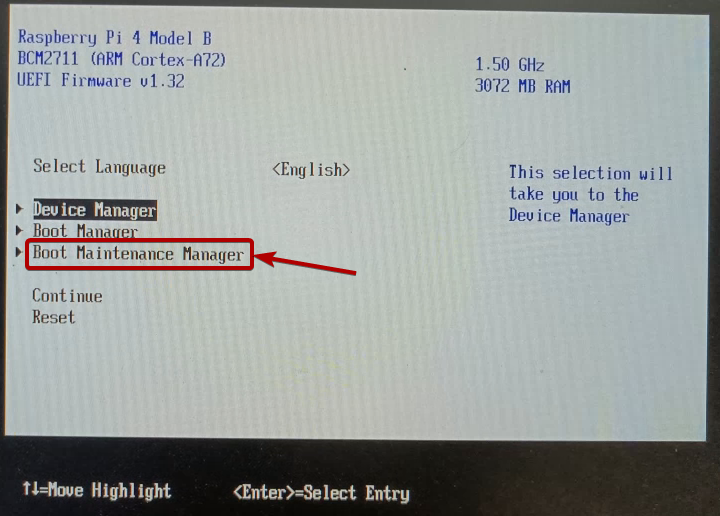
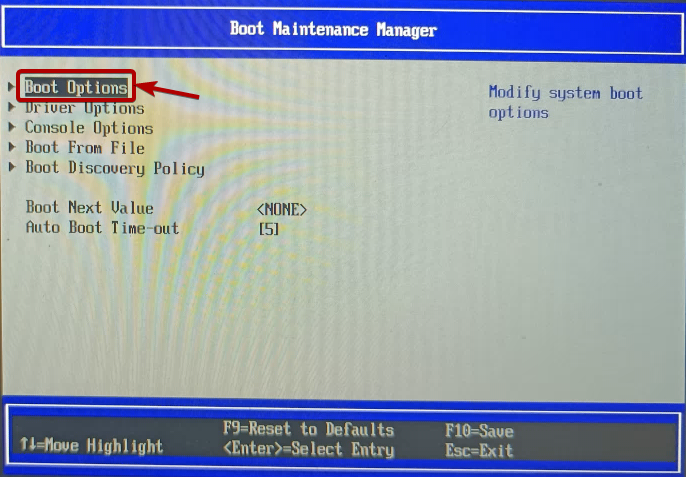
Press <Esc> a few times to return to the main UEFI firmware window. Select Boot Maintenance Manager and press <Enter>.
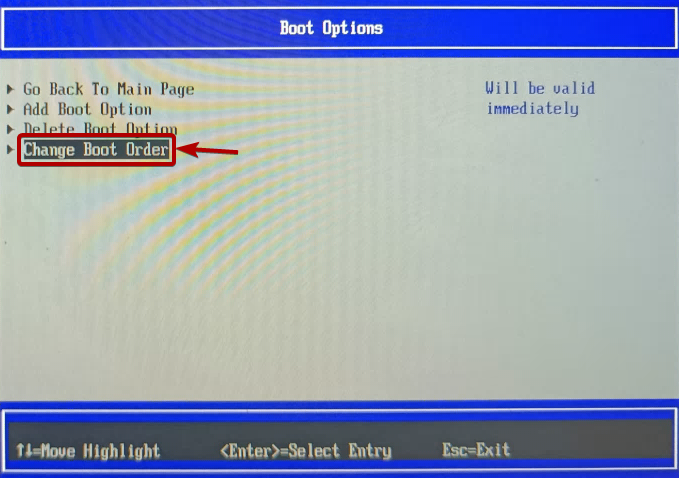
Select Boot Options and press <Enter>.
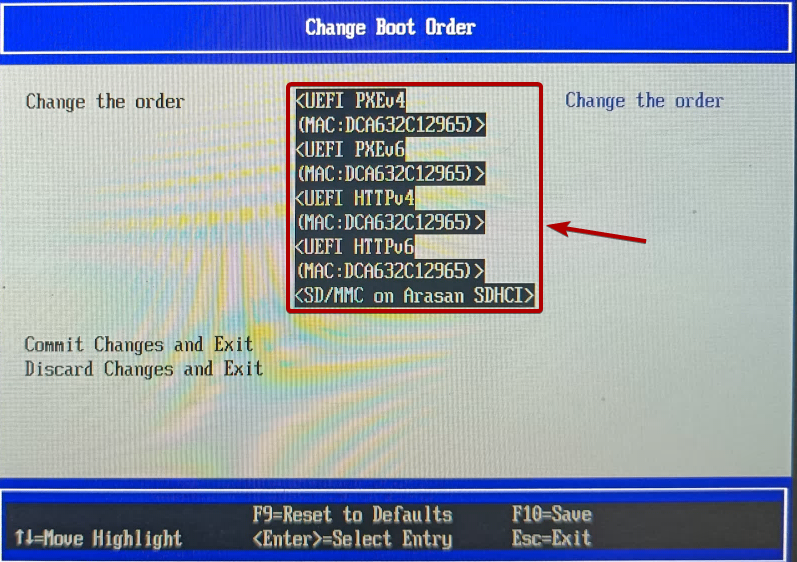
Select Change Boot Order and press <Enter>.
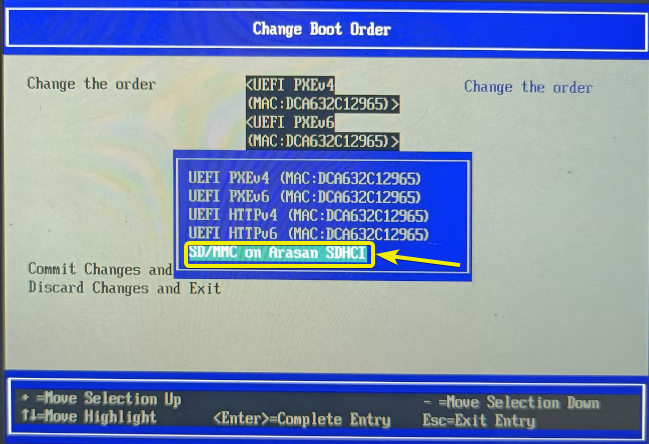
Select Change the order and press <Enter>.
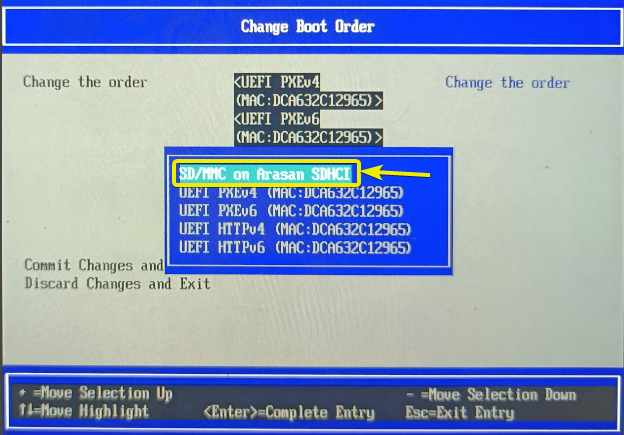
Select SD/MMC on Arasan SDHCI and press + a few times to get it at the top of the boot order.
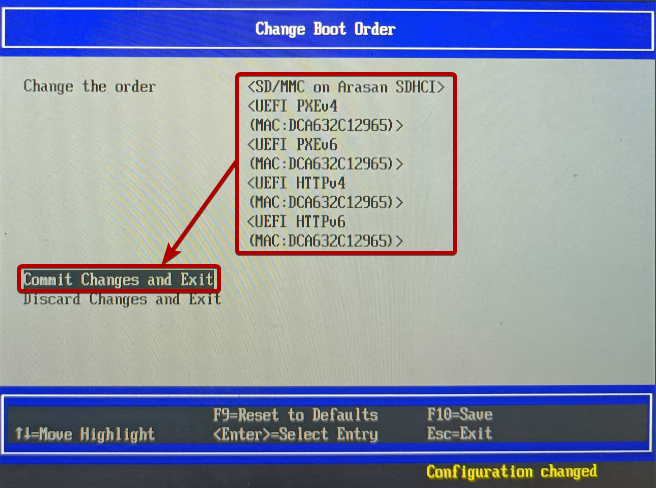
Once SD/MMC on Arasan SDHCI is at the top of the boot order, press <Enter>.
To save the changes, select Commit Changes and Exit and press <Enter>.
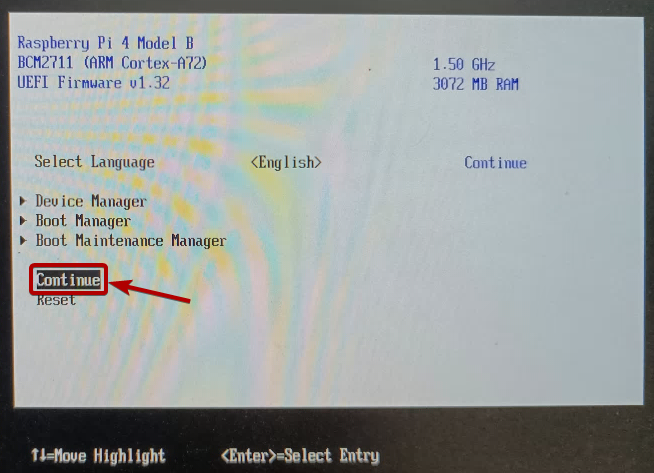
Press <Esc> a few times to go back to the main UEFI Firmware window, select Continue, and press <Enter>.
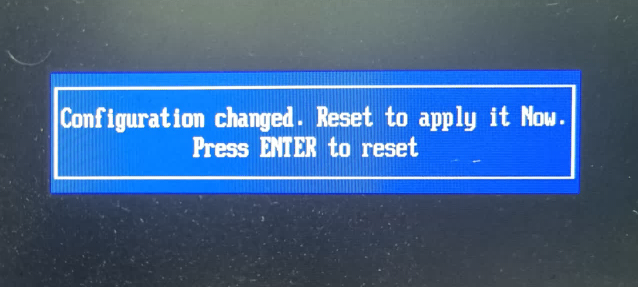
Press <Enter> to reboot.
Next time, your Raspberry Pi 4 will boot Windows 10 from the microSD card.
After a while, you will see the Windows 10 initial configuration screen.
Initial Setup of Windows 10 on Raspberry Pi 4:
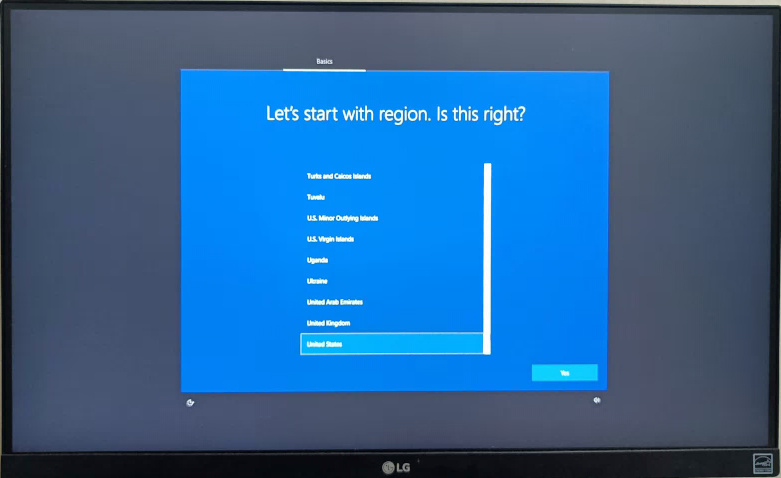
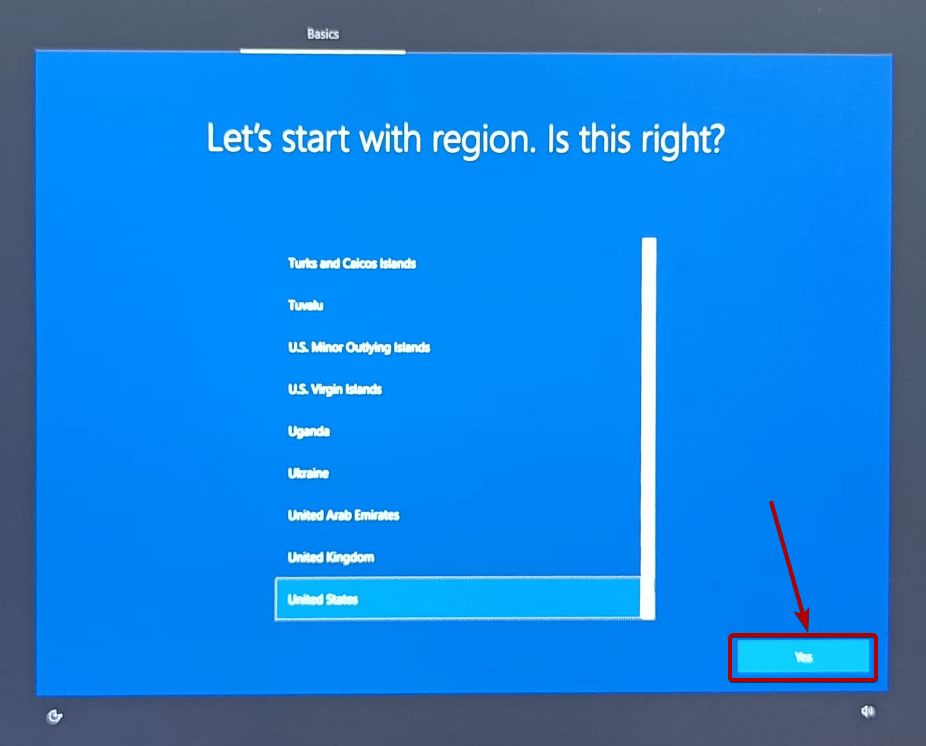
Select your region and click on Yes.
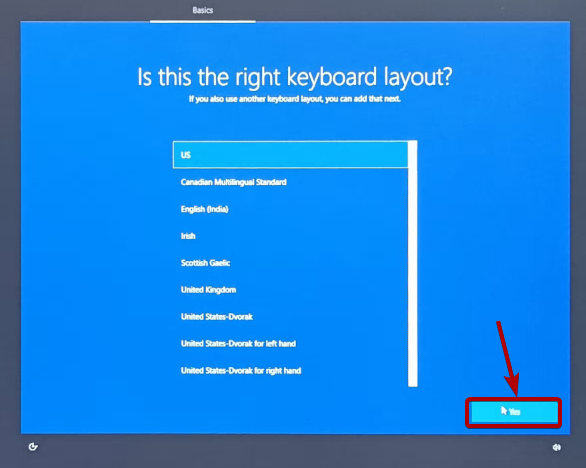
Select your keyboard layout and click on Yes.
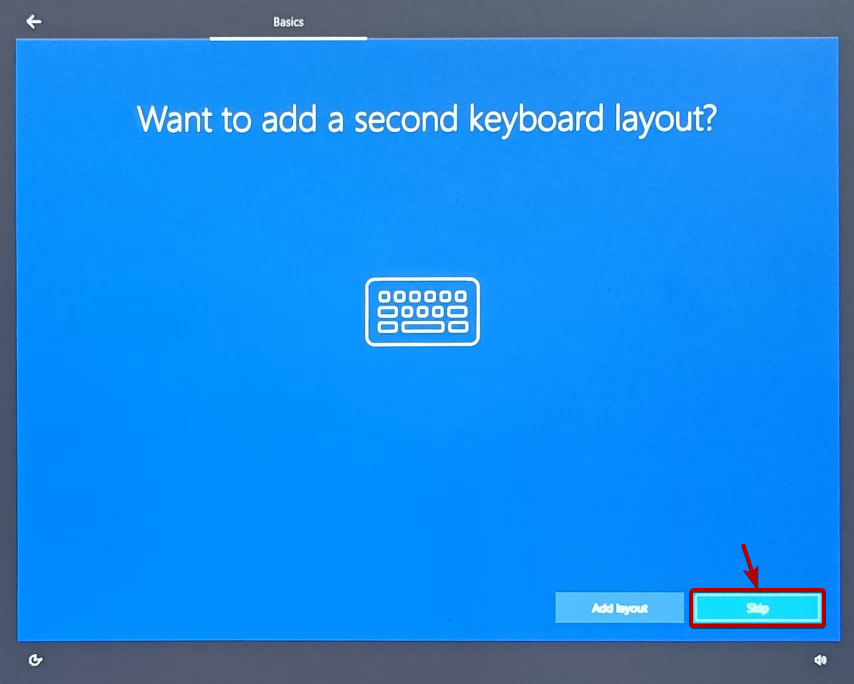
Click on Skip.
If you have an ethernet cable connected to your Raspberry Pi 4, it will automatically configure the network via DHCP. Otherwise, you will be asked to manually configure the network or type in your Wi-Fi credentials if you want to connect to a Wi-Fi network.
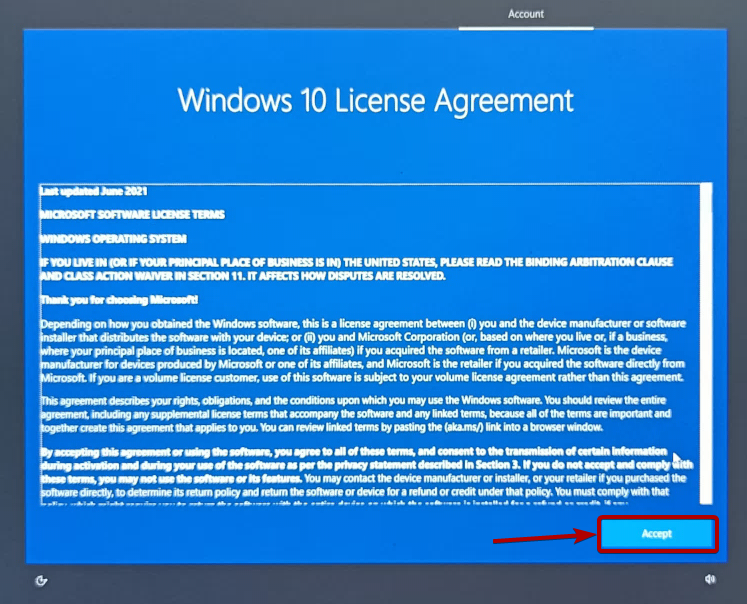
Click on Accept to accept the Windows 10 license agreement.
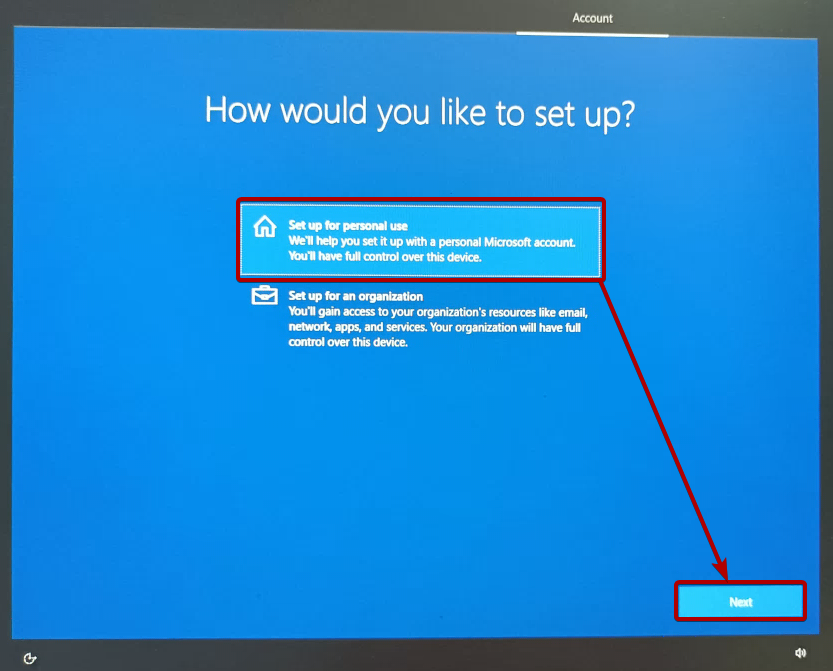
Select Set up for personal use and click on Next.
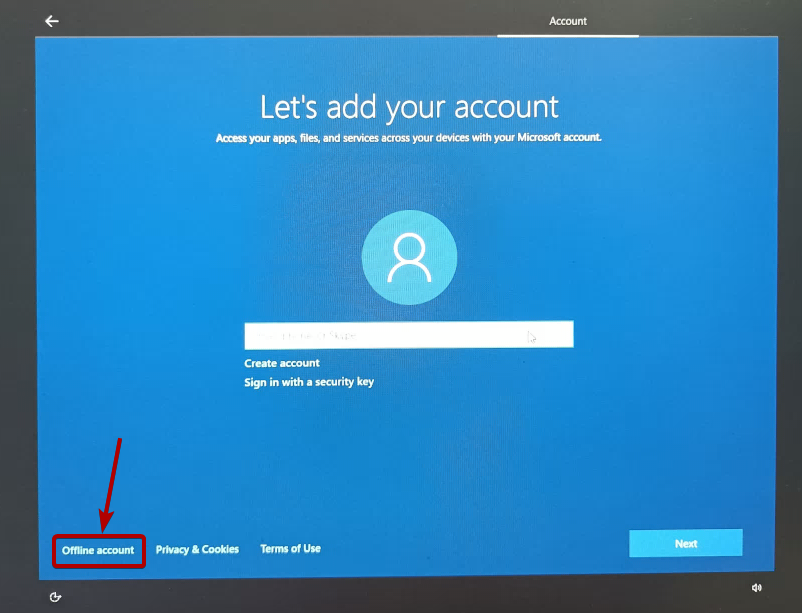
Click on Offline account.
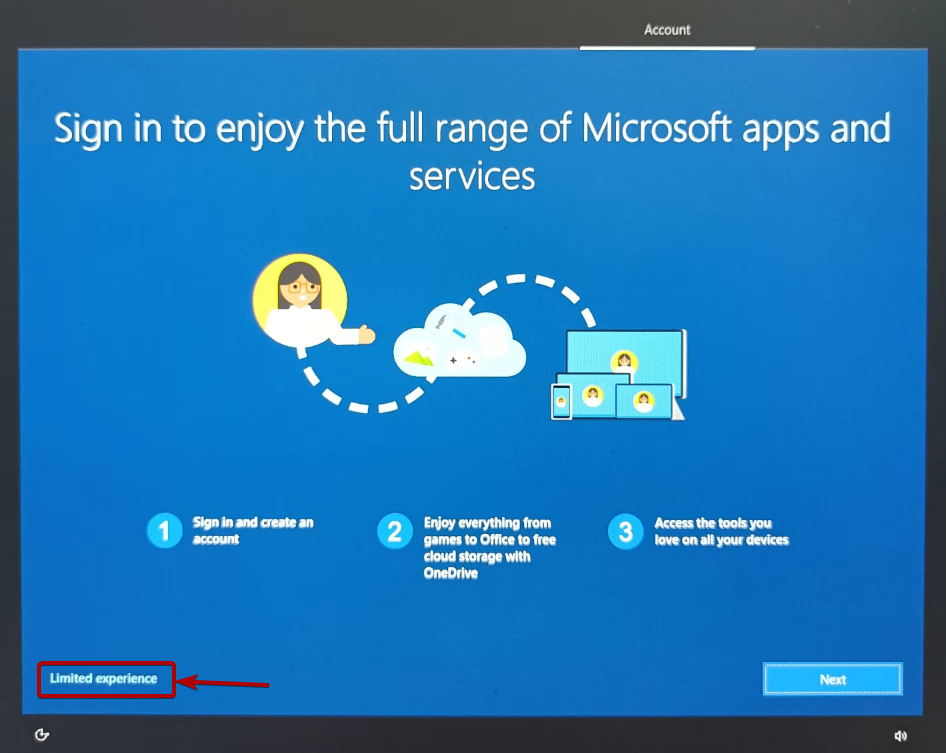
Click on Limited experience.
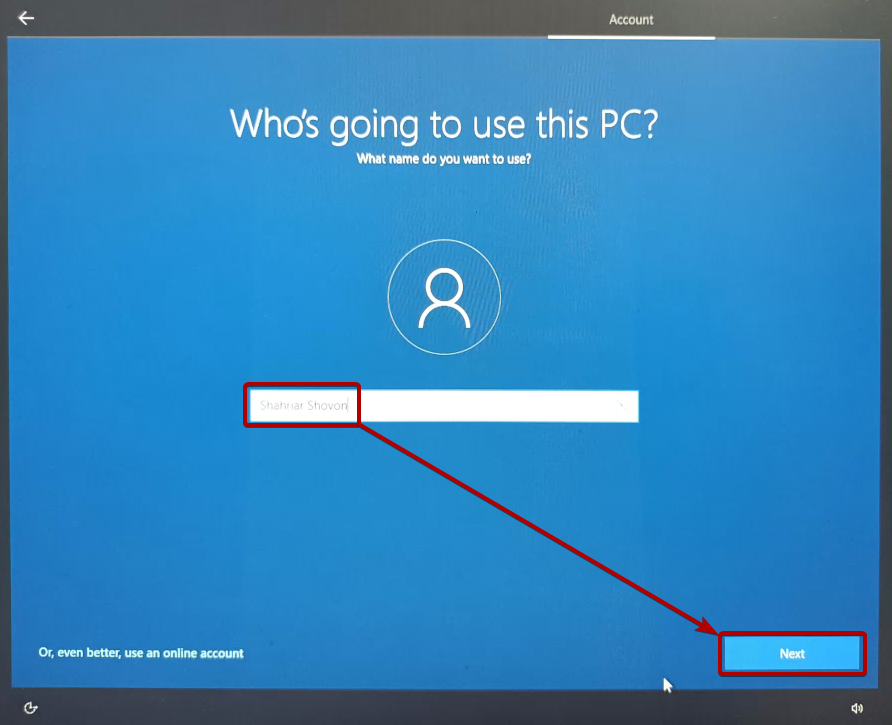
Type in your name and click on Next.
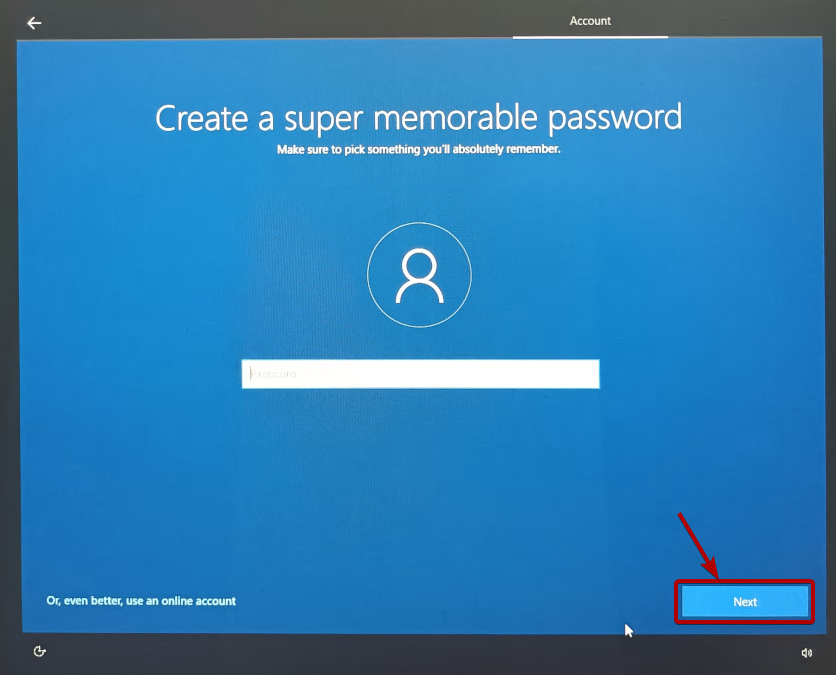
Click on Next.
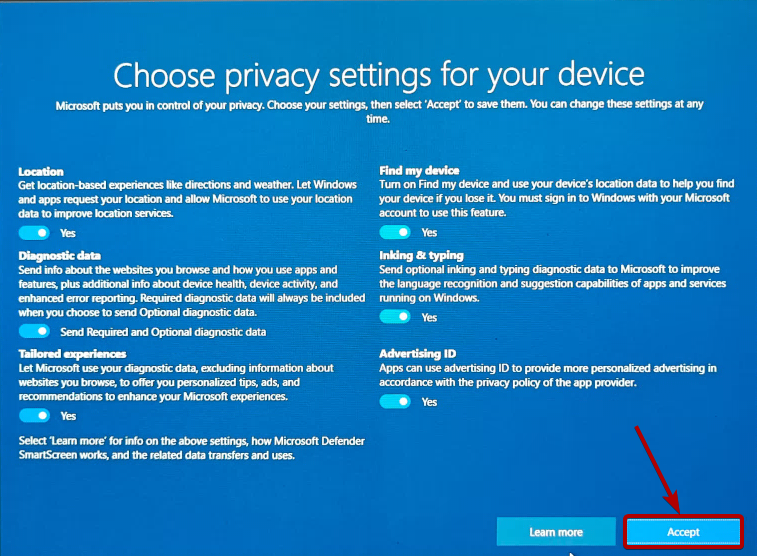
Click on Accept.
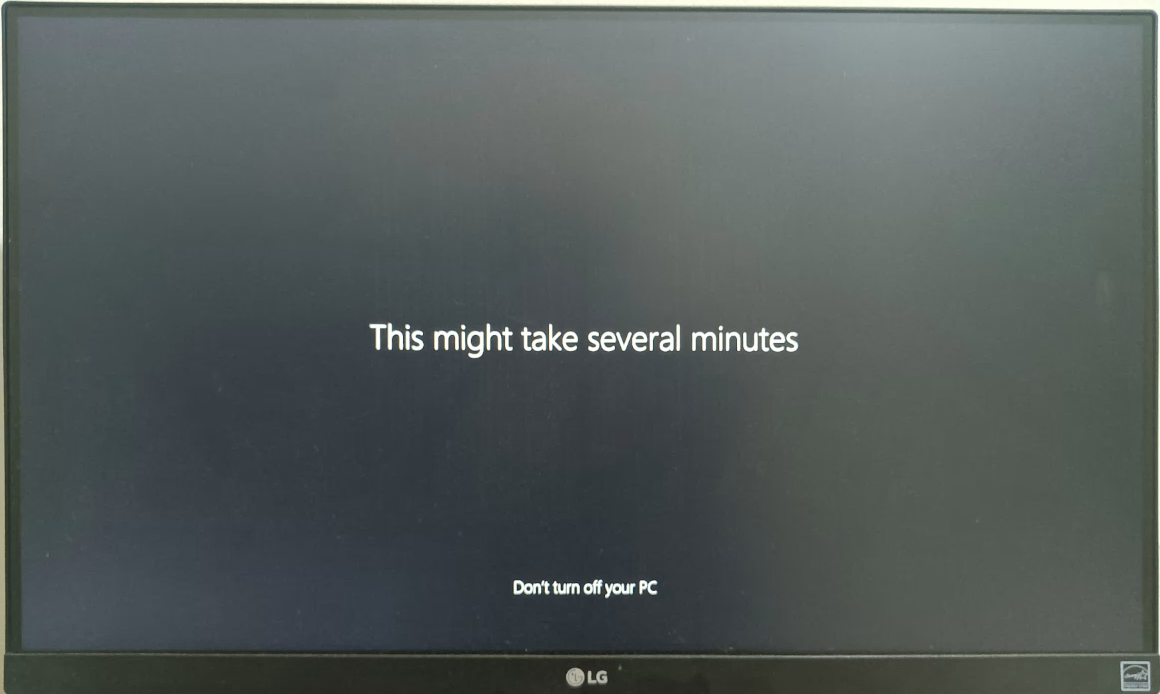
Windows 10 will take a few minutes to be ready.
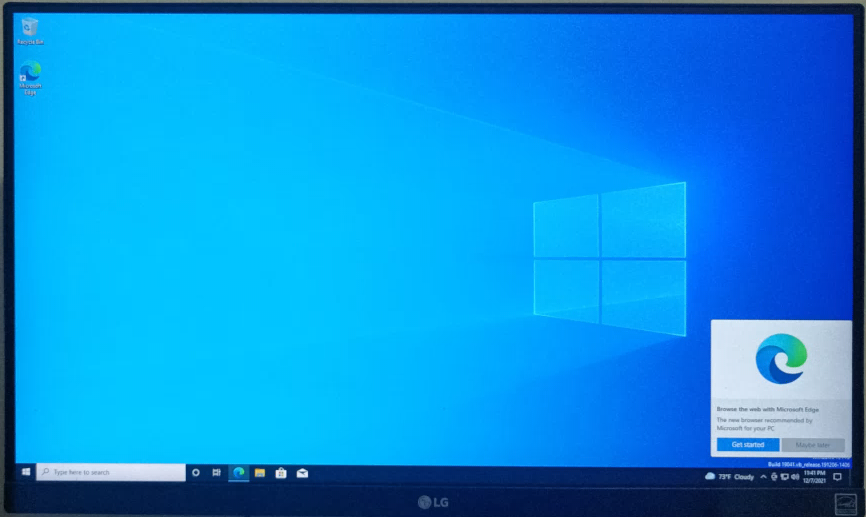
Once Windows 10 is ready, you will see the Windows 10 desktop, as shown in the screenshot below. Now, you can use Windows 10 as usual on your Raspberry Pi 4.
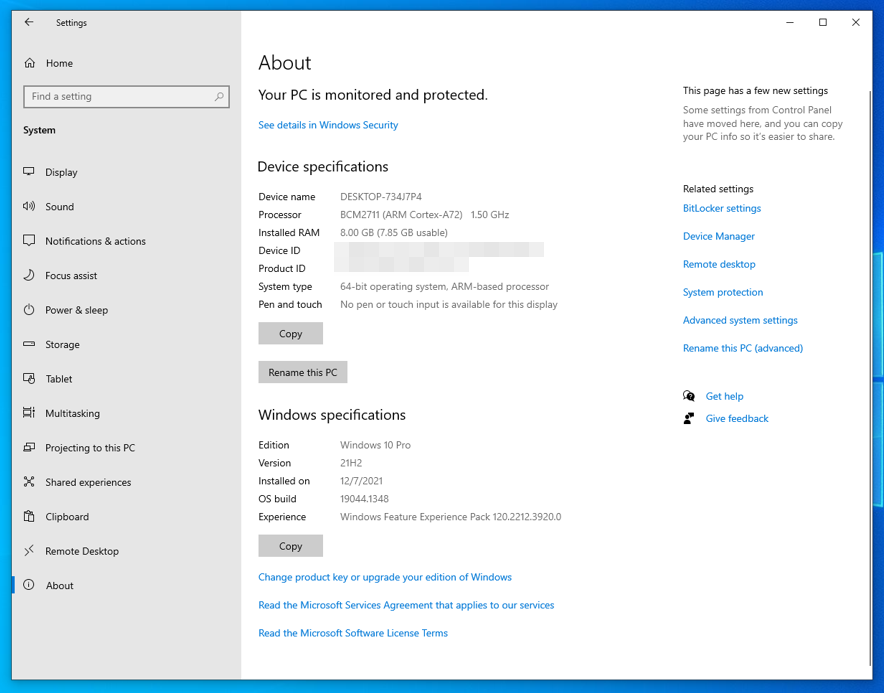
As you can see, I am using Raspberry Pi 4 8 GB version, and Windows 10 can use 8 GB of memory.
Windows 10 Performance and Issues:
At the time of this writing, Windows 10 ARM on Raspberry Pi 4 is quite responsive. I would say that it’s useable. But it’s not very stable. It hung and showed BSOD (Blue Screen Of Death) once in a while.
Currently, you can run 32-bit apps (emulated Win32) on Windows 10 ARM on Raspberry Pi 4. No 64-bit app support yet, sadly.
Conclusion:
This article shows you how to download the Windows 10 ARM ISO image and flash it on your microSD card using Windows on Raspberry Imager. I have also shown you how to configure the UEFI Firmware of your Raspberry Pi 4 for booting Windows 10. I have shown you how to do the initial setup of Windows 10 on Raspberry Pi 4 and discussed the performance and current issues of Windows 10 ARM on Raspberry Pi 4.

