Set up your firewall for XRDP
XRDP uses port 3389. Before installing XRDP, you need to open this port. You can open the port using UFW (Uncomplicated Firewall), as shown in the example below. Replace the IP address for your network address.
Then reload UFW as shown in the following image.
Now your firewall is ready to use XRDP.
Getting started with XRDP
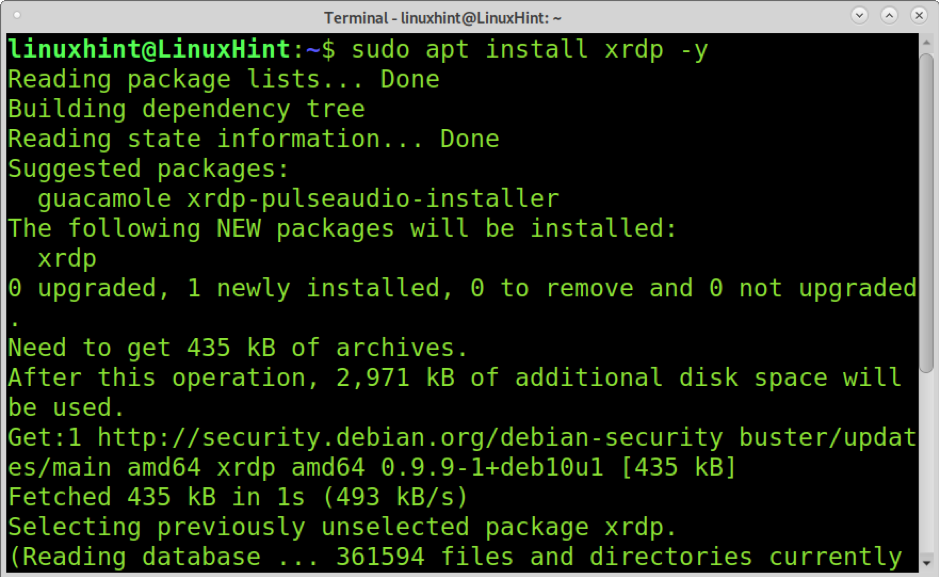
On Debian and its Linux distributions, you can install XRDP using apt, as shown in the screenshot below.
XRDP installation process will add the user xrdp to your system. To allow authentication, you need to add the xrdp user to the ssl-cert group. You can achieve this using the usermod command, as shown in the screenshot below.
Once added the user to the group, restart the xrdp service; you can use systemctl as shown below.
Now you are ready to connect through XRDP.
Connecting from Windows to Linux using XRDP
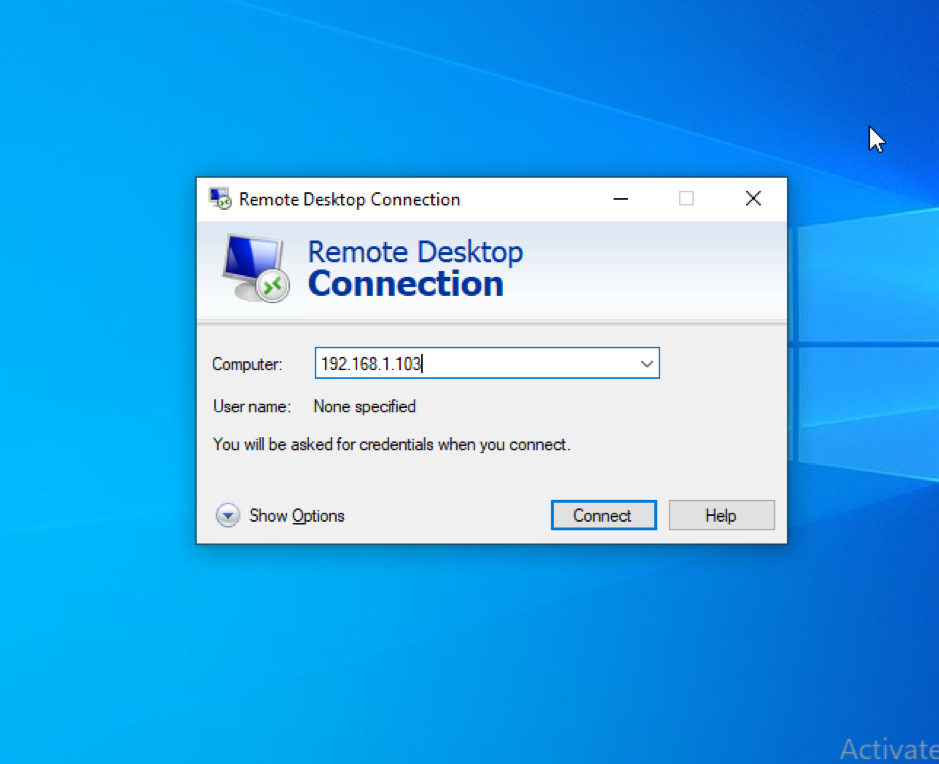
On Windows, look for the RDP application; you can use the Applications search box as shown in the following screenshot.
A window will prompt asking for the IP address of the Linux device you want to connect to, fill it and press the OK button.
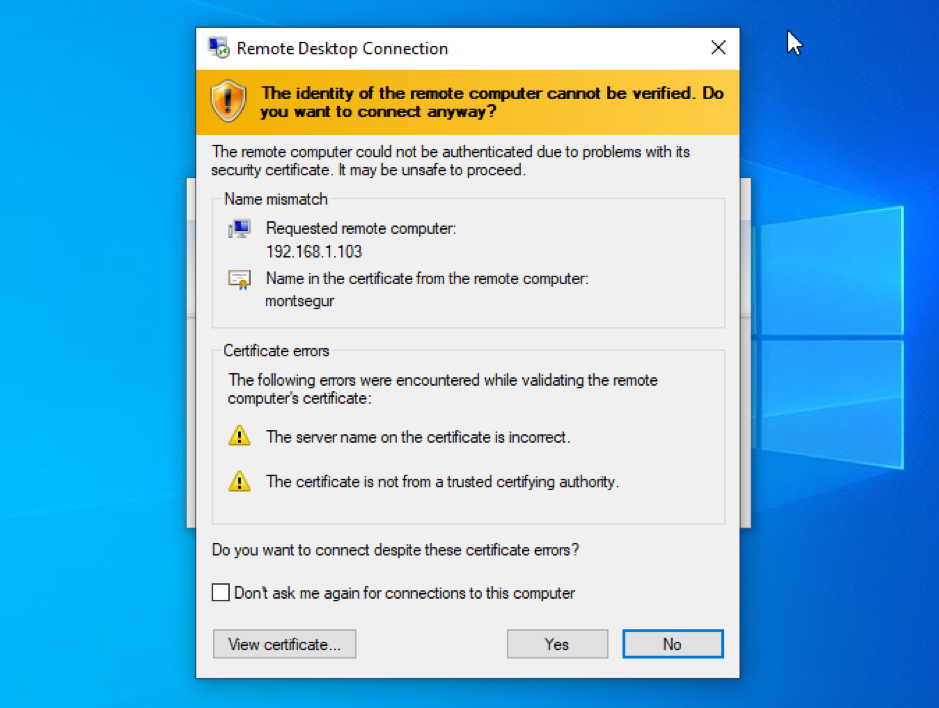
When trying to connect, you will see a warning. If you don’t want the warning to appear again, you can check the “Don’t ask me again for connections to this computer” box, then press the Yes button to continue.
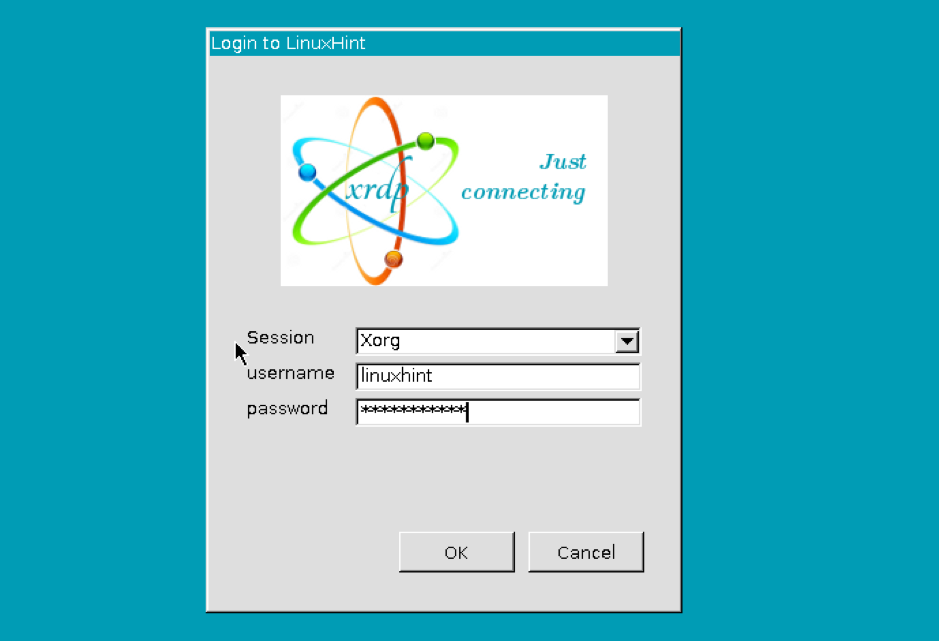
A login box will show up; fill in your username and password. It is important to remember you won’t be able to connect to your Linux device with a username already logged in your Linux device, use a different user, or logout from your Linux computer.
After filling in your username and password, press the OK button.
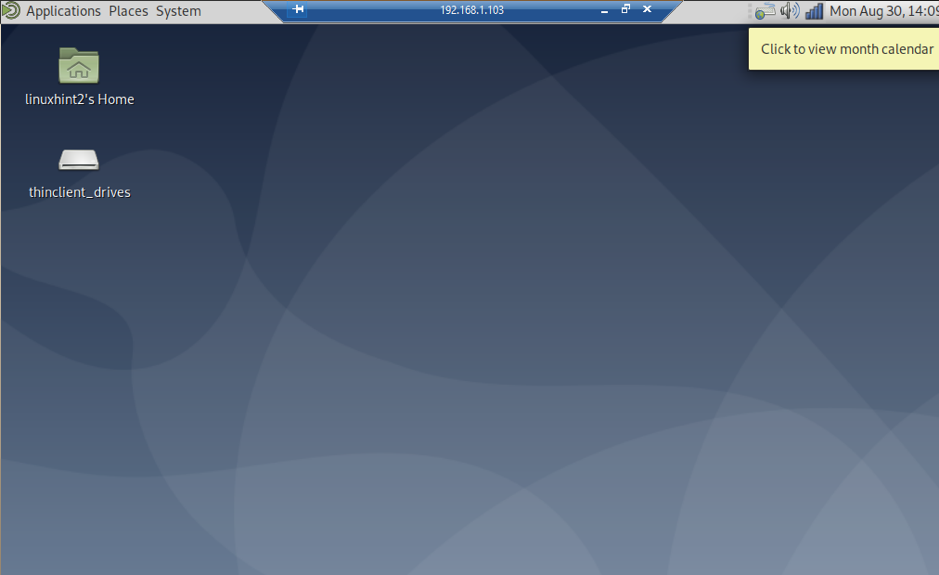
As you can see, the connection was done successfully.
Troubleshooting
When I tried to connect using XRDP with MATE windows manager on my Linux device, I got a DBUS error followed by a black screen. To solve this, you can change your window manager or follow the steps described below.
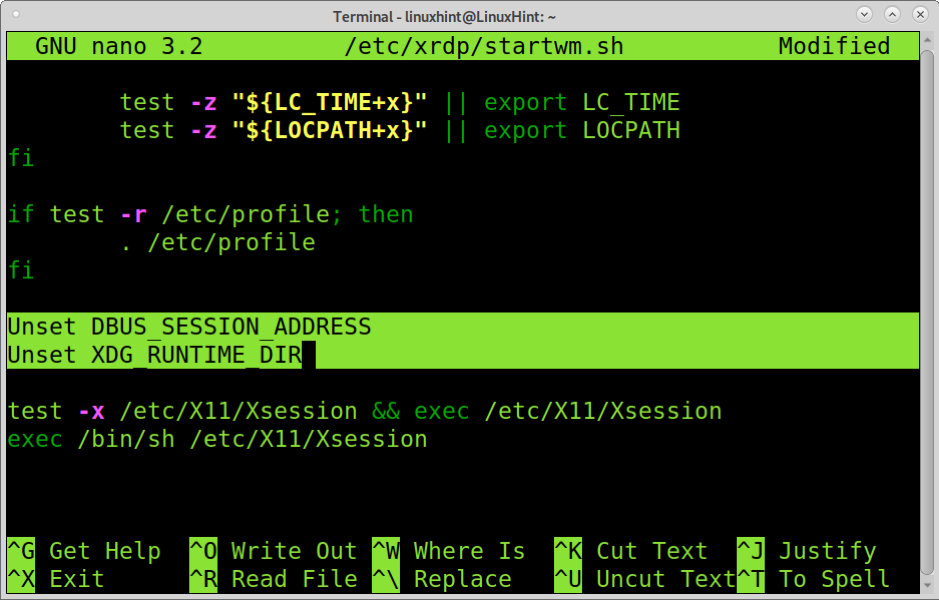
Edit the configuration file /etc/xrdp/startwm.sh; you can use nano as shown below.
Add the following 2 lines to the file before the two final lines, as shown in the screenshot below.
Unset XDG_RUNTIME_DIR
Restart XRDP as shown below.
Now you must be able to connect from Windows to Linux using xrdp.
For additional information on XRDP, you can read this link https://linux.die.net/man/8/xrdp.
Connect Linux/Windows devices using TeamViewer
TeamViewer is one of the most popular tools for remote access to devices. It supports multiple operating systems allowing you to connect from Windows to Linux. The main problem is TeamViewer isn’t open-source, and it’s free only for personal use.
This section includes instructions both for Linux and Windows sides.
Instructions for the Linux device
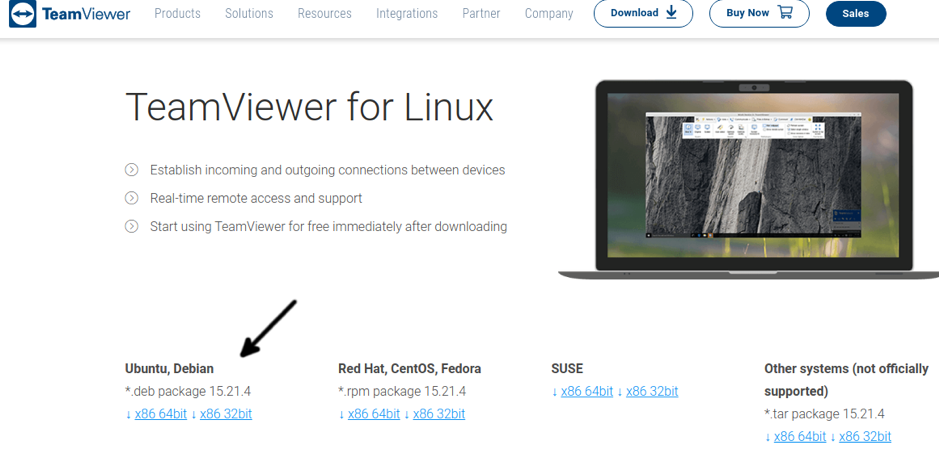
To begin, on your Linux device, download TeamViewer from this link https://www.teamviewer.com/en-us/download/linux/
At the bottom of the page, you’ll see the proper installation package for Debian-based Linux distributions, such as Ubuntu, press on your proper architecture to start downloading.
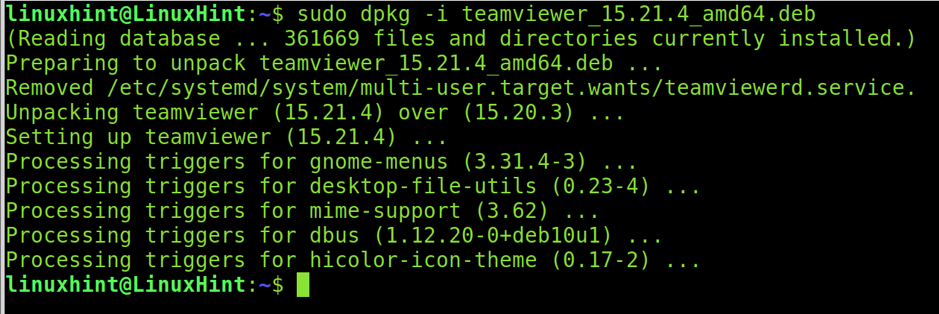
Once downloaded, install teamviewer by running the command below. Remember to replace “teamviewer_15.21.4_amd64.deb” with your proper file name or correct version.
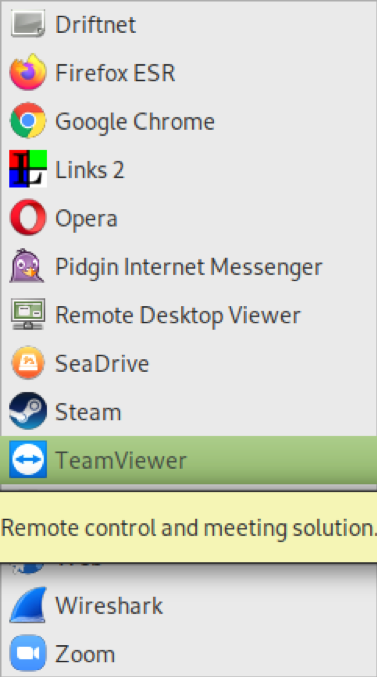
Once installed, you can find TeamViewer on your Applications menu; press it to open the program in the Internet section.
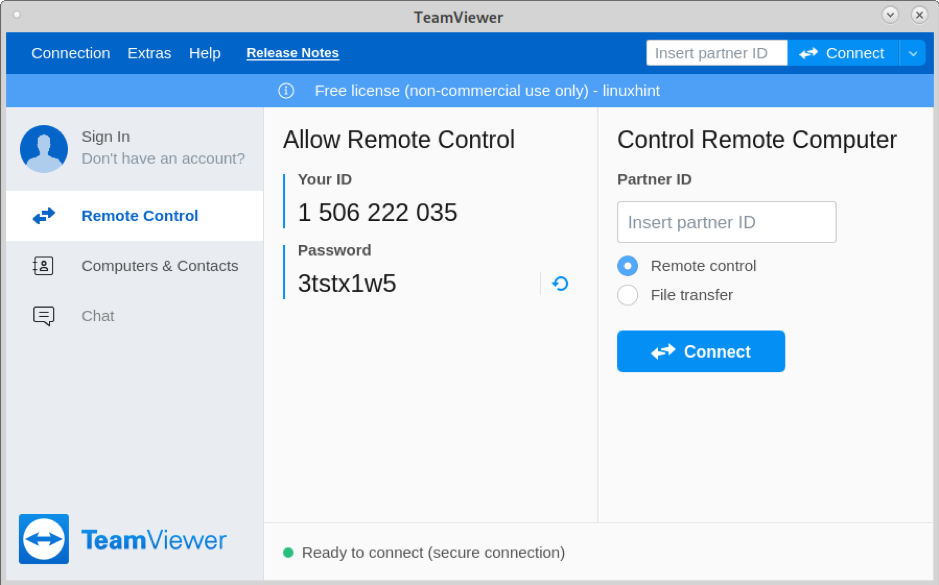
When TeamViewer shows up, you’ll see “Your ID” and “Password” on your left side; you will need that information later, don’t copy it now since the password refresh after a couple of minutes.
Instructions for the Windows device
On Windows, click this link to Download TeamViewer https://teamviewer.com/en-us and press the “Download for free” button.
The download will start automatically.
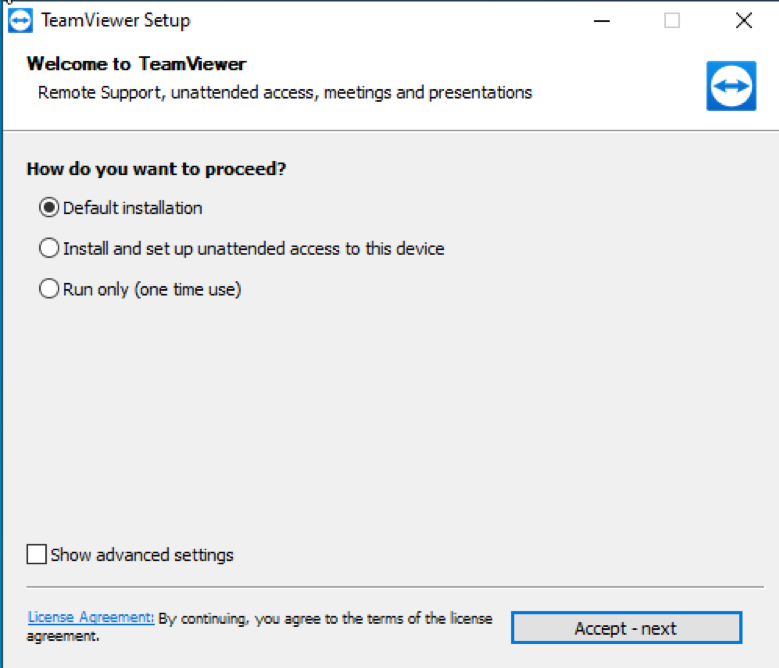
If the installer doesn’t start automatically, run it and select the “Default Installation” as shown below, then press the “Accept – next” button.
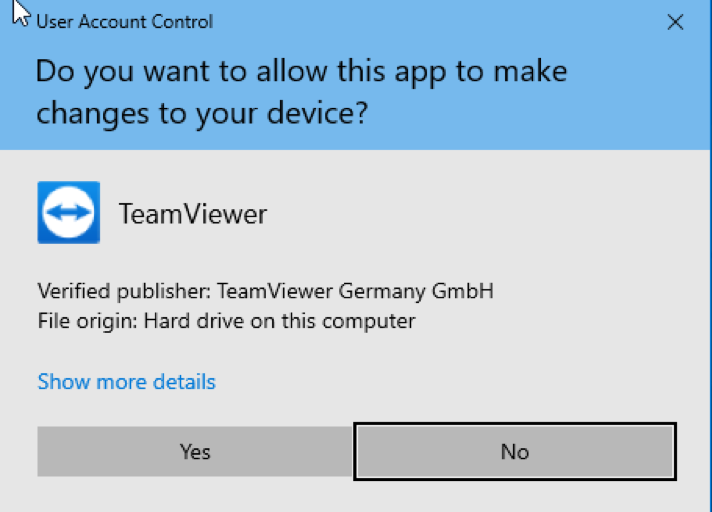
When requested, allow TeamViewer to make changes on your devices by pressing the “Yes” button.
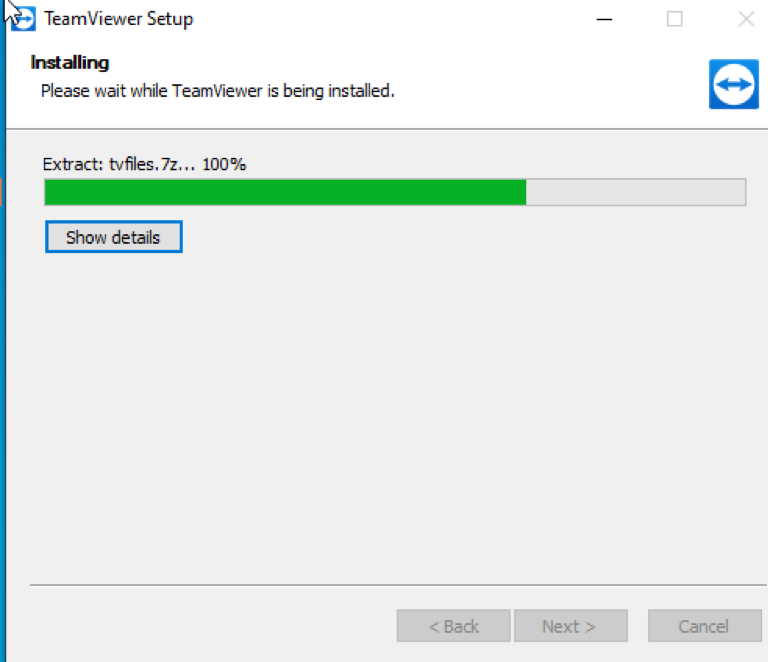
Wait for the first part of the installation process to end.
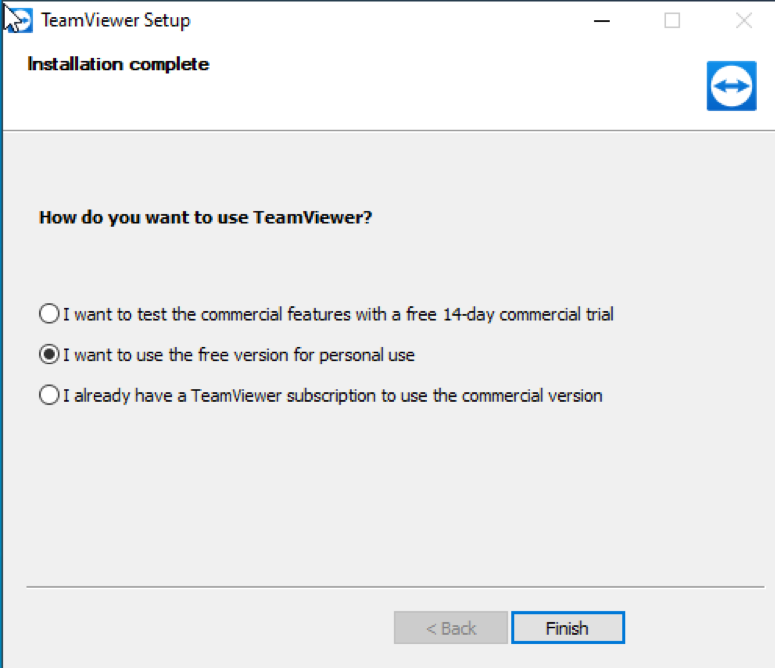
When asked, select the option “I want to use the free version for personal use” and press the “Finish” button.
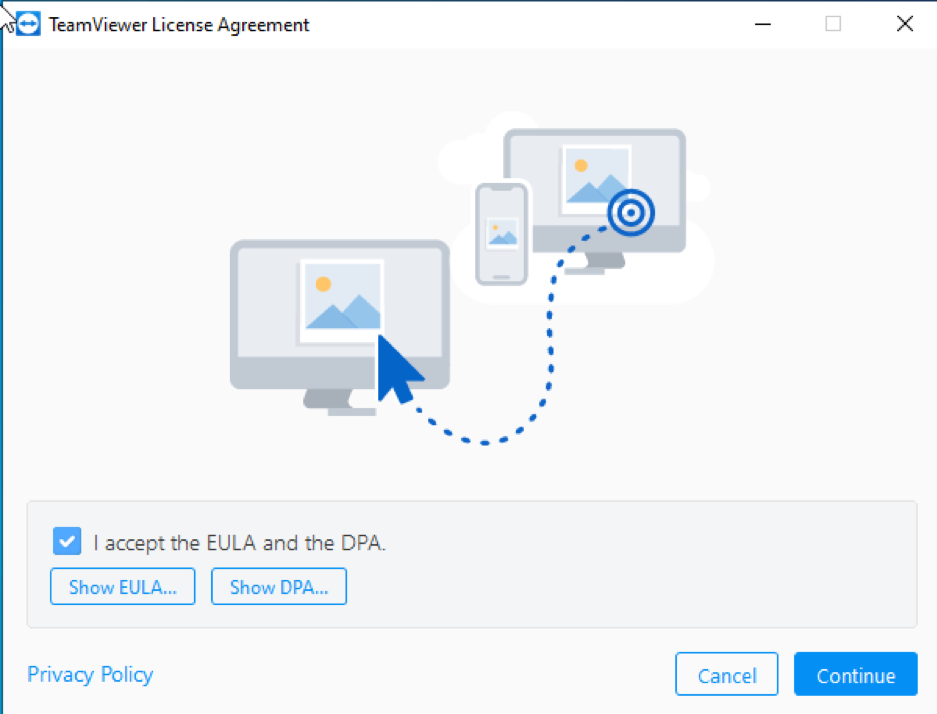
On the next window, mark the “I accept the EULA and the DPA” box and press “Continue“.
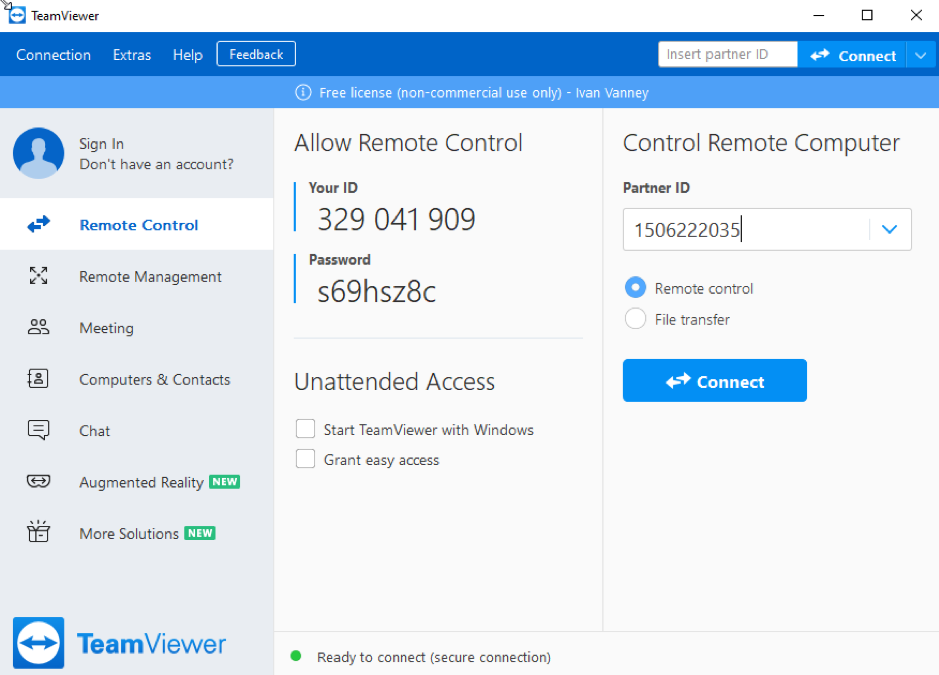
TeamViewer will show up. On the “Partner ID” field, type the code TeamViewer on your Linux device shows in the “Your ID” section.
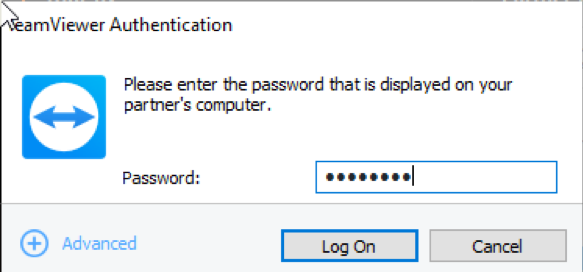
Then you will be asked for the password shown in your Linux device’s TeamViewer “Password” field.
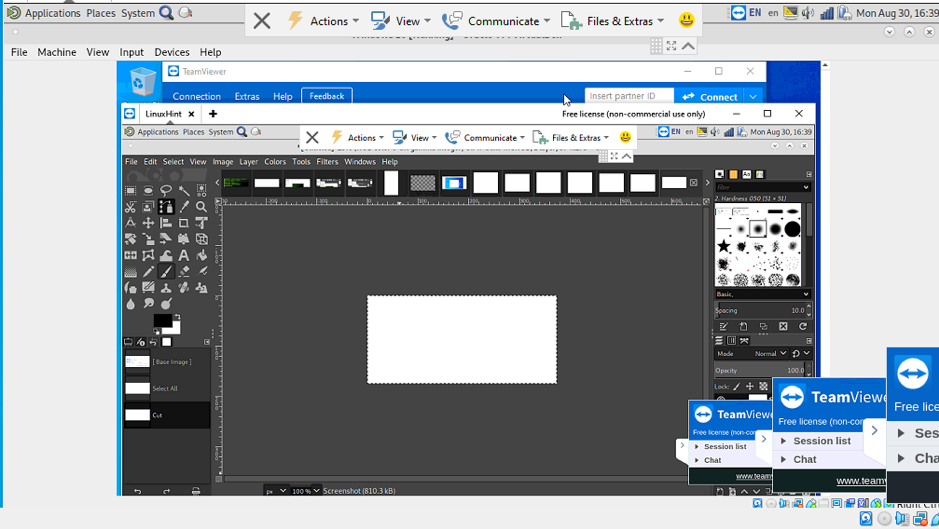
As you can see in the image below, the connection was done properly. The reason why the screenshot below seems messy is that for this tutorial, I’m using a virtual machine.
That’s all for now; you just learned two different ways to connect from Windows to Linux.
Conclusion
As you can see, setting up xrdp on Debian to connect from a Windows device is pretty easy. Any Linux user level can apply the steps explained in this tutorial to achieve a connection between different operating systems. As shown, Linux supports several methods to accept connections from Windows. To connect to it, this tutorial explained two of the most popular ways. Unlike TeamViewer, XRDP is an open-source implementation, which makes this alternative preferred over TeamViewer, which is neither open source nor free for non-personal use. You can find additional solutions, like AnyDesk, whose instructions you can read at https://linuxhint.com/install_anydesk_debian10/.
Thank you for reading this tutorial. I hope it was useful. Keep following us for more Linux tips and tutorials.


