Keeping the importance of Xrdp in mind,this guide intends to provide a step-by-step installation and configuration of Xrdp on CentOS 8.
Prerequisites
The Xrdp server is contained in the EPEL repository and it must be enabled to get Xrdp on CentOS 8. First, check whether it is enabled or not, use the following command:
In our case, EPEL is enabled. However, if it is not listed, you may get it on Arch via the command.
After installation, make sure the repository is visible in the “dnf repolist” command.
How to install Xrdp on CentOS 8
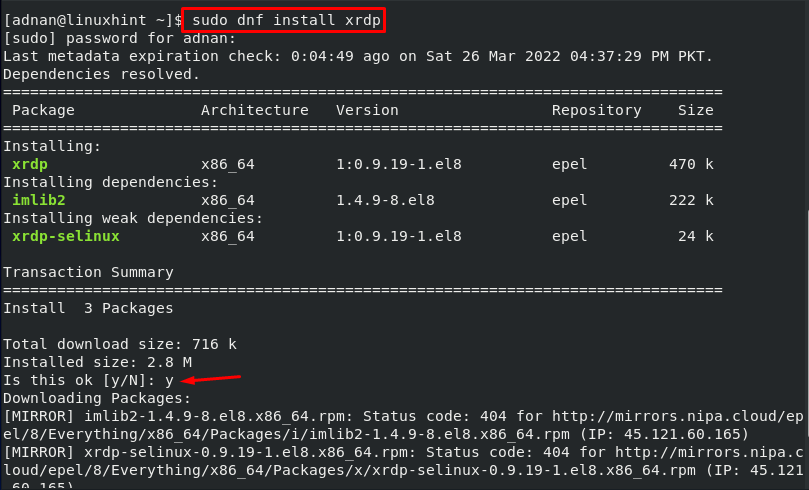
As soon as the repository is enabled, you can install Xrdp on CentOS 8 via the following command.
Check the status of Xrdp service as follows:
It is disabled as shown in the above output.
Enable the xrdp service via the command:
After enabling, start the service and check the status again.
$ sudo systemctl status xrdp
The output shows the Xrdp service is running in an active mode.
How to configure Xrdp on CentOS 8
The Xrdp allows all basic connections to connect without altering any configurations. However, it does require firewall configuration. The Xrdp listens to port-3389 (by default), thus it is necessary to add a rule for that port in firewall settings.
To do so, First, add the Xrdp in the current zones of firewall-cmd(client for firewall daemon) via the command provided below.
Now, use the firewall-cmd command to add port 3389 to Xrdp via the command below. Moreover, restart the firewall daemon via the firewall-cmd command as well.
$ sudo firewall-cmd
Here you go with Xrdp!
Conclusion
Xrdp is an open-source remote desktop protocol for Linux and BSD-based operating systems. This article demonstrates the installation and configuration of the Xrdp server on CentOS 8. The Xrdp provides graphical interface support to connect to the remote machine and thus making it suitable for novice Linux users.


