Vagrant is for virtual machines what Docker is for containers. Vagrant is a wrapper for different hypervisor programs like VMware Workstation Pro, VMware Player, VirtualBox, Hyper-V, VMware vSphere, etc. Vagrant uses a simple text-based configuration file called Vagrantfile to quickly set up a development environment with one of the supported virtual machine providers/hypervisors.
Vagrant can quickly configure virtual machines based on your project requirement and get them up and running. Vagrant command-line interface provides easy management for the virtual machines as well. You can easily SSH into any Vagrant-managed virtual machines, configure them, destroy them and recreate them on the fly. Vagrant simplifies managing virtual machines for development projects and saves a lot of time.
Vagrant also makes sharing your work with other people really easy. All you have to do is share the Vagrantfile of your project, and the person on the other side can recreate everything with Vagrant.
In this article, I will show you how to install the latest version of Vagrant on Ubuntu 20.04 LTS and configure Vagrant to use VMware Workstation Pro 16 as a virtual machine provider. So, let’s get started.
Table of Contents
- Things You Will Need
- Installing Required Dependencies
- Installing Vagrant
- Installing Vagrant VMware Utility
- Installing Vagrant VMware Desktop Provider Plugin
- Getting Started with Vagrant VMware Desktop Provider
- Conclusion
- References
Things You Will Need
To set up Vagrant to use VMware Workstation Pro 16 as a virtual machine provider, you must have VMware Workstation Pro 16 installed on your computer.
If you need any assistance in installing VMware Workstation Pro 16 on your computer, you may check out the following articles.
- How to Install VMware Workstation Pro 16 on Windows
- How to Install VMware Workstation Pro 16 on Linux
Installing Required Dependencies
The latest version of Vagrant can be downloaded from the official package repository of Vagrant. To add the official Vagrant package repository on Ubuntu 20.04 LTS, you will have to download the GPG key of the official Vagrant package repository and add it to the APT package manager. You will need to use curl to do that from the command line.
You can install curl from the official package repository of Ubuntu 20.04 LTS.
First, update the APT package repository cache as follows:
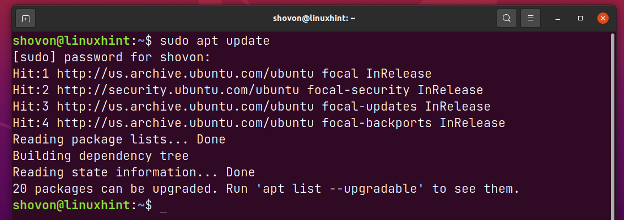
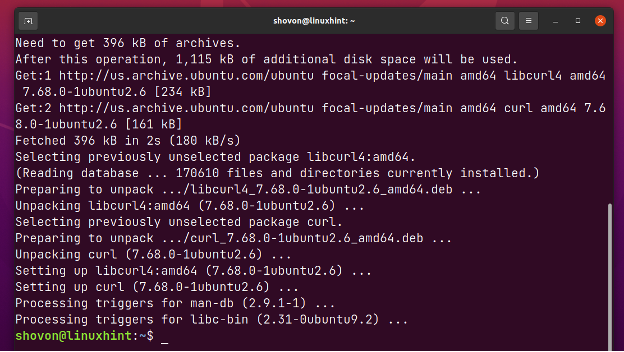
To install curl, run the following command:

curl should be installed.
Installing Vagrant
In this section, I will show you how to install the latest version of Vagrant on Ubuntu 20.04 LTS from the official package repository of Vagrant.
First, download the HashiCorp GPG key and add it to the APT package manager with the following command:

Add the official Vagrant package repository to the APT package manager with the following command:
![]()
The official Vagrant package repository should be added.
Update the APT package repository cache with the following command:

To install the latest version of Vagrant, run the following command:

The APT package manager should download the latest version of Vagrant from the official package repository of Vagrant.
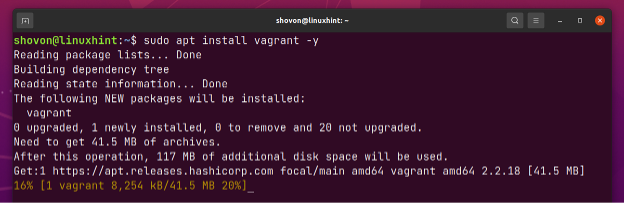
Once the latest version of Vagrant is downloaded, it will install it on your computer.
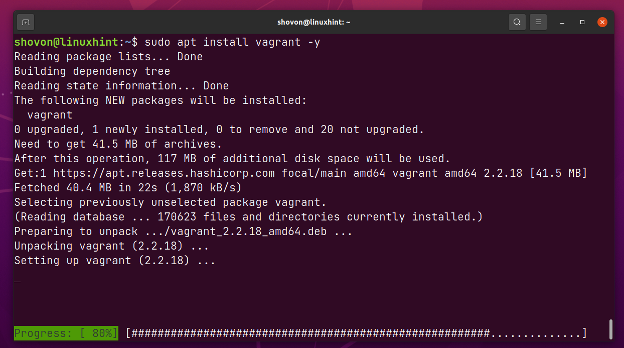
At this point, the latest version of Vagrant should be installed.

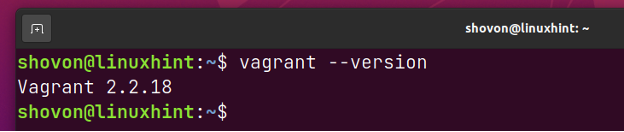
Once Vagrant is installed, you should be able to run the vagrant command from the command-line as any other command.
Installing Vagrant VMware Utility
To use VMware Workstation Pro 16 with Vagrant, you must install the Vagrant VMware Utility.
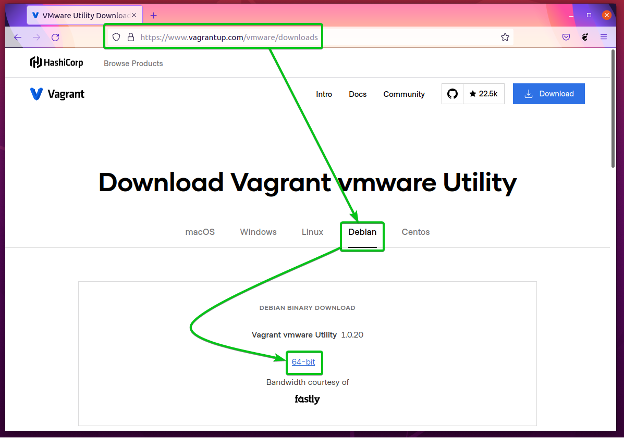
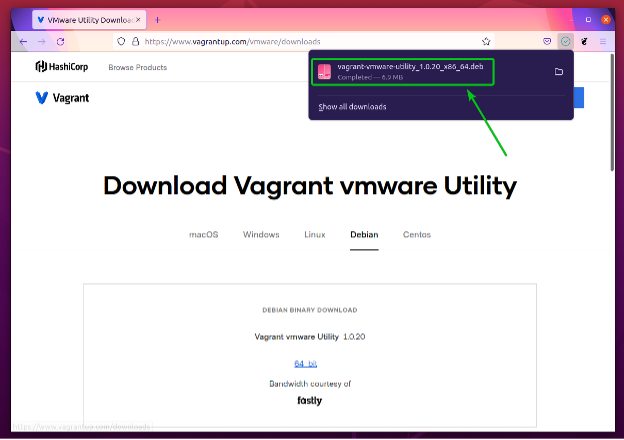
To download the latest version of Vagrant VMware Utility, navigate to the link VMware Utility Downloads | Vagrant by HashiCorp from your favorite web browser.
Once the page loads, click on Debian > 64-bit as marked in the screenshot below.
Your browser should prompt you to save the vagrant-vmware-utility-*.deb package file. Select Save File and click on OK.
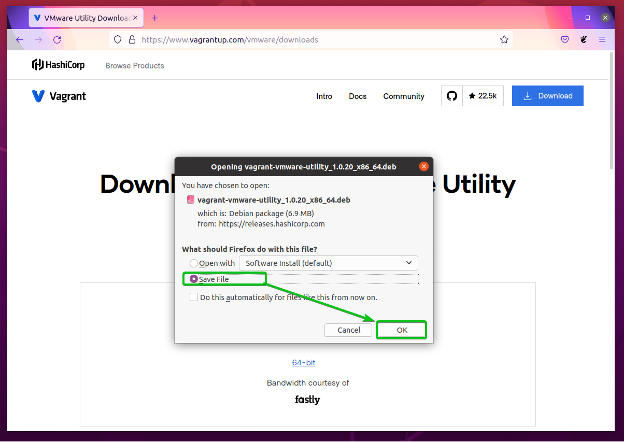
The vagrant-vmware-utility-*.deb package file should be downloaded.
Now, navigate to the ~/Downloads directory as follows:
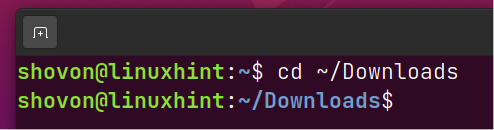
The vagrant-vmware-utility_1.0.20_x86_64.deb package file that you’ve just downloaded should be here.

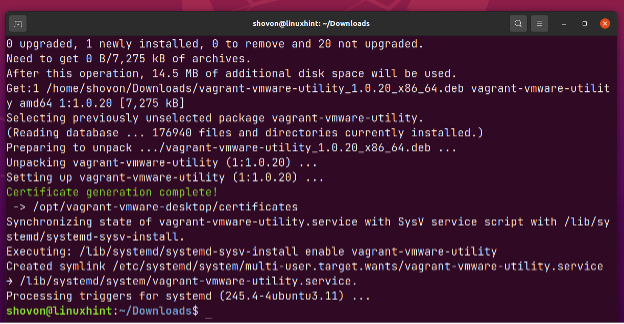
To install the vagrant-vmware-utility_1.0.20_x86_64.deb package file, run the following command:

The APT package manager should start installing the vagrant-vmware-utility_1.0.20_x86_64.deb package.
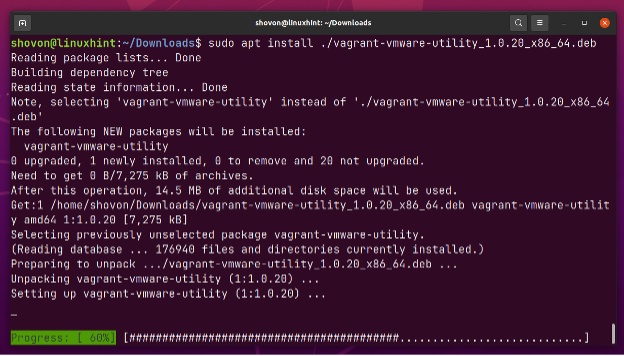
The package file vagrant-vmware-utility_1.0.20_x86_64.deb should be installed.
Installing Vagrant VMware Desktop Provider Plugin
Once you have installed Vagrant and Vagrant VMware Utility, you can easily install the Vagrant plugin vagrant-vmware-desktop with the following command:

Vagrant should download all the required files from the internet. It may take a few seconds to complete.

At this point, the Vagrant plugin vagrant-vmware-desktop should be installed.

Getting Started with Vagrant VMware Desktop Provider:
In this section, I will show you how to get a Vagrant project up and running. I will set up a simple Apache 2 web server for the demonstration. So, let’s get started.
Create a new project directory ~/http-server (let’s say) with the following command:

Navigate to the newly created project directory as follows:

Now, you need to create a new file Vagrantfile, specify the Vagrant Box that you want to use for the webserver, and configure it using the Vagrantfile.
A Vagrant Box is the base virtual machine image that Vagrant will use to create new virtual machines.
You can find all the available Vagrant Boxes on the official website of Vagrant.
Visit the link Discover Vagrant Boxes – Vagrant Cloud from your favorite web browser, and you should see the following page.
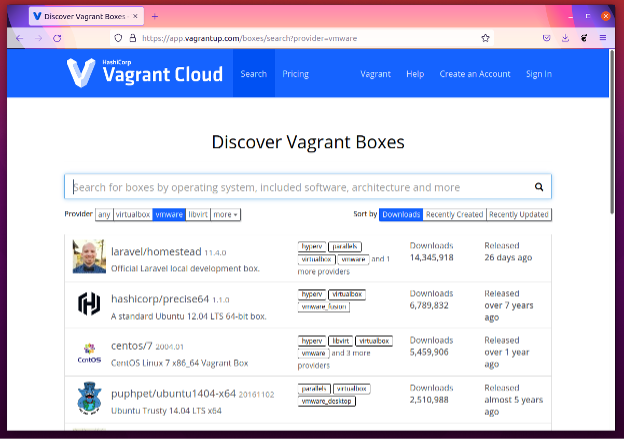
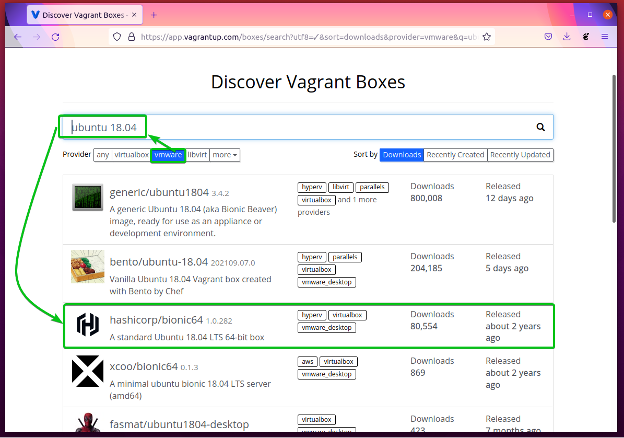
To search for VMware Workstation Pro 16 Vagrant Boxes, select vmware as the Provider, type in the name of the operating system you want to search for, and press <Enter>.
You should see a list of Vagrant Boxes matching your search query. You can use the Vagrant Box that you like on your project. All you need is the name of the Vagrant Box.
For example, the marked Vagrant Box is called hashicorp/bionic64. It is a Ubuntu 18.04 LTS Vagrant Box.
In this article, I will use the generic/ubuntu2004 Vagrant Box for setting up the webserver. It is a Ubuntu 20.04 LTS Vagrant Box.
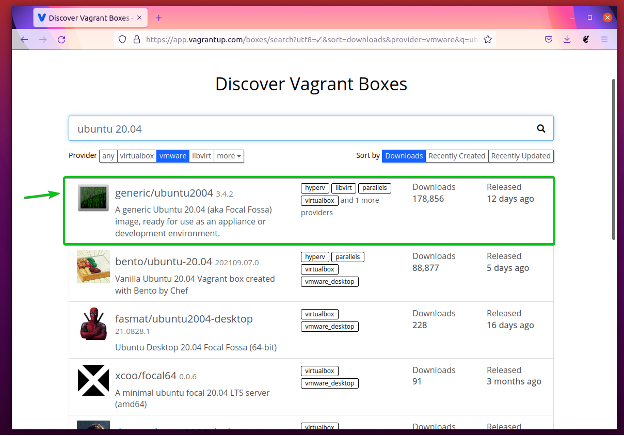
You can click on any Vagrant Box from the search page to see more information about the Vagrant Box.
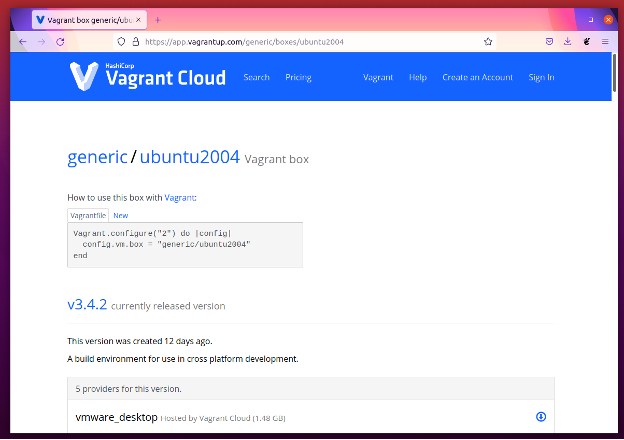
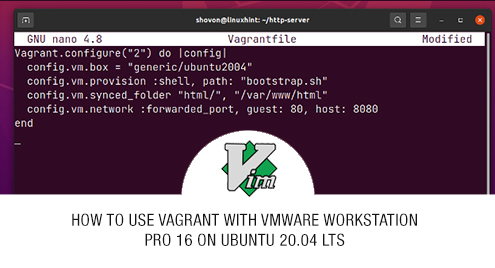
Once you’ve decided on what Vagrant Box to use, create a new Vagrantfile with the following command:

Type in the following lines of codes in the Vagrantfile.
config.vm.box = "generic/ubuntu2004"
config.vm.provision :shell, path: "bootstrap.sh"
config.vm.synced_folder "html/", "/var/www/html"
config.vm.network :forwarded_port, guest: 80, host: 8080
end
Once you’re done, press <Ctrl> + X followed by Y and <Enter> to save the Vagrantfile.
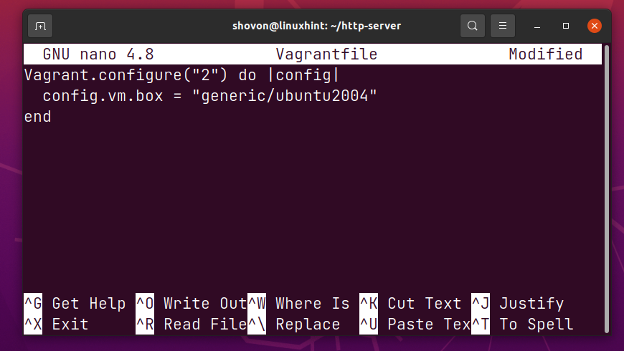
The line config.vm.box is used to configure the Vagrant Box to use for this project. In this case, the Vagrant Box is generic/ubuntu2004.
![]()
To start the Vagrant project, run the following command:

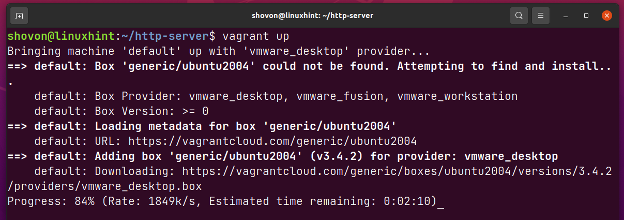
Vagrant will download the Vagrant Box generic/ubuntu2004 from the internet as you’re using this Vagrant Box for the first time.
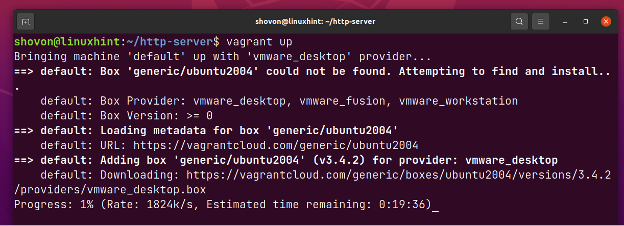
The download may take a while to complete depending on the size of the Vagrant Box image.
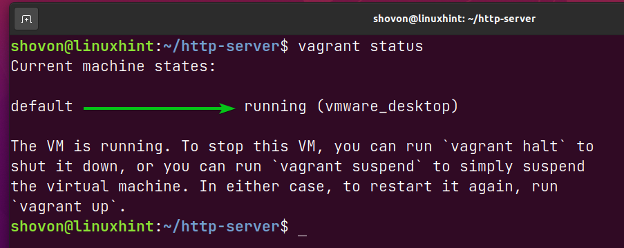
Once the Vagrant Box is downloaded, Vagrant should create the required virtual machines for the project, configure them, and start them.
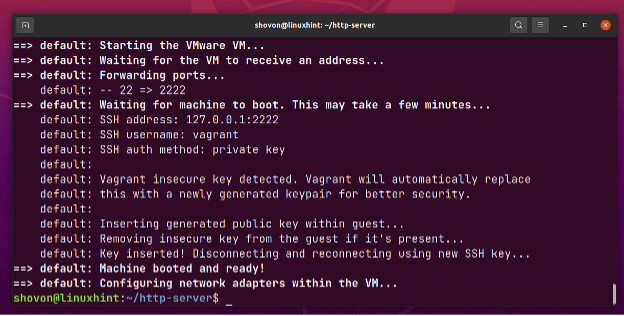
In this case, only 1 virtual machine default is created. It is using the vmware_desktop plugin, and it’s running, as you can see in the screenshot below.
You can SSH into the virtual machine as follows:

You should be connected to the virtual machine’s console via SSH, as shown in the screenshot below.

You can run any command you want in the virtual machine.

Once you’re done, you can exit out of the SSH session as follows:
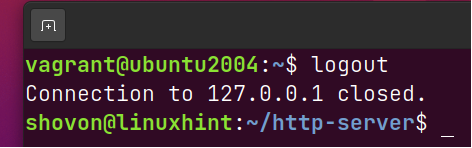
That’s how you use Vagrant.
Now, let’s set up a simple web server with Vagrant.
First, create a new directory html/ in the Vagrant project directory ~/http-server as follows:

Create an index.html file in the newly created html/ directory as follows:

Type in the following line in the index.html file.
Once you’re done, press <Ctrl> + X followed by Y and <Enter> to save the index.html file.

Create a bootstrap.sh shell script in the Vagrant project directory ~/http-server as follows:

In the bootstrap.sh file, I will type in all the commands that I want Vagrant to automatically run on the virtual machine to set up the webserver. In Vagrant’s terms, it’s called provisioning.
Type in the following lines of codes in the bootstrap.sh file.
apt-get update
apt-get install -y apache2
Once you’re done, press <Ctrl> + X followed by Y and <Enter> to save the bootstrap.sh file.

Open the Vagrantfile with the nano text editor as follows:

Type in the following lines of codes in the Vagrantfile.
config.vm.box = "generic/ubuntu2004"
config.vm.provision :shell, path: "bootstrap.sh"
config.vm.synced_folder "html/", "/var/www/html"
config.vm.network :forwarded_port, guest: 80, host: 8080
end
Once you’re done, press <Ctrl> + X followed by Y and <Enter> to save the Vagrantfile file.
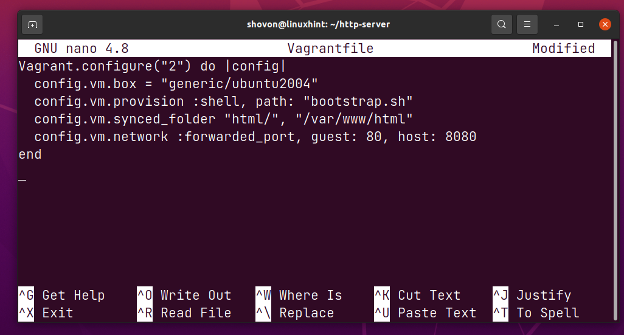
Here, the line config.vm.provision is used to run the shell script bootstrap.sh (that you’ve just written) for provisioning the virtual machine.
![]()
The line config.vm.synced_folder is used to mount the html/ directory from the Vagrant project directory ~/http-server on the /var/www/html directory of the virtual machine.
Note that /var/www/html is the default webroot of the Apache 2 web server.
![]()
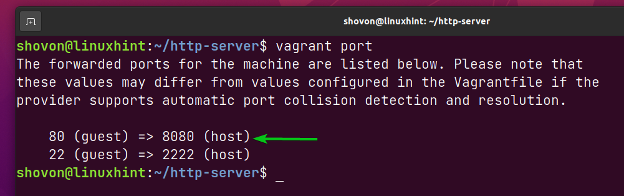
Finally, the line config.vm.network is used to forward port 80 of the virtual machine to port 8080 of your computer so that you can access the webserver from your computer.
![]()
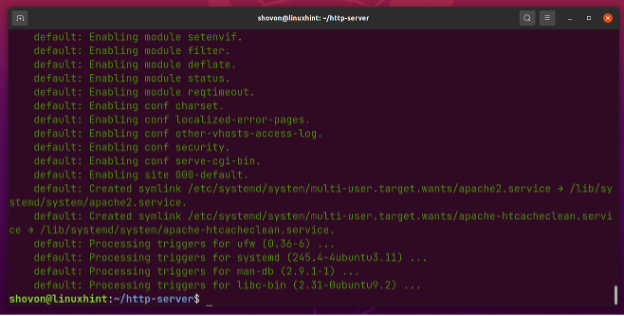
For the changes to take effect and to run the provisioning script, run the following command:

Vagrant should automatically install the Apache webserver on the virtual machine, mount the ~/http-server/html directory on the /var/www/html directory of the virtual machine, and forward the port 80 to port 8080 of your computer.
As you can see, the virtual machine (guest) port 80 is forwarded to port 8080 of your computer (host).
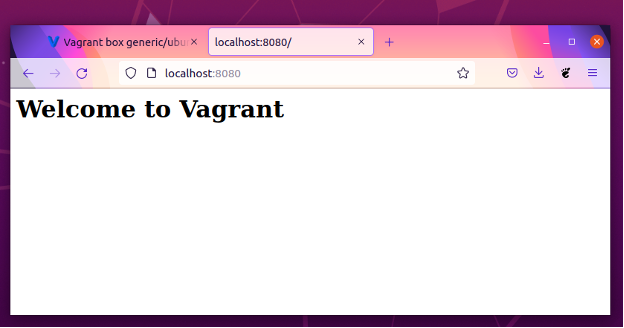
Now, open a web browser and visit http://localhost:8080, and you should see the following page. It means that everything is working just fine.
If you have made any changes to the Vagrantfile (i.e., changed forward port, added new shared folders), you will need to run the following command for the changes to take effect if the Vagrant project is already up/running.

If you have made any changes to the provisioning script bootstrap.sh, you will have to run the following command for the changes to take effect.

If you want to suspend all the virtual machines used in your Vagrant project, run the following command:

If you want to resume the suspended virtual machines used in your Vagrant project, run the following command:

If you want to shut down the virtual machines used in your Vagrant project, run the following command:

If you’ve shut down all the virtual machines used in your Vagrant project, you can bring them all up with the following command:

If you want to remove all the virtual machines used in your Vagrant project for good, run the following command:

Even if you completely destroy all the virtual machines used in your Vagrant project, you can use the following command to recreate everything.

Conclusion
In this article, I have shown you how to install the latest version of Vagrant on Ubuntu 20.04 LTS. I have also shown you how to install Vagrant VMware Utility and Vagrant VMware Desktop Provider plugin to configure Vagrant to use VMware Workstation Pro 16 as the virtual machine provider. I have shown you a simple Vagrant example where you set up an Apache 2 web server using Vagrant.
References
[1] Downloads | Vagrant by HashiCorp
[2] VMware Utility Downloads | Vagrant by HashiCorp
[3] Installation – VMware Provider | Vagrant by HashiCorp
[4] Command-Line Interface | Vagrant by HashiCorp