- The Synology Assistant can also help you:
- Install the DSM software on your Synology NAS.
- Connect to the DSM web management interface of your Synology NAS.
- Mount the shared folders of your Synology NAS on your computer.
- Turn on Synology NAS devices via Wake on LAN (WOL).
In this article, I am going to show you how to install Synology Assistant on Windows 10 and Ubuntu 20.04 LTS. I will also show you how to use Synology Assistant.
So, let’s get started.
Table of Contents
- Things You Will Need
- Downloading Synology Assistant
- Installing Synology Assistant on Windows 10
- Installing Synology Assistant on Ubuntu 20.04 LTS
- Searching for Synology Devices with Synology Assistant
- Installing DSM on Synology NAS with Synology Assistant
- Connecting to the DSM Web Interface with Synology Assistant
- Mounting Shared Folders on Windows with Synology Assistant
- Waking Up Synology NAS with Synology Assistant
- Conclusion
Things You Will Need
To follow this article, you must have:
- a Synology NAS device
- a laptop or computer
Downloading Synology Assistant
You can download Synology Assitant from the official website of Synology.
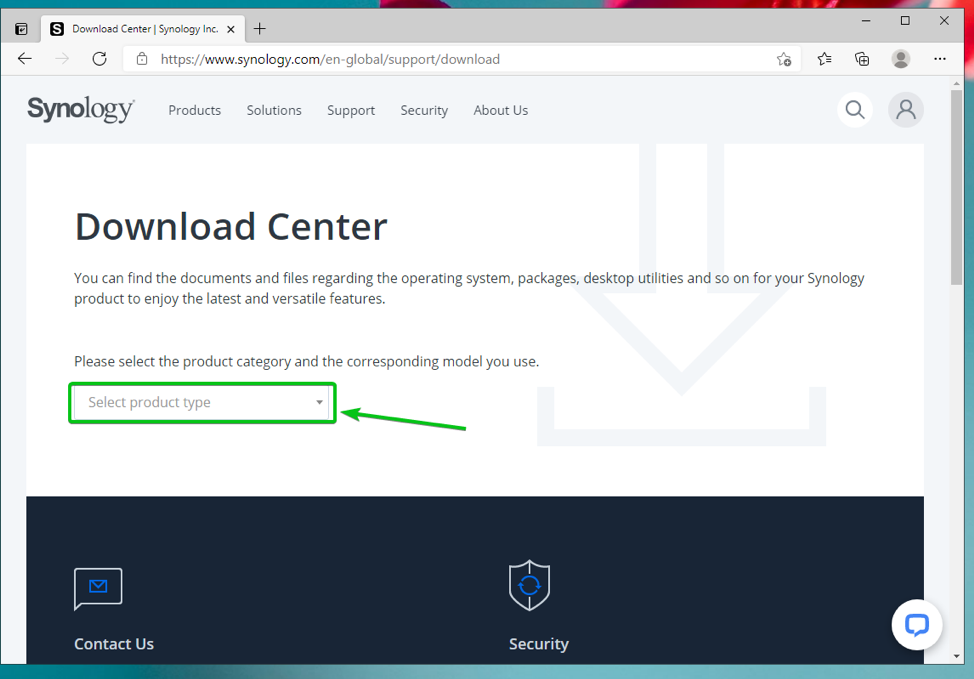
Visit the official download page of Synology from your favorite web browser. You should see the following web page.
Now, click on the Select product type dropdown menu.
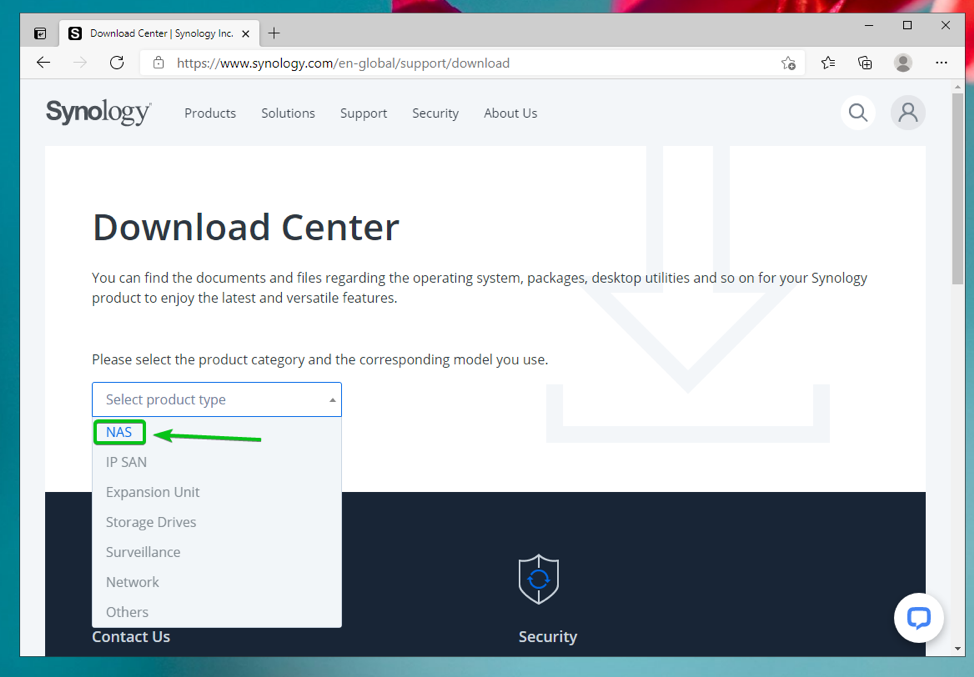
Click on NAS.
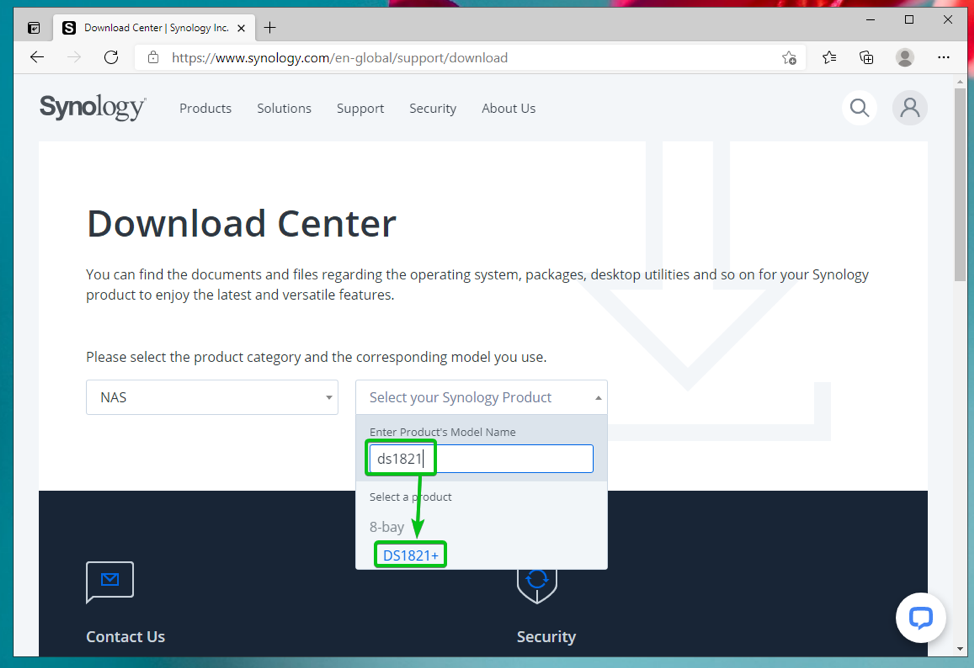
Click on the Select your Synology Product dropdown menu.

You can search for your Synology NAS from here.
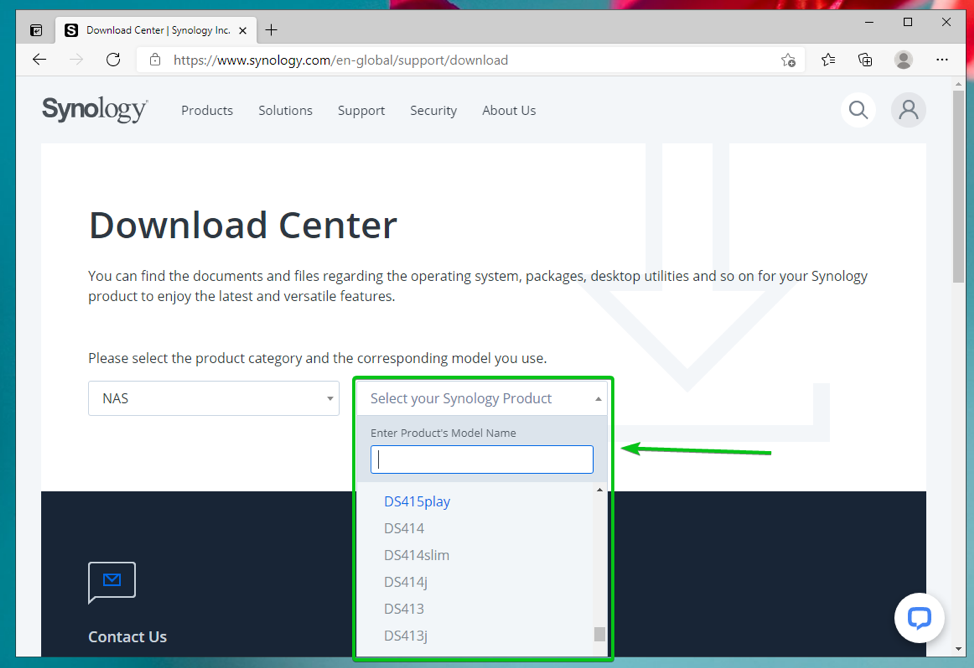
Type in the model number of your Synology NAS and click on your Synology NAS product from the search result, as marked in the screenshot below.
The available downloads for your selected Synology NAS model should be listed.
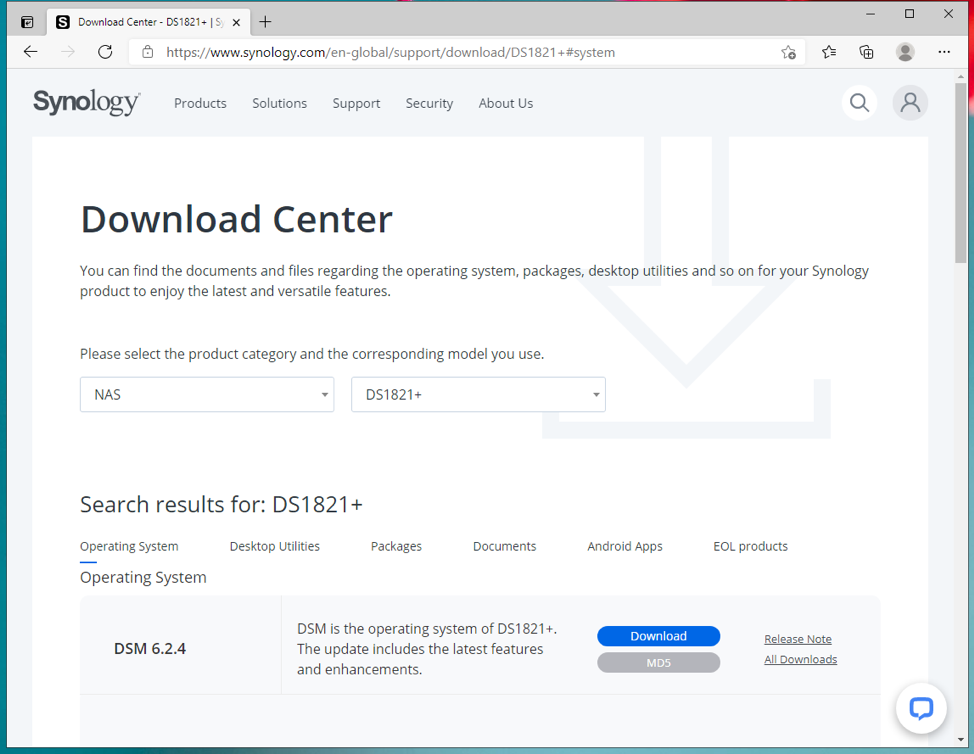
Navigate to the Desktop Utilities tab and you should find Synology Assistant there.
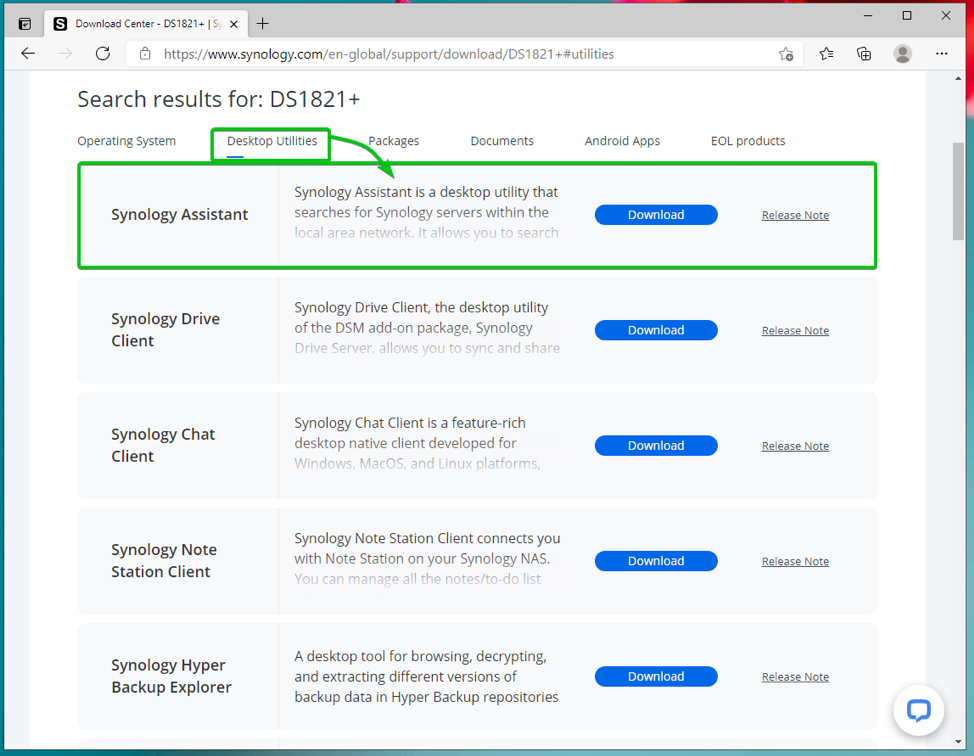
Click on Download.
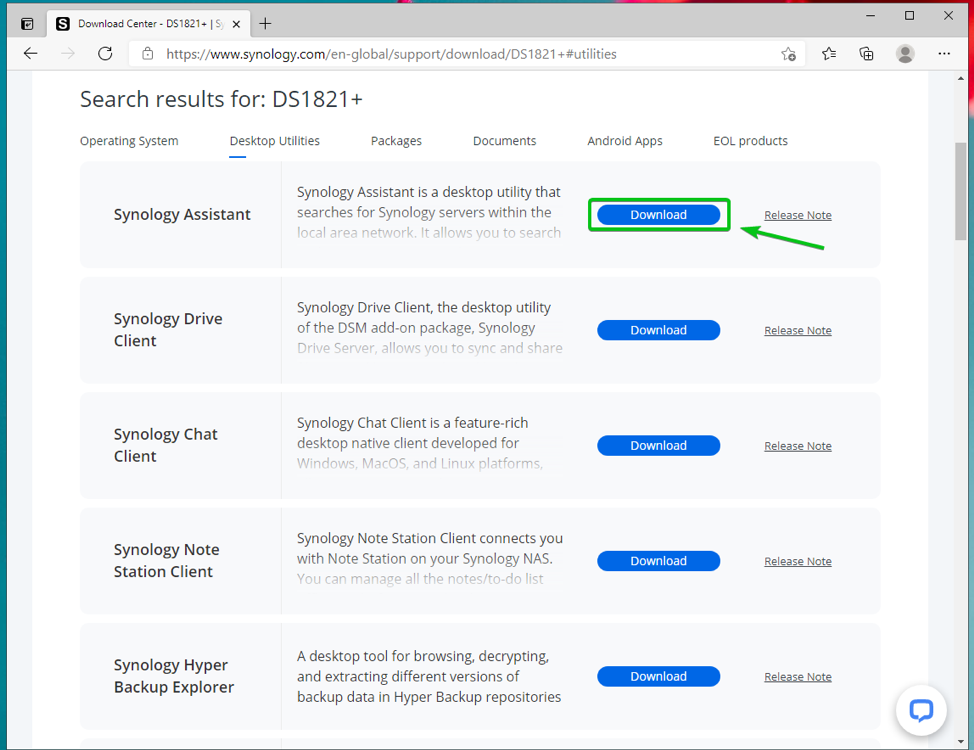
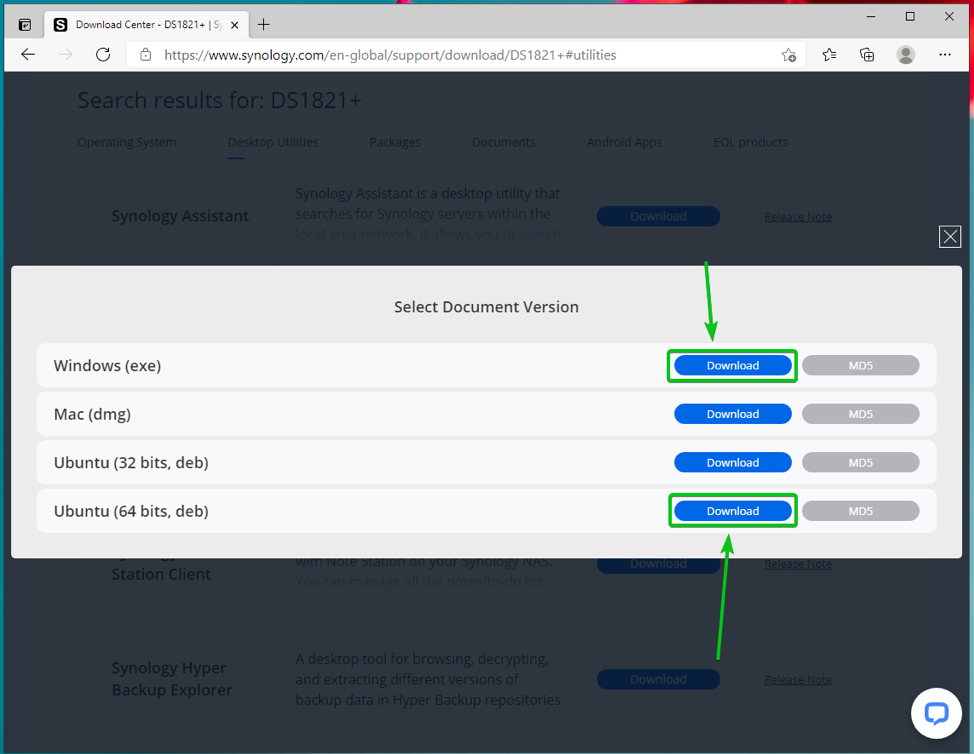
Download options for Windows, Mac, and Ubuntu (32-bit and 64-bit) should be displayed.
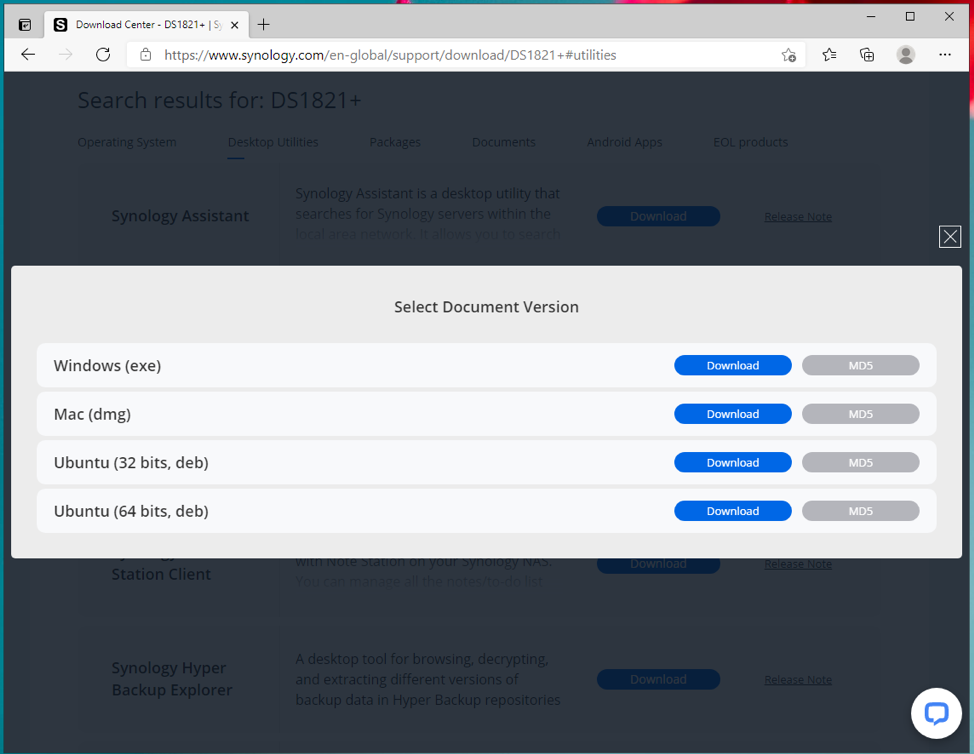
Click on the Download button depending on the operating system you’re using.
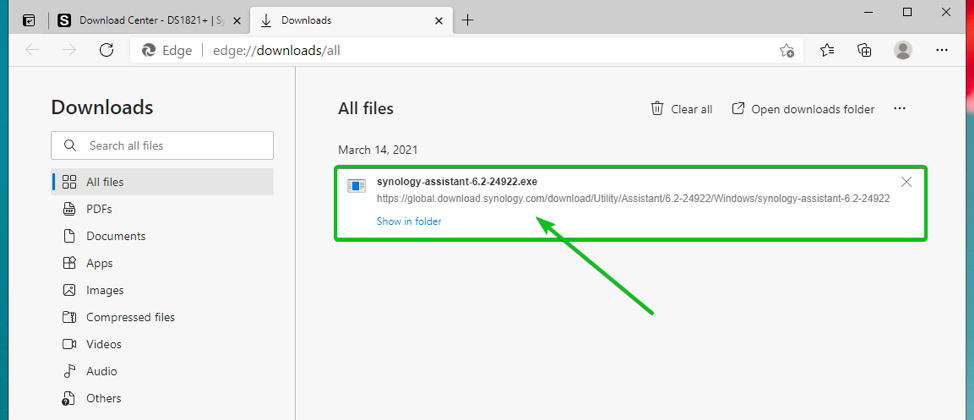
Synology Assistant installer should be downloaded.
Installing Synology Assistant on Windows 10
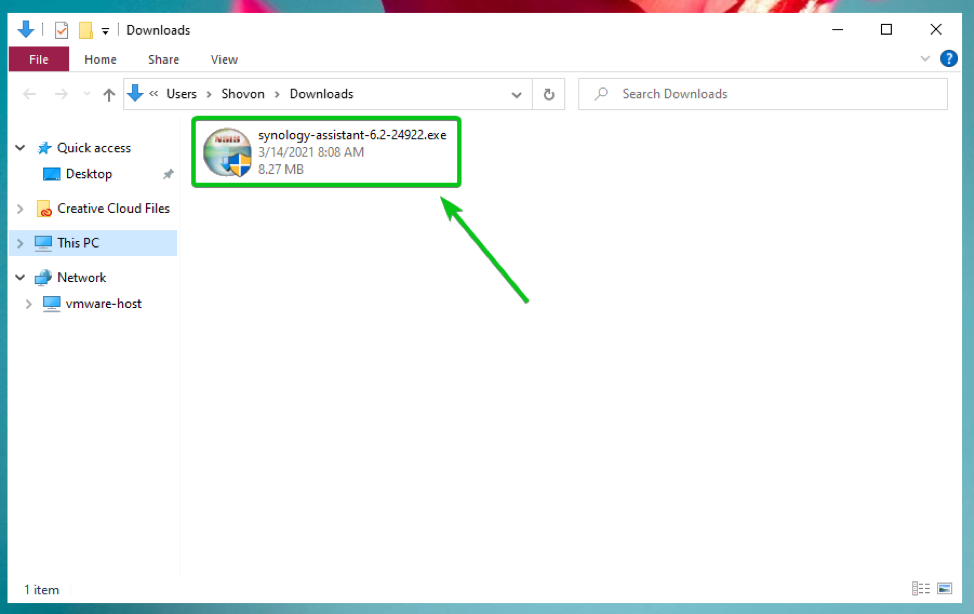
Once the Synology Assistant installer is downloaded, you can install it on your Windows 10 operating system.
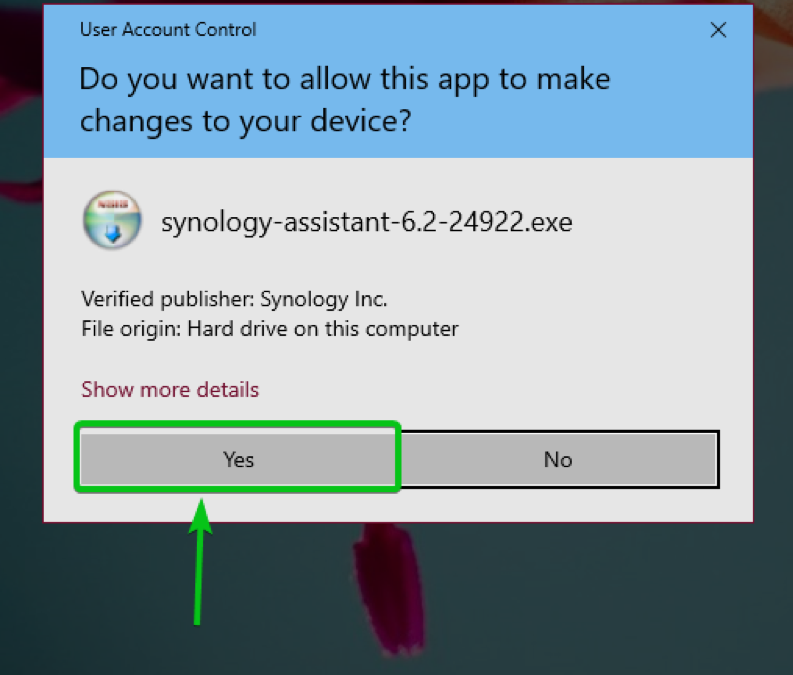
First, double-click on the Synology Assistant installer.
Click on Yes.
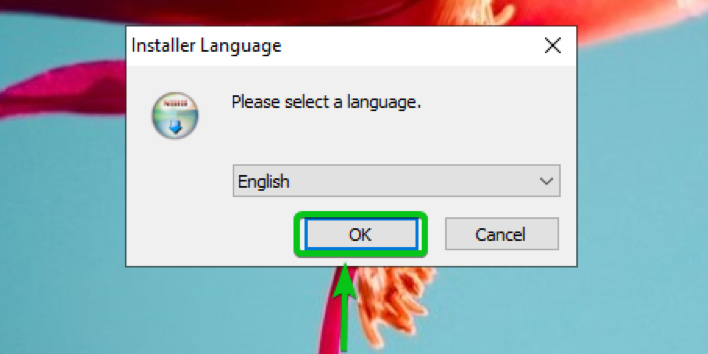
Select your installer language and click on OK.
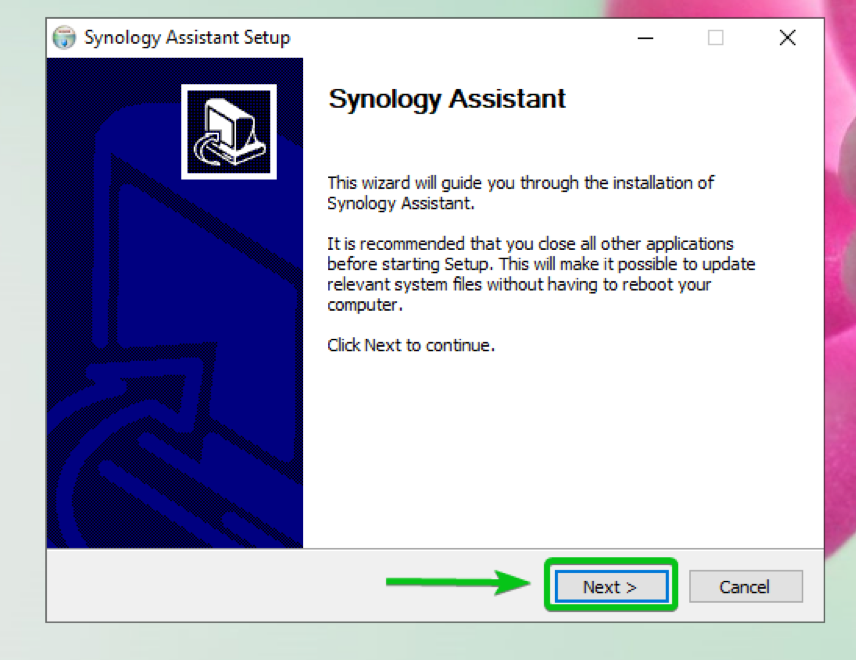
Click on Next.
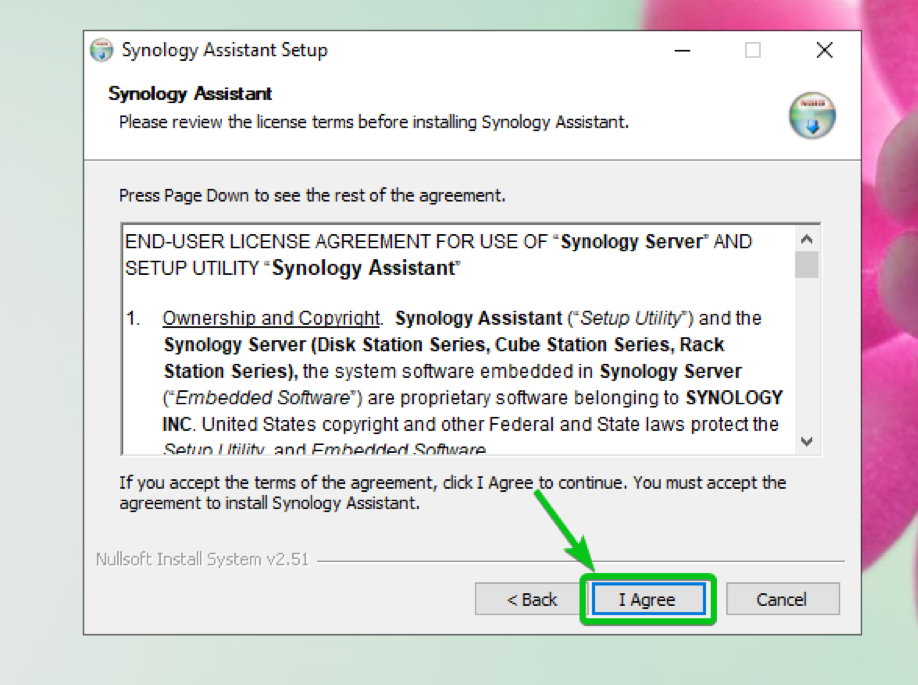
Click on I Agree.
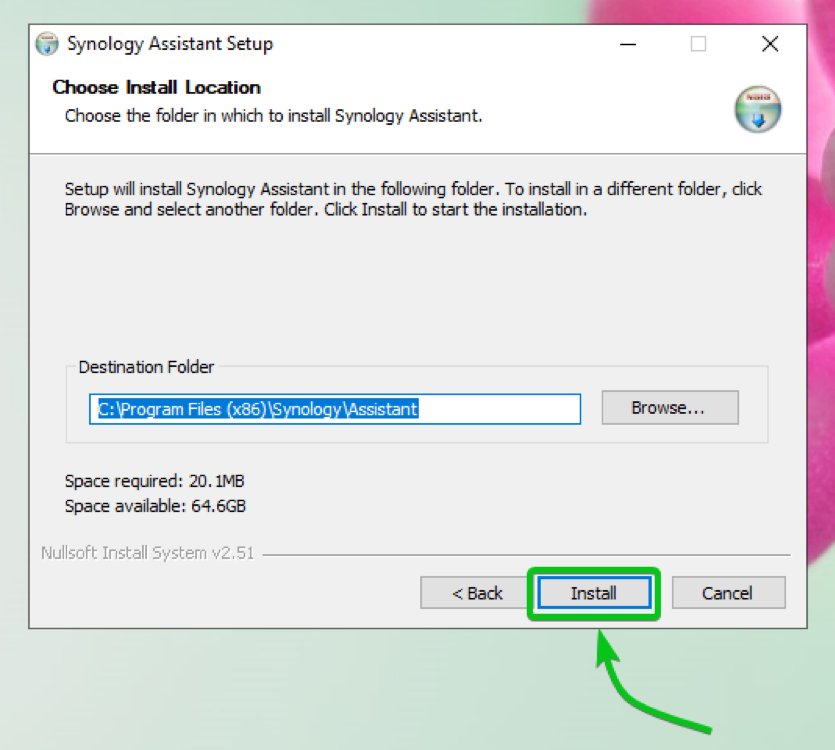
Click on Install.
Synology Assistant is being installed. It may take a few seconds to complete.

Click on Install.

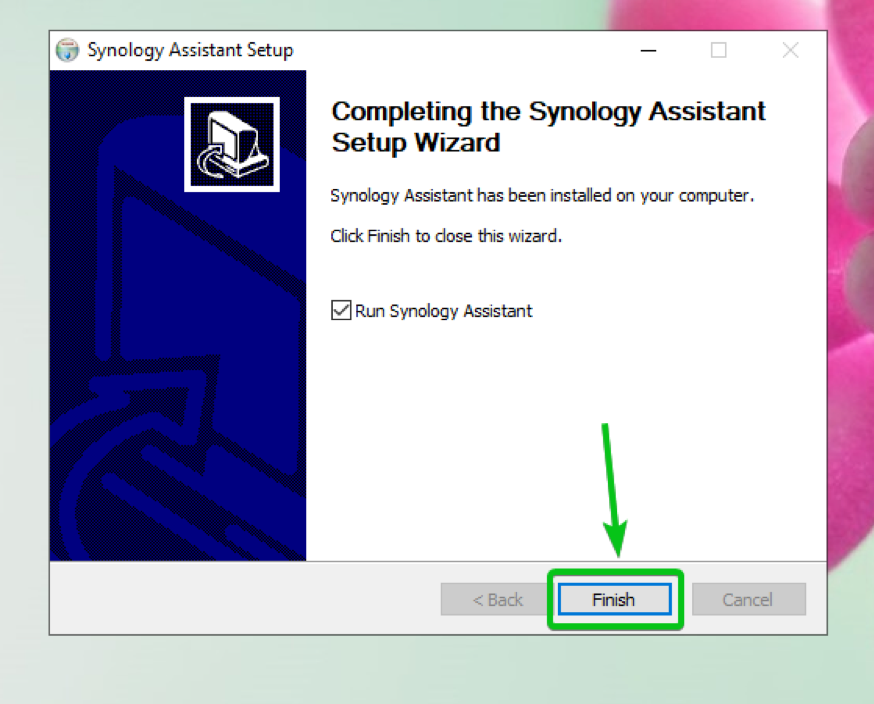
Now, click on Finish.
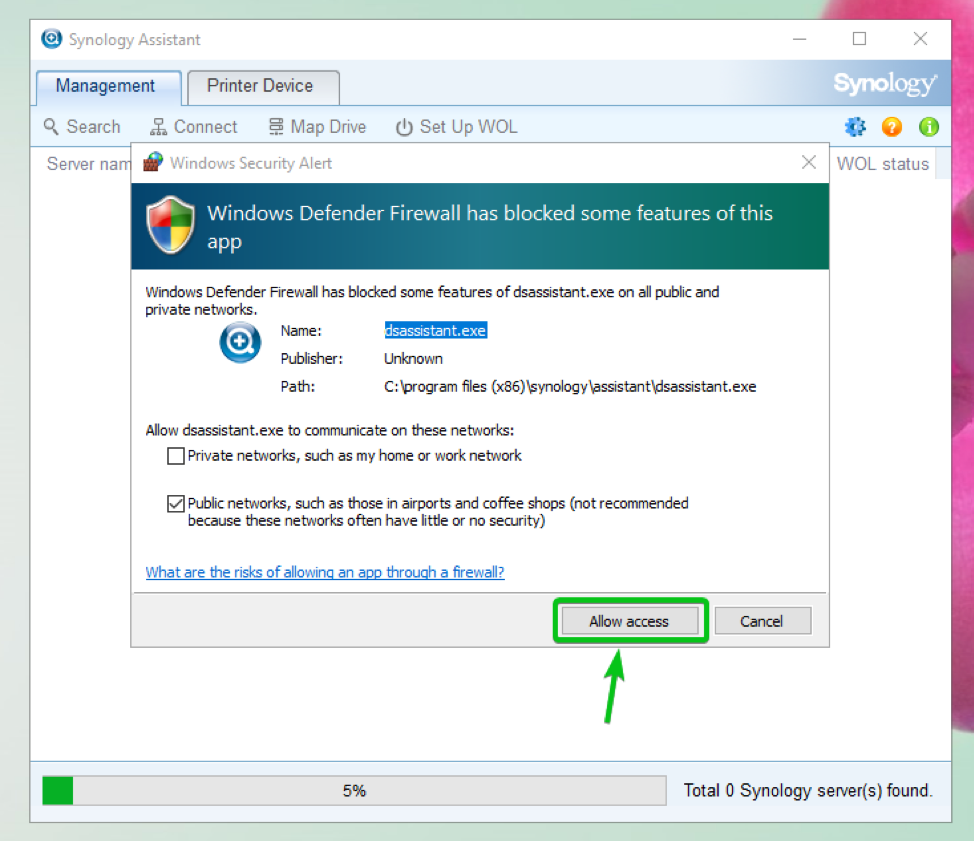
Then, click on Allow access.
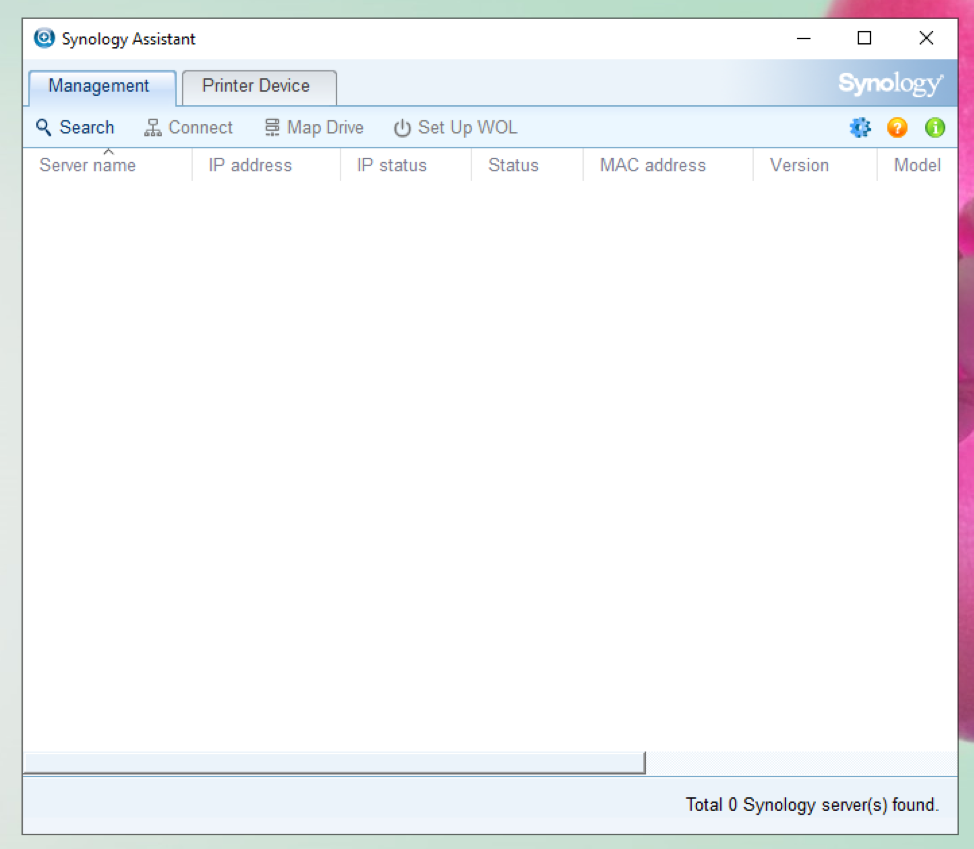
Synology Assistant should be installed, and Synology Assistant should start as well.
Installing Synology Assistant on Ubuntu 20.04 LTS
I have downloaded the Synology Assistant DEB package file in the ~/Downloads directory of my computer. You may have downloaded it somewhere else. So make sure to replace the ~/Downloads path with the directory path where you have downloaded the Synology Assistant DEB package file.
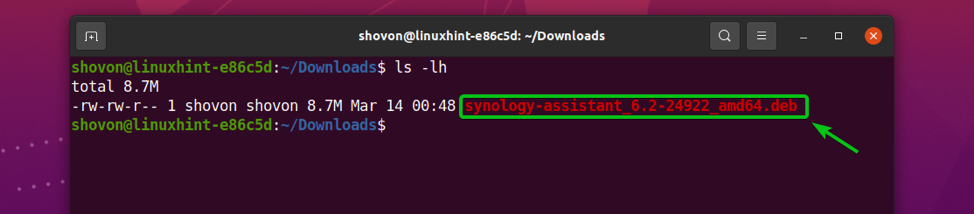
First, navigate to the ~/Downloads directory as follows:

As you can see, the Synology Assistant DEB package file synology-assistant_6.2-24922_amd64.deb is there.
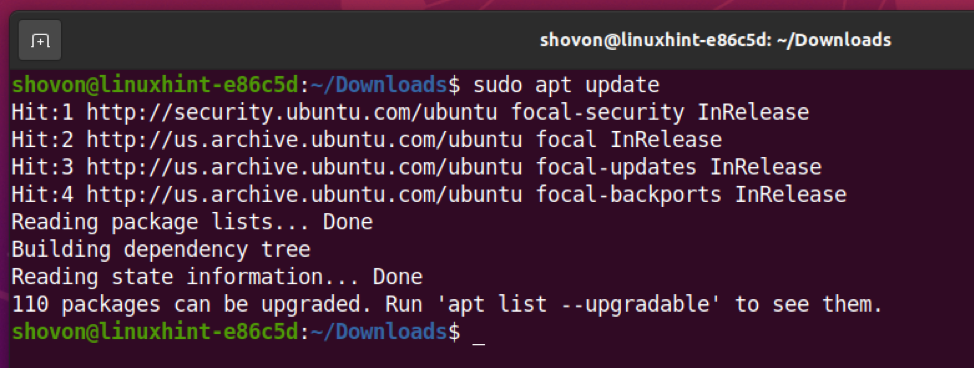
Now, update the APT package repository cache with the following command:
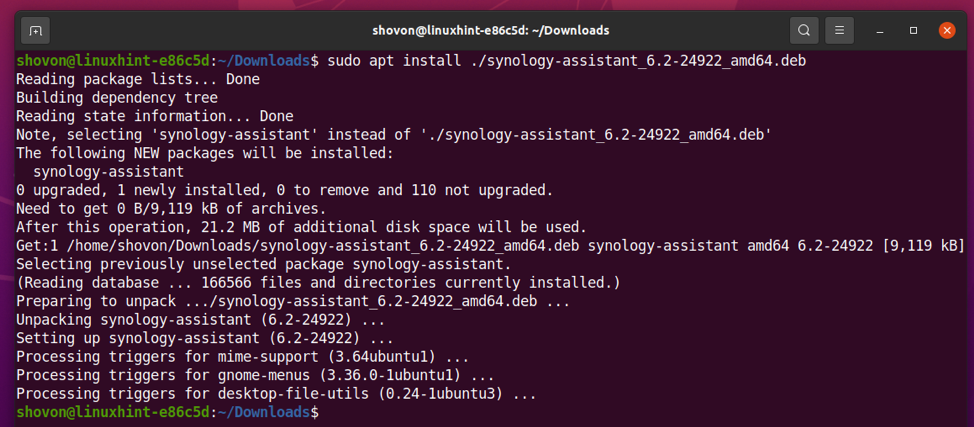
Then, install the Synology Assistant DEB package file synology-assistant_6.2-24922_amd64.deb with the following command:

Synology Assistant should be installed.
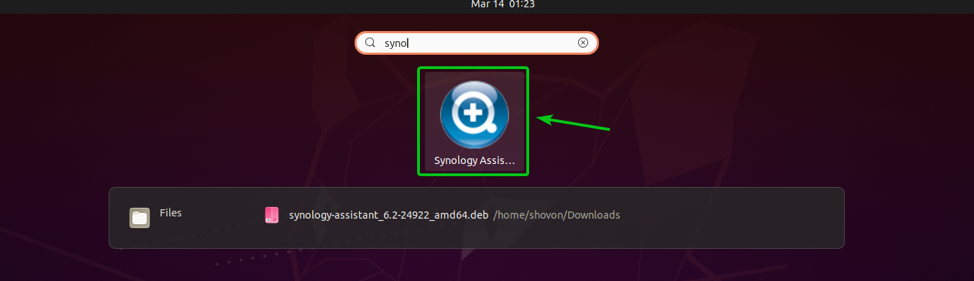
Once Synology Assistant is installed, you can start it from the Application Menu of your computer.
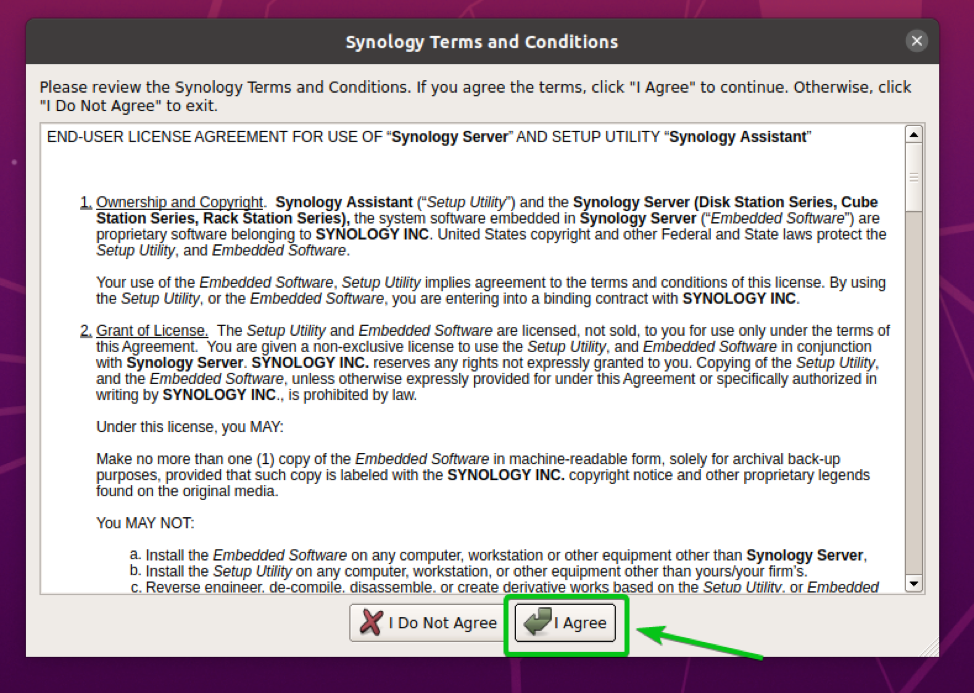
As you’re running Synology Assistant for the first time, you will have to accept the Synology terms and conditions.
To accept the terms and conditions, click on I Agree.
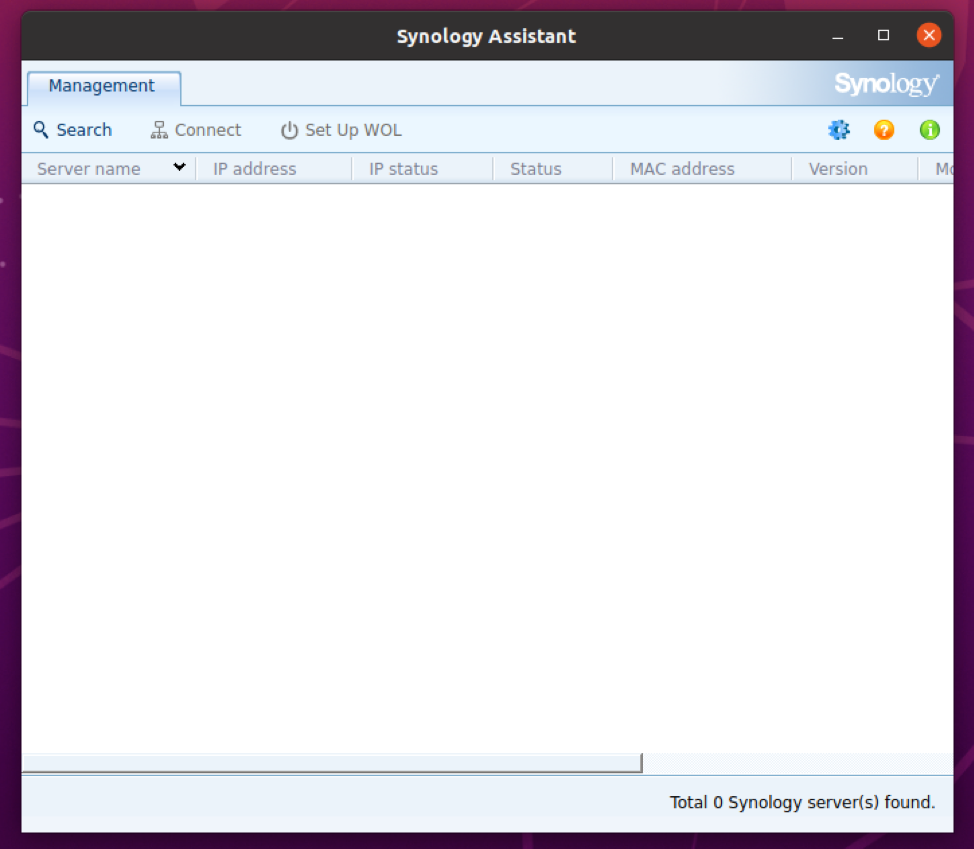
Synology Assistant should start, as you can see in the screenshot below.
Searching for Synology Devices with Synology Assistant
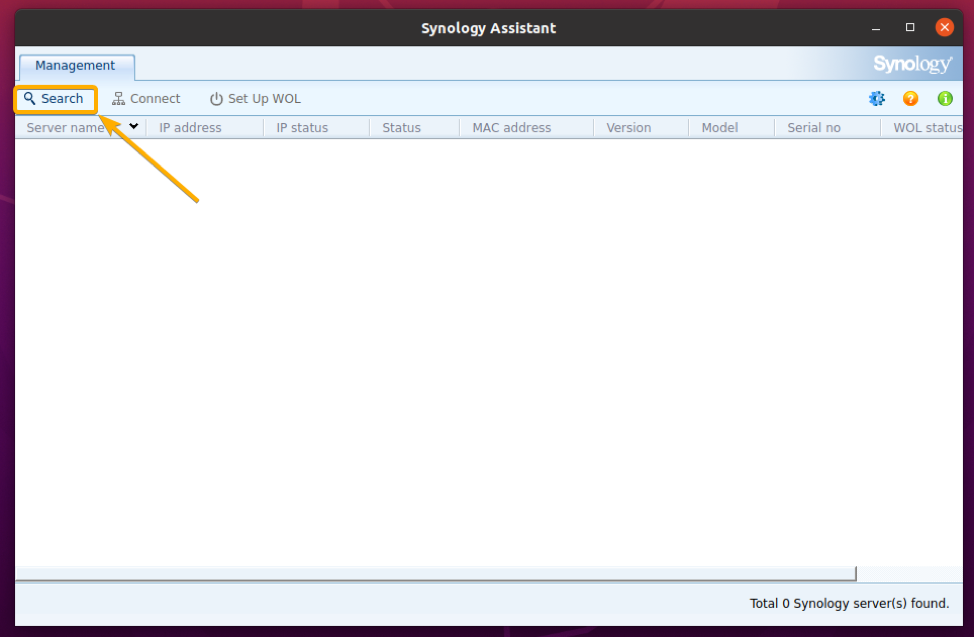
You can search for Synology NAS devices on your local area network (LAN) with Synology Assistant.
To do that, click on Search, as marked in the screenshot below.
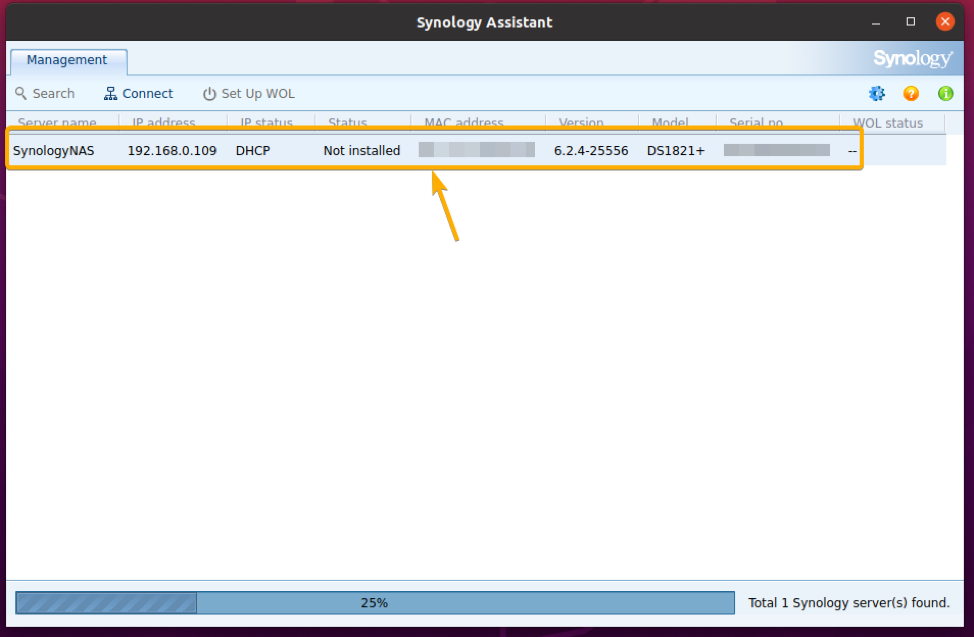
The Synology NAS devices on your local area network should be listed.
Installing DSM on Synology NAS with Synology Assistant
If you have bought a new Synology NAS device or erased everything from your Synology NAS, the DSM software won’t be installed on it by default. However, you can install the DSM software on your Synology NAS with Synology Assistant.
In Synology Assistant, the Synology NAS that does not have the DSM software installed will have the status Not installed, as you can see in the screenshot below.
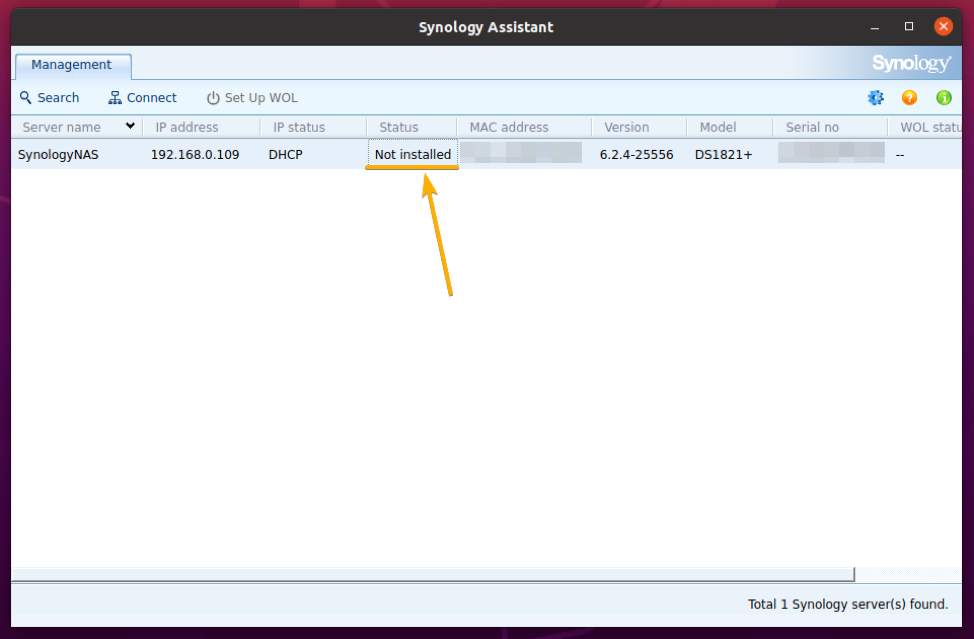
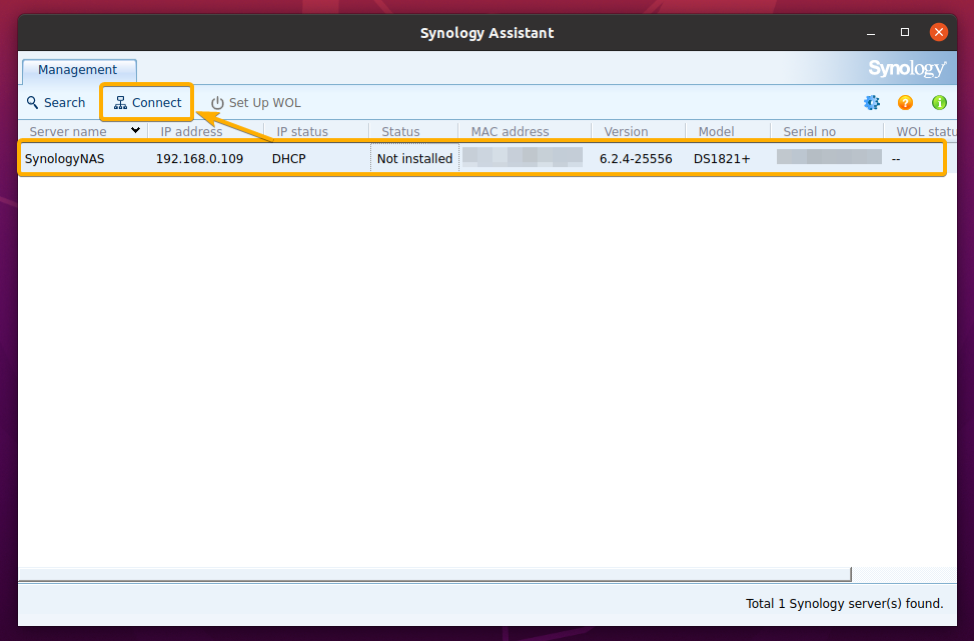
To install the DSM software on the Synology NAS, select it and click on Connect.
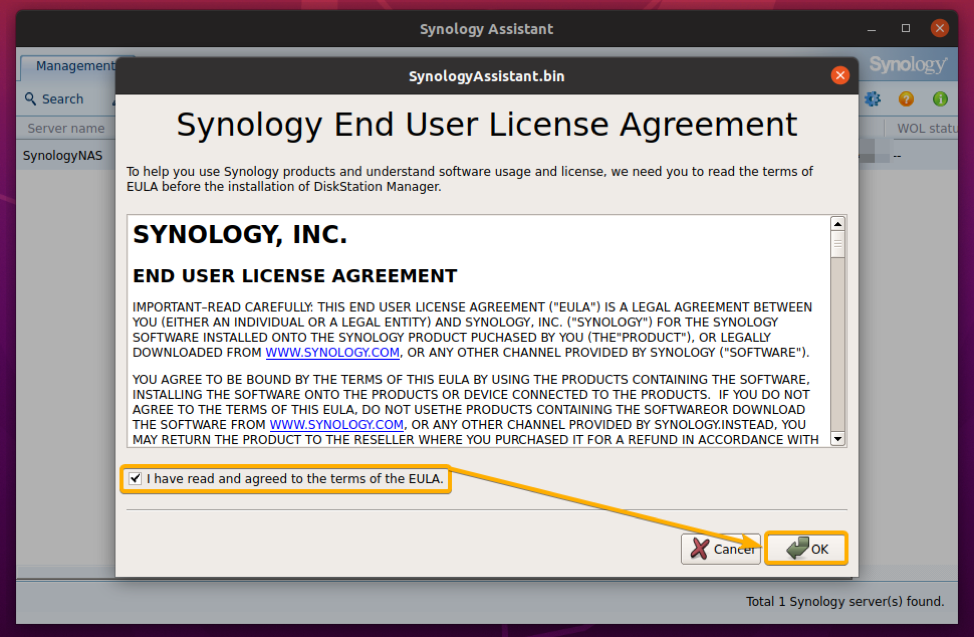
Check the I have read and agreed to the terms of the EULA checkbox and click on OK.
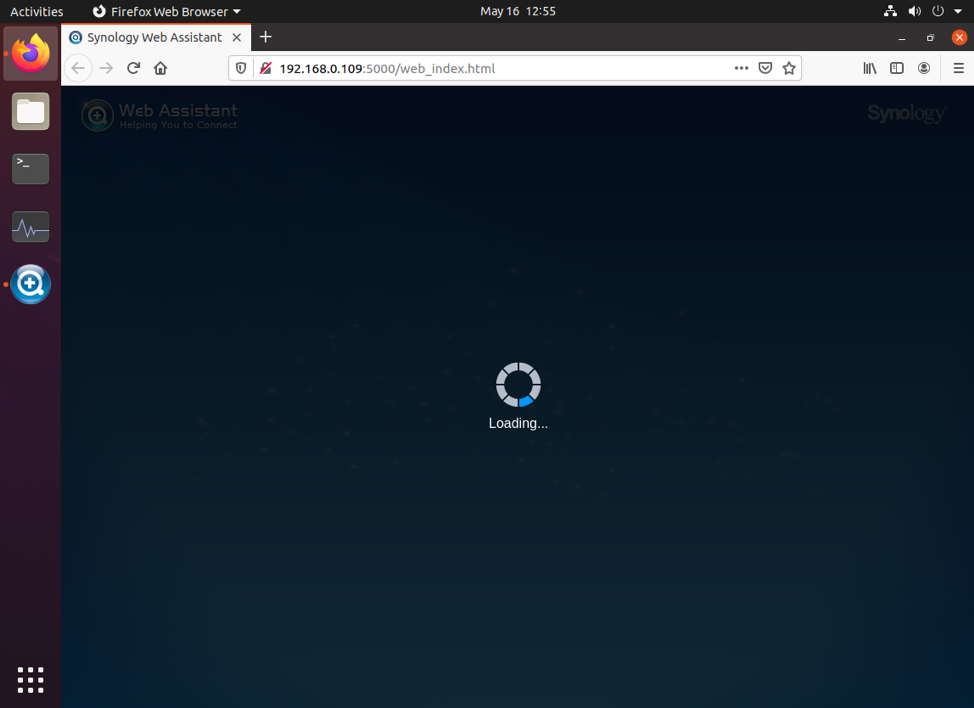
A web browser should load the following page. It may take a while to load the DSM installer.
After a few seconds, you should see the following page.
To install the DSM software on your Synology NAS, click on Set up, as shown in the image below.
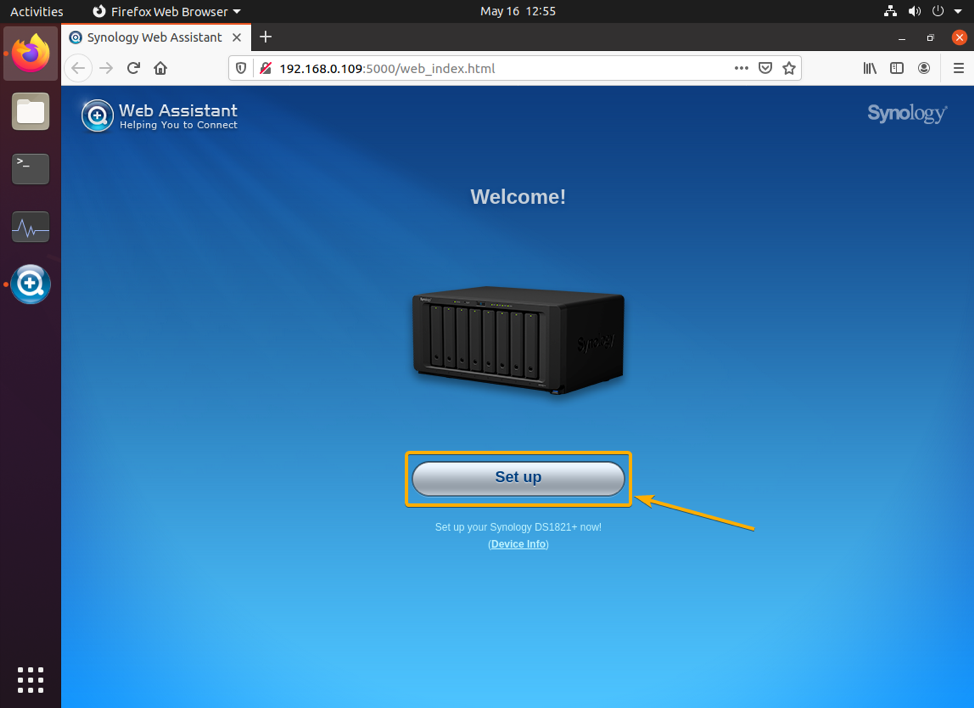
If you need further assistance on installing the DSM software on your Synology NAS, check the Setting Up Synology NAS using Web Assistant section of the article How to Setup Synology NAS.
Connecting to the DSM Web Interface with Synology Assistant
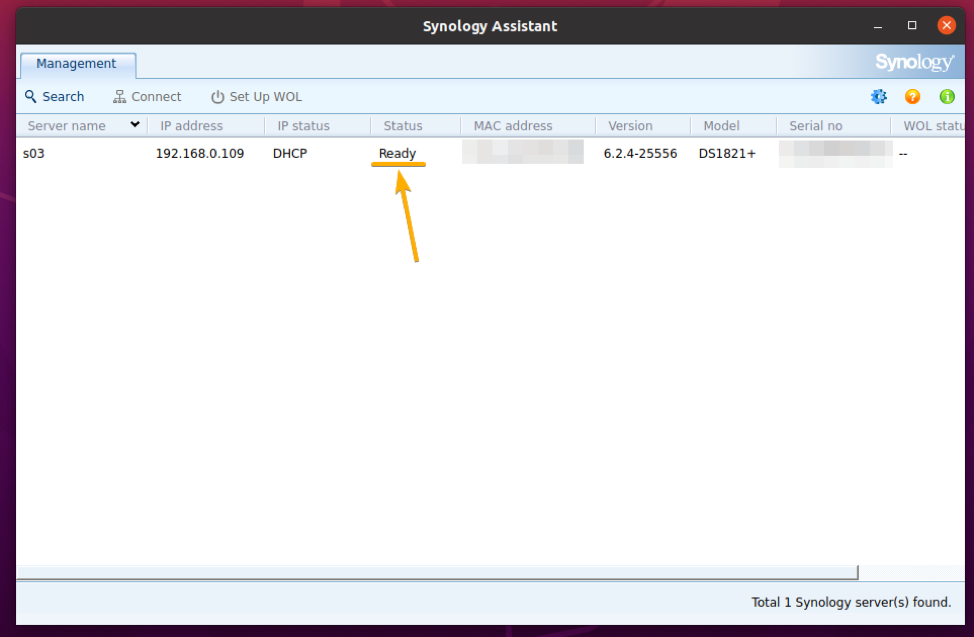
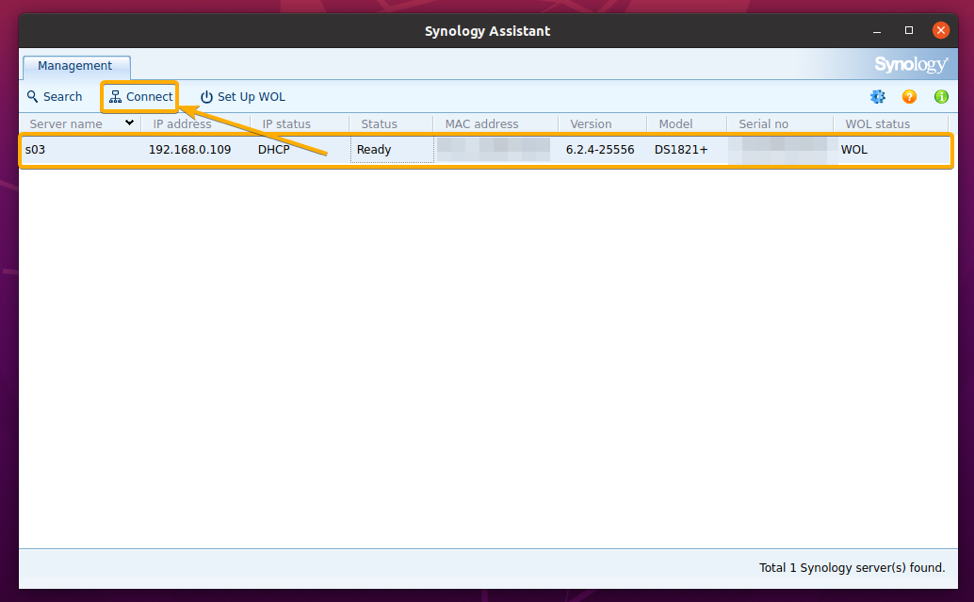
If you have the DSM software installed on your Synology NAS, Synology Assistant will show the Ready status when it finds it, as you can see in the illustration below.
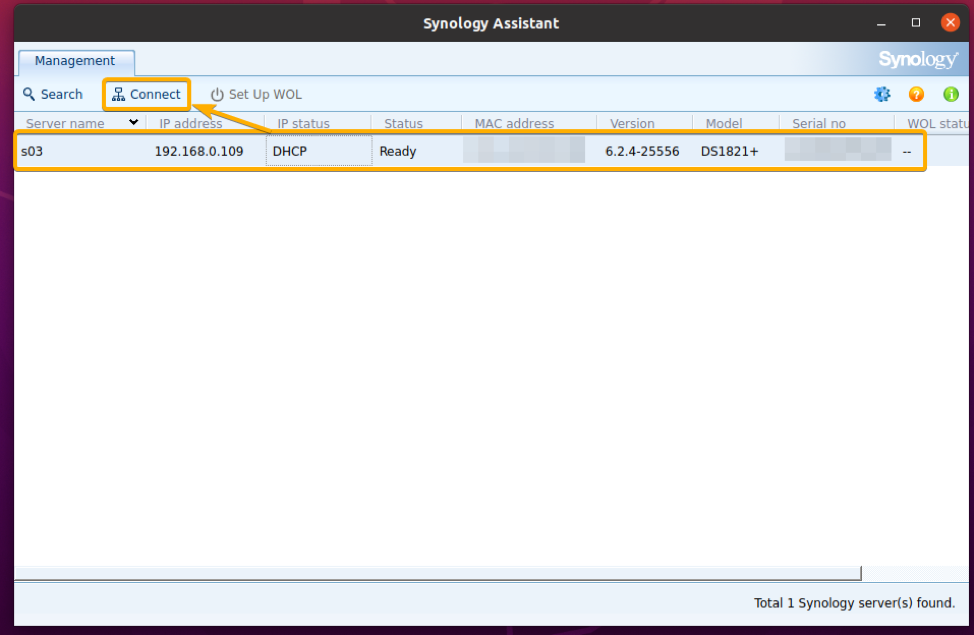
When your Synology NAS is ready, you can connect to the DSM web management interface of your Synology NAS from Synology Assistant.
To do that, select your Synology NAS from the list and click on Connect.
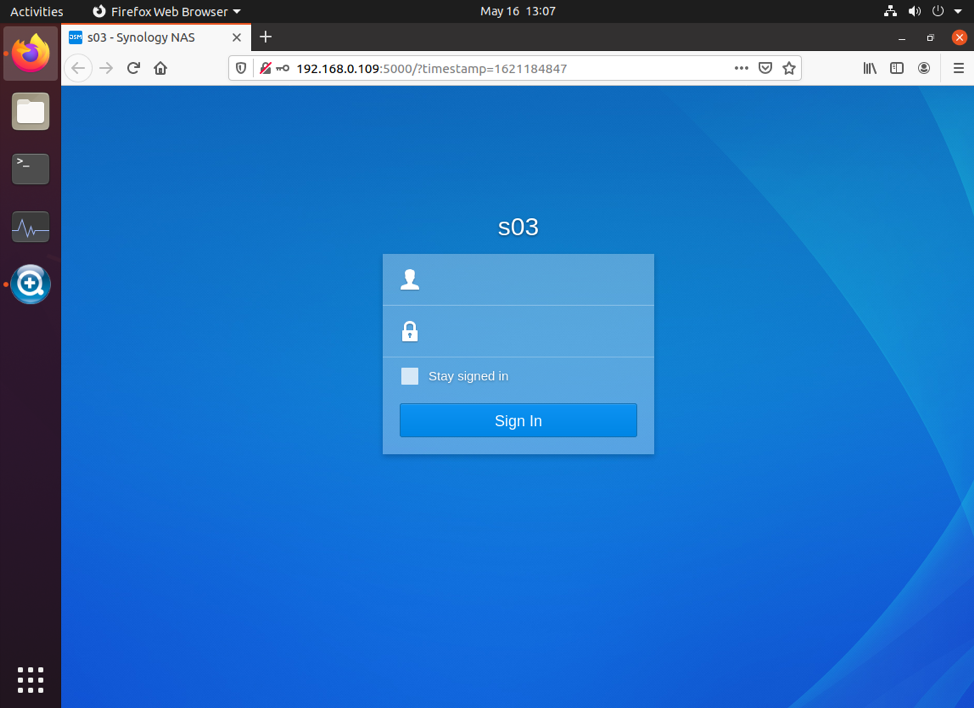
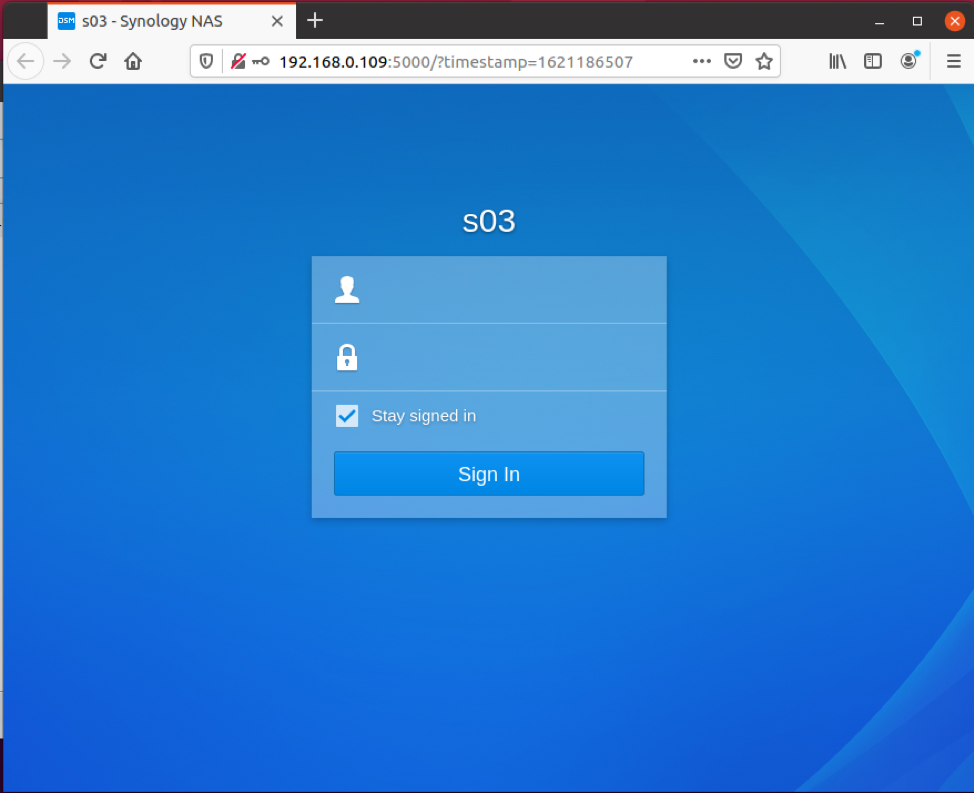
The DSM web management interface should be opened with a web browser.
From here, you can log in to your Synology NAS and use it as usual.
Once you log in to your Synology NAS, you should see the following window.

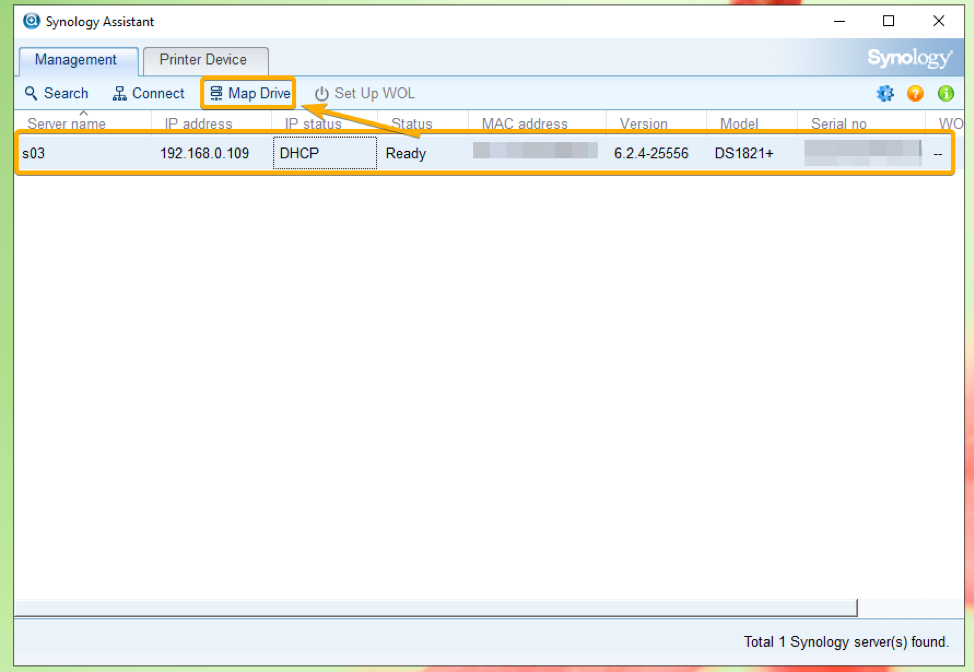
Mounting Shared Folders on Windows with Synology Assistant
You can mount a shared folder from your Synology NAS on Windows 10 with Synology Assistant.
To do that, select your Synology NAS from the list and click on Map Drive, as marked in the screenshot below.
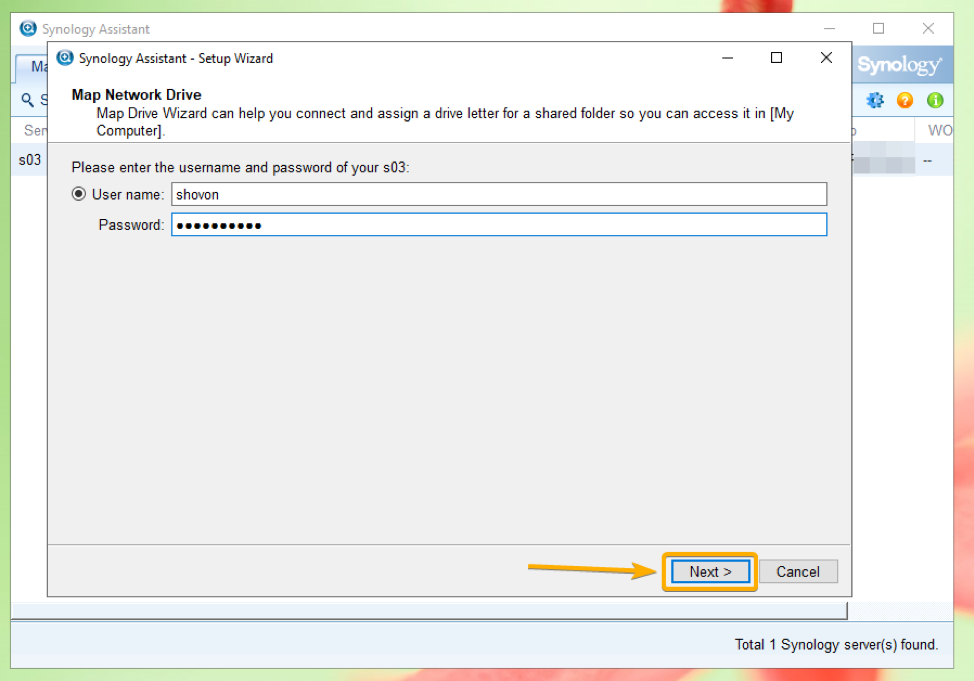
Synology Assistant will ask you to provide the login username and password of your Synology NAS.

Type in the login username and password of your Synology NAS and click on Next, as shown in the following screenshot.
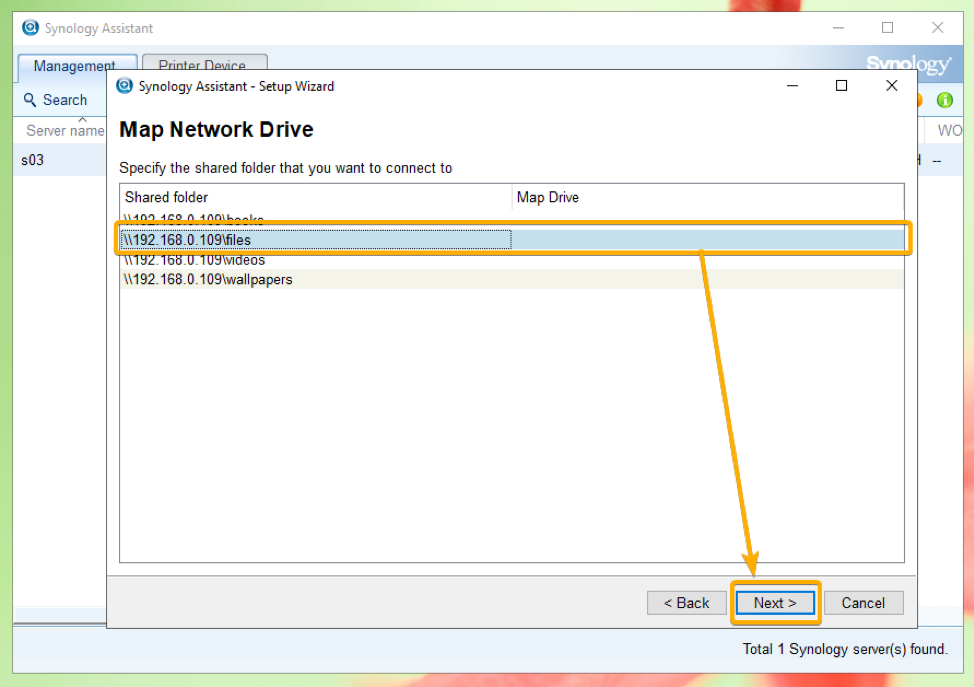
All the shared folders of your Synology NAS should be listed, as you can see below.
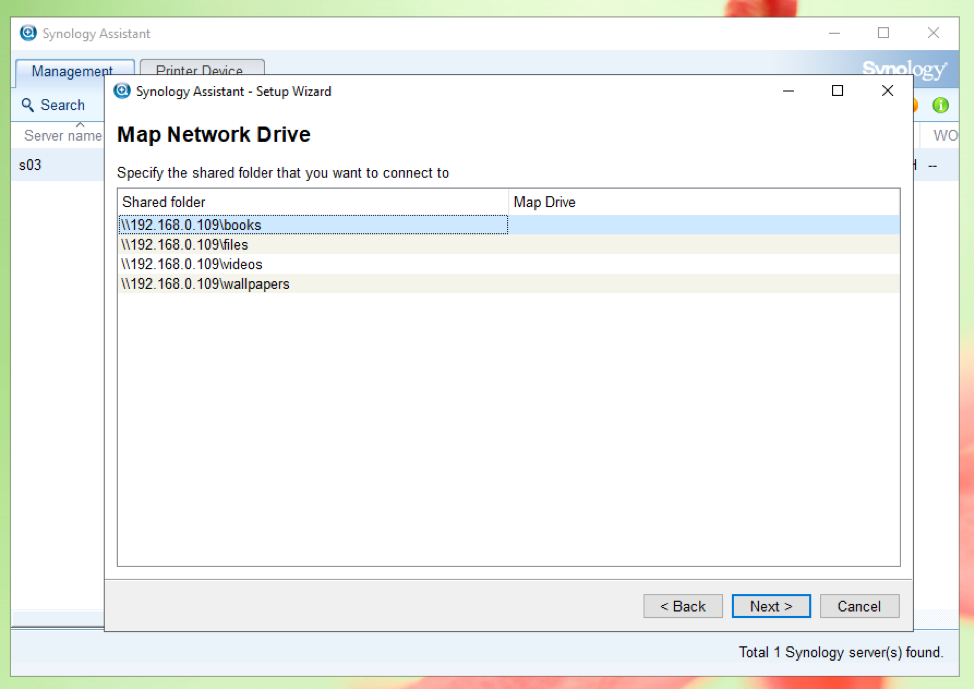
Select the shared folder that you want to map to your Windows 10 operating system and click on Next.
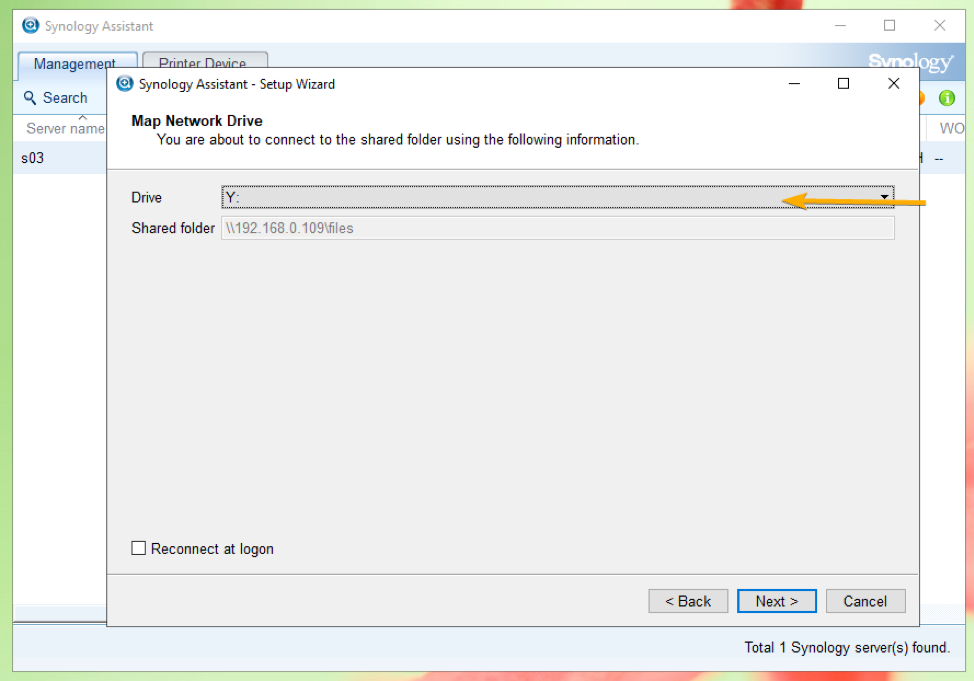
Select a drive letter for your network drive from the Drive dropdown menu, as marked in the screenshot below.
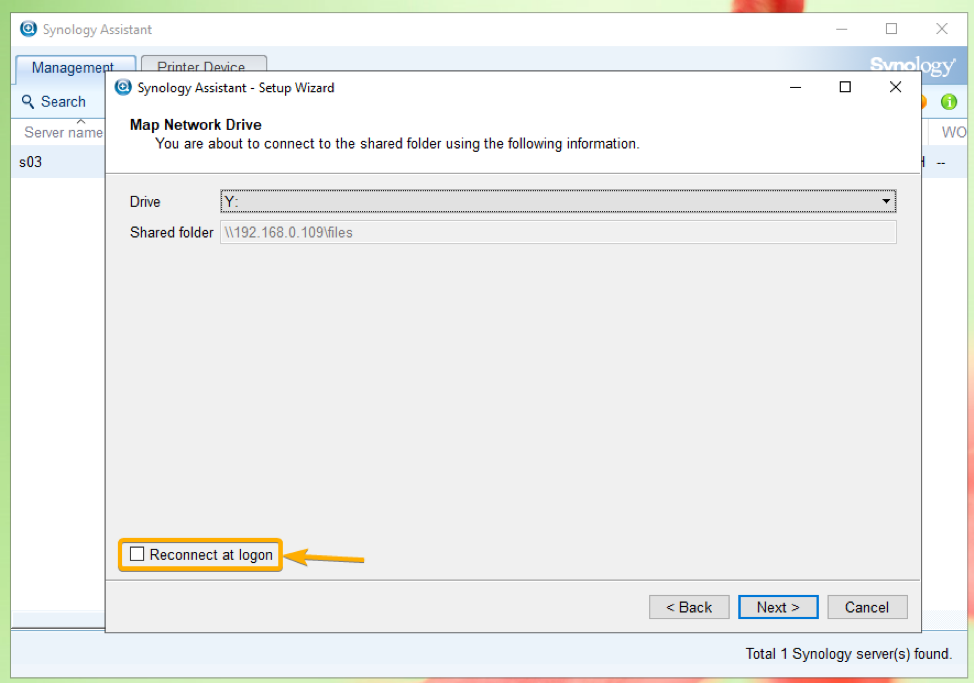
If you want the network drive to be automatically mapped to your selected Synology shared folder, then check the Reconnect at logon checkbox.
Then, click on Next.
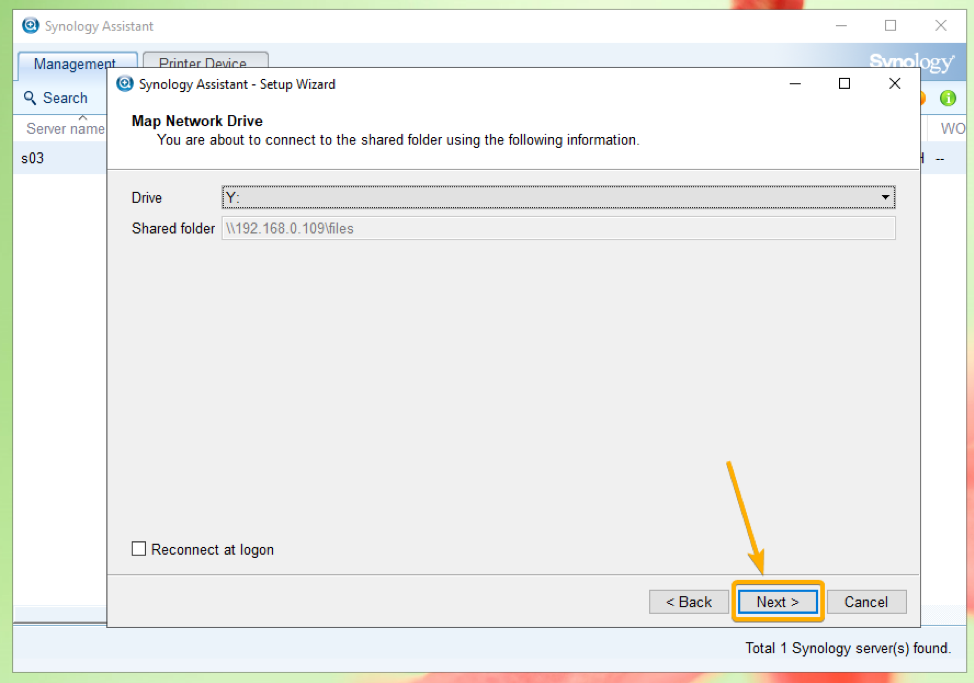
Finally, click on Finish.

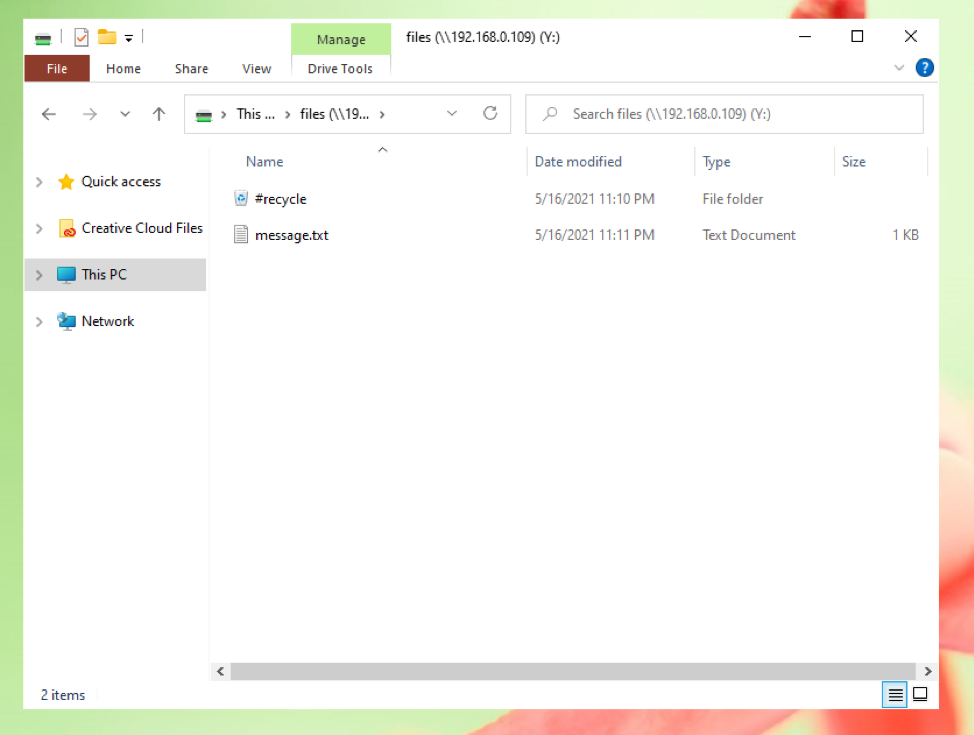
A new drive should be added to the Network locations section of your computer, as you can see in the screenshot below.
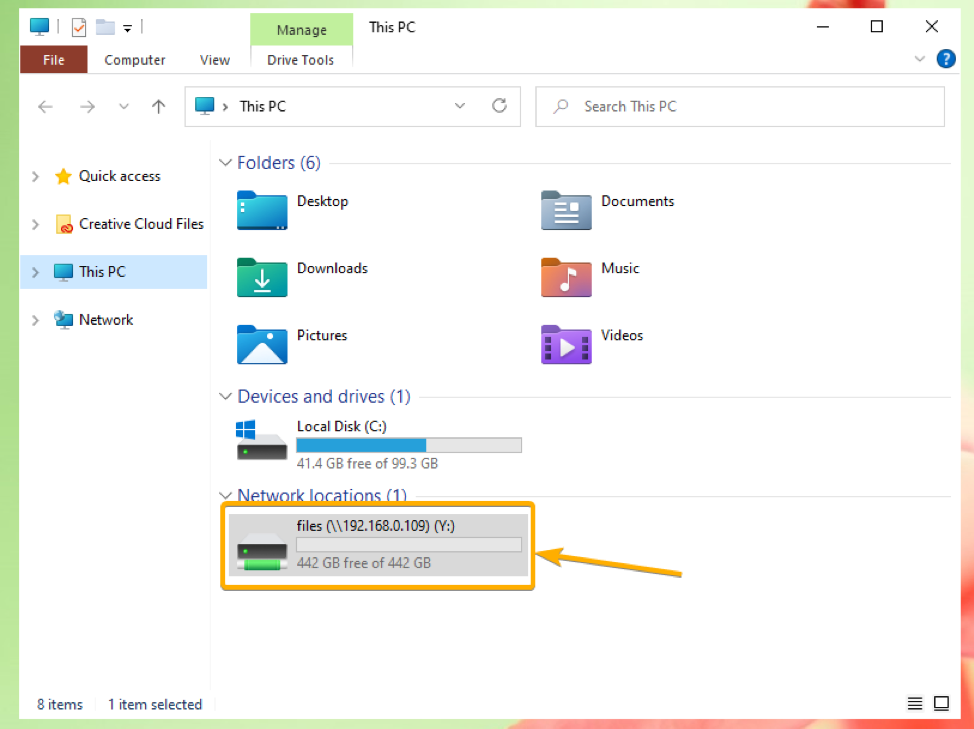
You should find all the files/folders of your selected Synology shared folder in this drive, as you can see in the screenshot below.
Waking Up Synology NAS with Synology Assistant
With Synology Assistant, you can use the Wake on LAN (WOL) feature of your Synology NAS to power on your Synology NAS when it is powered off.
To do that, you must enable Wake on LAN (WOL) on the network interface that you want to use to wake up your Synology NAS with Synology Assistant.
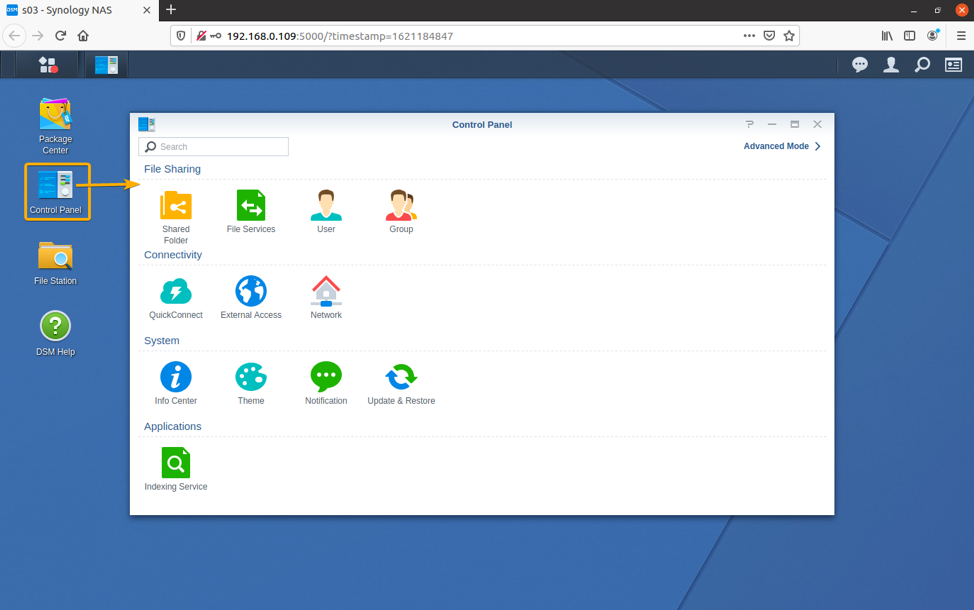
First, open the Control Panel app from the DSM web management interface of your Synology NAS.
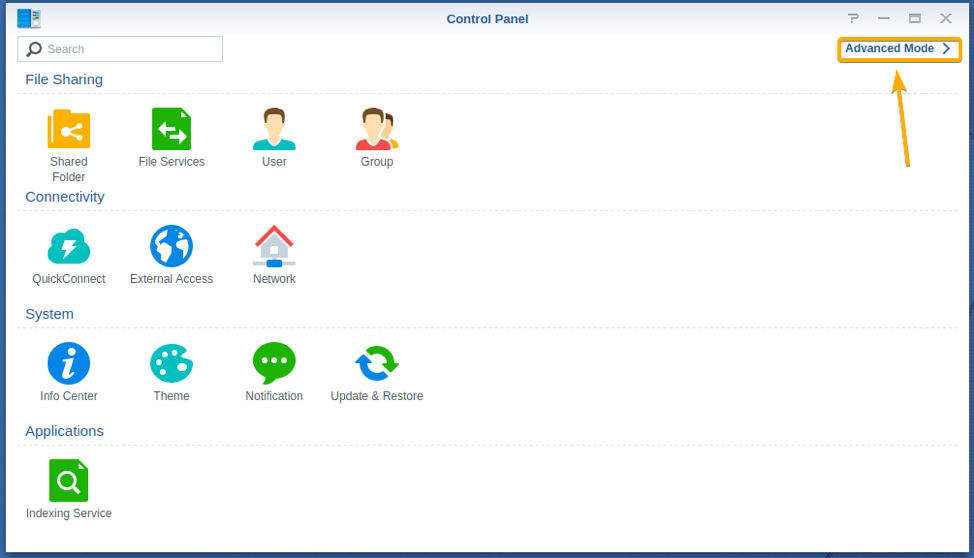
Click on Advanced Mode.
Then, click on Hardware & Power.
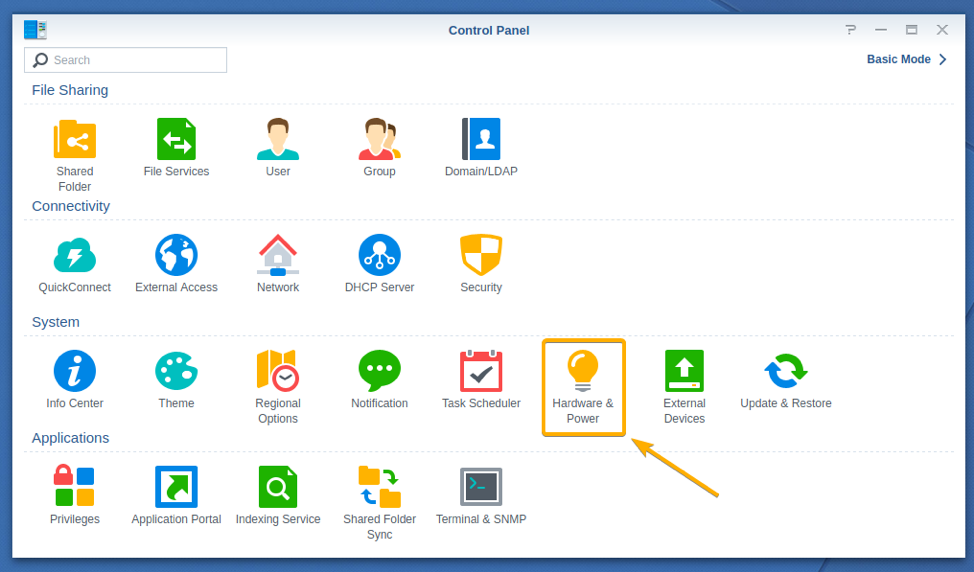
Now, you have to enable Wake on LAN (WOL) for your desired network interface from the Power Recovery section, as marked in the screenshot below.
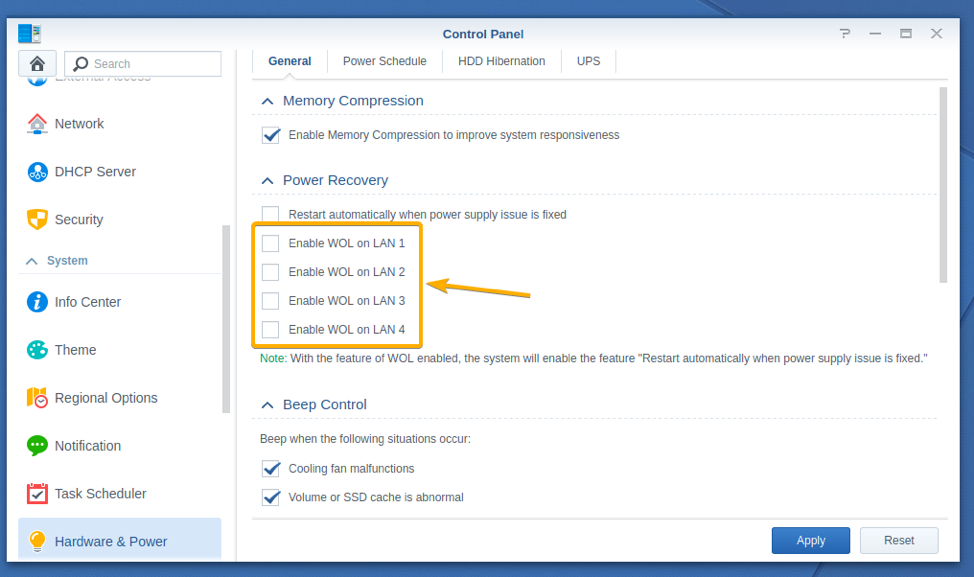
To enable Wake on LAN (WOL) for your network interface, check the required Enable WOL on LAN checkbox.
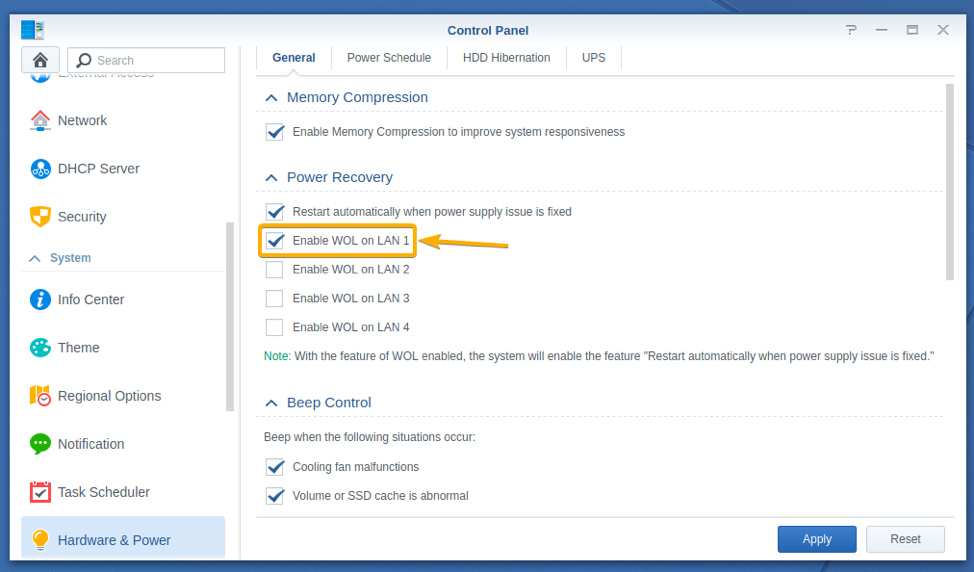
I have 4 LAN ports on my Synology NAS. I am using LAN 1, the first LAN port of my Synology NAS. So, I have checked the Enable WOL on LAN 1 checkbox to enabled Wake on LAN (WOL) on the first LAN port of my Synology NAS.
NOTE: Enabling Wake on LAN (WOL) will automatically check the Restart automatically when power supply issue is fixed checkbox. Don’t worry about it. It just means that if you have power supply issues (power goes out unexpectedly), the Synology NAS will automatically start itself when it is fixed.
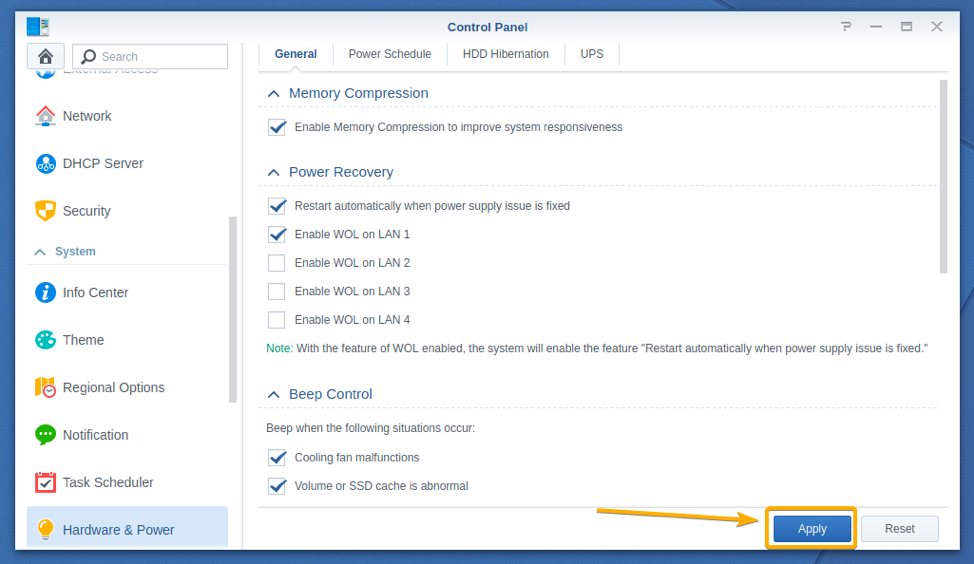
Once you’re done, click on Apply.
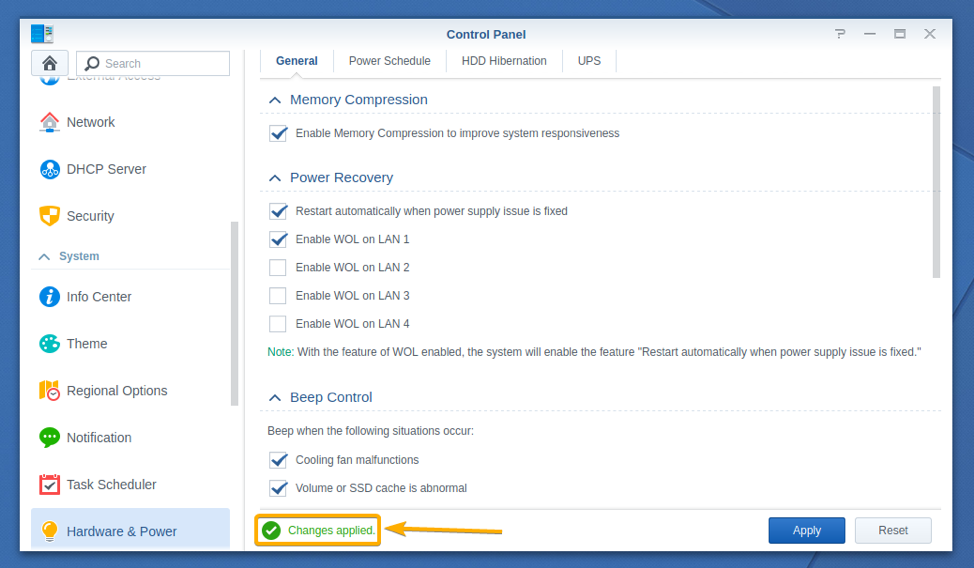
The changes should be saved and Wake on LAN (WOL) feature should be enabled for your selected LAN ports.
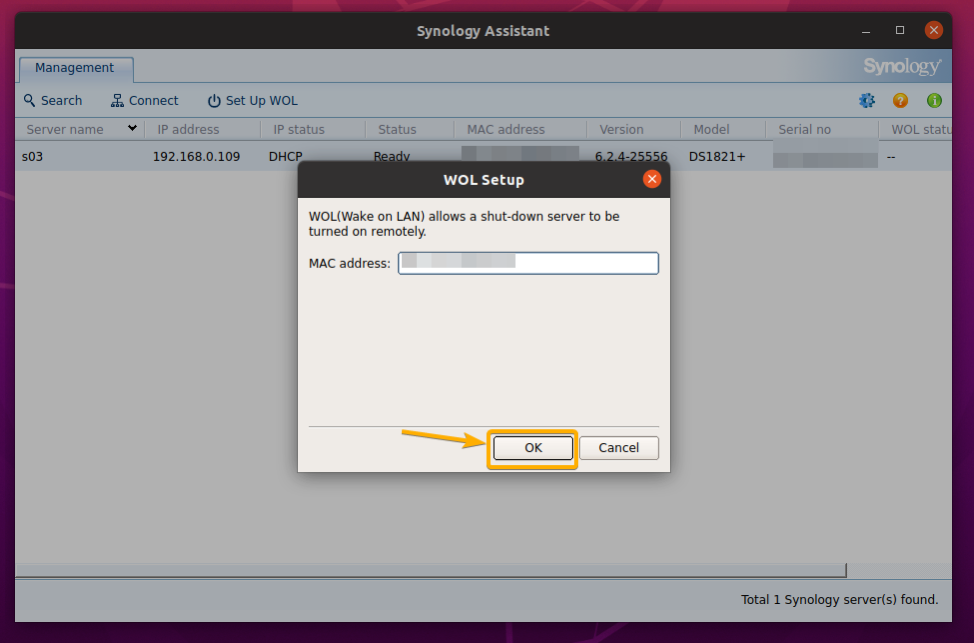
Now, select your Synology NAS from Synology Assistant and click on Set up WOL, as shown in the illustration.
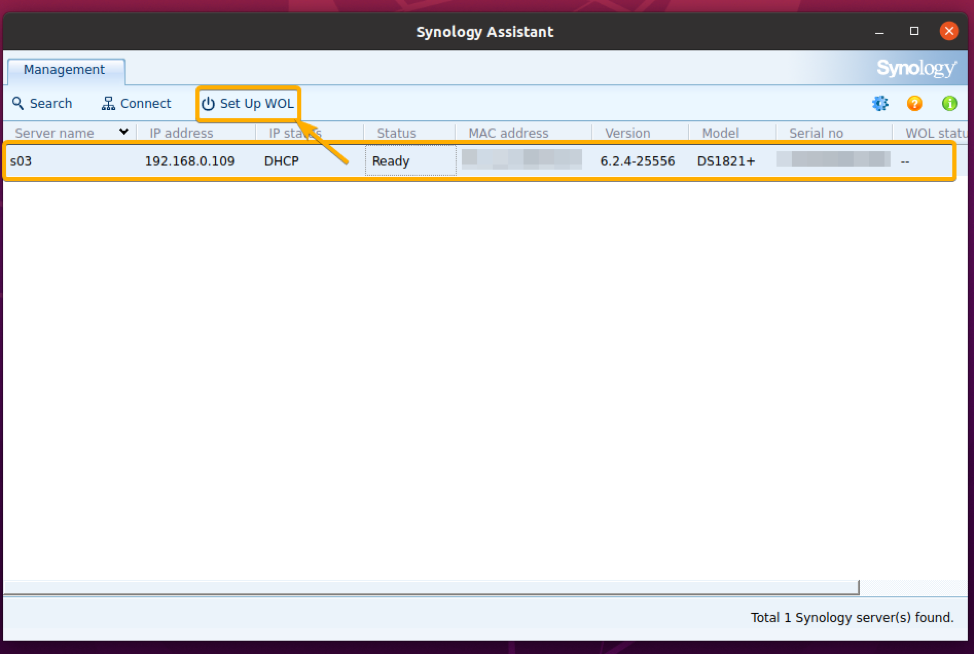
Click on OK.
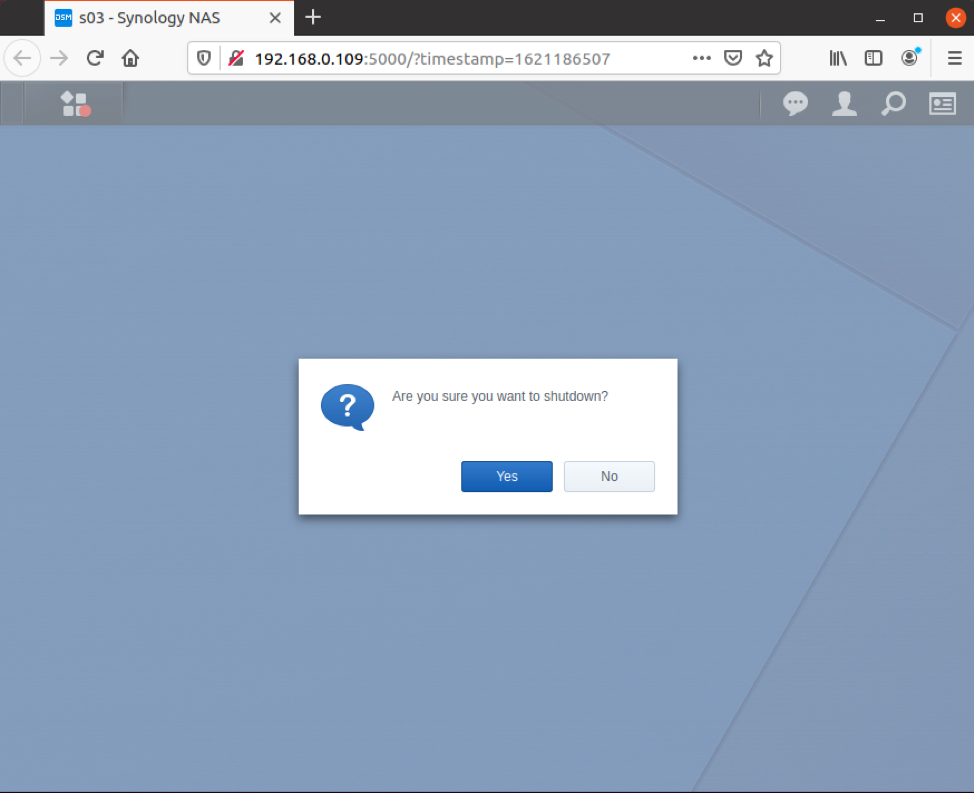
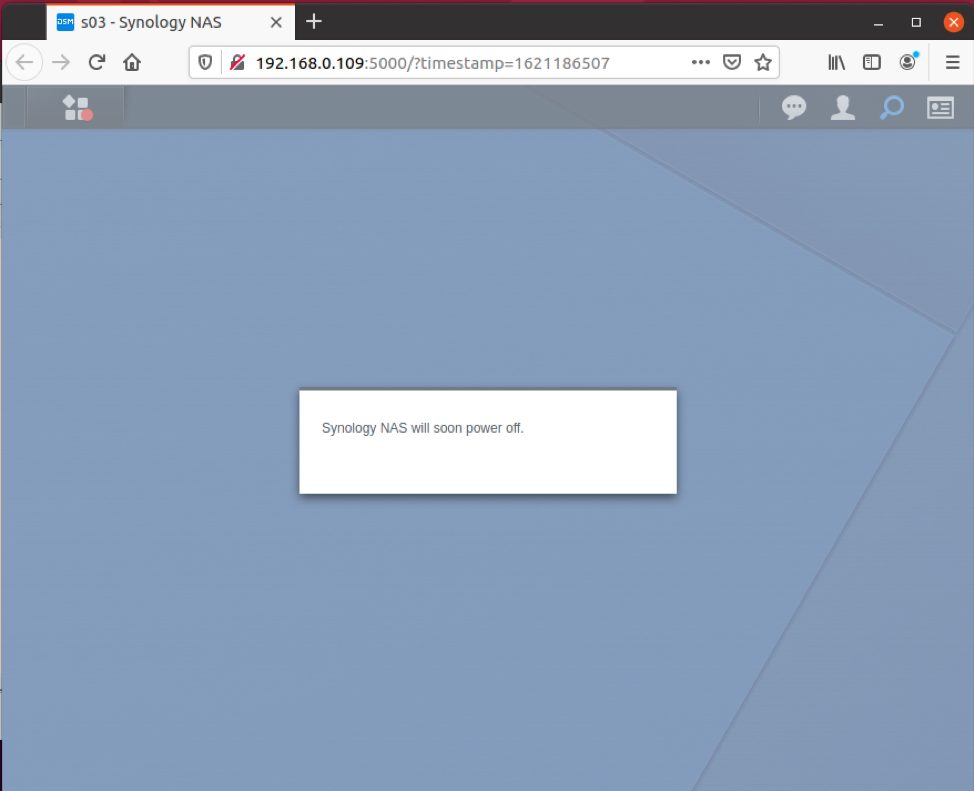
Now, shutdown your Synology NAS from the DSM web management interface, as marked in the image below.
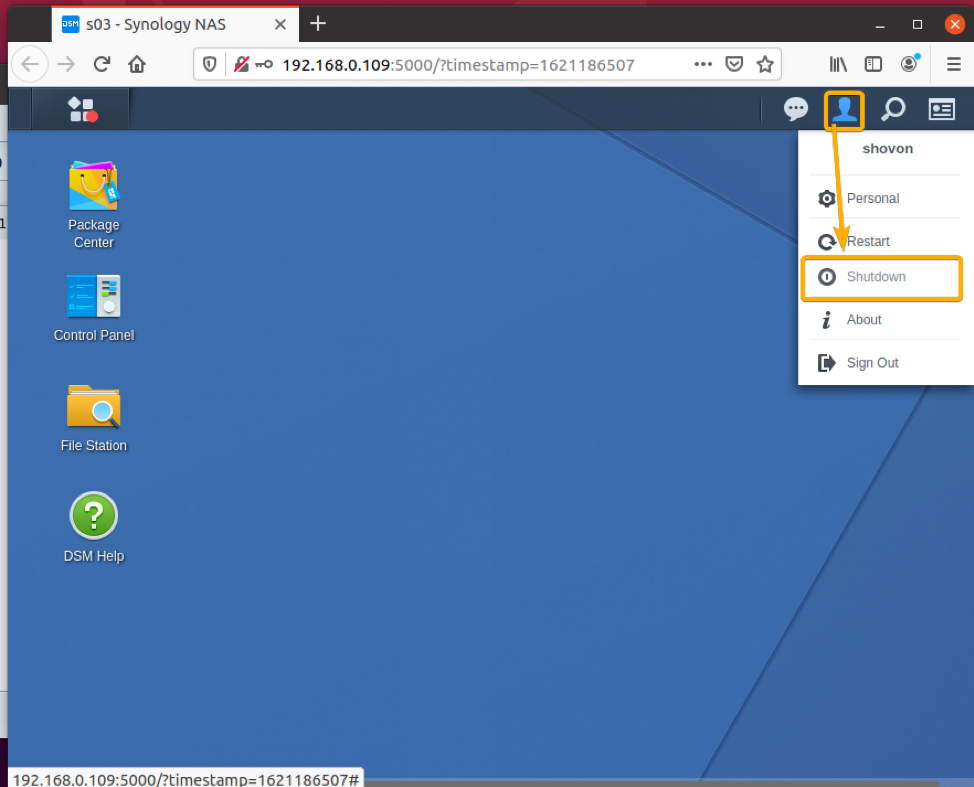
Click on Yes.
Your Synology NAS should be powered off.
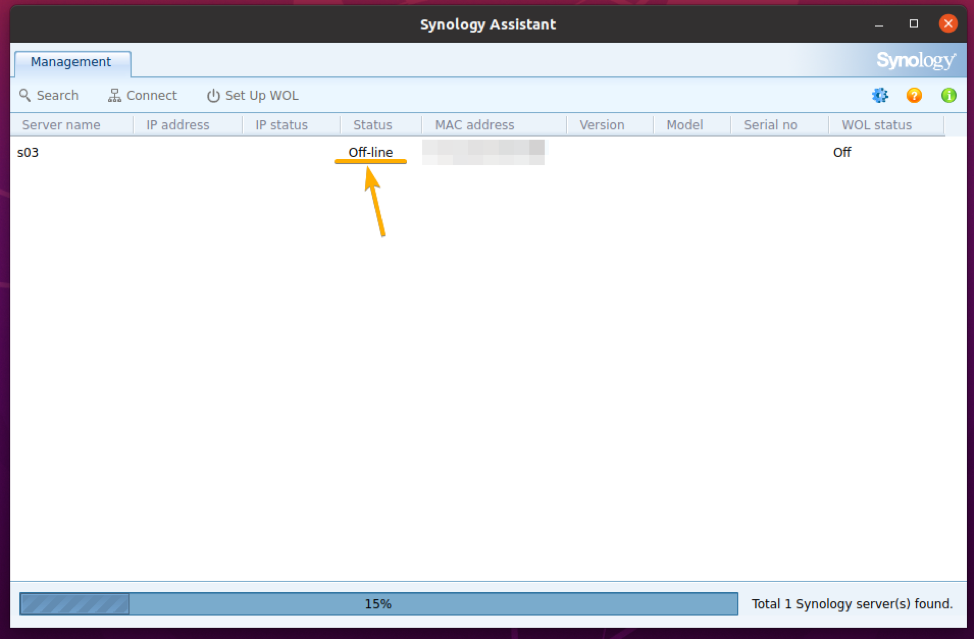
Once your Synology NAS is powered off, your Synology NAS should have the status Off-line, as you can see in the screenshot below.
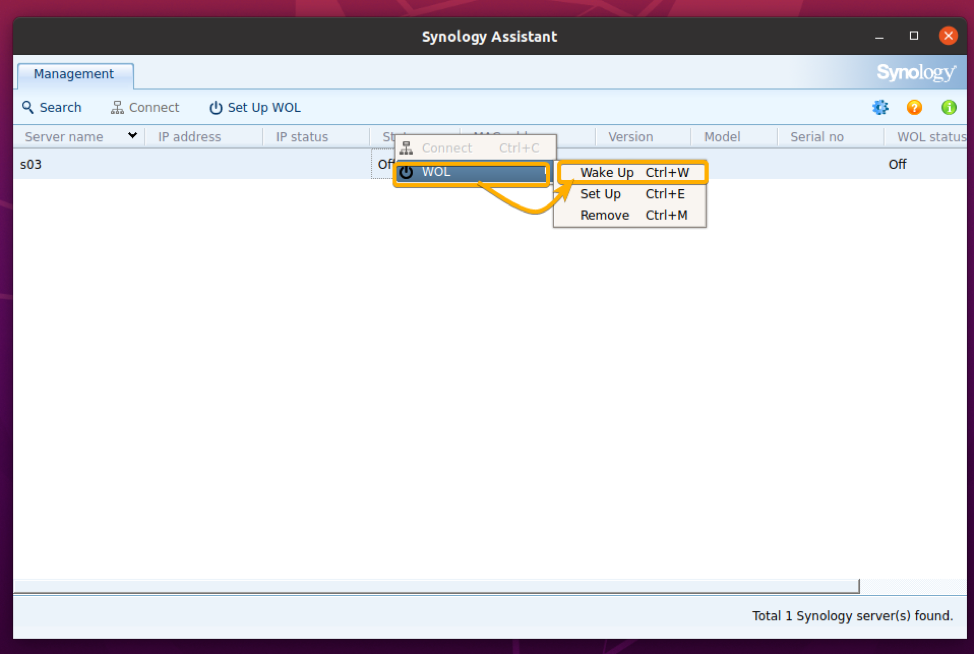
To power it on using the Wake on LAN (WOL) feature, right-click (mouse) on your Synology NAS from Synology Assistant and click on WOL > Wake Up, as marked in the screenshot below.
NOTE: You can also select your Synology NAS and press <Ctrl> + w to wake it up.
A progress bar should be displayed in the WOL status column It means that your Synology NAS is being powered on. It may take a few seconds to be ready.

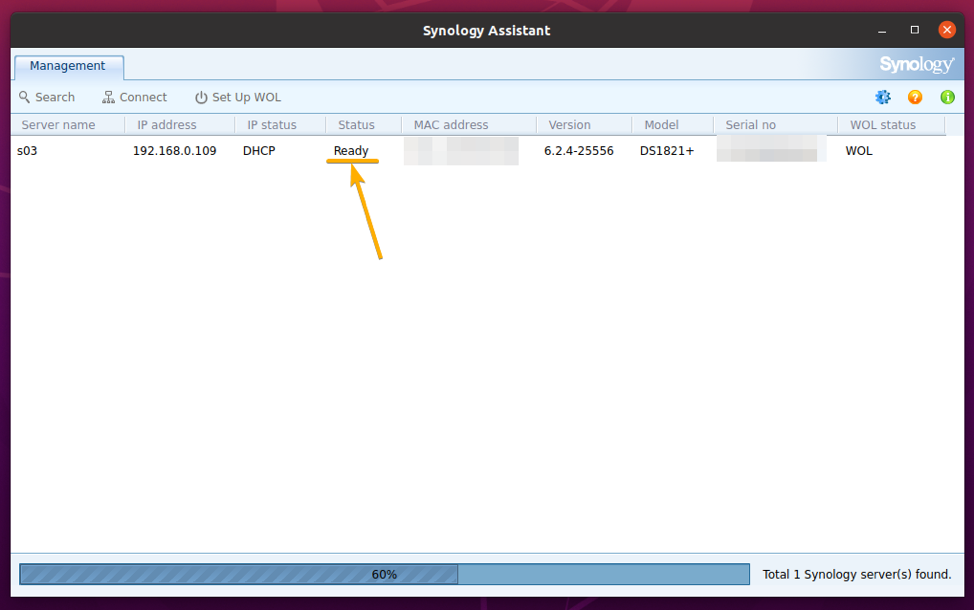
Once your Synology NAS is powered on and is ready to use, the Status should be Ready, as you can see in the screenshot below.
Now, you can connect to your Synology NAS as usual. Just select it from Synology Assistant and click on Connect.
A web browser should load the DSM web management interface of your Synology NAS.
Log in to your Synology NAS and enjoy.
Conclusion
In this article, I have shown you how to download and install Synology Assistant on Windows 10 and Ubuntu 20.04 LTS. As well as, how to use Synology Assistant to install the DSM software on your Synology NAS, connect to the DSM web management interface of your Synology NAS, and mount a Synology shared folder on Windows 10. How to enable Wake on LAN (WOL) on your Synology NAS and power on your Synology NAS with Synology Assistant were also shown.