For example, usually, there is only a proxy between us and the destination when we implement a VPN. This is ok if the VPN is configured properly, but in some cases, there are bugs or security holes that may expose our traffic to our ISP or anyone monitoring the network traffic. An example of this scenario would be a DNS leak in which, despite using a VPN, all DNS requests are sent to ISP-defined DNS. Implementing Proxychains can prevent this type of bug and increase anonymity and privacy through additional proxies.
About Proxychains:
The tool used to chain proxies in this tutorial is Proxychains, a tool available only for Linux. It supports protocols http, socks4 and socks5.
Proxychains have 3 configuration options: Dynamic, Strict and Random.
- Dynamic chain: If this option is selected, at least one proxy must be available for the chain to work. Unavailable proxies are skipped.
- Strict chain: Contrary to dynamic chains. With Strict configuration, all proxies must be online or available; otherwise, it won’t work.
- Random chain: With a random chain, all proxies will be selected randomly.
After reading this tutorial, you will know how to configure those modes, the advantages and limitations of the combination of Nmap with Proxychains.
Installing and configuring Proxychains:
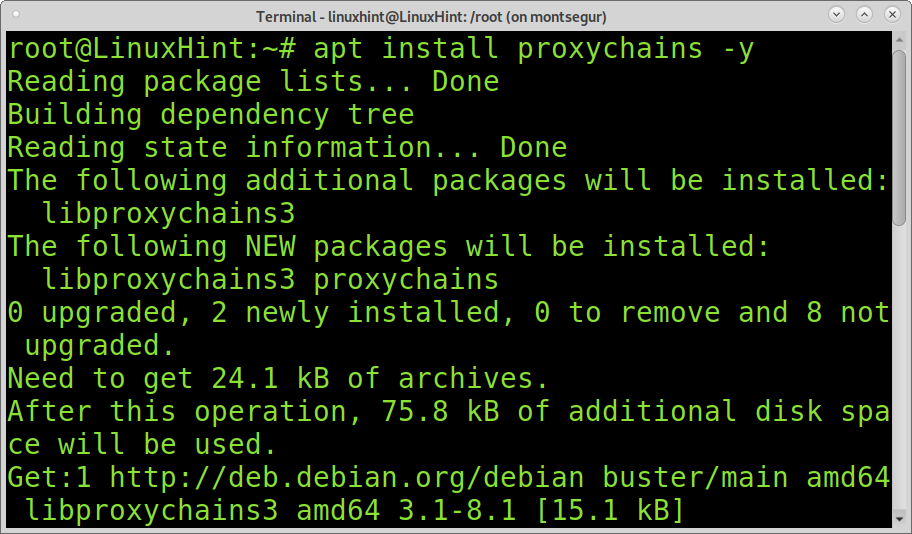
To install proxychains on Debian based Linux distributions, run the following command:
On Red Hat / CentOS, you can install Proxychains with the command below:
To install Proxychains on ArchLinux run:
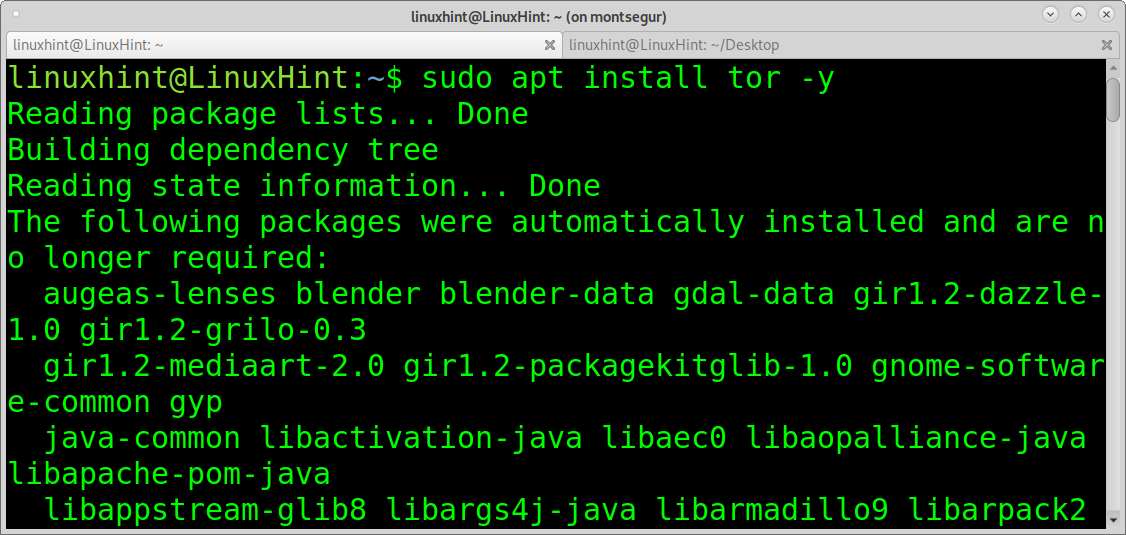
By default, Proxychains is configured to be used with Tor (Anonymity Network); this tutorial will show how to enable it. To install Tor run the command below:
Note: You can get Tor for other Linux distributions at https://www.torproject.org/download/.
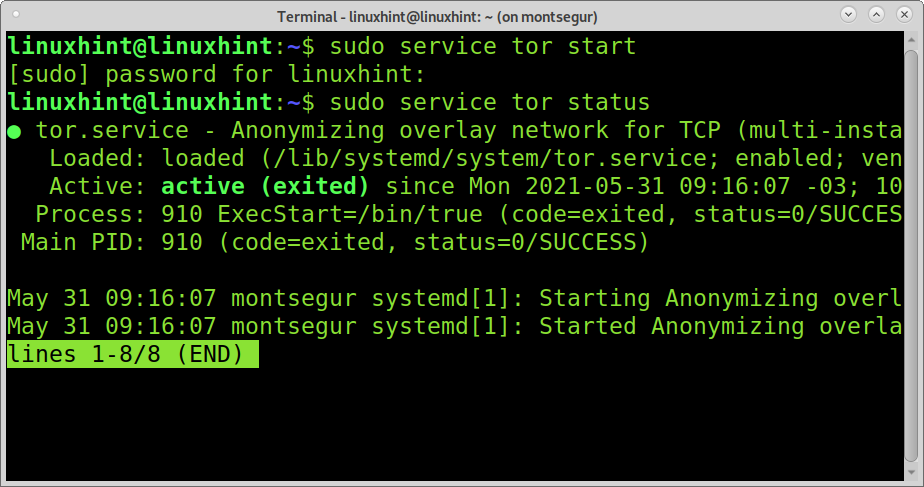
To start the Tor service, run the command below:
As you can see, with the command sudo service tor status, Tor is running properly.
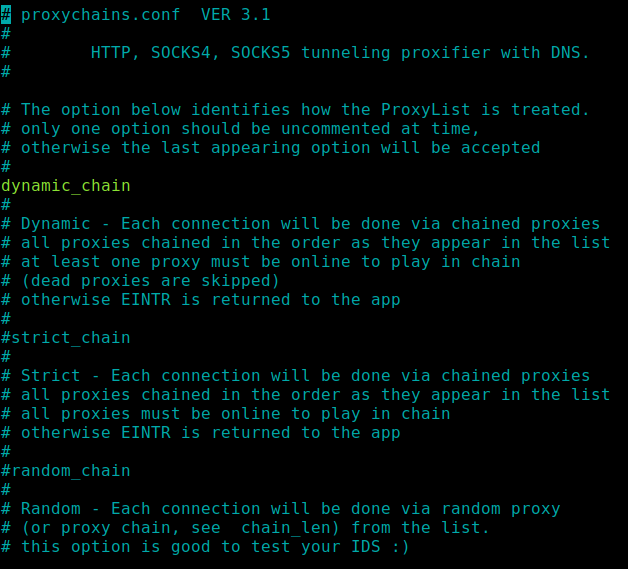
Now before proceeding let’s explore Proxychains configuration file /etc/proxychains.conf, on the terminal run:
Above, you can see the 3 configuration types I mentioned in the introductions of this tutorial. All options are well explained in the configuration file. For now, comment on the line strict_chain and uncomment the line dynamic_chain.
If you scroll down, you will discover another Proxychains feature: proxy_dns. This means Proxychains supports name resolution, so no DNS requests to ISP servers will be sent; the resolution is made by the proxy, which guarantees more anonymity.
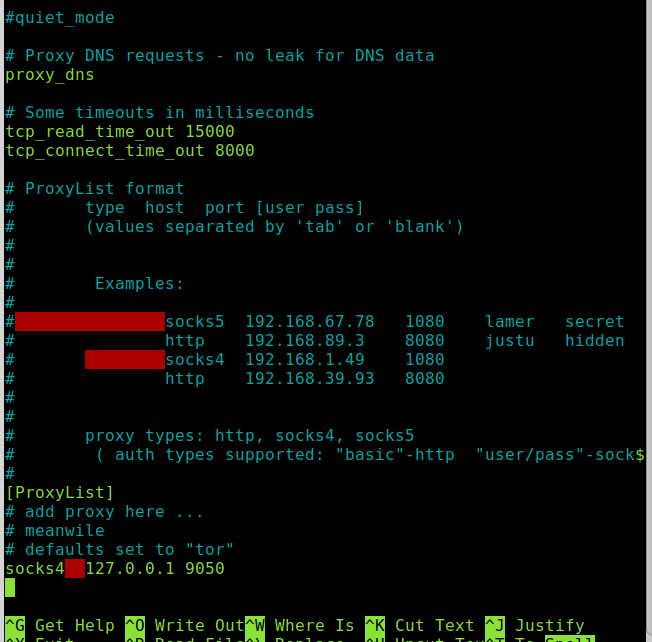
Below you can see the proper format to add a proxy; if the proxy has no user and password, leave blank spaces.
You see 127.0.0.1 on port 9050 as the only proxy because that’s the default Proxychains configuration when working with Tor.
If you want to define a strict chain, you must define the proxies with the syntax shown in the image.
Note: If you want to add proxies, you can get free proxy lists at https://free-proxy-list.net/ or https://www.freeproxylists.net/; there are more available lists on Google.
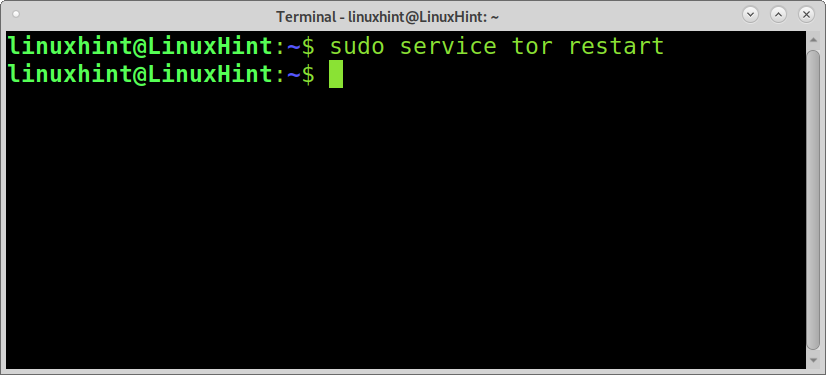
After commenting strict_chain and uncommenting dynamic_chain, restart the Tor service:
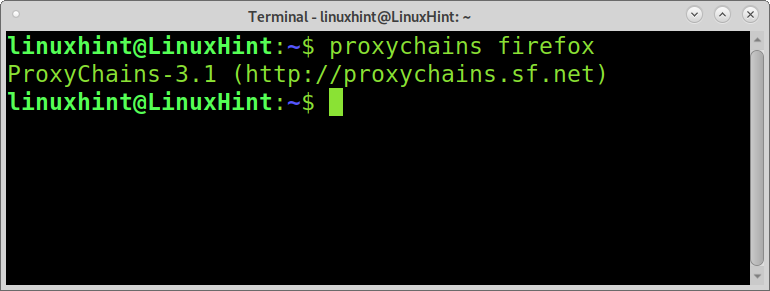
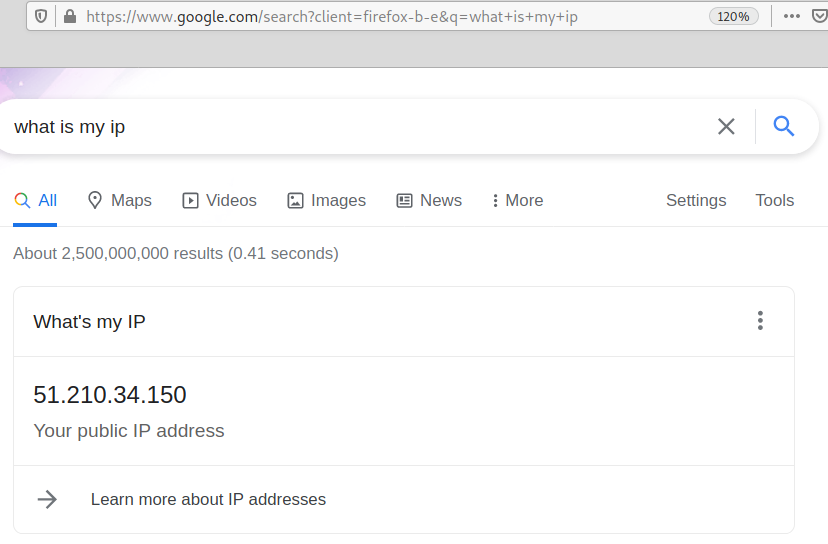
Before continuing with Nmap, you can test Proxychains with any program. For example, run Firefox with proxychains and check your IP address as shown in the example below:
On google, type “What is my ip,” and if proxychains is working properly, you need to see a different IP address; you can compare it with another browser session without Proxychains.
How to use Nmap with Proxychains:
Using Nmap with Proxychains is similar to using any other software with Proxychains; just run proxychains before the command you want to execute, like with the Firefox example. With Nmap, the process is the same. All Nmap procedures remain, and the only difference in the syntax is the Proxychains prefix.
When using Nmap with Proxychains, there are several limitations you should remember:
- The proxy DNS resolution works in the browser but doesn’t seem to work with Nmap, so you need to use your target IP address.
- ICMP/UDP scans don’t work. Keep using TCP techniques. Keep using the flag -sT.
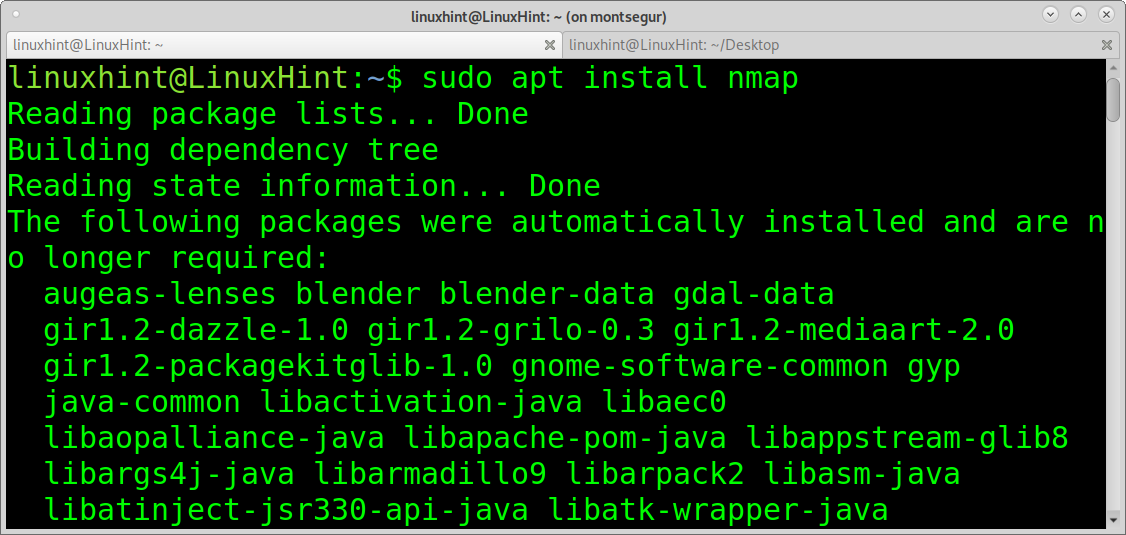
Before continuing, if you don’t have Nmap installed yet, run the command below on Debian based Linux distributions:
To install Nmap on Red Hat-based Linux distributions like CentOS run:
Once installed Proxychains, Tor and Nmap, you are ready to start scanning targets anonymously. You can use Nmap techniques you already know, taking into account the limitations mentioned previously.
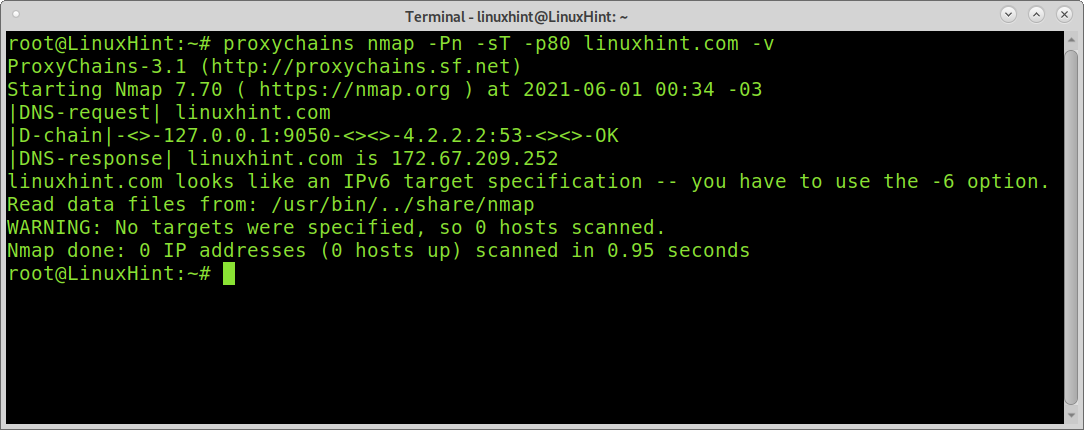
First of all, let’s ensure we are safe from DNS leaks by checking if DNS resolution is made through Proxychains. Run the command below:
As you can see in the output, the DNS resolution was made by Proxychains, so we are safe from DNS leaks.
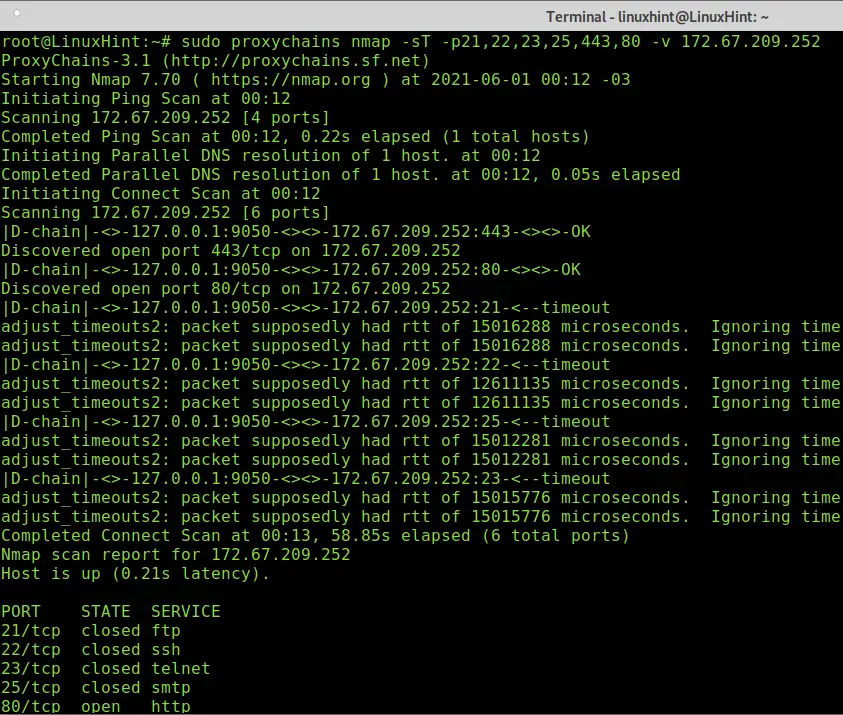
The next example shows a TCP scan of ports ftp, ssh, telnet, smtp, http and https.
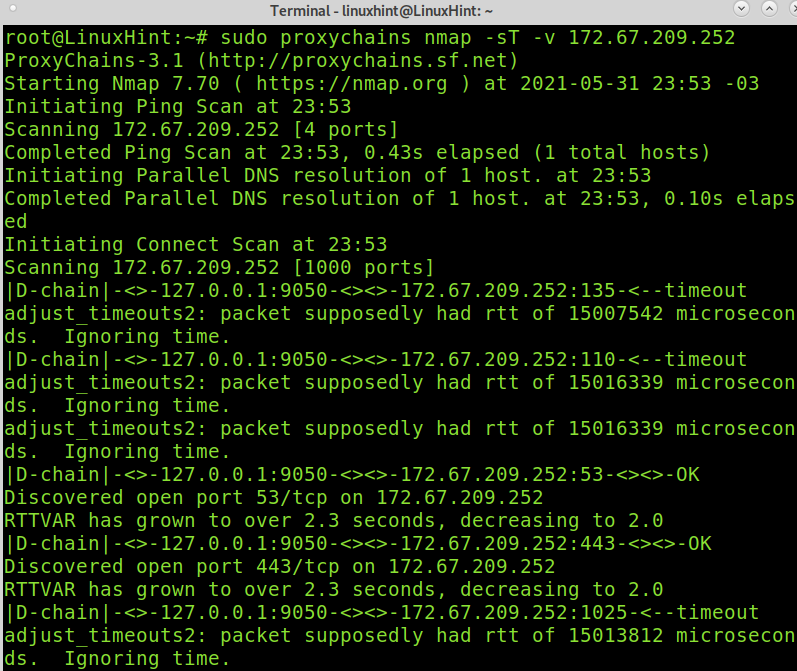
The following command scans the most common TCP ports:
You can find additional Nmap techniques you can practice with proxychains at nmap flags and what they do.
Conclusion:
As you can see, using Proxychains with Nmap is so simple as using Proxychains with any other application. However, combining Proxychains with Nmap results in many limitations and poor performance. No ICMP or UDP packets, no OS detection, no banner grabbing, no domain name resolution, etc.
Nmap already brings different options to implement a proxy (not proxy chain), including proxy-dns, but some limitations remain when using socks.
Nmap also offers additional techniques to scan a target under the radar or bypass firewalls and IDS (Intrusion Detection System).
Despite this conclusion, Proxychains and Nmap are widely complemented by hackers looking for mechanisms to remain undetected. Proxychains are included by default in Kali Linux, the most used Linux distribution for security purposes.
I hope this tutorial was useful. Keep following Linux Hint for more Linux tips and tutorials.

