In this guide, we will show you a detailed process to use the Homebrew Zsh instead of the default OS X command-line shell Bash.
How to Use Homebrew Zsh Instead of the OS X Default?
To use Homebrew Zsh instead of the default OS X command line shell Bash, follow the below-given steps:
Step 1: Check the Default Shell on Mac
First, use the command below to check the default shell on your Mac system.
The above command will ensure that Bash is currently set as a default shell on the Mac system.
Step 2: Install Homebrew on Mac
Now open the terminal and run the following command to quickly install Homebrew package manager on your Mac system.
Follow here for more details.
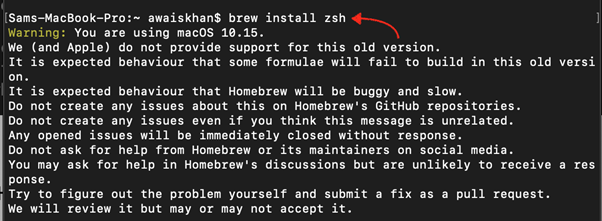
Step 3: Install Zsh from Homebrew
After completing the Homebrew installation on Mac, run the following command to install Zsh on your system.
Step 4: Check Zsh Version on Mac
Now run the below-given command to ensure Zsh is installed on your Mac system.
Step 5: Switch to Zsh from Bash on Mac
To use Homebrew Zsh instead of OS X default command line shell Bash, you must switch the terminal from Bash to Zsh from the following command:
Step 6: Confirm the Changes
Now close the terminal and reopen it again, then use the following command to confirm the shell switching from Bash to Homebrew Zsh on Mac.
The above command ensures that you have successfully switched from Bash to Zsh and you are now free to use Zsh on your Mac system.
Conclusion
You can use Homebrew Zsh instead of OS X default Bash shell by installing Homebrew package manager on Mac and then install Zsh from Homebrew. After that, you can switch to the Zsh command-line shell and start using Homebrew Zsh instead of Bash on your Mac terminal. We have demonstrated the complete process step by step in the above section of this guide.


