This tutorial shows how to convert jpg and other image types to PDF, including the OCR function on Debian-based Linux distributions such as Ubuntu.
After reading this tutorial, you’ll know how to convert images to PDF using GUI and a command-line interface. The graphical way allows you to implement the OCR function, extracting images from images to generate editable PDF files.
Converting jpg images into PDF extracting characters using Pdf2Go:
The first method explained in this tutorial includes Pdf2Go, a software that allows us to convert images into PDF files and extract characters giving as output an editable PDF file; for this purpose, this program uses tesseract.
To install Pdf2Go, you first need to install spand; on Debian-based Linux distributions, you can get snapd by running the command below.
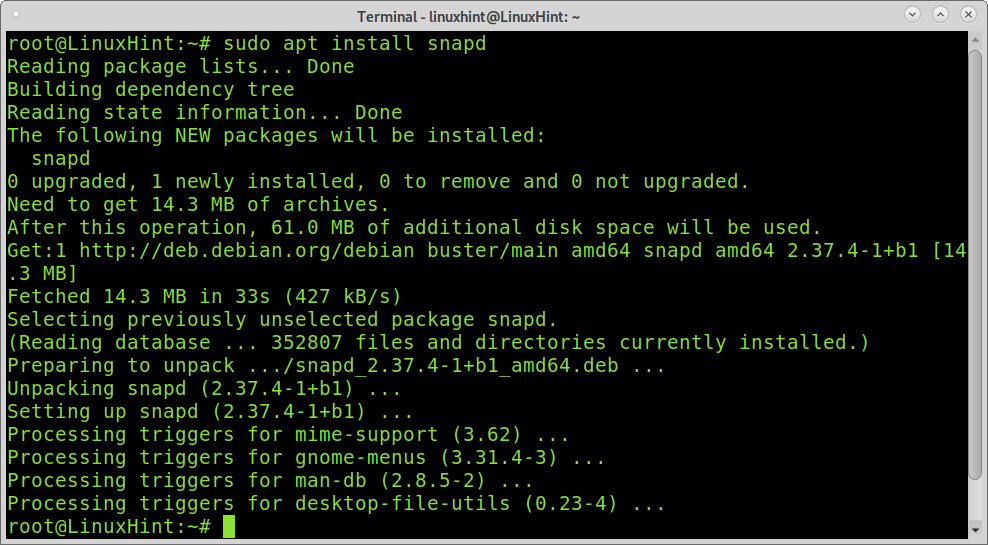
Create a symbolic link for snap and install Pdf2Go by running the following commands.
sudo snap install pdf2go

Note: In my case, I didn’t find the Pdf2go shortcut; I needed to log out and log in back in to find the icon.
Use the application search box to find and execute Pdf2Go, as shown below.

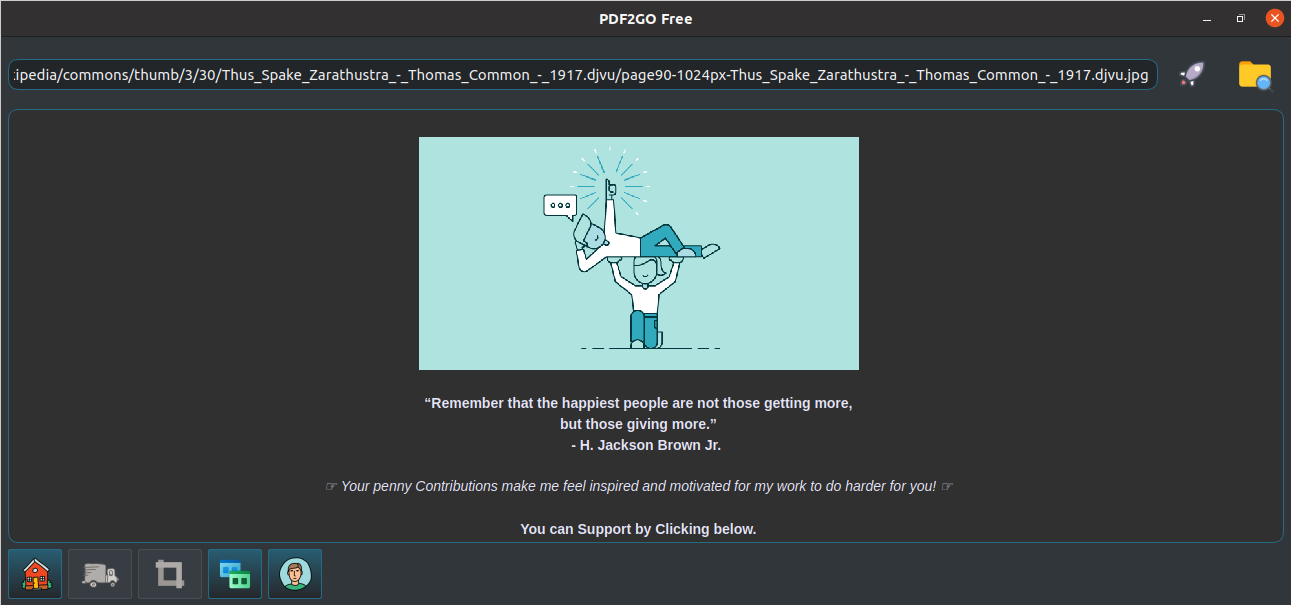
Once Pdf2Go is open, as shown in the image below. You will see a bar to type the URL of the image you want to convert. Optionally you can click on the folder icon to upload a file.
After uploading the file or copying its url, click on the rocket icon next to the folder icon.
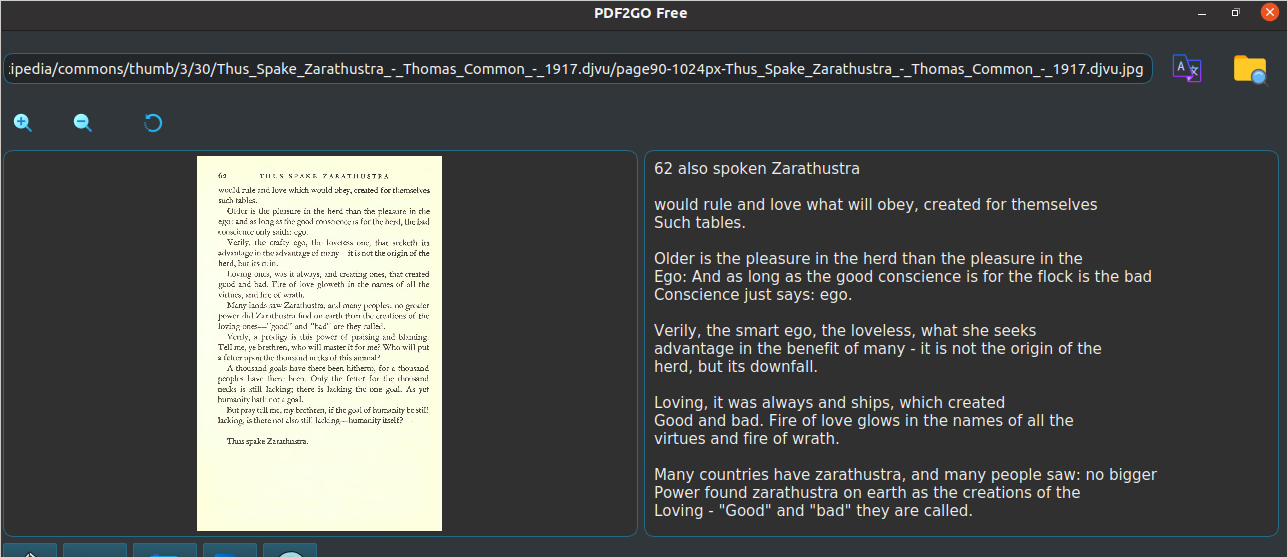
A loading bar will show up, and after finishing, you’ll see the screen divided with the image on your left side and the extracted text on the right side.
Next to the folder icon, you will see this icon  ; click on it to select the text language.
The process explained in this tutorial can be applied to other image types.
NOTE: I want to thank the Pdf2Go developer Rishabh Bhardwaj who, upon a problem with the installation, provided immediate support. His support wasn’t included in this tutorial because I realized a mistake from my side. For us at Linux Hint was very important to include an option capable of extracting text from images because there are not too many tutorials about this subject.
Converting jpg images into PDF from cli using Imagemagick (no OCR):
This section explains how to use ImageMagick from the command line to convert jpg or other image types into pdf. In this case, the output won’t be editable, and no OCR is included in this process.
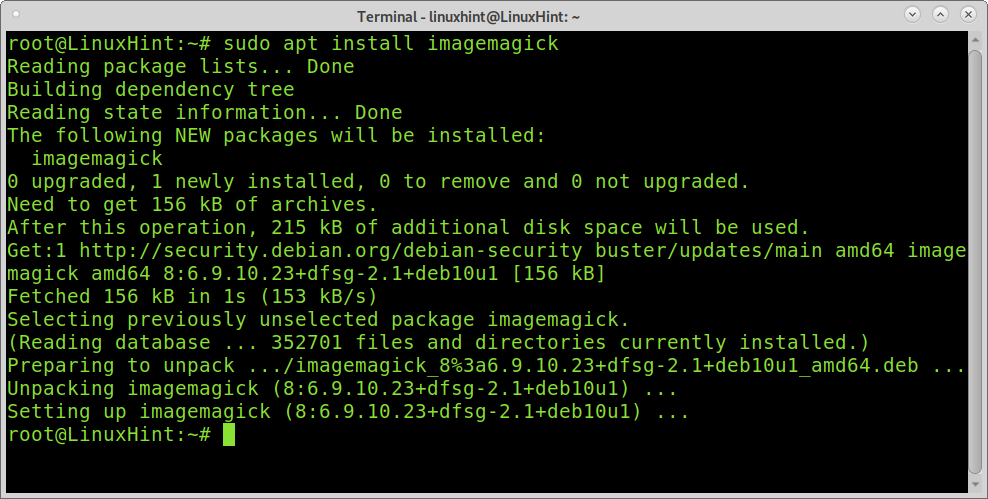
To install Imagemagick on Debian-based Linux distributions like Ubuntu, run the command below.
Once installed Imagemagick, use the convert command followed by the image you want to convert, and the output pdf file as shown in the image below.
Note: If I had a policy problem when trying to execute the command below, if you share the same problem, go to the end of this section to see the resolution.
As you can see, the image was properly converted.

You can use imagemagick to convert multiple files into PDF; the syntax is the same; just define all images you want to convert as shown below.

FIxing Imagemagick policy error:
As said previously, I encountered an error when trying to execute Imagemagick; the error is: “convert: attempt to perform an operation not allowed by the security policy `PDF’ @ error/constitute.c/IsCoderAuthorized/408”.
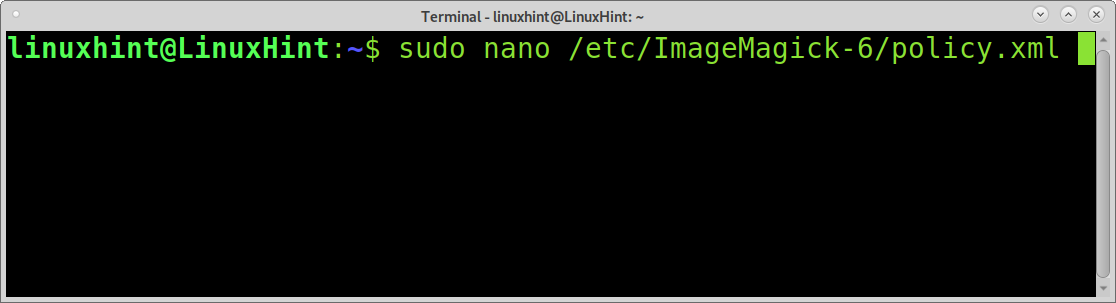
To solve it, edit the file /etc/ImageMagick-6/policy.xml; you can use the following command to edit the file using a nano text editor.
Once inside the file, add the line <policy domain=”coder” rights=”read | write” pattern=”PDF” /> before the end of the file </policymap> as shown in the image below.
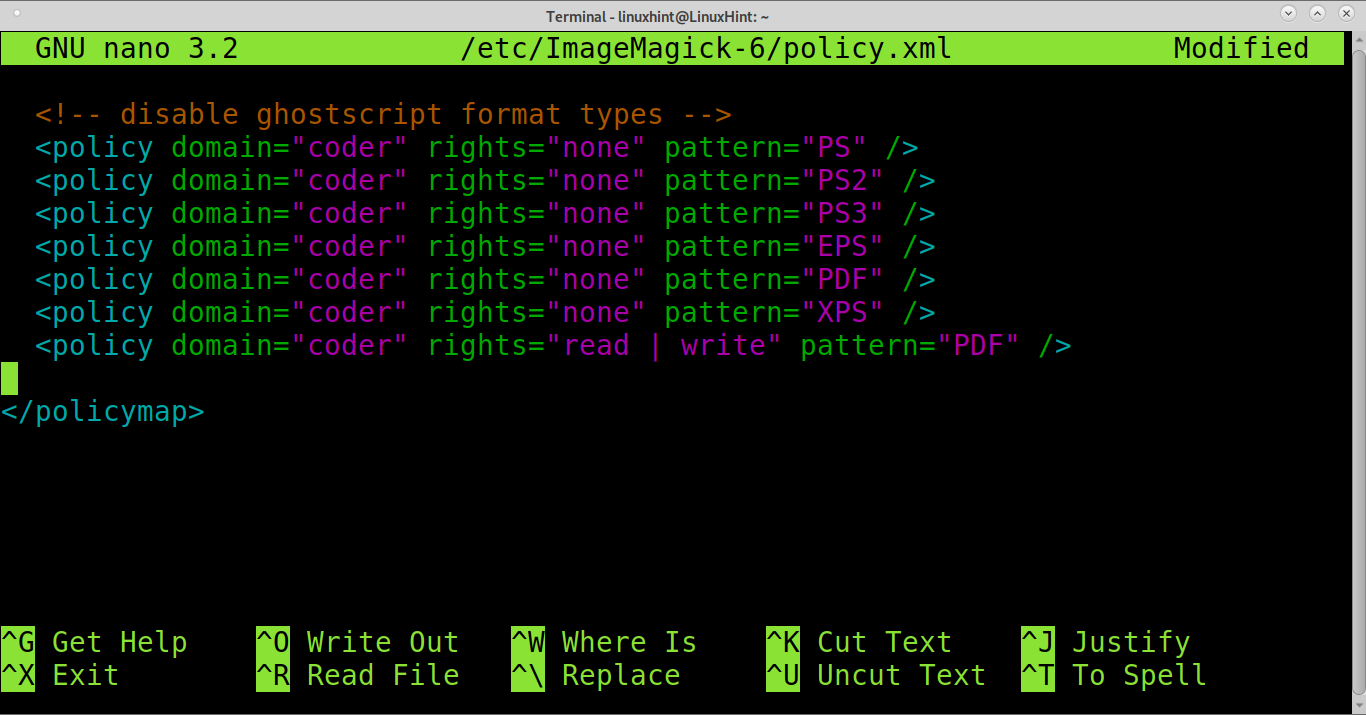
Now Imagemagick must work.
Converting jpg images into PDF from cli using img2pdf (No OCR):
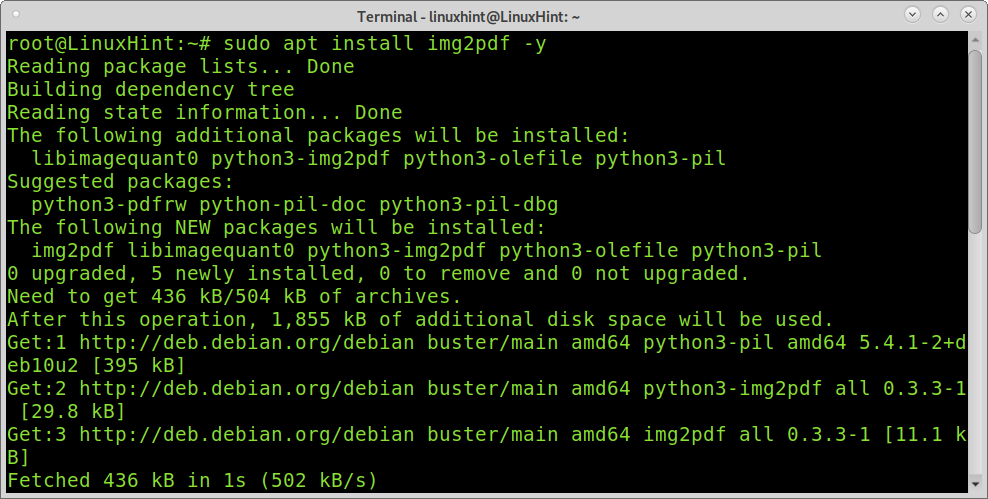
This method includes the software img2pdf. To install it on Debian-based Linux distributions, including Ubuntu, run the following command.
To convert images to pdf using img2pdf, the syntax is very similar to Imagemagick; just add the -o option to define the output file name as shown in the example below.
Like with Imagemagick, you can use img2pdf to convert several images; the syntax is similar, as shown in the following example.

Converting images to pdf using jpg2pdf (GUI):
The last tool explained in this tutorial is jpg2pdf

Like with Pdf2Go, use the applications search box to find jpg2pdf, as shown in the image below.

Once the program starts, click on the Add images icon shown in the image below and select the images to convert.
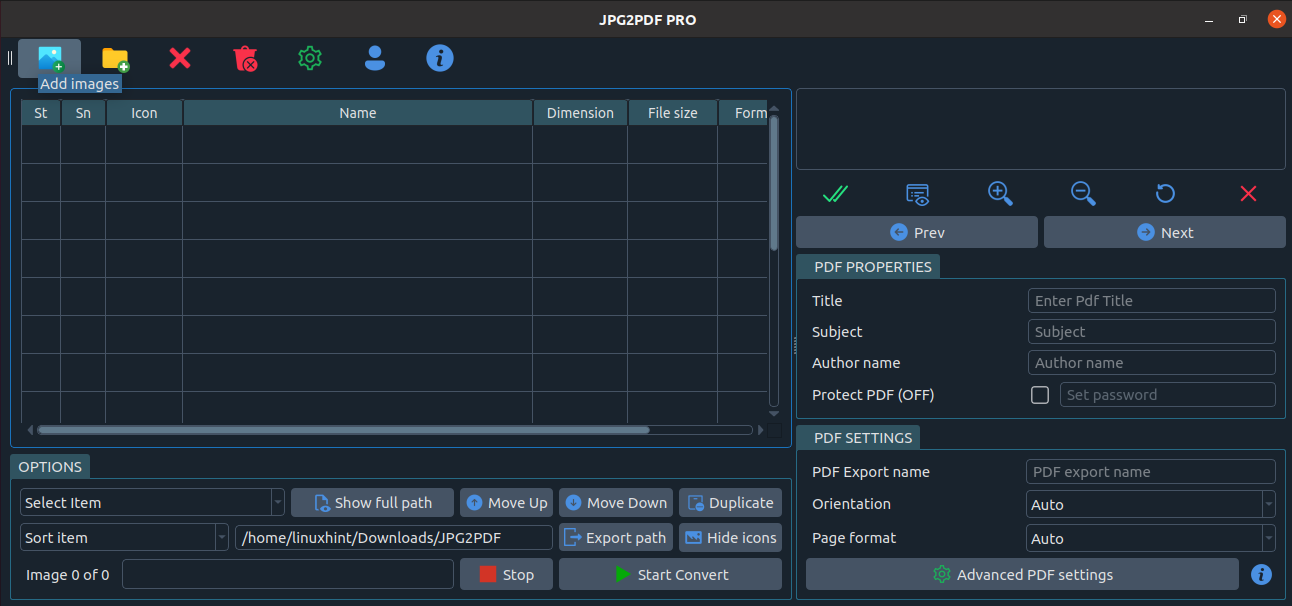
The file or files you want to convert will be added to the list. It would be best if you marked the small square of the st column as shown below.

After selecting the images to convert, simply press the Start Convert button. When the conversion process ends, a box will offer you to open the PDF file or the directory containing it.
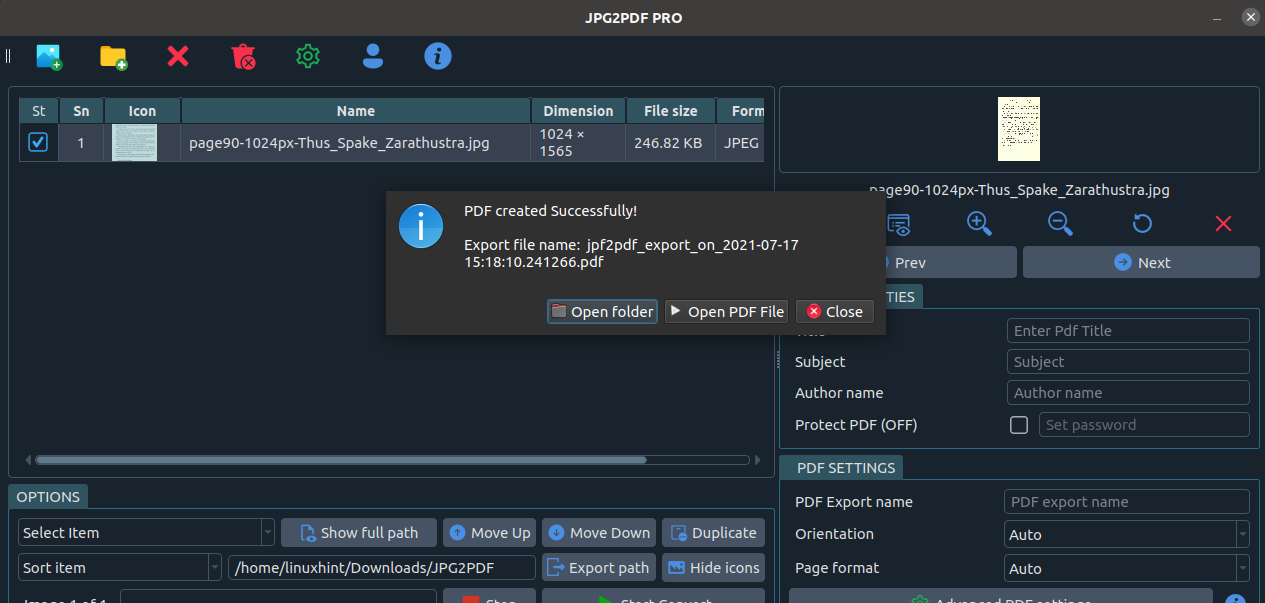
As you can see, the process was successful.
Conclusion:
As you can see, Linux users have a lot of options to convert images to pdf. All techniques explained above support additional image extensions like .png. Any Linux user level can easily use the methods explained. The first option, allowing to convert text images into editable PDFs, is very useful for extracting text.
I hope this tutorial explaining how to convert images to pdf in Linux was useful. Keep following Linux Hint for additional Linux tips and tutorials.