Pre-requisites
To sort events by time using kubectl, you have to install the latest version of the Ubuntu Linux system. Currently, we have Ubuntu 20.04 Linux system. Also, make sure to install the minikube cluster in it because it is vital to run Kubernetes services over the Linux system. As we are going to sort events by time using kubectl, make sure to install kubectl as well.
Method to sort events by time Using kubectl
To sort events by time using kubectl, login into the Ubuntu 20.04 system. After that, navigate the command line terminal by searching in either application or using the “Ctrl+Alt+T” shortcut key. Once opened, start the minikube cluster in it by executing the cited below command in the terminal shell.

The events provide insight into what occurred behind the scenes when a specific item entered a specific state. Getting all events through kubectl get events is another way to see a consolidated list of all events. So try out the below-listed command in the Ubuntu terminal.

As seen above, this provides information on the entity that generated the event and the event’s category, and what prompted it. When trying to check out what’s going on in the system, this data is really useful. These events can also be used to understand long-term system stability and efficiency better.
To get all the events sorted by the creation time from all of the given namespaces, you have to run the appended below command in the terminal window.
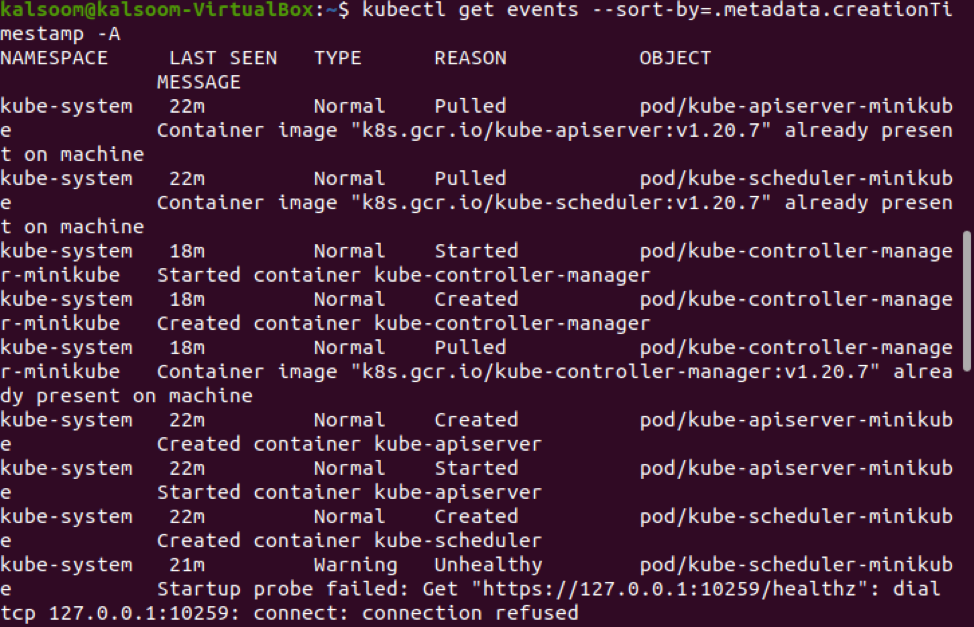
You can check out the namespace name, its last seen, type, reason, and object category of the events in the above-attached image.
To sort out the events by the last seen timestamp, execute the following cited command in the shell.

The output shall be similar to the above-attached snapshot.
Conclusion
In this article, we have gone through the basic concept of events and their usage. Also, we have to check their effectiveness. Along with that, we have listed a method to display all the event details and to sort them by the required time. So, I hope you will easily gather all the information regarding events by following the above-described tutorial.