To run Openfire on Linux devices, you need to install JDK first because Openfire is java dependent. Its main features include pubsub, multi-user messaging, and Jabber search. Let’s check how to get it on your Ubuntu machines.
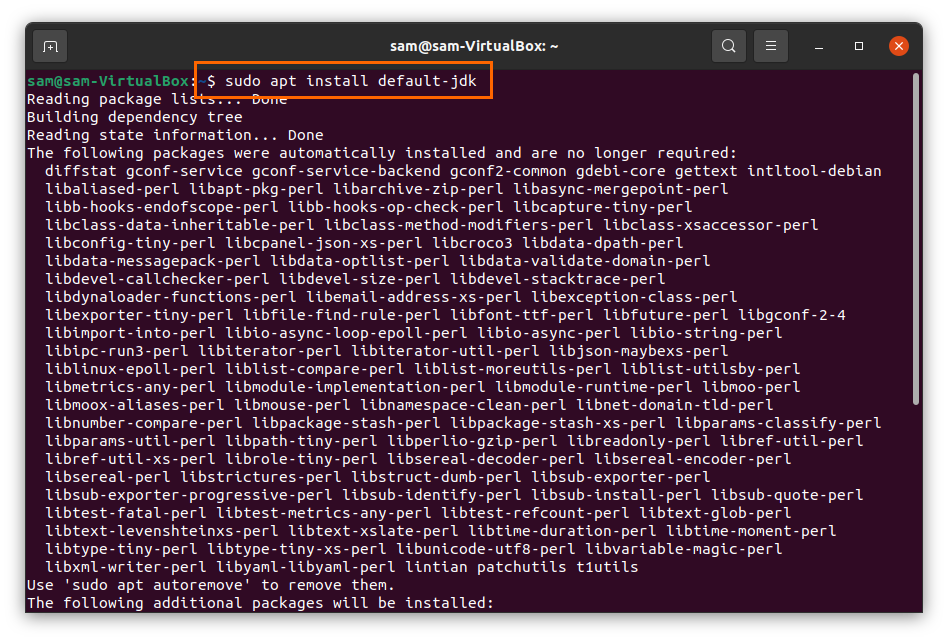
Installing JDK on Ubuntu 20.10:
To get Java Developing Kit (JDK), use the below-mentioned command:
Installing Openfire on Ubuntu 20.10:
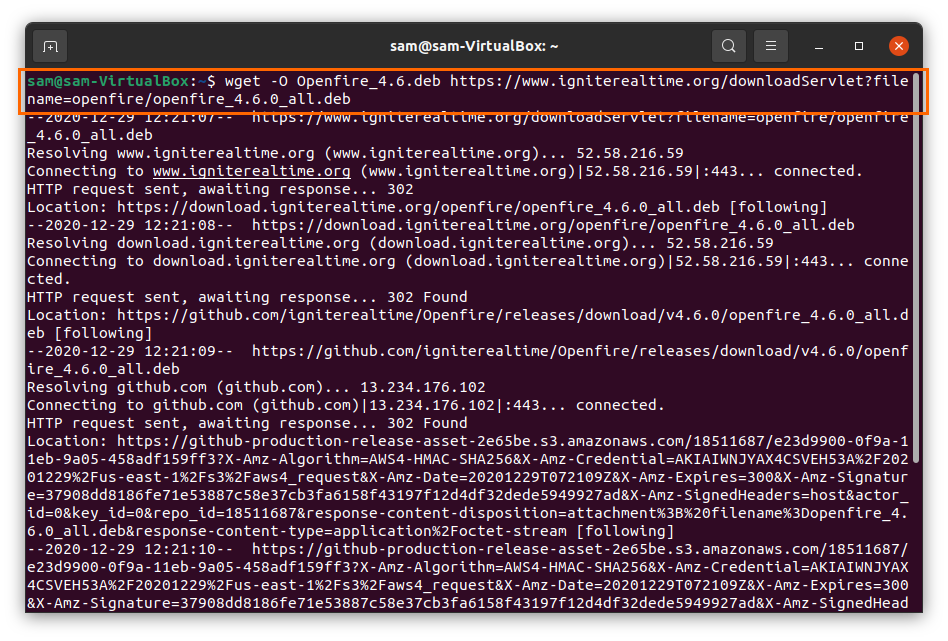
Now time to download the Openfire package. First copy the below-mentioned command and put in terminal to download Openfire Debian package:
https://www.igniterealtime.org/downloadServlet?filename=openfire/openfire_4.6.0_all.deb
Type the following command to install the Openfire Debian package:
Once the installation is finished, run the Openfire server using the command:
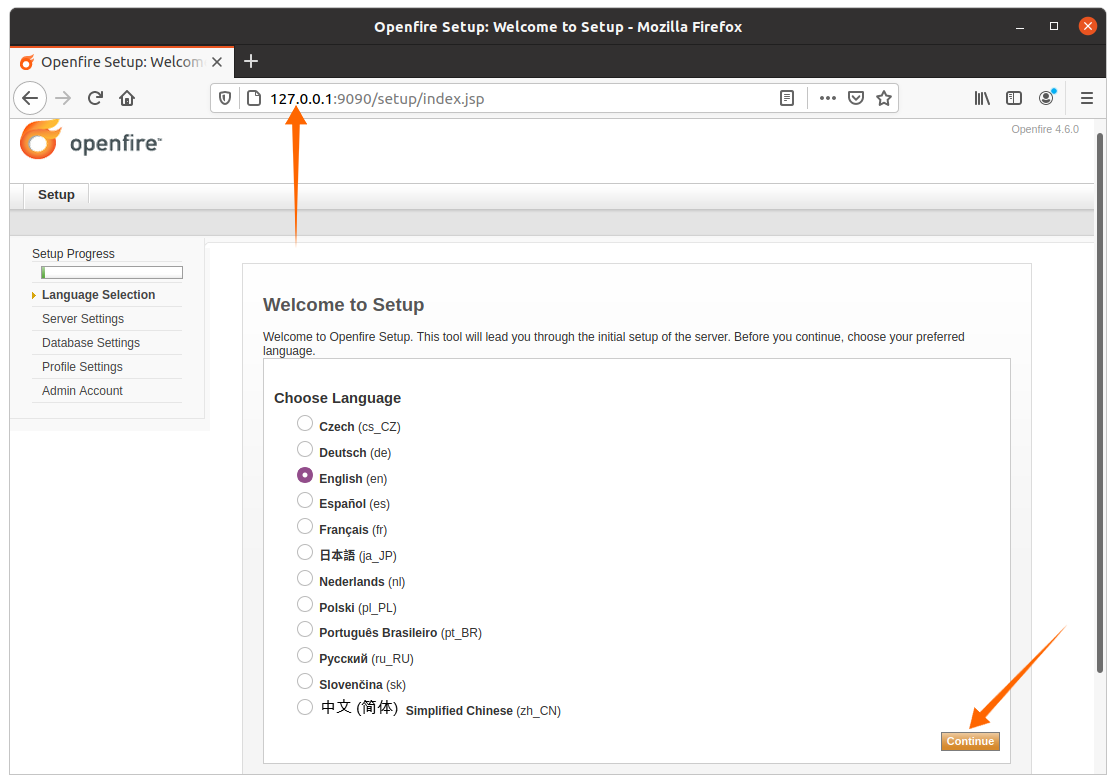
Now open the browser and type “http://localhost:9090” or use the “http://127.0.0.1:9090” address in the URL bar. You will view the following web page, click on continue after selecting language:
Type the XMPP domain name, openfire will automatically fill it for you; it will be varying user to user. Click on the “Continue” button:

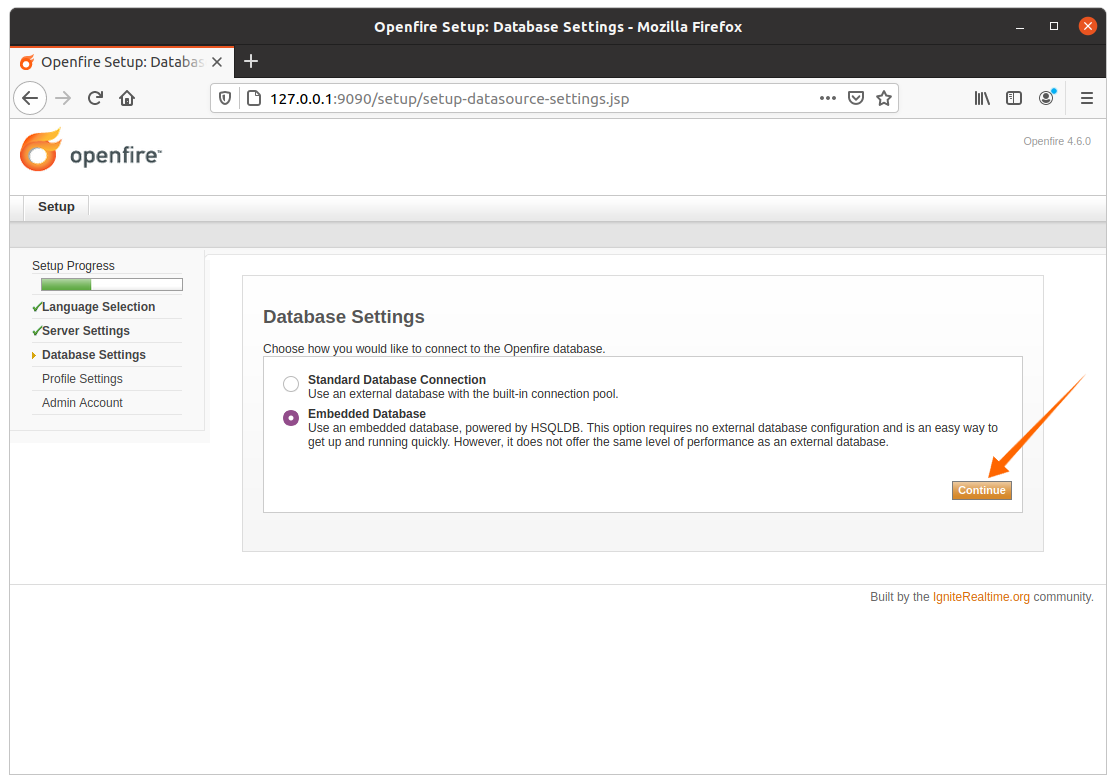
If you have an SQL database, select the first option; otherwise, the built-in database engine can be used to hit the continue button.
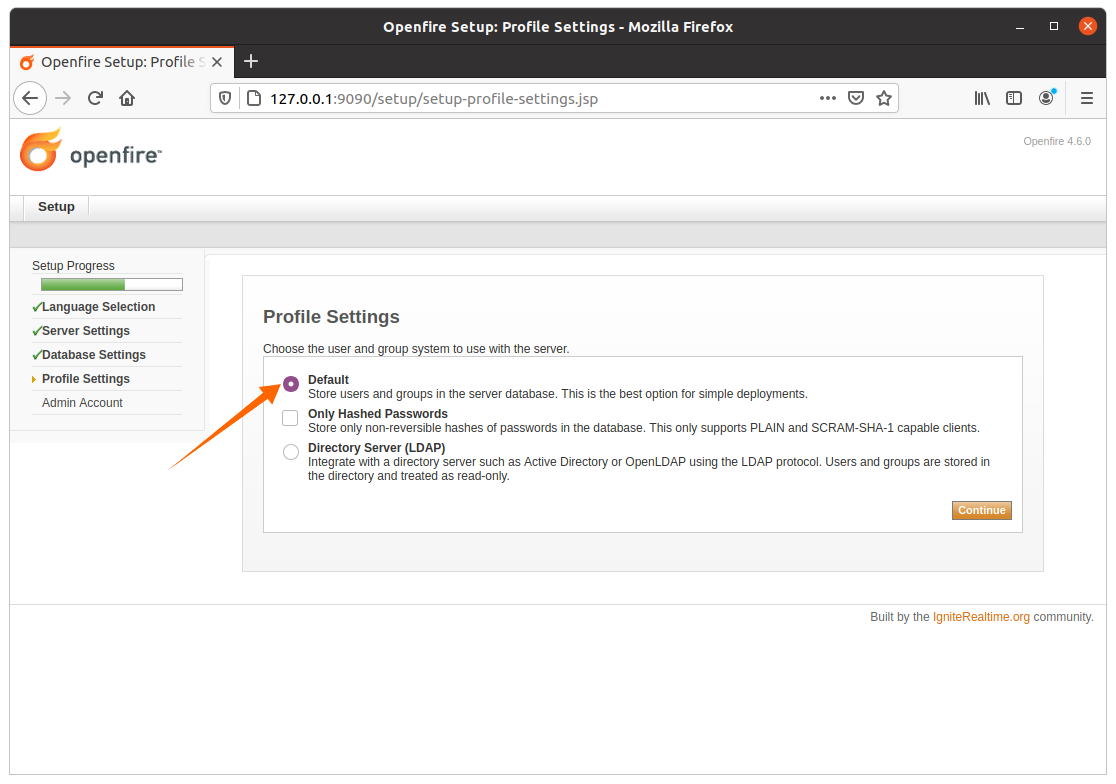
Profile setting will remain the default, or select any other option according to your requirement:
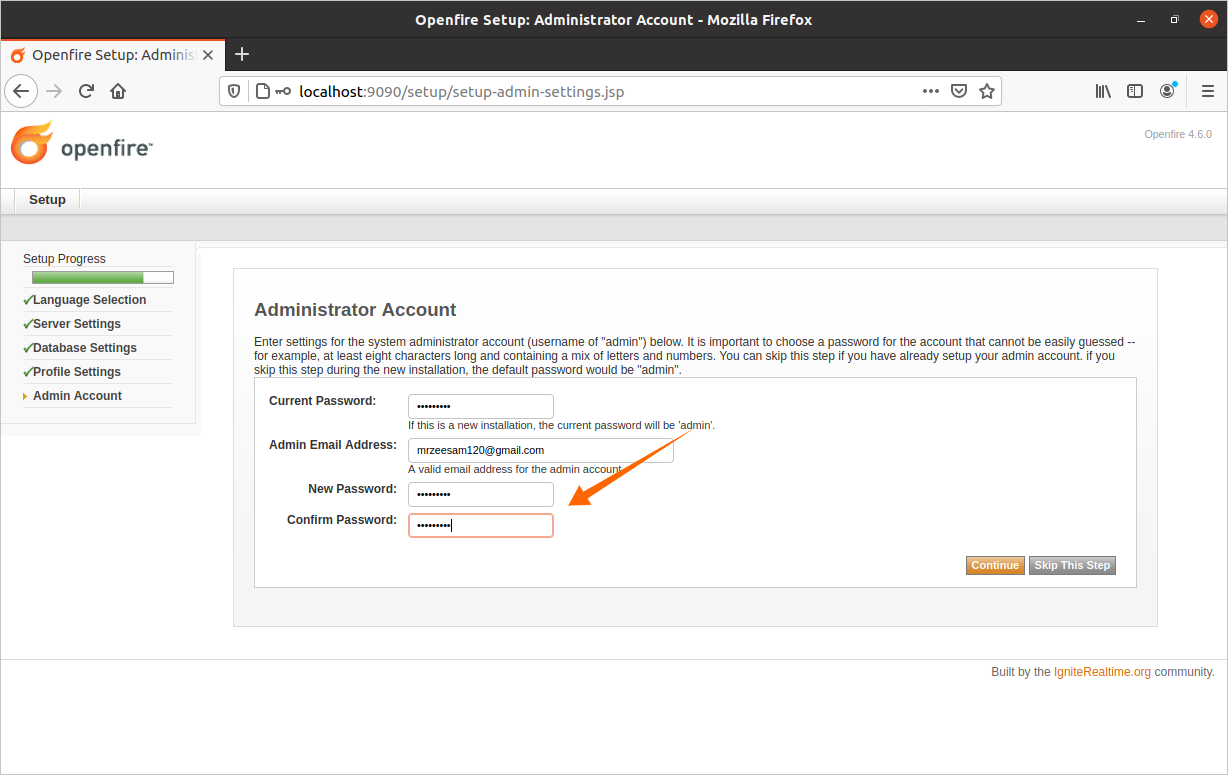
Set password for admin here:
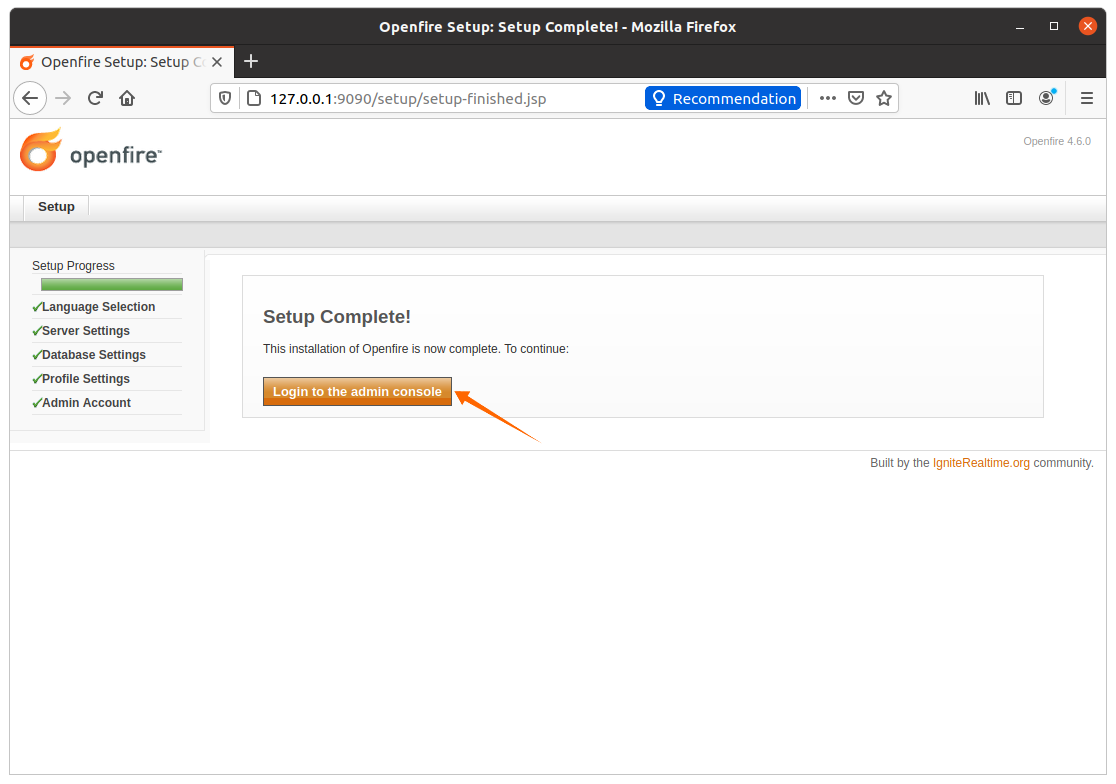
After setting up the admin password, the login setup will be completed. To visit the openfire login, click on the button shown in the image below:
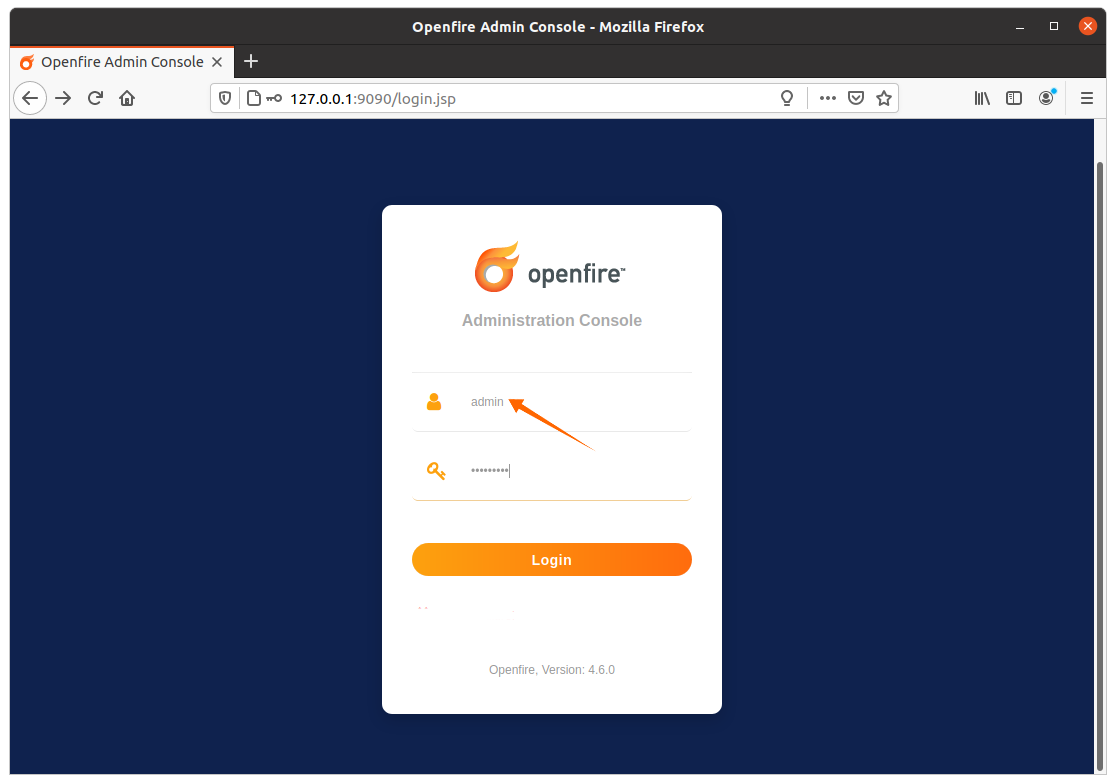
A login screen will appear, for username type “admin,” and for the password use the password which was set in the “Admin Account” option:
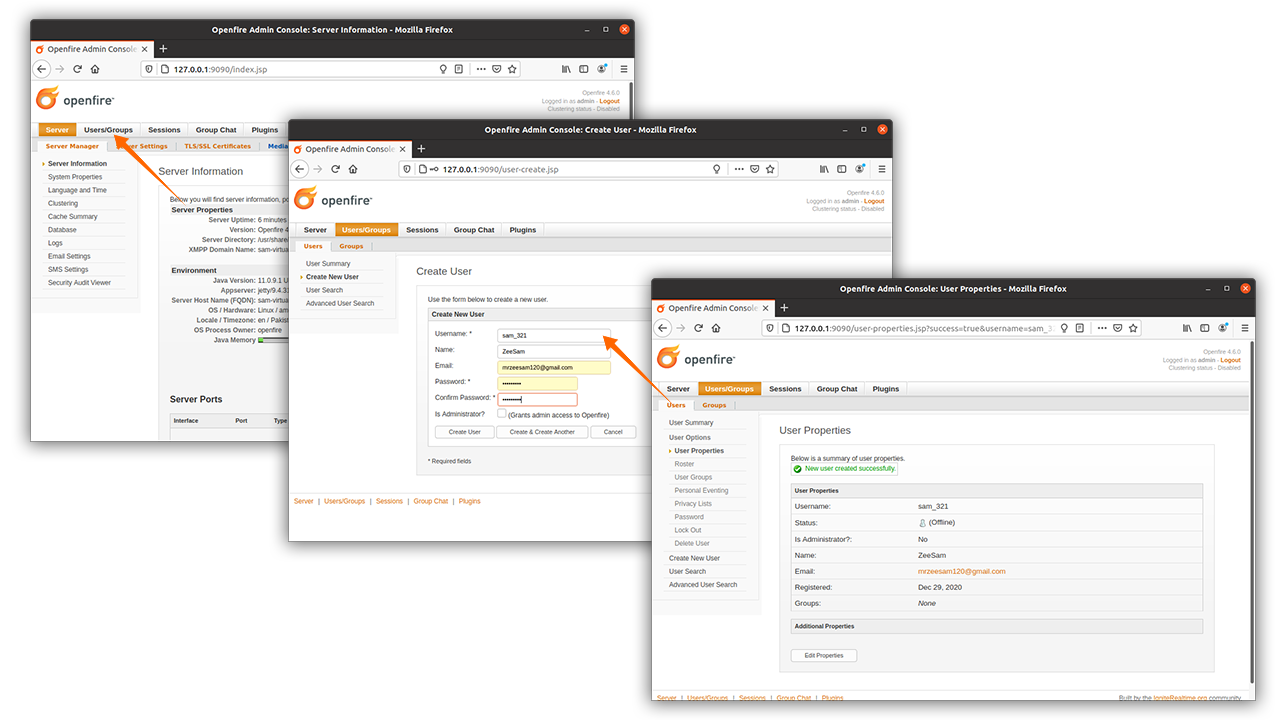
Now create a new user login by clicking on the “Users/Groups” tab, then click on “Create New User,” and fill in the required details and click on the “Create User” button. This login will be used for Spark IM.
After completing the above process, now time to download Spark IM; this server will act as a backend server.
Hi. Thks for this tuto. But what to do if we do not have a domain name to configure server settings?
I think you can still use localhost since that means this service will only be accessible locally to you