Kibana is one of the well-liked, free, and open-source visualization tools of the ELK stack. Basically, it is a tool for searching and visualizing Elasticsearch indexes, data monitoring, log analysis, and time series data. Additionally, it is used to visualize searched data as a heat map, line graph, pie chart, and histogram. Therefore it is also known as a charting tool.
This post will demonstrate how to set up Kibana for Elasticsearch.
Prerequisite: Install Elasticsearch
Elasticsearch is a famous search engine used to manage, store and search numeric, unstructured, and semi-structured data. The Kibana is mainly used with Elasticsearch to search indexes and represent Elasticsearch data in the form of a chart or histogram. To set up Kibana on the system, you are required to set up Elasticsearch first. To set up Elasticsearch on the Windows system, follow our associated article.
Note: The token and login information needed to set up Kibana with Elasticsearch are generated during the installation of Elasticsearch.
How to Setup Kibana for Elasticsearch?
To set up Kibana for Elasticsearch on Windows, first download the Kibana zip setup file from the Elastic official website. Then, add the configuration token of elasticsearch to the “kibana.yml” file. For the demonstration, go through the following instructions.
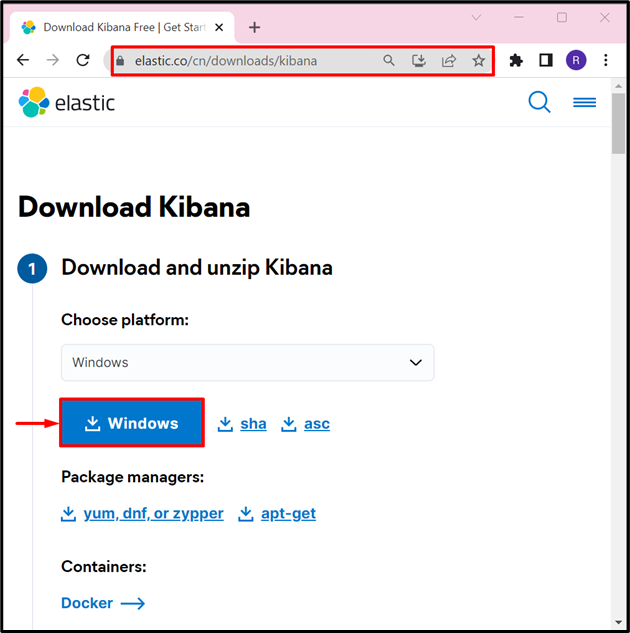
Step 1: Download Zip Setup for Kibana
First, open the Elastic official website and download the Kibana zip setup:
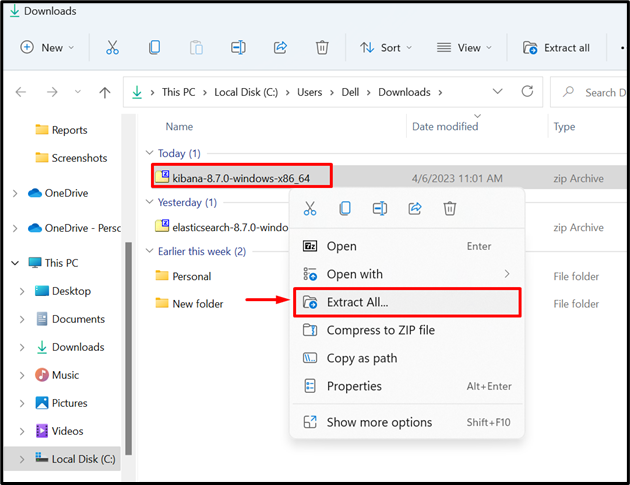
Step 2: Extract the Setup
Next, navigate to the “Downloads” directory and extract the Kibana zip setup. For this purpose, right-click on the setup and choose the “Extract All” option:
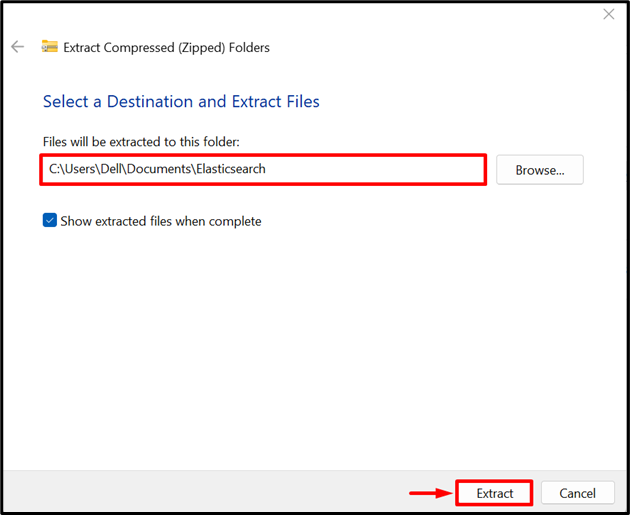
Next, browse the location where you want to store Kibana extracted setup and hit the “Extract” button:
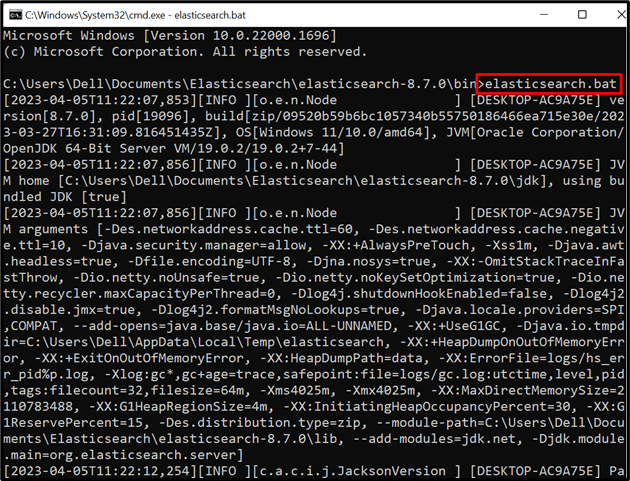
Step 3: Start Elasticsearch
Next, navigate to the elasticsearch “bin” directory using the “cd” command. After that, start Elasticsearch on Windows using the provided command:
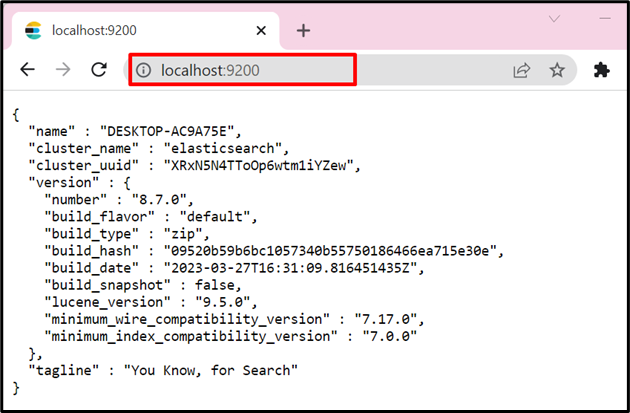
For the confirmation, navigate to the localhost port “9200” and verify if the Elasticsearch engine is executing or not:
Step 4: Generate Token For Kibana Configuration
Next, you are required to add a configuration token to the “kibana.yml” file. This token is generated when Elasticsearch is started for the first time. However, if the token is misplaced or deleted, you can generate a new elastic token. For this purpose, first, visit the “bin” directory of elasticsearch and open the Command Prompt by searching it in the address bar:

Next, execute the provided command to generate the new token with the name “my-token”:

Step 5: Configure Additional Configurations for Kibana
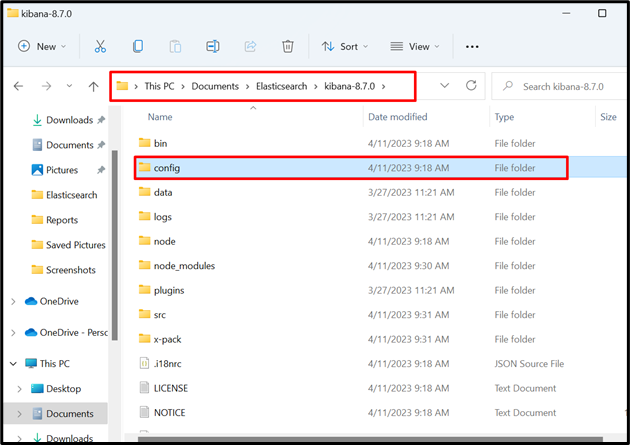
In the next step, open the Kibana setup folder, navigate to the “config” folder as shown below:
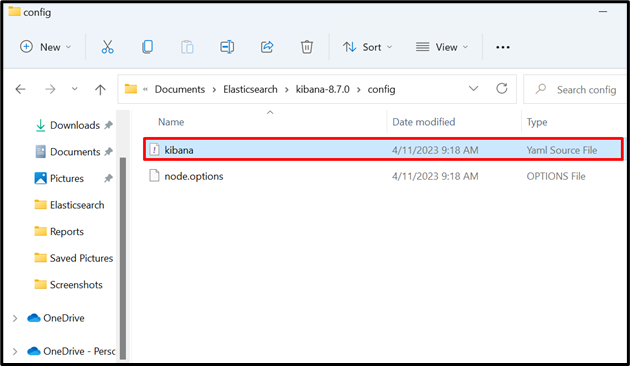
Open the “kibana.yml” file in any text editor:
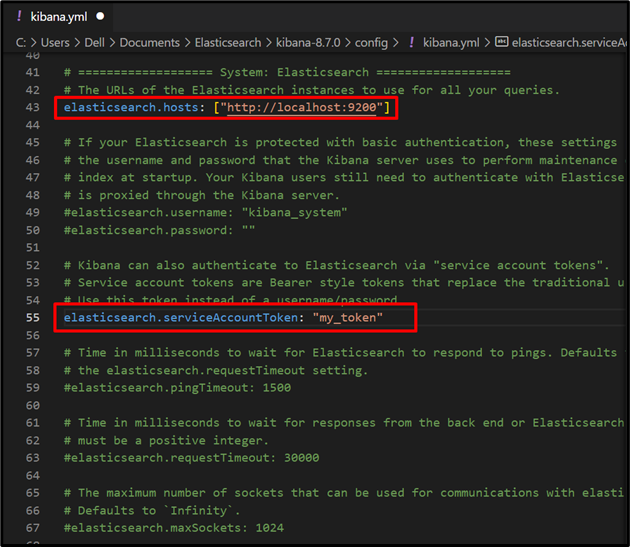
Uncomment the following lines by removing the “#” sign:
elasticsearch.hosts: ["http://localhost:9200"]
elasticsearch.serviceAccountToken: "my_token"
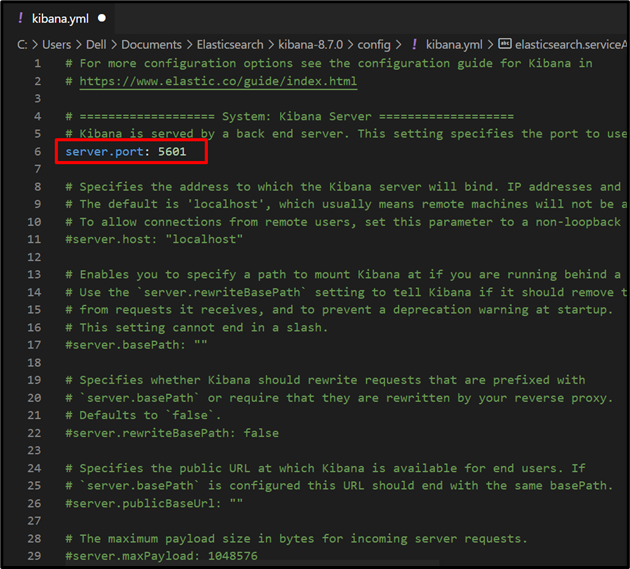
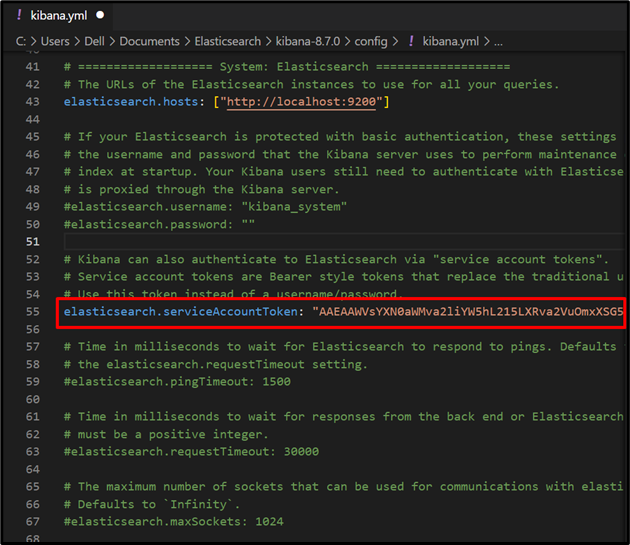
Next, add the generated token in the 4th step to the “elasticsearch.serviceAccountToken” value as shown below:
Step 6: Start Kibana
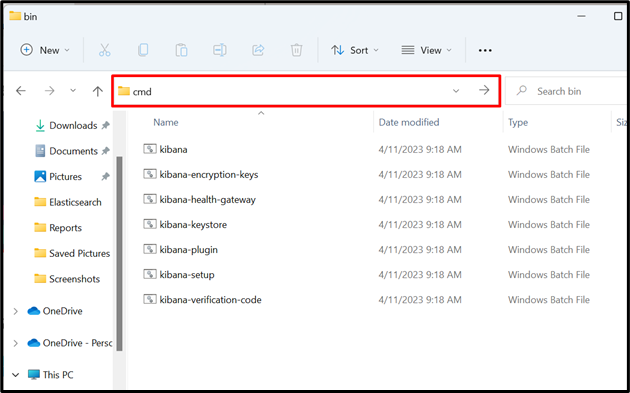
Open the Command Prompt in the “bin” directory of Kibana setup by searching “cmd” in the address bar:
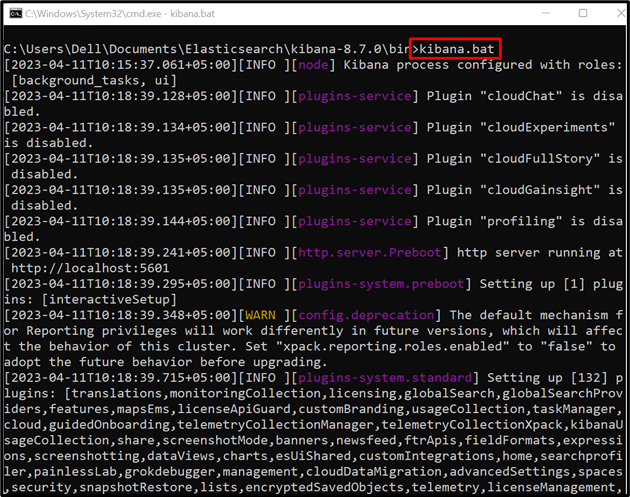
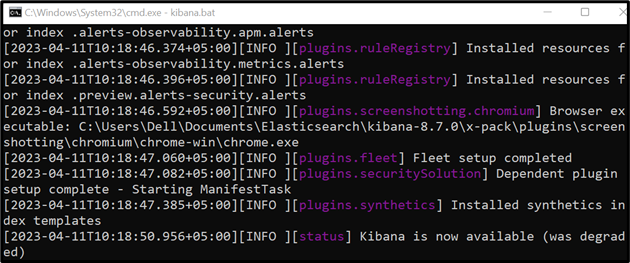
Execute the “kibana.bat” file to run Kibana on the system:
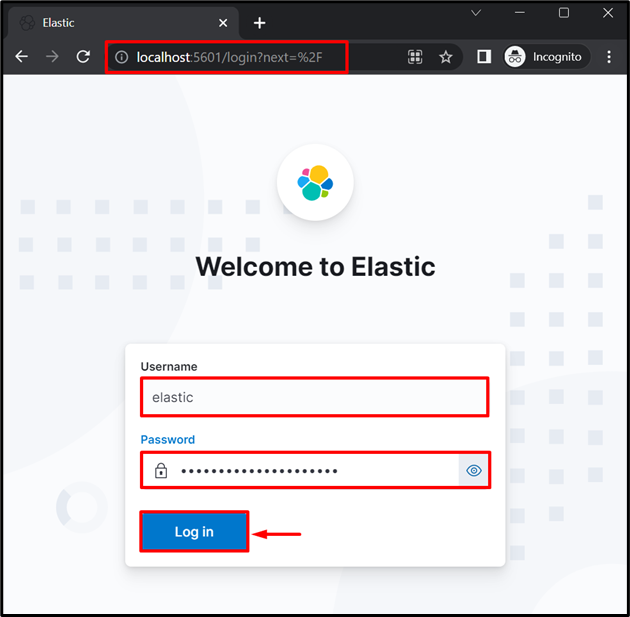
Step 7: Log in to Kibana as an “elastic” User
Next, navigate to localhost port “5601” and check if Kibana is running or not. Provide the Elastic user login credential that is also generated while executing the Elasticsearch engine for the first time:
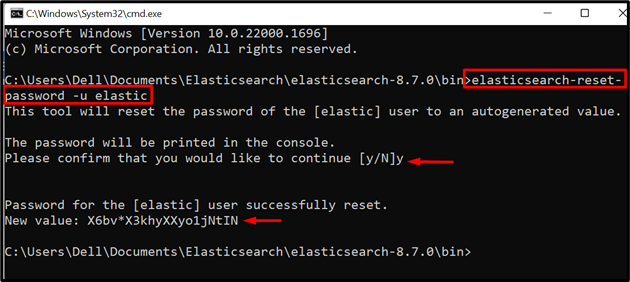
However, if the Elastic user password is misplaced or deleted, you can generate a new password for the “elastic” user. For this purpose, again navigate to the “bin” directory of Elasticsearch:
and execute the following command:
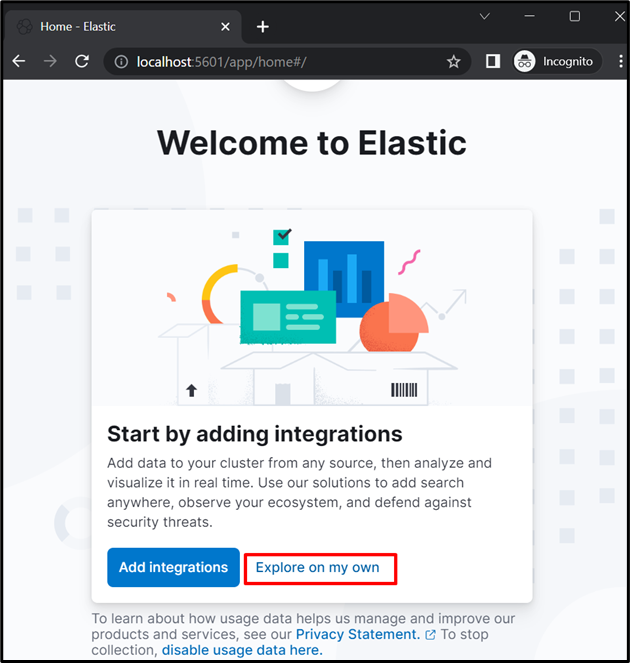
Here, you can see we have successfully login to Kibana as “elastic” user:
That’s all about setting up Kibana for Elasticsearch.
Conclusion
To set up Kibana for Elasticsearch, first, set up and start Elasticsearch. Note the Kibana configuration token and “elastic” user login credentials. After that, download the zipped setup of Kibana from the Elastic official website. Extract the setup and add the configuration token to the “kibana.yml” file. After that, start the Kibana by executing the “kibana.bat” file. For the verification, navigate to the “http:localhost:5601” and log in to Kibana as an “elastic” user, and start using it. This article has demonstrated how to set up Kibana for Elasticsearch.