How to Install and Setup DHCP on Rocky Linux 9
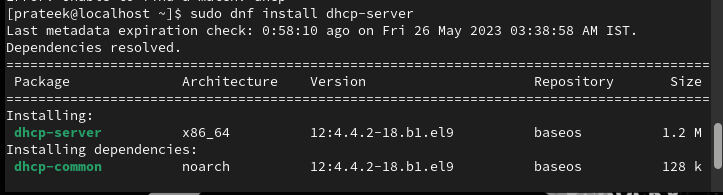
First, run the following commands one by one to install the DHCP package in your Rocky Linux machine:
sudo dnf install dhcp-server
Once you install the DHCP package, it is time to modify the DHCP configuration file. Run the following command to open the config in the text editor:
Replace the content of the file with the desired DHCP server configuration. Here’s an example configuration to get you started:
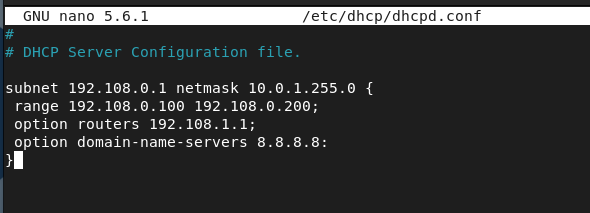
Modify the subnet, IP address, range, DNS server, and default gateway server according to your requirements.
Finally, start and enable the DHCP service through the following commands:
sudo systemctl enable dhcpd.service
This implements the DHCP server on your Rocky Linux machines. But if you are looking for a different method, you can set up DHCP with dnsmasq.
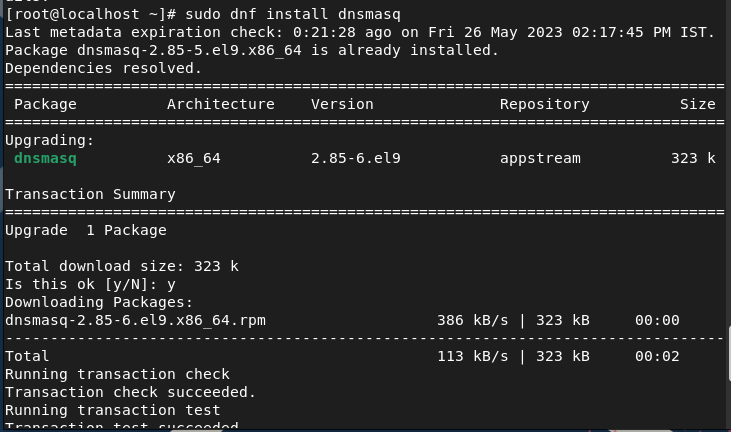
Setting Up DHCP Using Dnsmasq
Dnsmasq is an open-source DHCP server and DNS forwarder that provides various services including DNS caching, DHCP, DNS forwarding, etc. This utility is the DHCP for small-scale deployments in a small network:
After installing dnsmasq, it is time to edit the /etc/dnsmasq.conf configuration file as per the requirements.
In the text editor, add the following information and replace the details as per your requirements:
dhcp-range=102.198.1.100, 102.198.1.200,24h dhcp-option=option:router,102.198.1.1 dhcp-option=option:dns-server,0.0.0.0
Lastly, start and enable the DHCP server to make the changes successful in the system:
sudo systemctl enable dhcpd.service
Conclusion
This is all about the simple approaches that you can use to install and setup DHCP on Rocky Linux 9. We included the method to setup DHCP through dnsmasq for a change because it also supports a DHCP server. Moreover, we recommend you to modify the configuration file according to the details that you have. Otherwise, you may get an error while enabling the dhcpd.service in the system.