SendKeys in Selenium WebDriver
When we work with the Automation Test Control through Selenium Jars, we are not just capable of retrieving the data from the web elements but also capable of sending the data to the web elements. SendKeys() is the method in Selenium to send the data such as int, char, and symbols into the input field. The present elements on the web page that are used to identify the elements to receive the data are called locators such as element id, name, class name, etc. The Selenium WebDrivers are used to interact between the Selenium libraries and the browsers.
There are two easy steps in the sendKeys() method to send the data into the browser:
- The first step is the use of locators to identify the particular input fields such as search box, email address, username, password, etc.
- The second step is the sendKeys() method.
How to Pass the Selenium SendKeys Method into Form
In this tutorial, we use the “SWAGLABS” website log-in form. Use the sendKeys() method to pass the value into the “Username” and “Password” input fields and automatically click into the login button.
Let’s discuss the step-by-step process to execute the code for the login form.
Step 1: Website to be Used
Consider, for illustration, a login user account page located at https://www.saucedemo.com/.
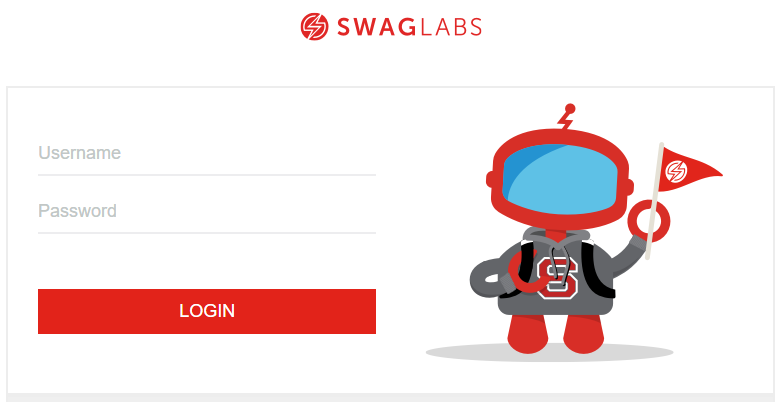
A login form with the “Username” and “Password” fields is shown in the previous figure.
Now, the WebDriver must recognize them for it to automatically complete the data in both fields. As previously discussed, the locators can also be used for this. Once we locate the necessary parts, all that is left to do is use the sendKeys() method to explicitly supply the necessary values.
Step 2: Configure the WebDiverManager
WebDriverManager works as an API in Selenium. That allows automating the management of the Selenium WebDrivers’ various versions compatibility such as Chromedriver, Getkodriver, and Firefox. It saves the time by not downloading and adding the libraries of the WebDrivers’ latest version.
The following script to configure the WebDriverManager must be used:
Step 3: Create a Public Void Class
In this step, we start to write the actual code. Let us create the void class and pass the sendKeys() method.
The following script is used to create the Sendkey class name:
}
Step 4: Setup the WebDriver
WebDrivers allows the interaction between Selenium and browser to perform the Web Automation Test by helping in sending and receiving the data.
In this step, we setup the Chrome browser driver through the following script:
ChromeDriver driver = new ChromeDriver();
Step 5: Use Get() to Open the Webpage
In this step, we use the get() method to open the given URL site in the Chrome browser.
Use the following script method to do so:
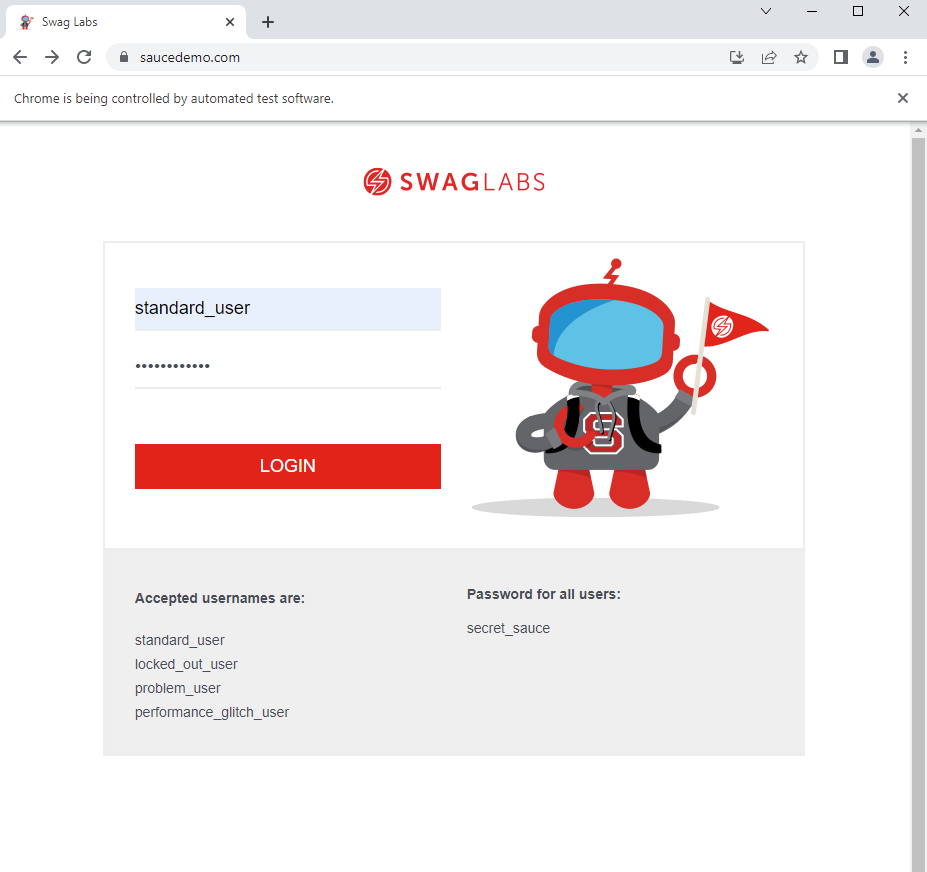
It can be seen in the following figure that Chrome is controlled by the automated test software.
Step 6: Get the Input Fields
To get the fields, we need the locators such as name, class, and ID. In this example, the locator id is used, which means finding the input field by ID.
In the following figure, the username input field has id= user-name <input id= “user-name”>.

In the following figure, the password input field has id= password <input id= “password”>.

The findElement method and By class are used to facilitate in automatically finding the IDs on the website.
The following script is used to get the input fields:
driver.findElement(By.id("password")).sendKeys("secret_sauce");
In this way, you can specify the elements to get the input fields.
Step 7: Get the Login Button XPath
To get the login button field, we need an Xpath locator.
Get the Xpath of the button by following the steps:
In this step, the findElement method and By class are used to facilitate in automatically finding the XPath on site.
>Xpath: /html/body/div/div/div[2]/div[1]/div[1]/div/form/input
The following script is used to get the XPath of the login:
Step 8: Close the Browser
In the final step, when the user account is logged in by the automated sendKeys value-successful, close the browser using the .close() function.
Here is how you can use the close() method:
Refer to the following complete code and see the output:
import org.openqa.selenium.By;
import org.openqa.selenium.chrome.ChromeDriver;
import io.github.bonigarcia.wdm.WebDriverManager;
public class Sendkey {
public static void main(String[] args) {
WebDriverManager.chromedriver().setup();
ChromeDriver driver = new ChromeDriver();
driver.get("https://www.saucedemo.com/");
driver.findElement(By.id("user-name")).sendKeys("standard_user");
driver.findElement(By.id("password")).sendKeys("secret_sauce");
driver.findElement(By.xpath("/html/body/div/div/div[2]/div[1]/div[1]/div/form/input")).click();
driver.close();
}
}
In the previous code example, we use the locator ID to find the “Username” and “Password” using the BY.locator class.
After executing the code, the input fields are automatically identified by the locators and then automatically fills the values into those fields by passing the key values through the sendKeys().

After receiving the values into the input fields, click on the LOGIN button by retrieving the Xpath of the LOGIN button. Finally, log-in the form successfully. The browser is closed automatically after the user account is logged in.
Now, you understand how to pass the Selenium sendKeys method into form. Let’s talk about a different illustration where we demonstrate how to use the sendKeys() method in the Selenium WebDriver to upload a file.
How to Upload a File Using the Sendkeys() Method
The simplest technique to upload a file using the Selenium WebDriver is the sendKeys method. Three simple steps are required for this:
Step 1: Select a File Button
In the first step, we need to select the “choose file “button. This selects the file that you want to upload. The command that selects a file is given in the following:
Here, you can see that we have taken the ID as “Choosemyfile” and this is for the WebElement.
Step 2: Select Your File
Now, choose the file from your computer that you wish to upload. Give the location of the file on our system. The code to choose the file to upload is provided here:
Step 3: Upload Your File
To successfully upload the file, you must now click the upload button. You must run the code in the subsequent line to accomplish this.
We provide the following complete code for your reference:
package TestCases;
import java.io.IOException;
import org.openqa.selenium.By;
import org.openqa.selenium.WebDriver;
import org.openqa.selenium.WebElement;
import org.openqa.selenium.chrome.ChromeDriver;
import org.testng.annotations.Test;
public class UploadMyFile {
@Test
public void MyFileUploadTest() throws IOException {
System.setProperty("webdriver.chrome.driver", "C:\\work\\driver.exe");
WebDriver mydriver = new ChromeDriver();
mydriver.get("https://mysite.com");
WebElement uploadMyFile = driver.findElement(By.id("ChooseMyfile"));
uploadMyFile.sendKeys("C:\\myfile1.txt");
mydriver.findElement(By.id("UploadMyFile")).click();
}
In the previous code, you can see that the required modules are loaded first. Then, we created a class in which we initiated the driver object. This launches the browser. After that, we select the “Choose File” button and specify the path of the file that we want to upload. Lastly, the file is uploaded successfully when we click on the button.
Conclusion
This article guide illustrates the use of the sendKeys() method using the Selenium framework to pass a username and password to the login form through an automatic control tool. Using the Java language, we write the code to set the browser driver, launch the browser driver, and pass the keys through the locator such as id, XPath, and log in to the account. In the end, we demonstrated the results on the browser which shows that the sendKeys() pass the input field values through IDs. Click the log-in button automatically. Finally, close the browser. We also explained how you can upload a specific file using the sendKeys() method. This article contains all the required information to help you get started.