Useful to scan ports, audit the network security and stability, find vulnerabilities, and even exploit them, Nmap is a tool no sysadmin can ignore.
Nmap was already deeply explained at LinuxHint with practical examples in tutorials quoted in this article. This article describes several Nmap techniques to scan all ports on a single or multiple targets, including vulnerability and UDP scans.
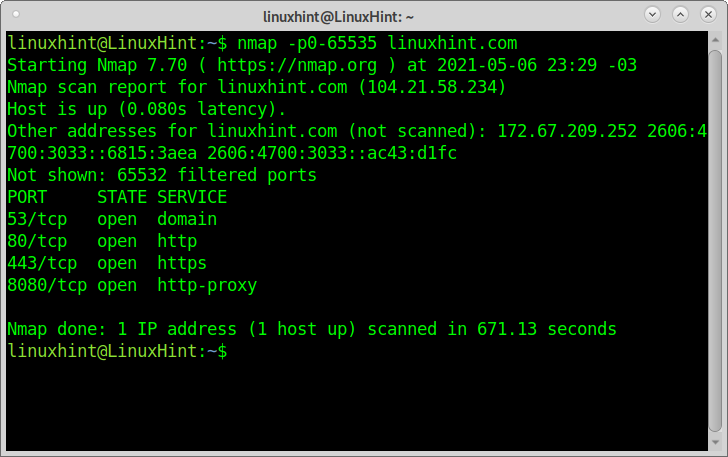
This first example shows how to scan all ports with Nmap, defining ports between 0 and 65535.
As you can see, Nmap reports ports 53,80,443, and 8080 as open. 65532 ports are filtered.
The scan process took around 15 minutes.
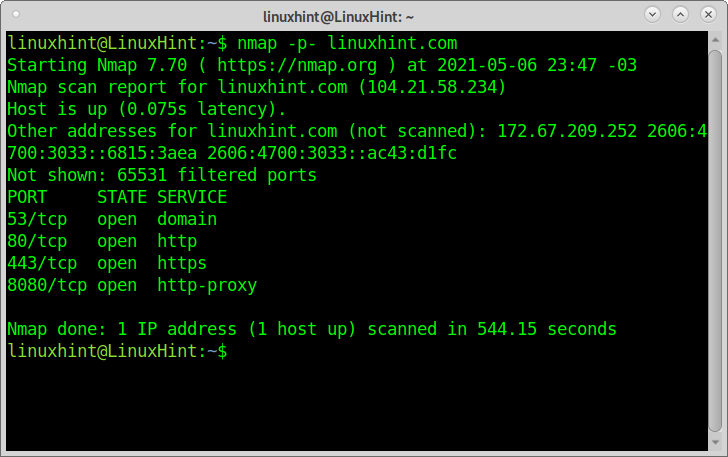
This second command does exactly the same as the example above but with a different syntax:
As you can see, the output is the same; the process took around 9 minutes.
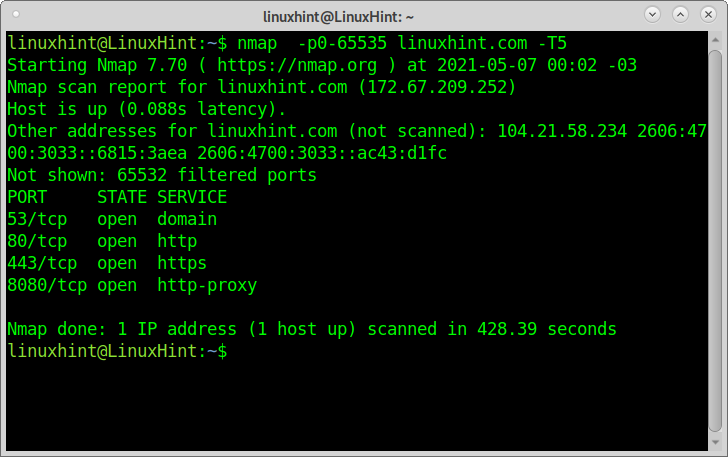
The following example increases the scan speed with the timing template -T5, which instructs Nmap to execute a fast scan (called “insanely fast”) with only 0,3 seconds delay to reply. This scan may not return accurate results. Available templates are template names are paranoid (0), sneaky (1), polite (2), normal (3), aggressive (4), and insane (5).
As you can see, this time, the scan was completed within 7 minutes approximately.
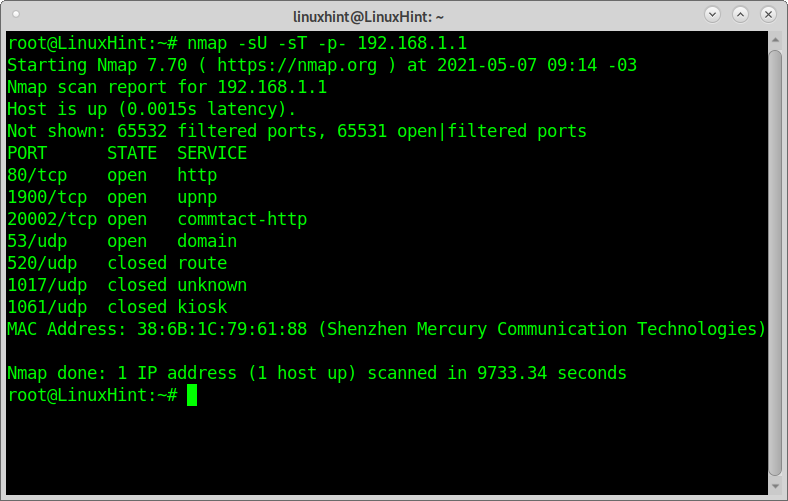
The following example shows how to scan all TCP and UDP ports bypassing the arguments -sU (to scan UDP ports) and -sT (TCP Ports). Scanning UDP ports is important to sysadmins because many security bugs affect UDP services.
When scanning UDP ports, the process will be slower.
You can also scan only UDP ports by specifying -sU without -sT.
Scanning all ports to find vulnerabilities (safe):
Nmap includes the NSE (Nmap Network Engine), a collection of scripts to find and exploit vulnerabilities on targets.
There are several types of scans classified by categories auth, broadcast, default. Discovery, dos, exploit, external, fuzzer, intrusive, malware, safe, version, and vuln.
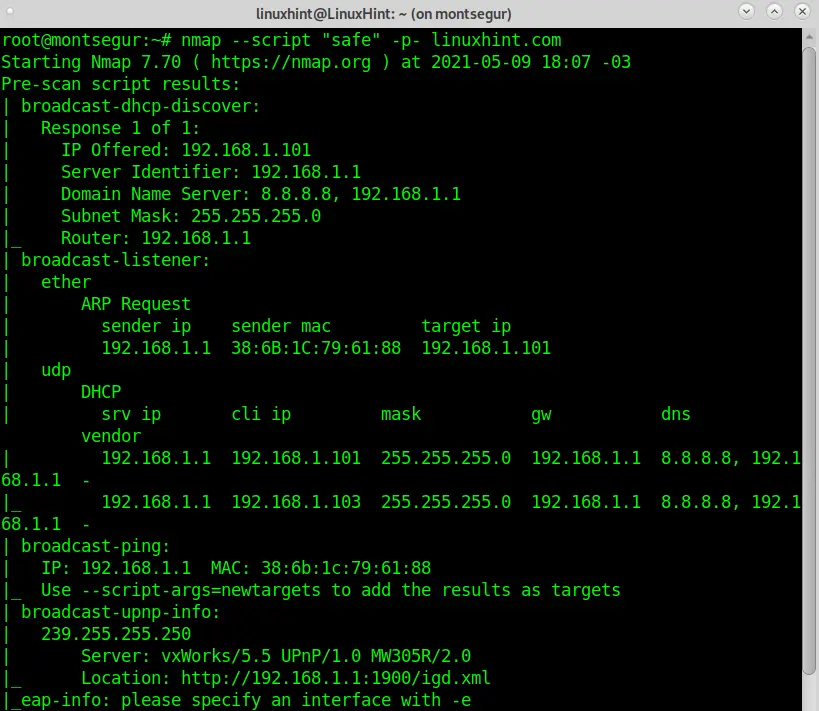
The following example describes how to execute a safe scan of all ports on a target.
It is important to highlight this is a safe scan because it only includes scripts unlikely to crash the target or its services or detected by a sysadmin as offensive activity.
This scan will run all NSE scripts included in the Safe category with the “–script “safe” argument.
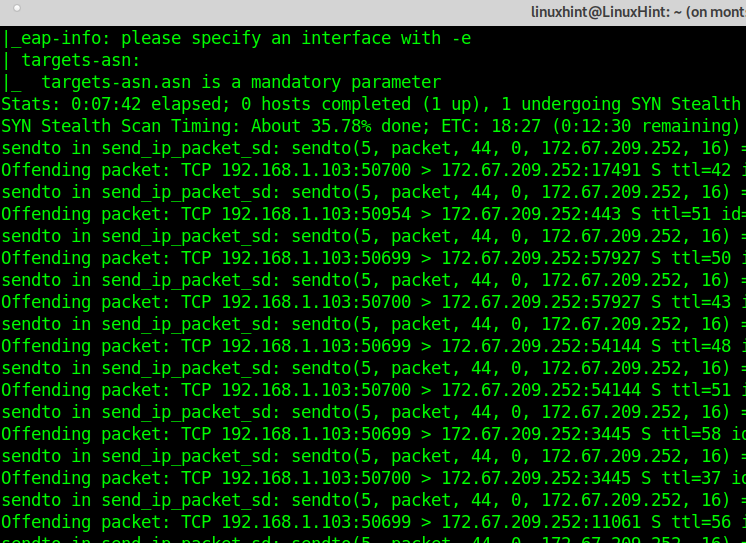
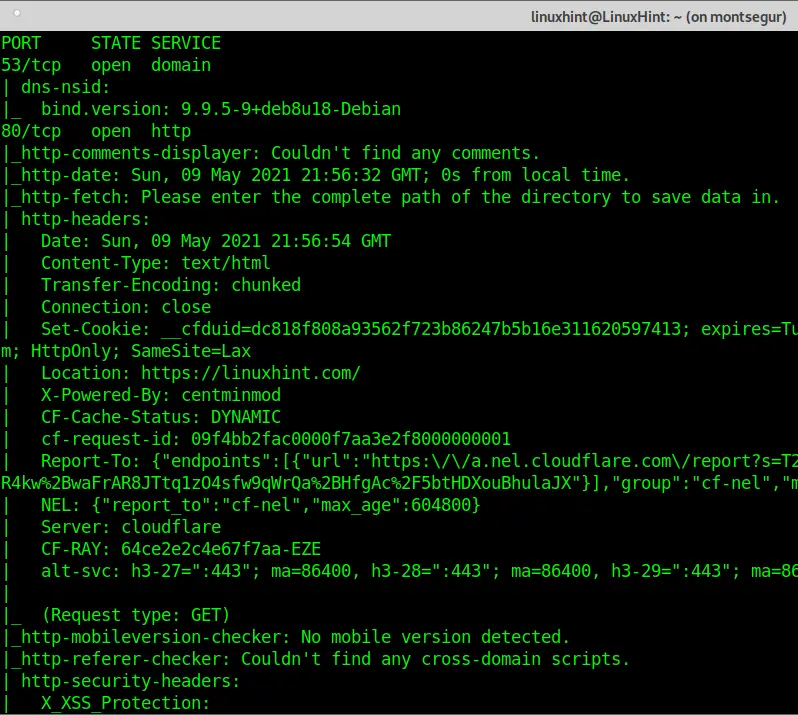
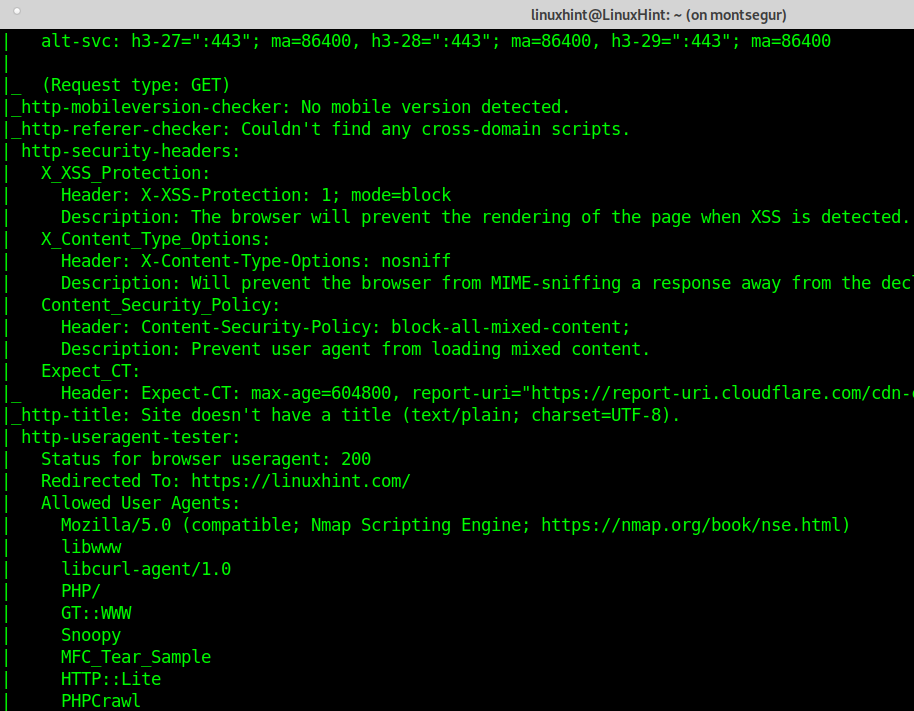
NOTE: Instructing Nmap to apply all scripts belonging to a category results in a long output. To make this tutorial comfortable to read, part of the output was omitted.
As you can see, the output is now full of additional information which wasn’t present in previous scans.
Scanning all ports to find vulnerabilities (aggressive):
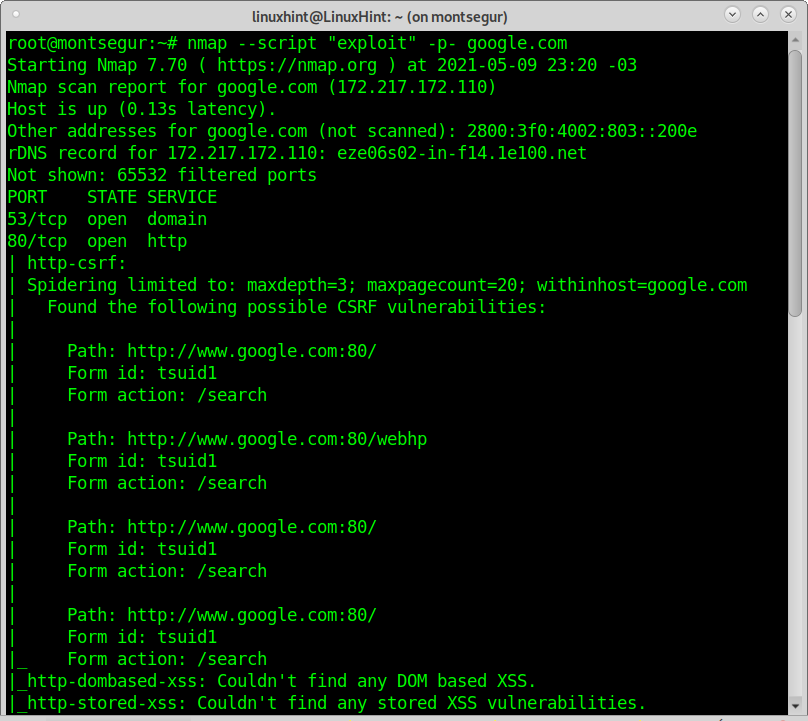
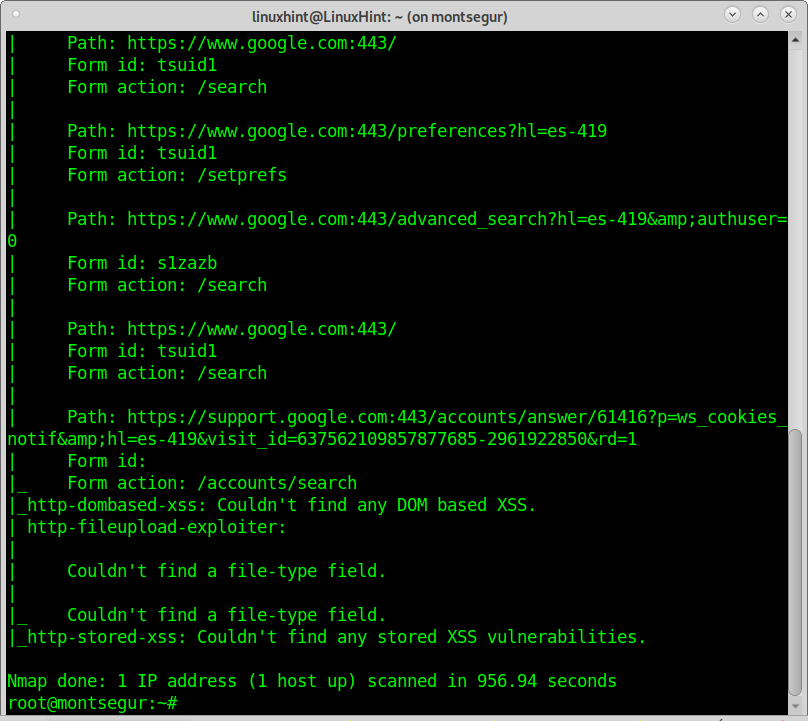
You can increase the output accuracy by choosing a more aggressive scan type, but it may crash the target. The following example will scan all ports on a target for exploitable vulnerabilities.
The output shows Google servers aren’t vulnerable. You can see examples of vulnerability scans and exploitation using Nmap here.
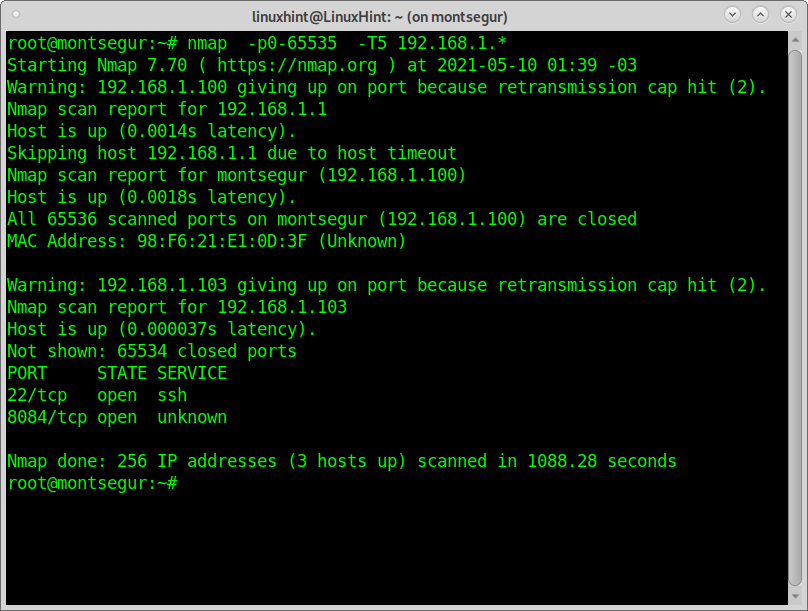
All techniques applied in previous examples can be applied on multiple targets. You can use a wildcard to scan a whole segment of IP addresses, a hyphen to define an IP range, and import target lists among more options to define multiple targets.
The following example shows how to scan all ports of the last segment in a local network; the -T5 timing template (insane) was added to speed up the process; this template may difficult the output accuracy.
Aggressive scans may use a big amount of bandwidth resources and may crash servers or affect services. Some scripts may break vulnerabilities.
Conclusion:
As shown in this and other tutorials published by LinuxHint, Nmap is an excellent multipurpose tool for networking. While other tools like Netcat allow you to scan all ports on a target, Nmap isn’t superior only because of the speed. You can scan multiple targets and subnets. A rich collection of scripts (NSE) adds unique features that ease sysadmin tasks and allow basic users to execute complex tasks easily. All techniques shown in this article can be done with Zenmap on a graphic environment; even users who don’t like to work with the terminal can enjoy the same quality to audit their own security or network stability.
I hope you found this tutorial useful. Keep following Linuxhint for more Linux tips and tutorials.

