
Luckily, a few Chromium OS-based operating systems are available that you can download and install on your computer. The most popular one is Neverware’s CloudReady OS.
This article will show you how to make a Live bootable USB thumb drive of Neverware’s CloudReady OS and run it from the USB thumb drive. So, let’s get started.
Abbreviations
The abbreviations(short forms) used in this article are:
- OS – Operating System
- USB – Universal Serial Bus
- BIOS – Basic Input/Output System
Downloading CloudReady OS
You can download CloudReady OS from the official website of Neverware.
First, visit the official website of Neverware from your favorite web browser.
Once the page loads, click on CLOUD READY EDITIONS > HOME as marked in the screenshot below.

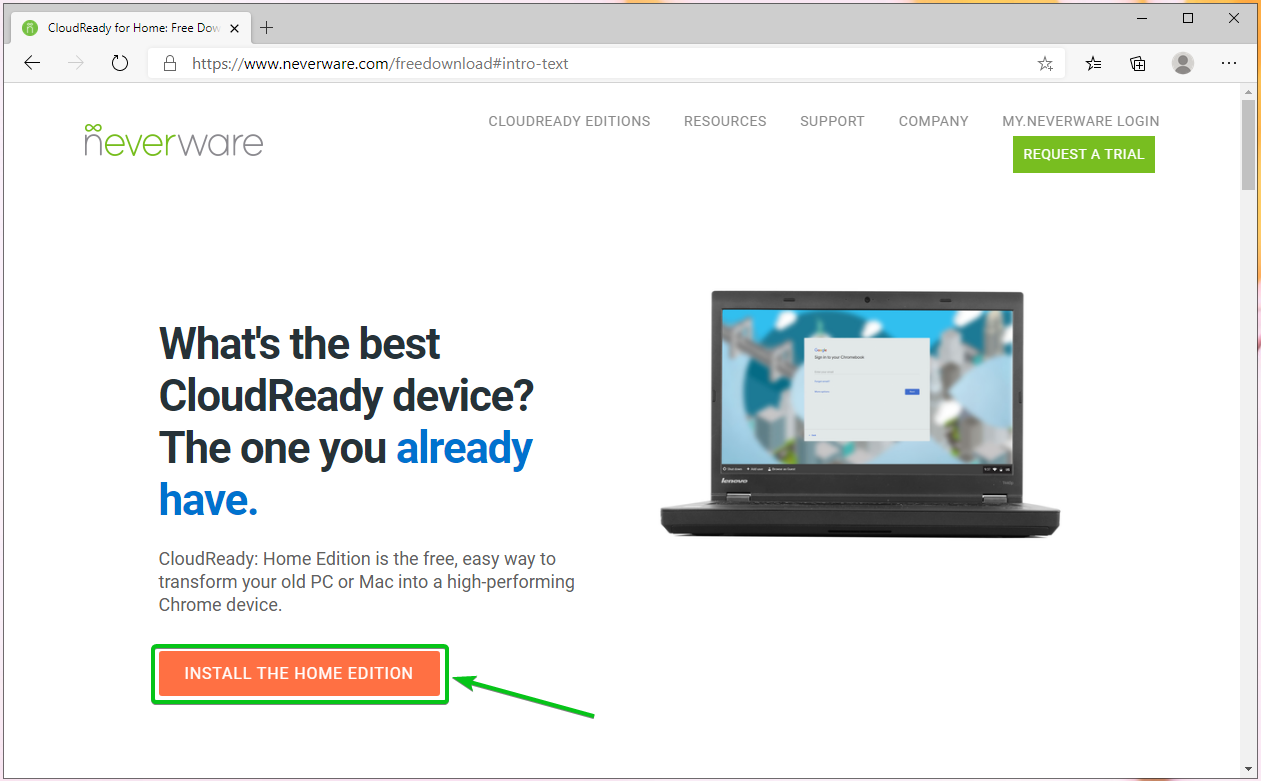
Click on INSTALL THE HOME EDITION as marked in the screenshot below.
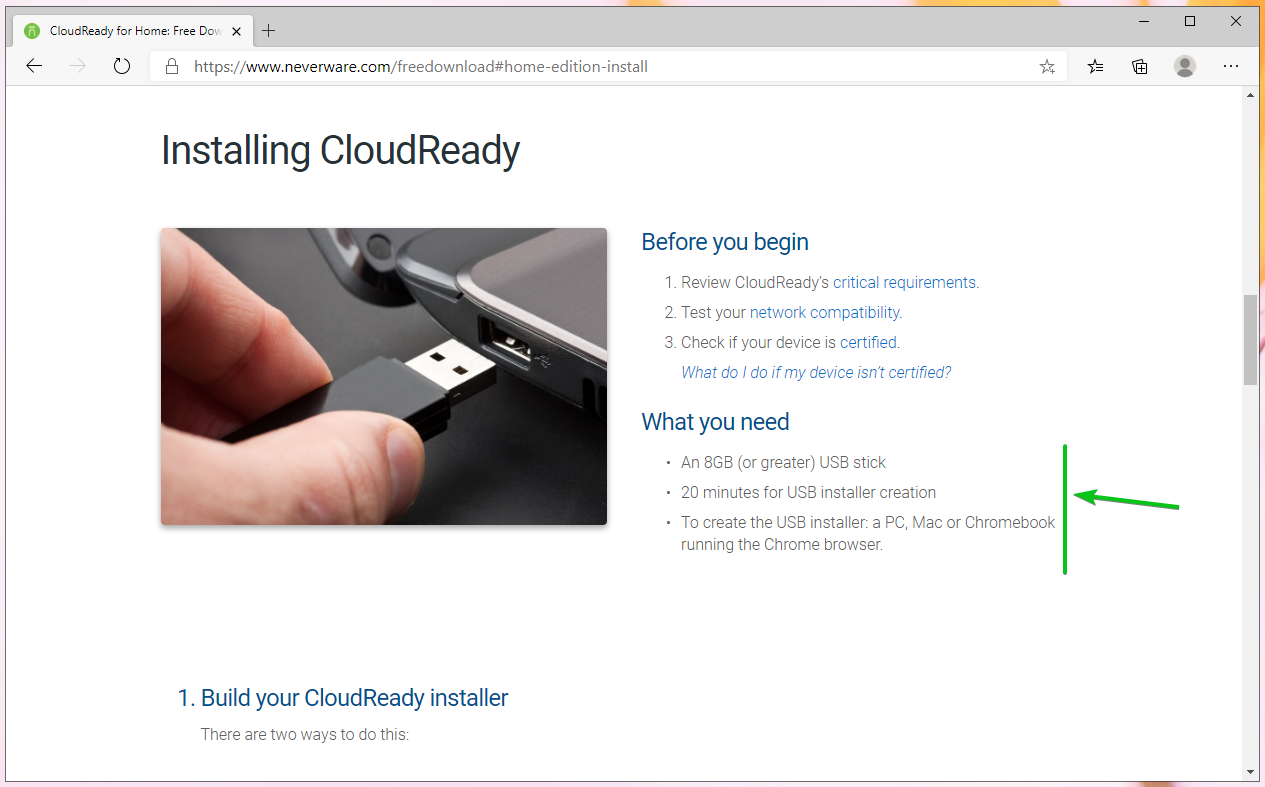
You should see the CloudReady system requirements in the What you need a section of the web page.
At the time of this writing, you need an 8 GB or higher capacity USB thumb drive and a computer to flash the CloudReady image to the USB thumb drive.
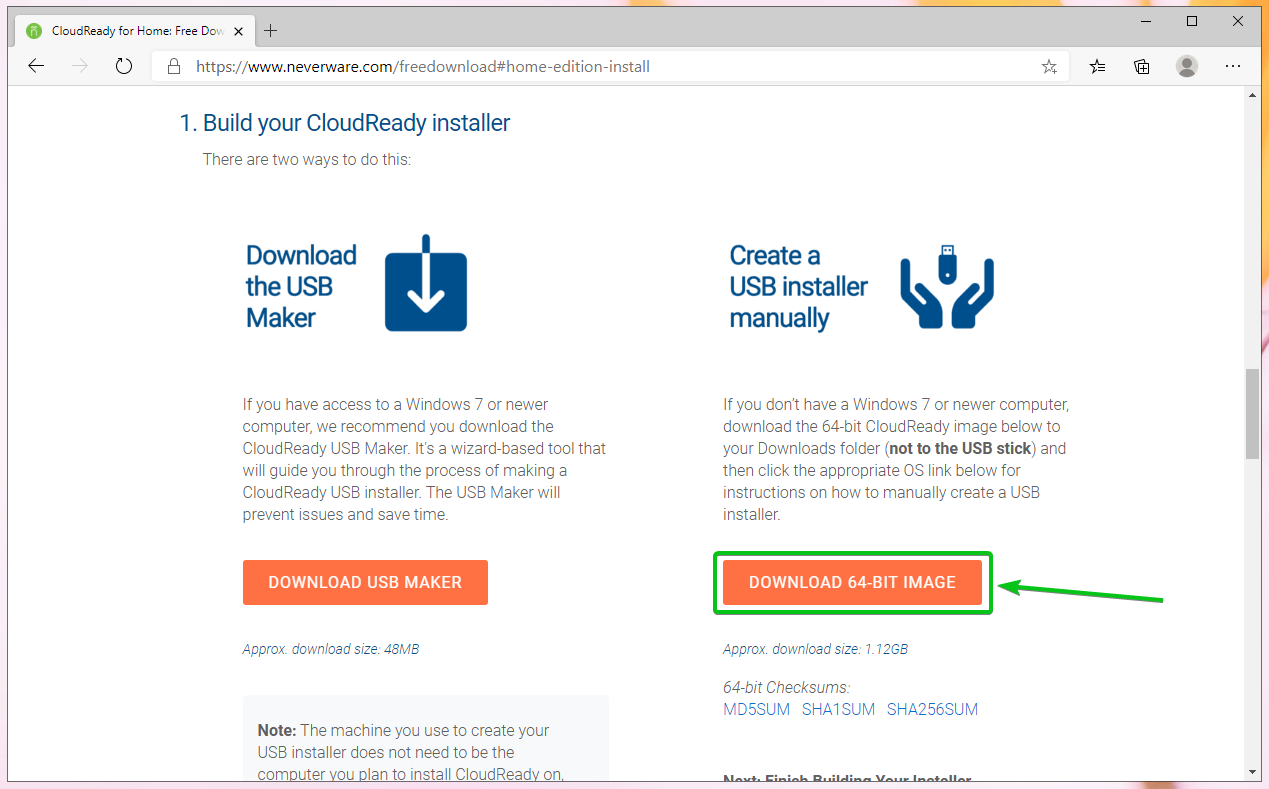
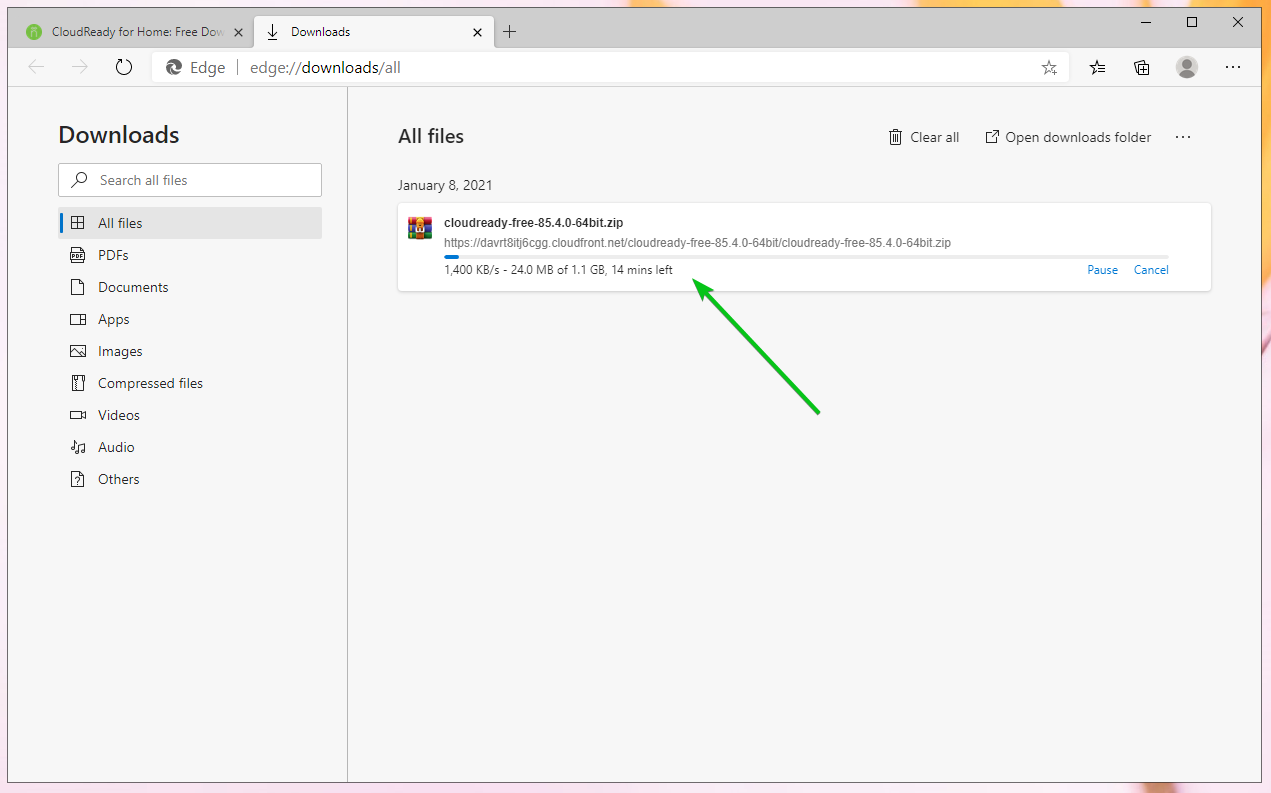
Scroll down a little bit and click on DOWNLOAD 64-BIT IMAGE as marked in the screenshot below.
Your browser should start downloading the CloudReady OS image. It’s a big file. So, it may take a while to complete.
Creating a CloudReady OS Bootable USB Thumb Drive on Windows
You can create a CloudReady OS bootable USB thumb drive on Windows using the official CloudReady USB Maker.
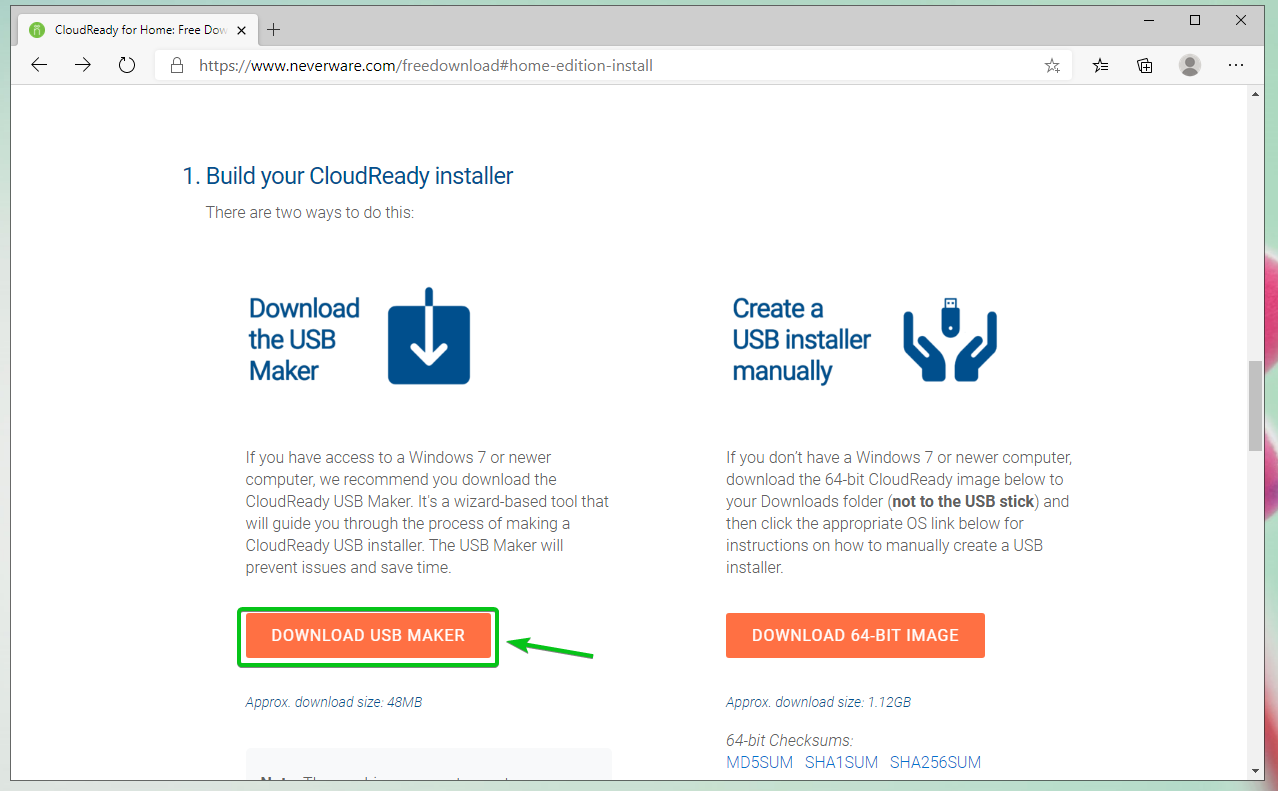
From the page you downloaded the CloudReady OS image, click on DOWNLOAD USB MAKER as marked in the screenshot below.
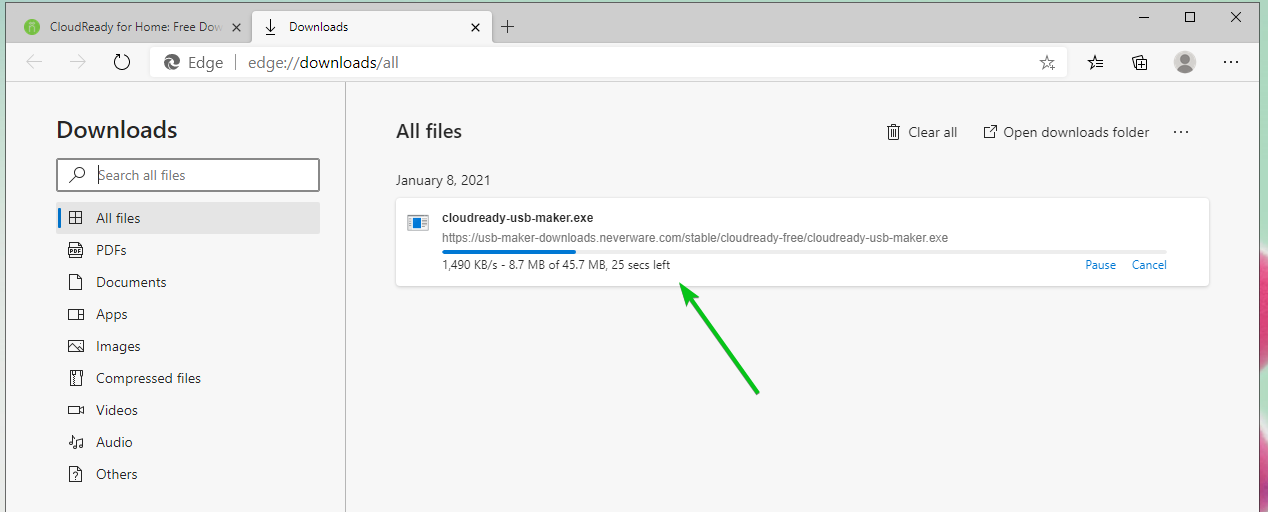
Your browser should start downloading the CloudReady USB Maker.
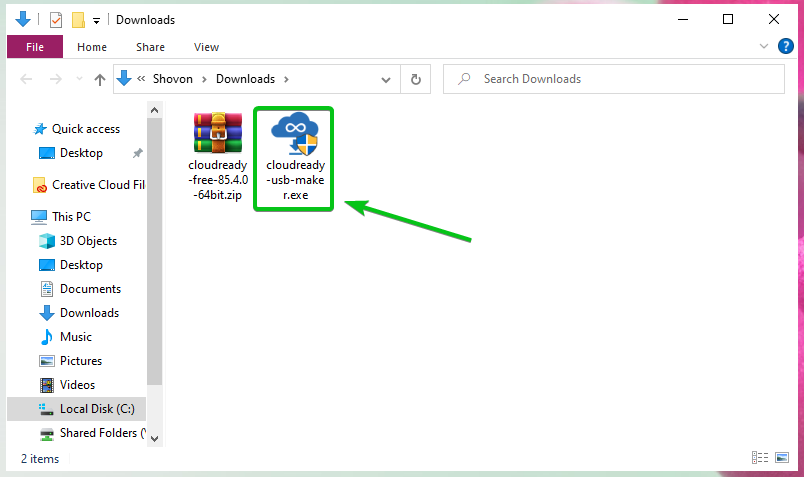
Once CloudReady USB Maker is downloaded, run it.
Click on Yes.

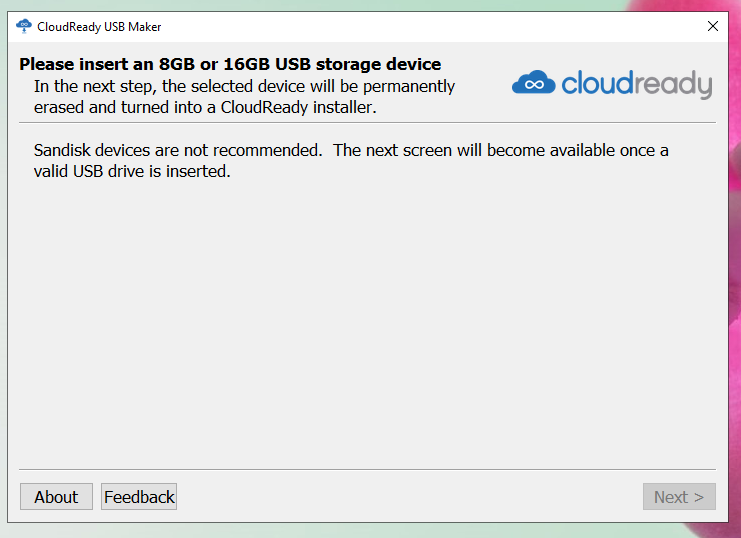
Click on Next.

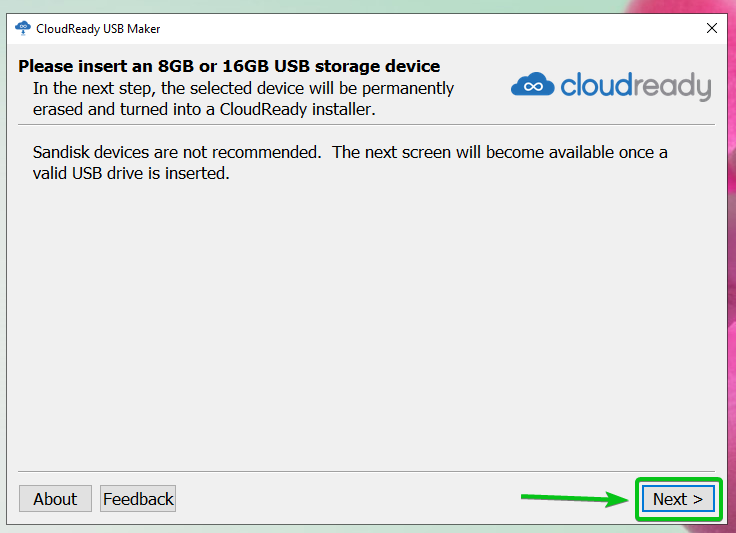
Once you see this window, plug-in the USB thumb drive to your computer.
Click on Next.
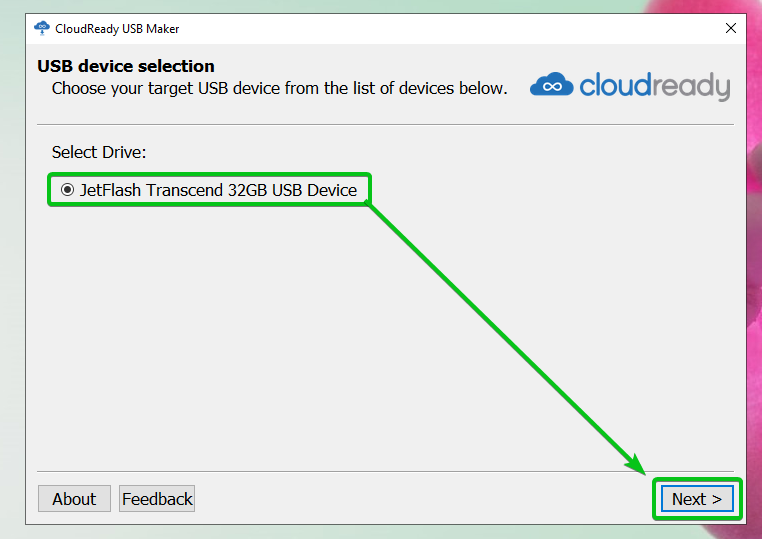
Select your USB thumb drive from the list and click on Next.
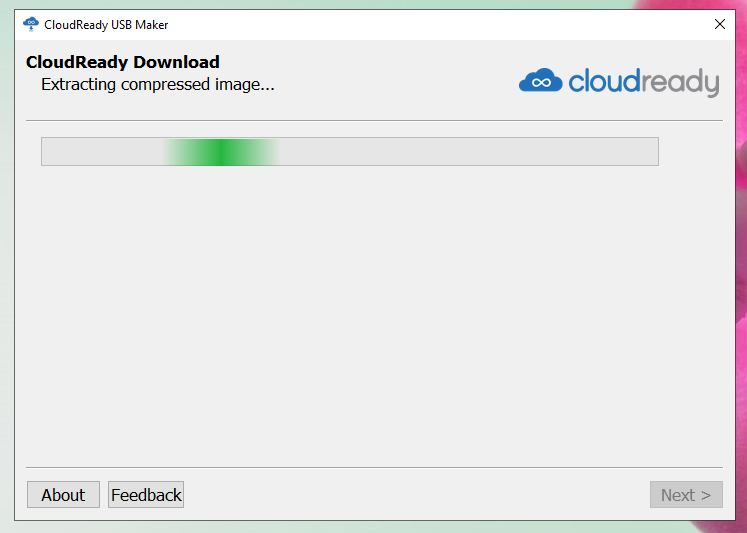
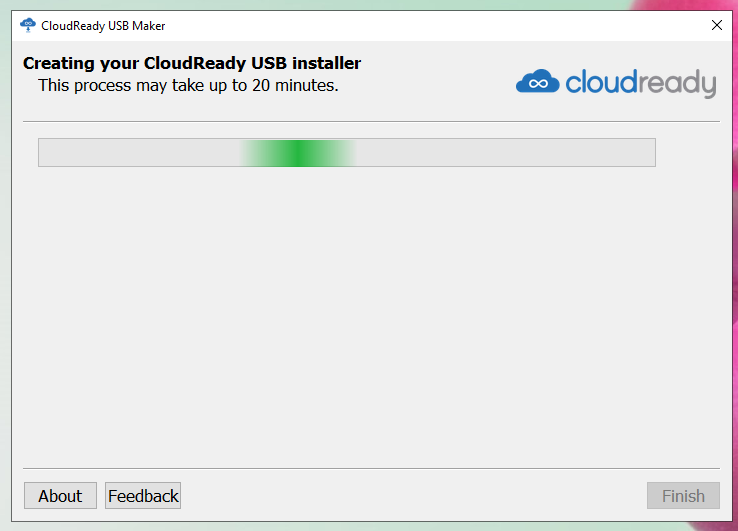
The CloudReady USB Maker is extracting the CloudReady OS image. It may take a while to complete.
Once the CloudReady OS image is extracted, the CloudReady USB Maker should start flashing the CloudReady image to the USB thumb drive. It may take a while to complete.
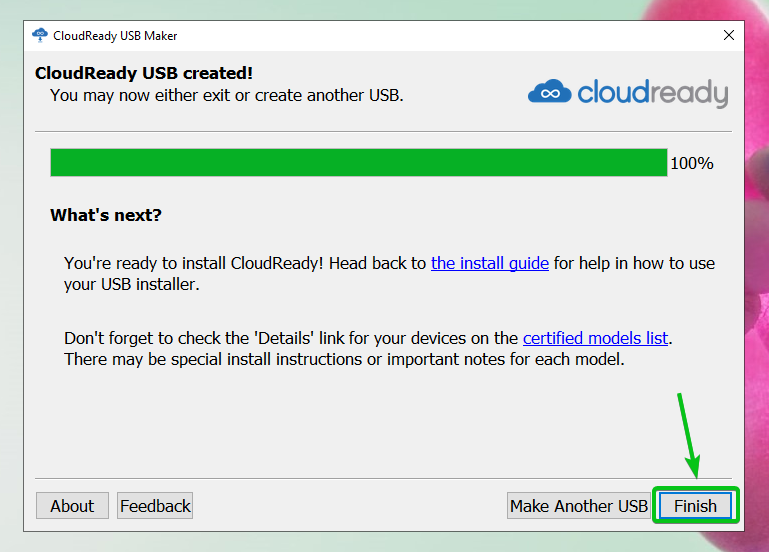
Once your USB thumb drive is flashed, click on Finish.
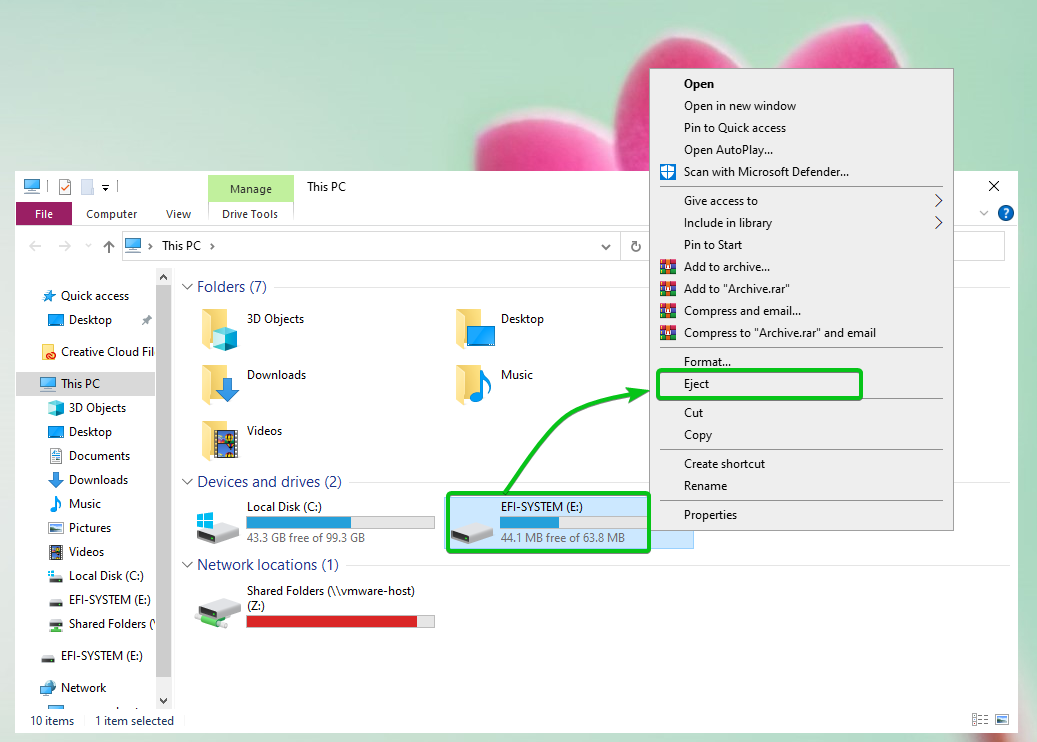
Finally, eject the USB thumb drive from your computer, and your USB thumb drive should be ready.
Creating a CloudReady OS Bootable USB Thumb Drive on Linux
You can create a CloudReady OS bootable USB thumb drive on Linux using the dd command-line tool.
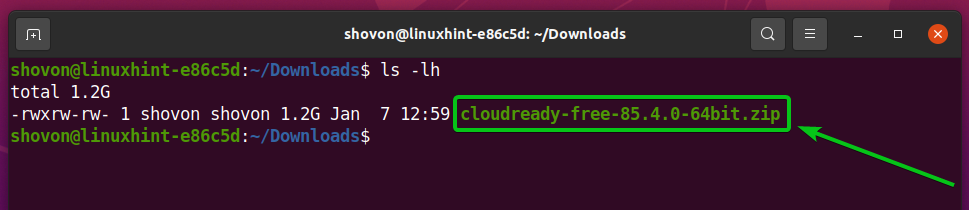
First, navigate to the ~/Downloads directory as follows:

You should find the CloudReady OS image cloud ready-free-85.4.0-64bit.zip here.
The CloudReady OS image is ZIP compressed. It would be best if you unzipped it.
To unzip the CloudReady OS image cloudready-free-85.4.0-64bit.zip, run the following command:

The CloudReady OS image ZIP file is being extracted. It may take a while to complete.

At this point, the CloudReady OS image should be extracted.

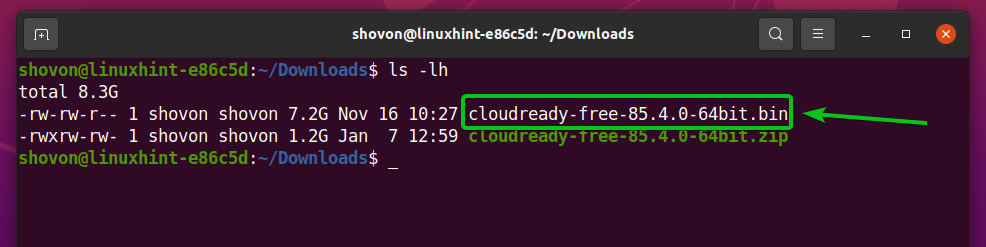
Once the CloudReady OS image zip file is extracted, you should find a new file cloudready-free-85.4.0-64bit.bin in the ~/Downloads directory.
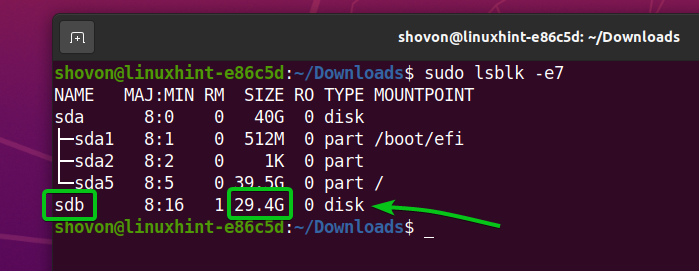
Now, insert the USB thumb drive on your computer and find the device name of your USB thumb drive as follows:

As you can see, I am using a 32 GB USB thumb drive, and its name is sdb. It will be different for you. So, make sure to replace it with yours from now on.
To flash the USB thumb drive sdb with the CloudReady OS image cloudready-free-85.4.0-64bit.bin, run the following command:

The CloudReady OS image cloudready-free-85.4.0-64bit.bin is being written to the USB thumb drive sdb. It may take a while to complete.

At this point, the CloudReady OS image cloudready-free-85.4.0-64bit.bin should be written to the USB thumb drive sdb.

Finally, eject the USB thumb drive sdb with the following command:

Booting CloudReady OS from USB Thumb Drive
Now, insert the USB thumb drive on your computer, go to your computer’s BIOS, and boot from the USB thumb drive.
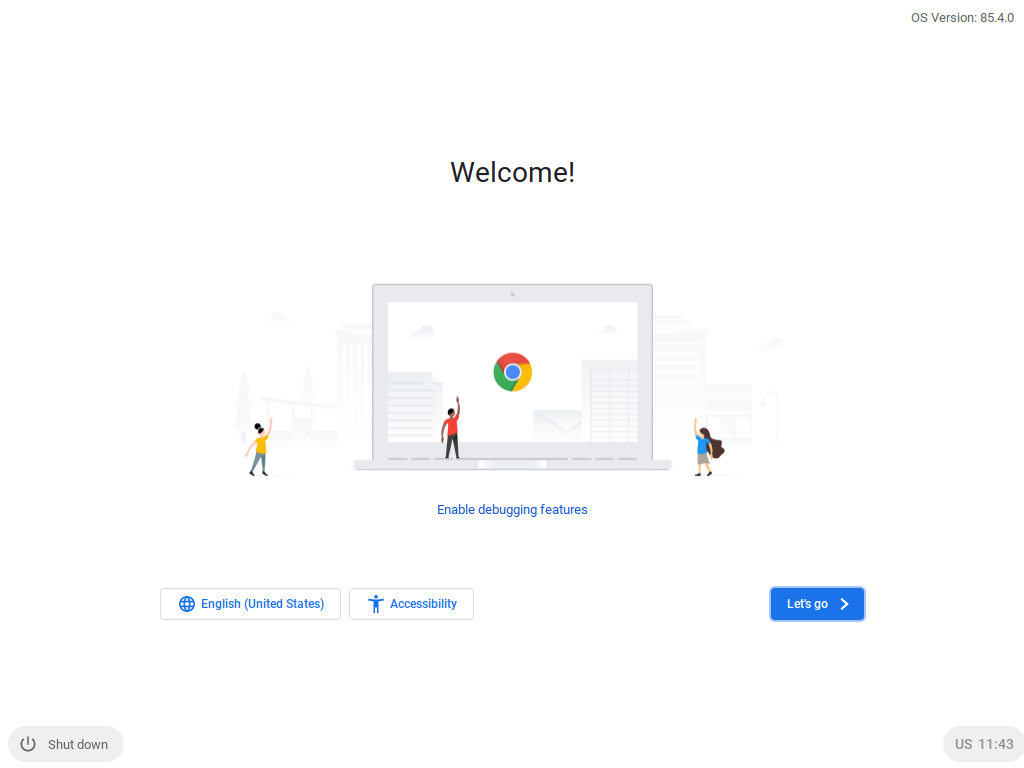
Once you’ve booted from the USB thumb drive, CloudReady should start in Live mode.
Initial Configuration of CloudReady OS
As you’re running CloudReady for the first time, you have to do some initial configuration.
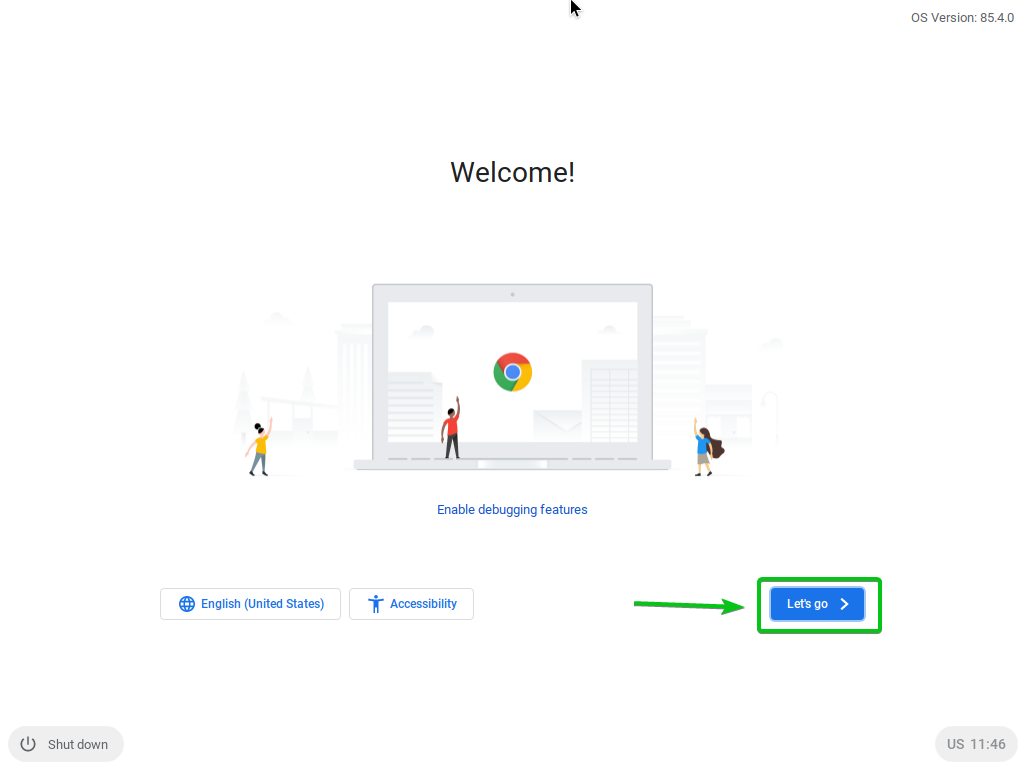
Click on Let’s go.
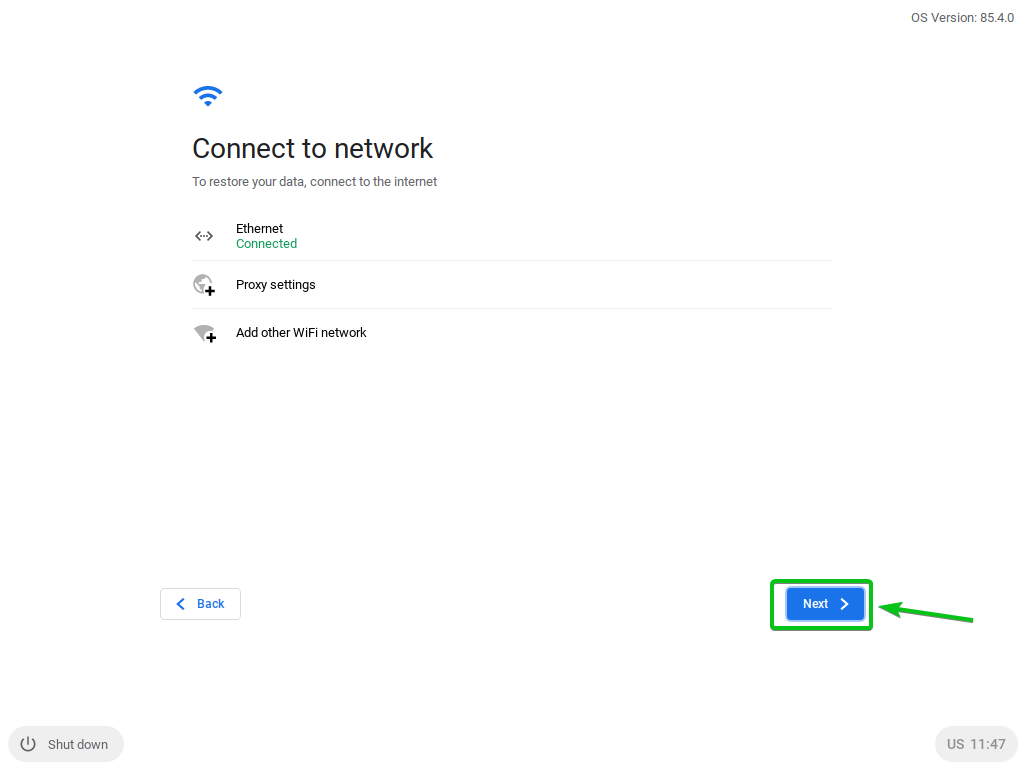
You can configure the network from here if you need. Once you’re done, click on Next.
Click on CONTINUE.

Sign in to your Google account from here.

Once you’ve logged in to your Google account, you should see the following window.
Click on Get started.

You should see the CloudReady welcome screen. Close it.

CloudReady should be ready to be used. Have fun.

Conclusion
CloudReady OS is based on the open-source Chromium OS, which Google Chrome OS is also based on. In this article, I have shown you how to make a Live bootable USB thumb drive of CloudReady OS on Windows and Linux operating systems. Now, you should be able to run CloudReady OS from a USB thumb drive.