This configuration file ensures that all the installed systems have the same settings like network configuration, package management, partitioning, etc. Hence, Kickstart is a great feature to automate the Linux installations and smoothen the work of the system administrators. In this guide, we will explain the brief details about the simple way to run Kickstart with Rocky Linux 9.
How to Run Kickstart with Rocky Linux 9
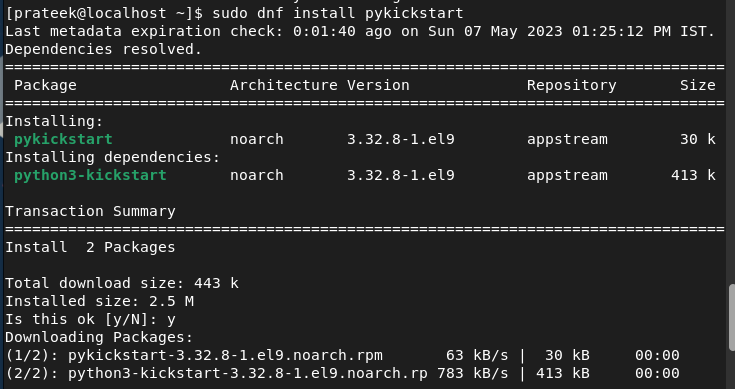
Kickstart comes as the preinstalled utility in Rocky Linux, you can install it through the following commands one by one:
sudo dnf install pykickstart
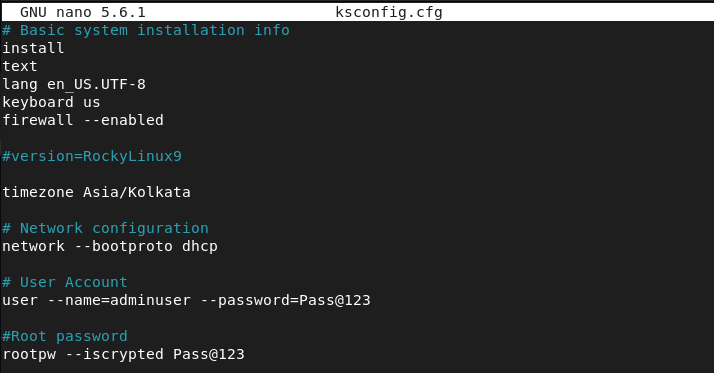
Now, it is time to create a configuration file of Kickstart through the text editors like Nano or Vi. Let’s open the Nano editor using the following command:
The system opens the “ksconfig” file in the terminal, so you can now add the basic configuration:
install
lang en_US.UTF-8
keyboard=us
firewall --enabled
# version=RockyLinux9
timezone Asia/Kolkata
# Network configuration
network --bootproto dhcp
# User Account
user --name=adminuser --password=Pass@123
# Root password
rootpw --iscrypted=Pass@123
# Included Packages
%packages
@base
@core
@development
%end
The previous information stands for specific parameters such as:
- keyboard=us: It is the keyboard language; we use a US keyboard.
- firewall –enabled: It is used to enable the firewalld by default.
- timezone Asia/Kolkata: It shows the timezone of the systems; we use the Asia/Kolkata timezone.
- rootpw –iscrypted=Pass@123: It sets the root password for the system.
Once you are done, save the file in the system. Moreover, you can also perform various changes in the packages or partitioning schemes. Let’s take an example of all the modifications that you can try in the configuration file.
If you want to select a specific package for the installation, mention all these packages in the configuration file:
%packages
nmap
-firefox*
%end

In the previous information, we used the “*” after firefox which means that the system does not install Firefox in the OS.
To clear all the existing partitions and create the new one, you follow the given configuration file as the partitioning scheme:
clearpart --all --initlabel
autopart
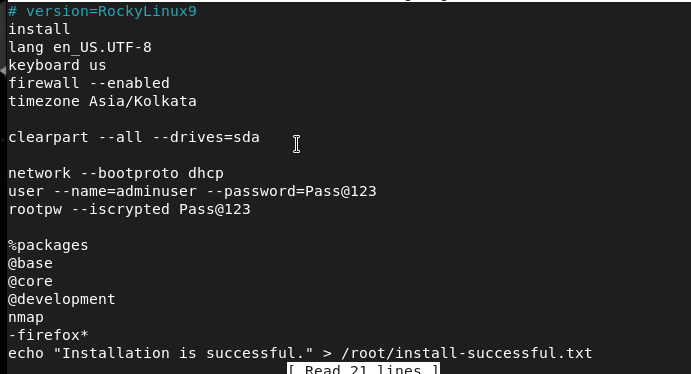
Let’s now create the Kickstart configuration file which includes custom packages, partitioning, and post-installation information:
install
lang en_US.UTF-8
keyboard=us
firewall --enabled
timezone Asia/Kolkata
clearpart --all --drives=sda
user --name=adminuser --password=Pass@123
rootpw --iscrypted=Pass@123
%packages
@base
@core
@development
nmap
-firefox*
echo "Installation is successful." > /root/install-successful.txt
%end
Finally, you can validate the Kickstart configuration file through the following command in the terminal:
![]()
How to Use Kickstart in Rocky Linux 9
First, paste the Kickstart config file to access it in the installation. For example, you can paste it into the installation media or any network file server.
After that, boot your system and run the following command to specify the location of the Kickstart config file:
Once you are done, the system checks the information from the Kickstart config file and applies everything accordingly.
Conclusion
This is all about how you can configure and run Kickstart in Rocky Linux 9. We explained the various configuration file types that you can use to create a specific config file to fulfill your requirements. Kickstart is a fantastic tool that you can use as a Linux administrator to manage multiple systems simultaneously.